How to Assign Standard Classes to Standards
A Standard Class can be assigned in a SIF file using one of the available columns in 2020 Worksheet, or in Project Matrix. SnapTracker accepts the following fields for importing the Standard Class:
- Category
- Alias 1, 2 or 3
- Tag 3, 4 or 5
When you import a SIF file, you select which of these fields you want SnapTracker to read to import the Standard Class.
If the SIF file is imported without a Standard Class, you can assign multiple Standards to a Class using the Add Standard Class screen.
This tutorial post explains the process of assigning a Standard Class to Standards if the information is not included in the SIF file.
Step-by-step instruction
From the main navigation bar on the left, select Setup, Standard Setup and Add Standard Class.
The Add Standard Class screen displays.
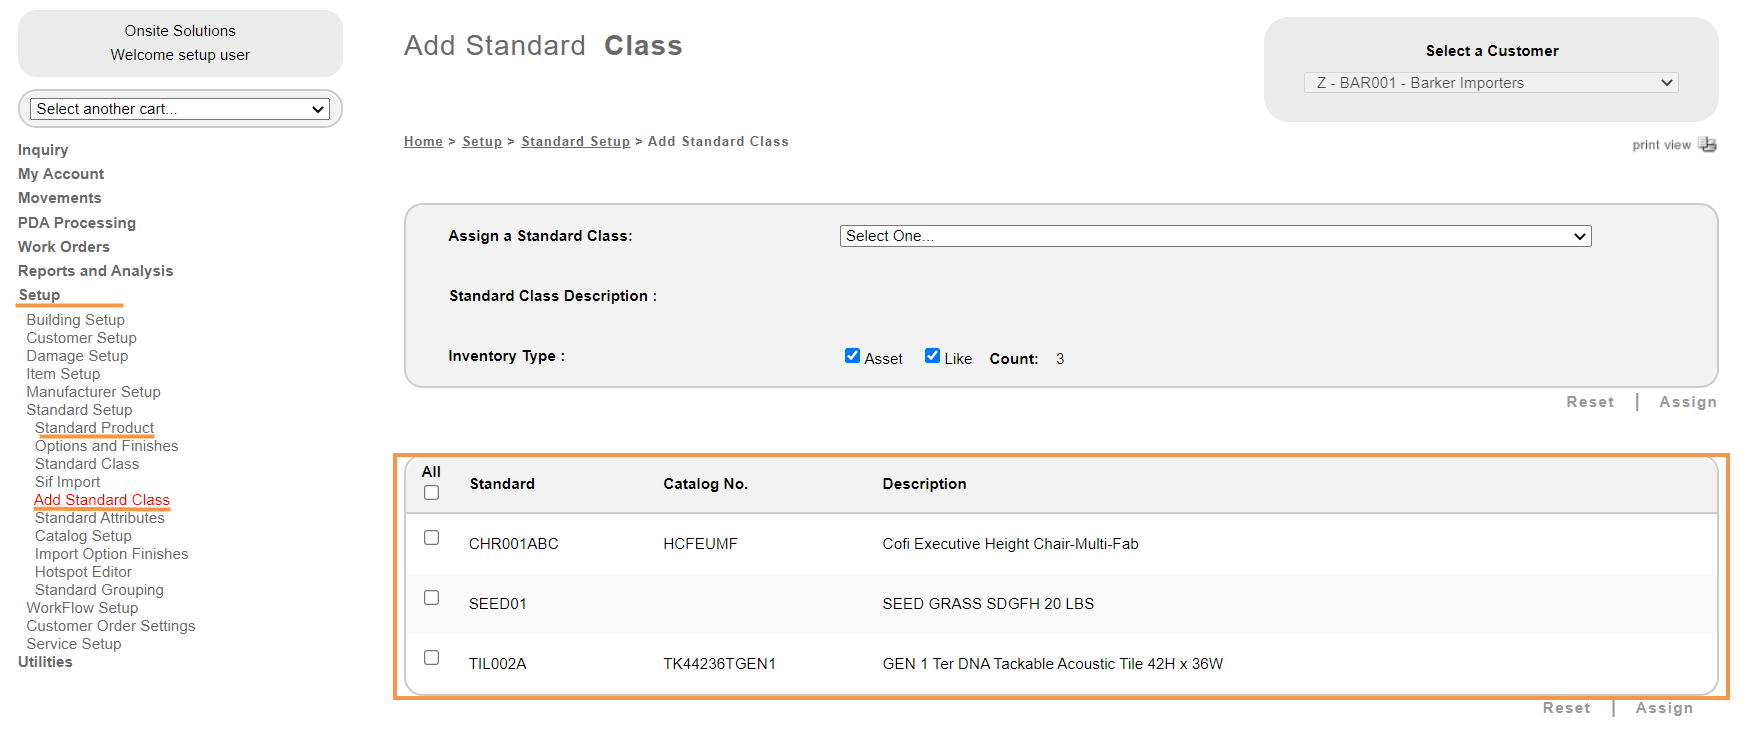
Notice that all Standards without a Standard Class assigned display on the screen.
Here is where you can assign the Standard Class to Standards.
First, make sure the Customer Number on the top right corner is the one under which you’ve created the Standards. If not, use the Select a Customer drop-down selection box to pick the correct Customer Number.
Using the Assign a Standard Class drop-down selection box, select a Standard Class (e.g, Bookcase). To learn about how to create a Standard Class so that it appears on the list, click here.
Select the check-box next to the Standards to be assigned to the selected Standard Class.
Click Assign.
![]()
The Standard Class has been assigned to the selected Standards and the Standards no longer display in the screen.
Tips:
For Standards that are set up manually, you can assign standard class on the Standard Product screen.