
How to Use Inquiry – Item Search – Search by Serial Number for a Single Customer
The Inquiry section is used to search for different information related to product in SnapTracker. Item Search is designed to help you find specific serial numbers and view all related item level information. This screen enables you to inquire about a specific item within the selected Customer or across all Customers.
You can search for items by looking up a Standard or a specific serial number. When searching by serial number, you can enter a specific serial number to search for within the selected Customer, or across all Customers. When searching by all Customers, more details are included in the results to help you identify the specific Customer the item belongs to.
Once results are returned, you can apply additional filters to narrow down your results, such as deciding whether or not to include archived items, what Conditions to filter by, and what date range to set for the item’s last movement date. You can also print the results as is or export in CSV format.
Before starting, make sure:
- You are logged into SnapTracker.
- You have at minimum one Standard created.
- You have at minimum created one item record.
- The correct Customer is selected from the Customer selection list.
- You have access to Inquiry – Item Search.
This post outlines the process of searching for items by Serial Number in the Item Search screen for a single Customer.
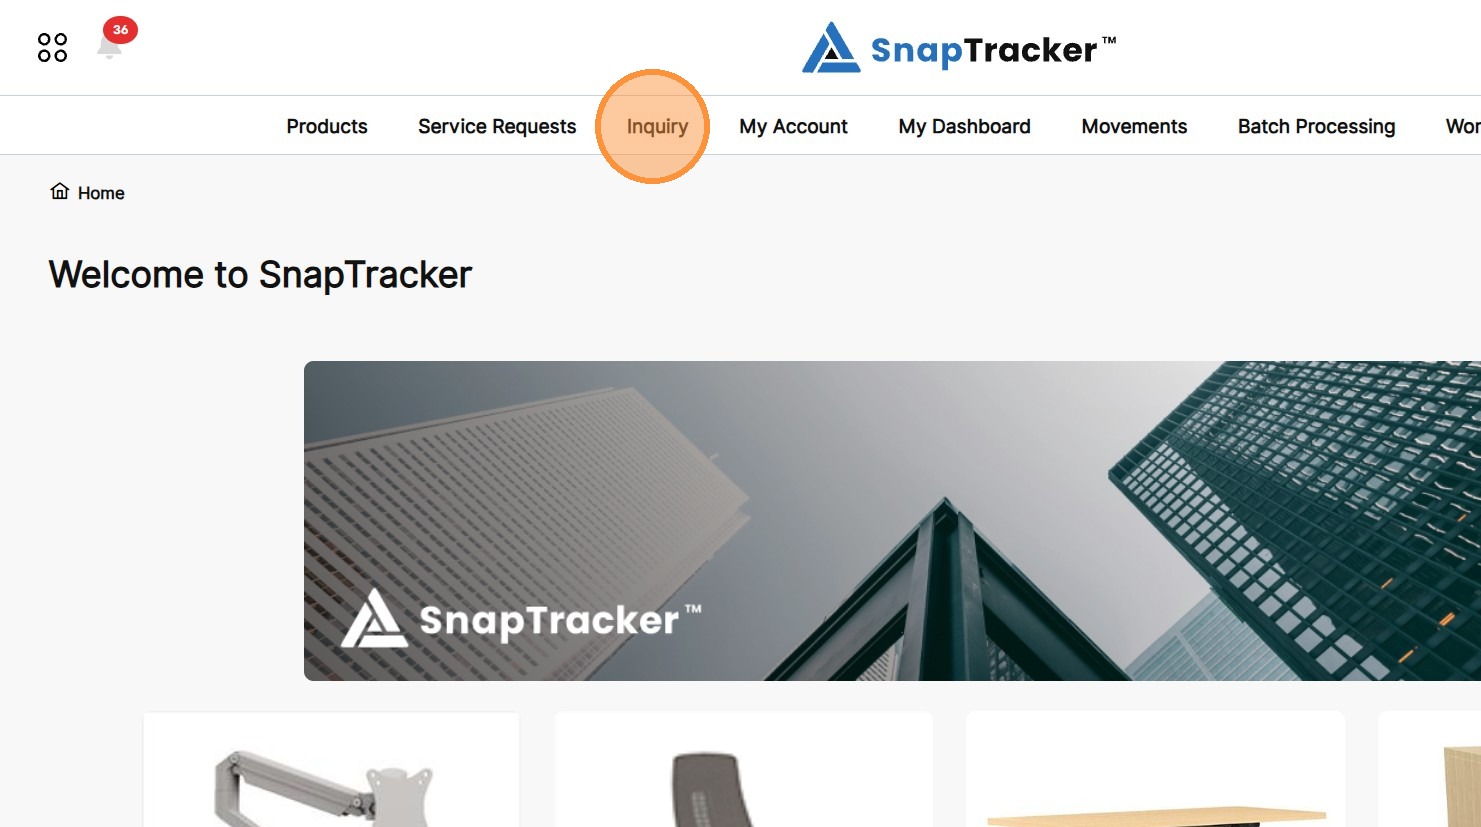
1. In the header section, click Inquiry.
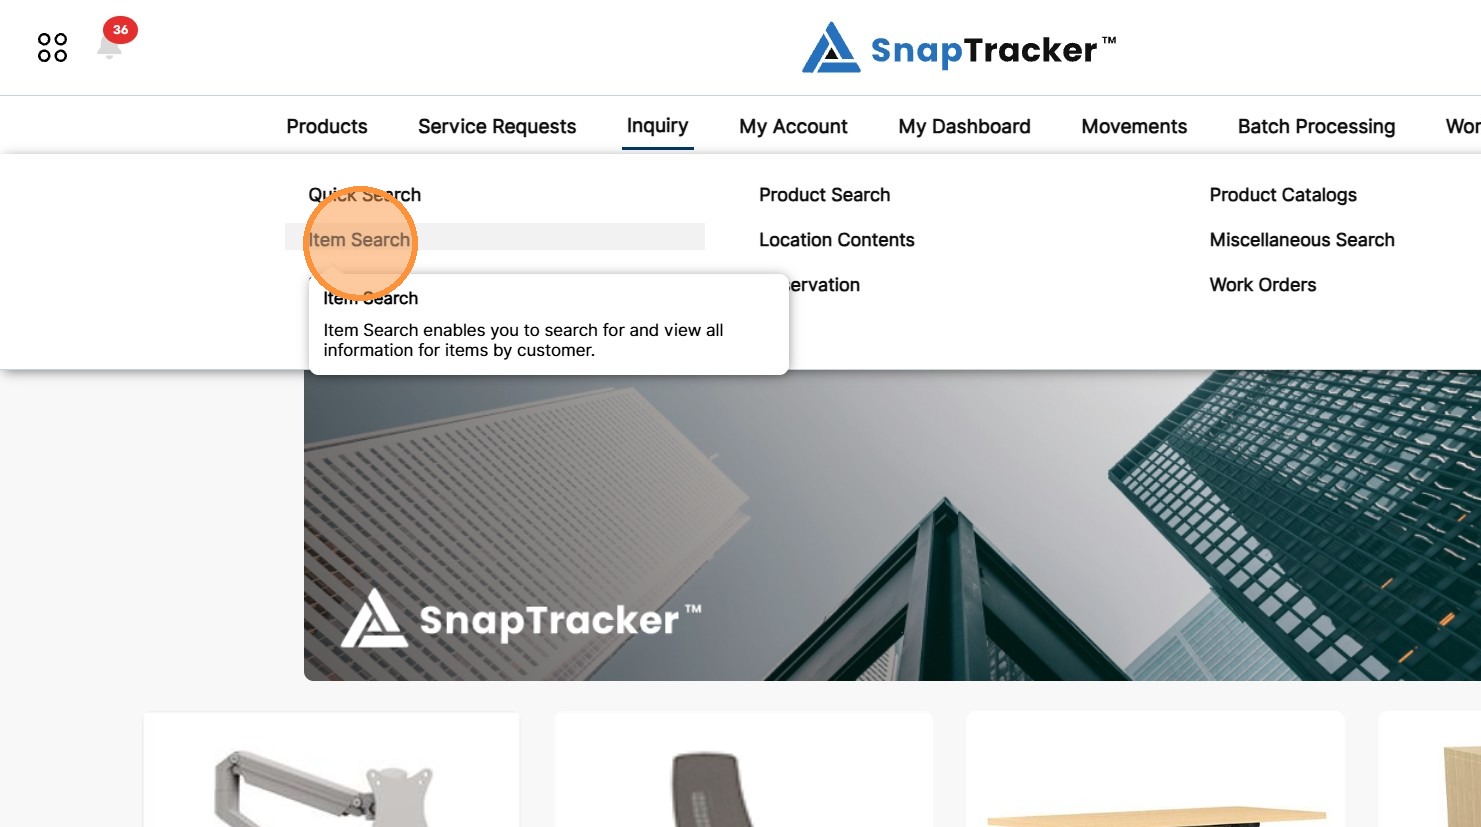
2. Click Item Search.
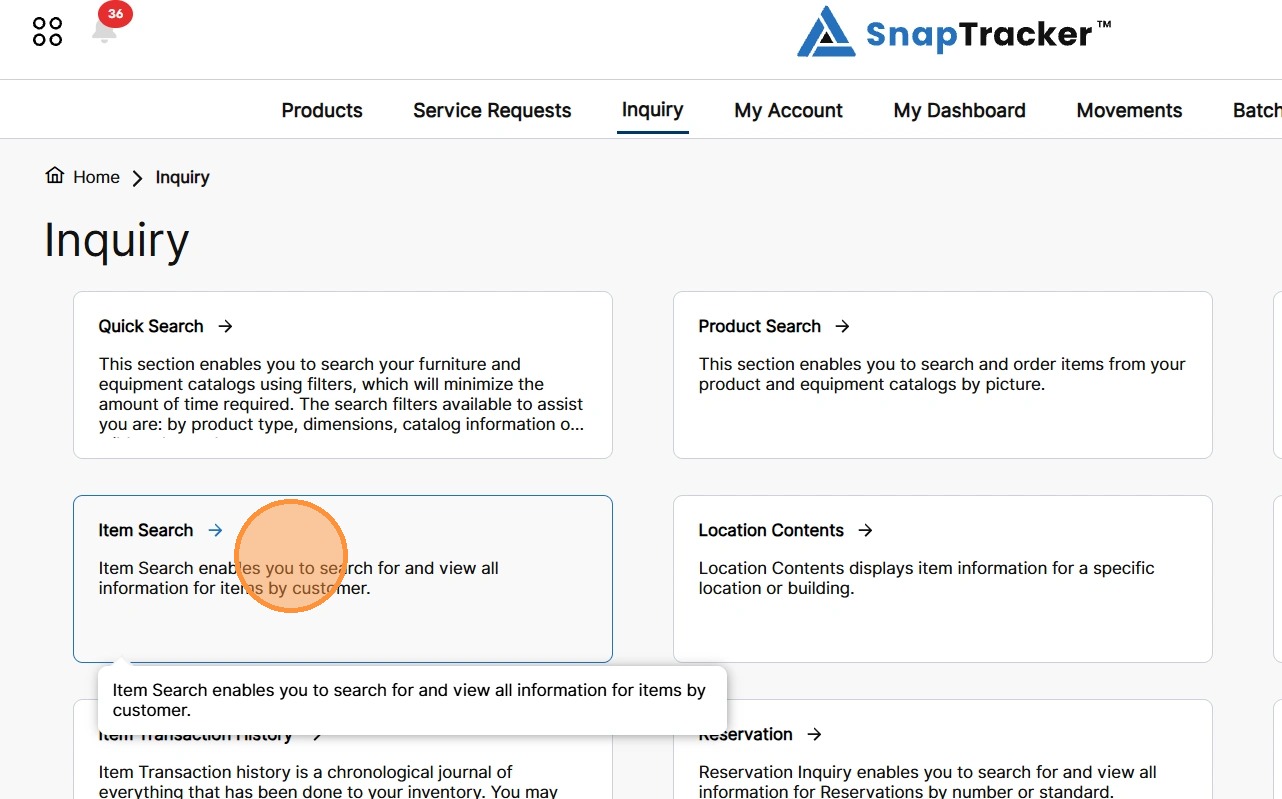
Another way to access the Inquiry Item Search screen is to navigate to the Inquiry main screen.
From here, select Item Search.
The Item Search screen displays.
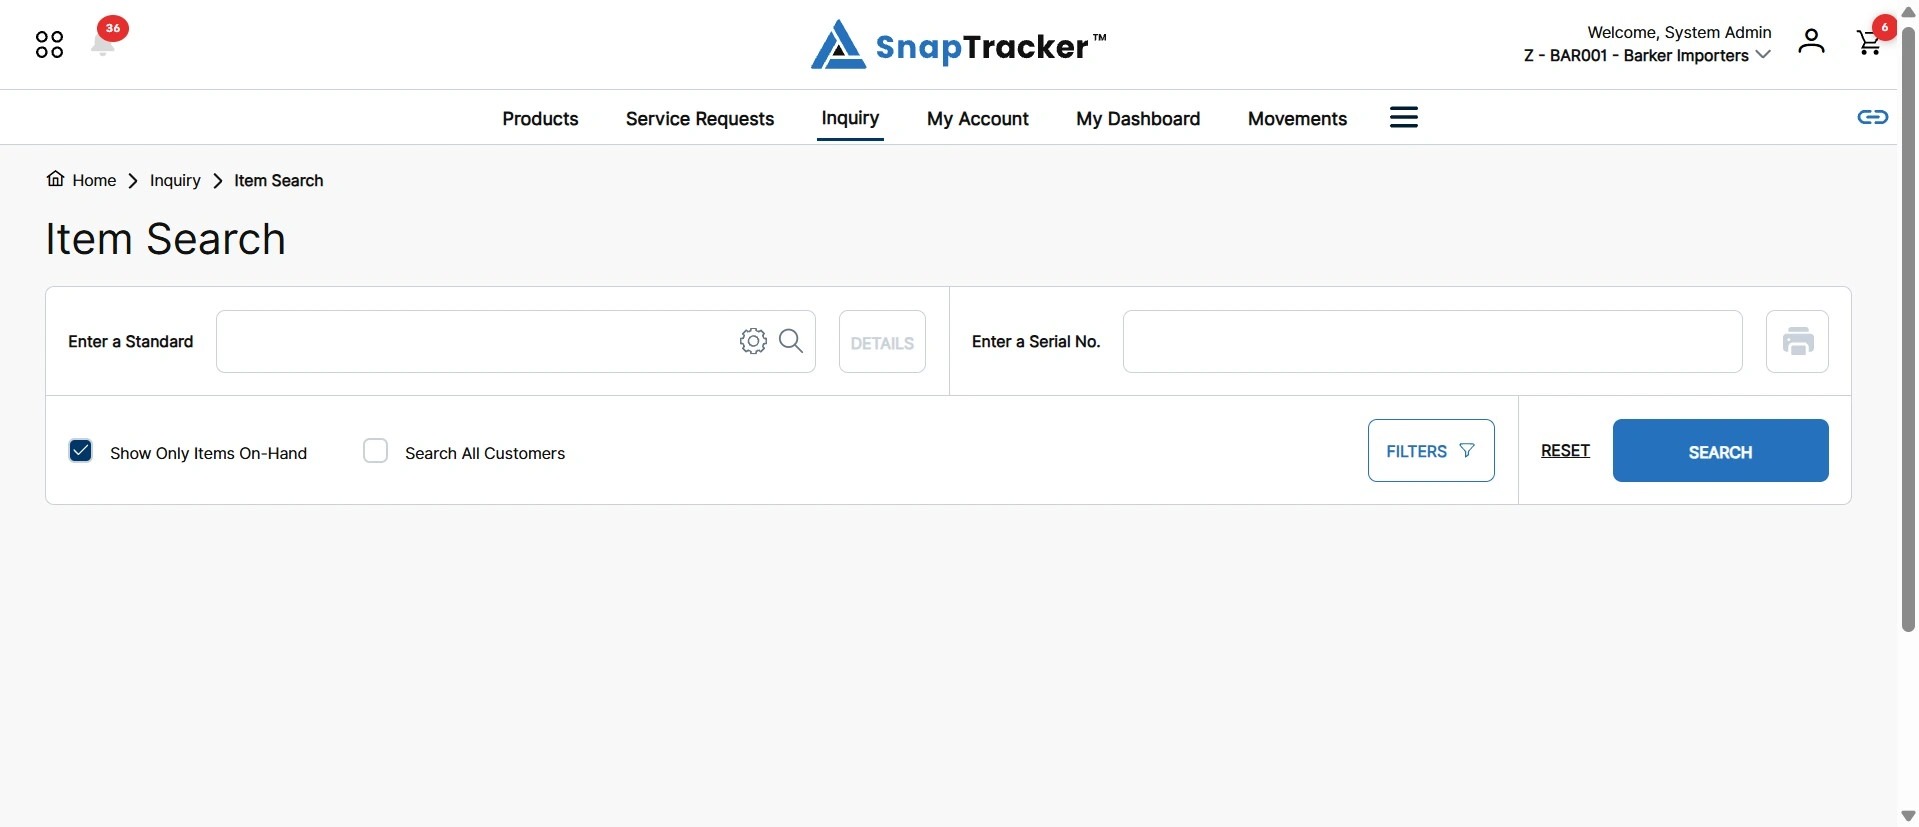
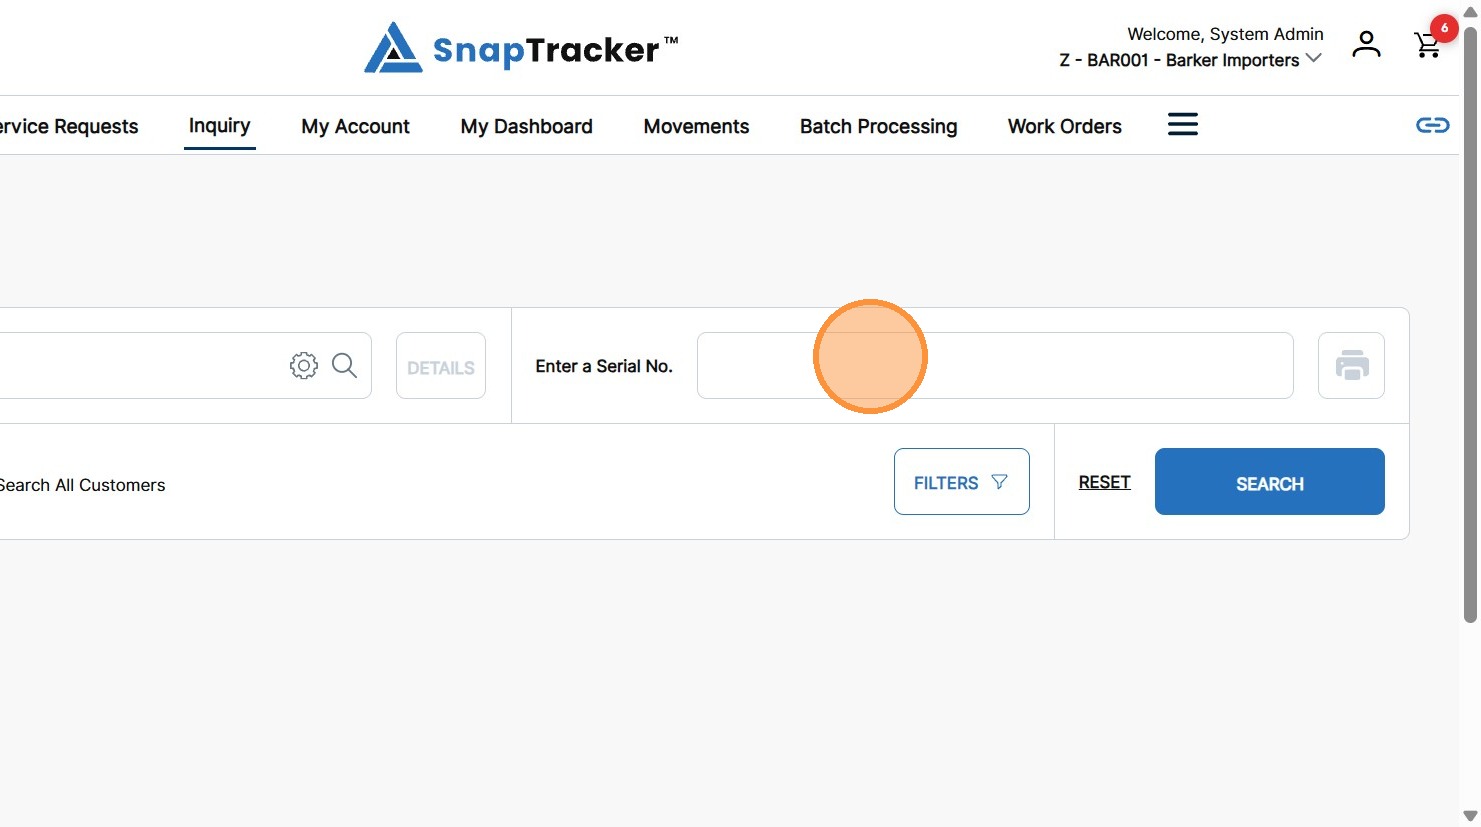
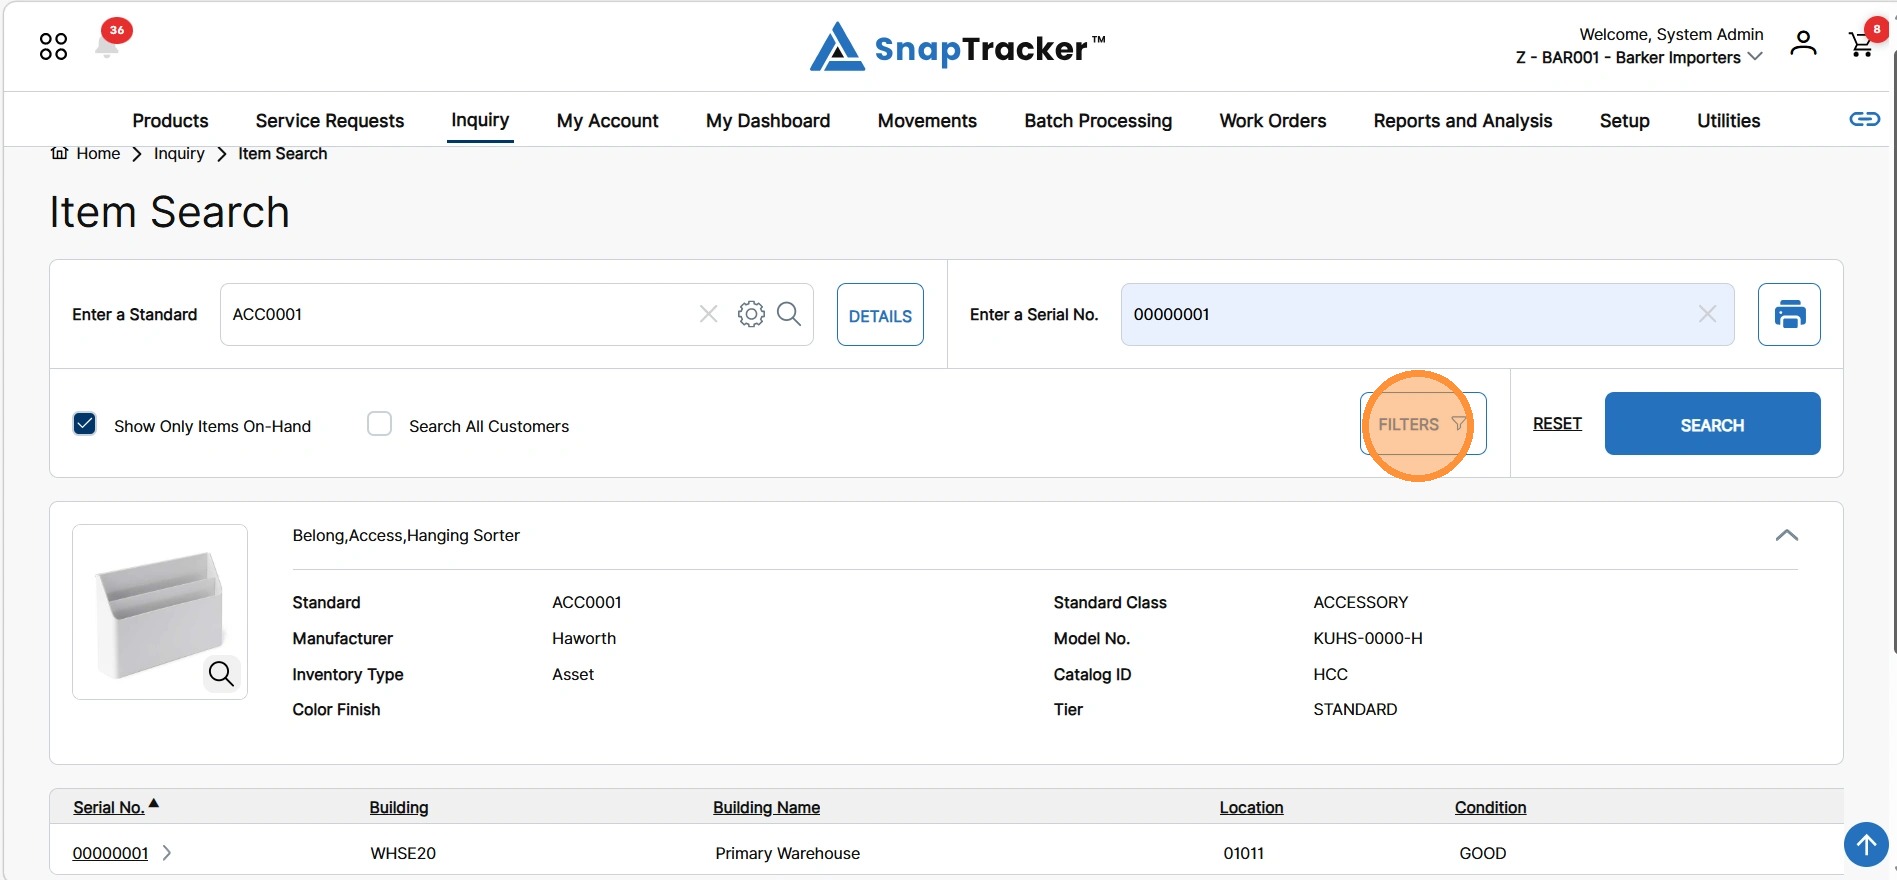
3. To search for a specific Serial No., in the Enter a Serial No. field, enter a serial number.
Note: Click X to quickly clear the field.
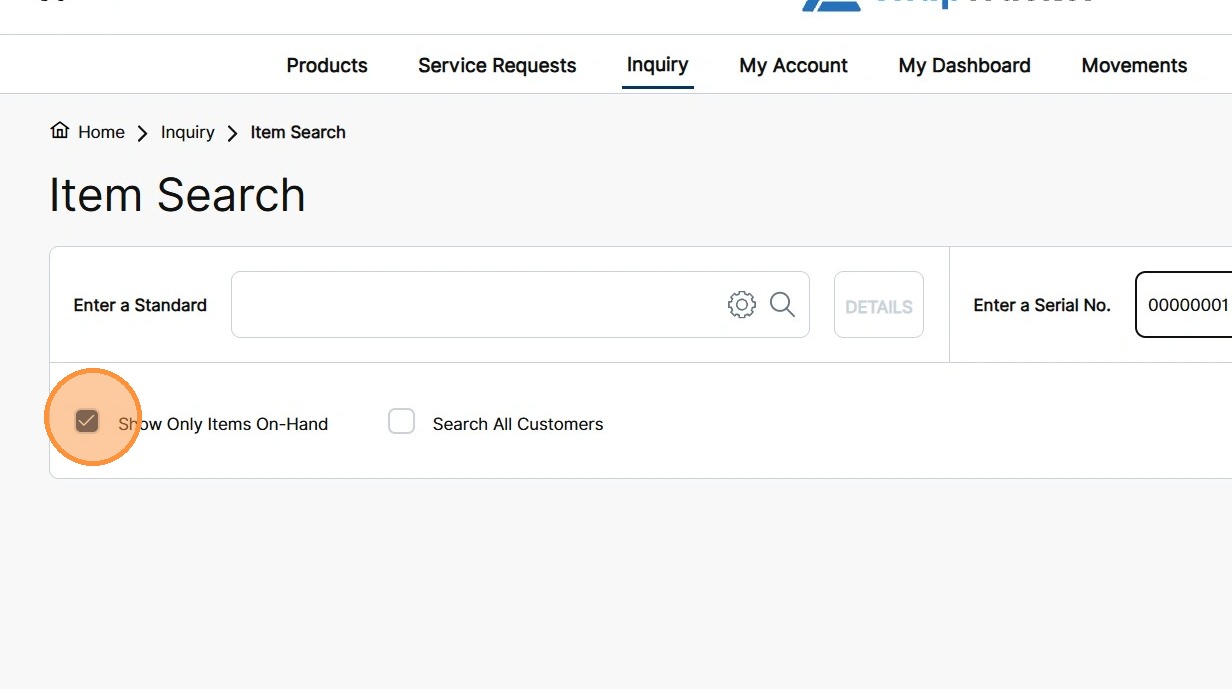
4. To return results with only items currently on hand, select the Show Only Item On-Hand checkbox.
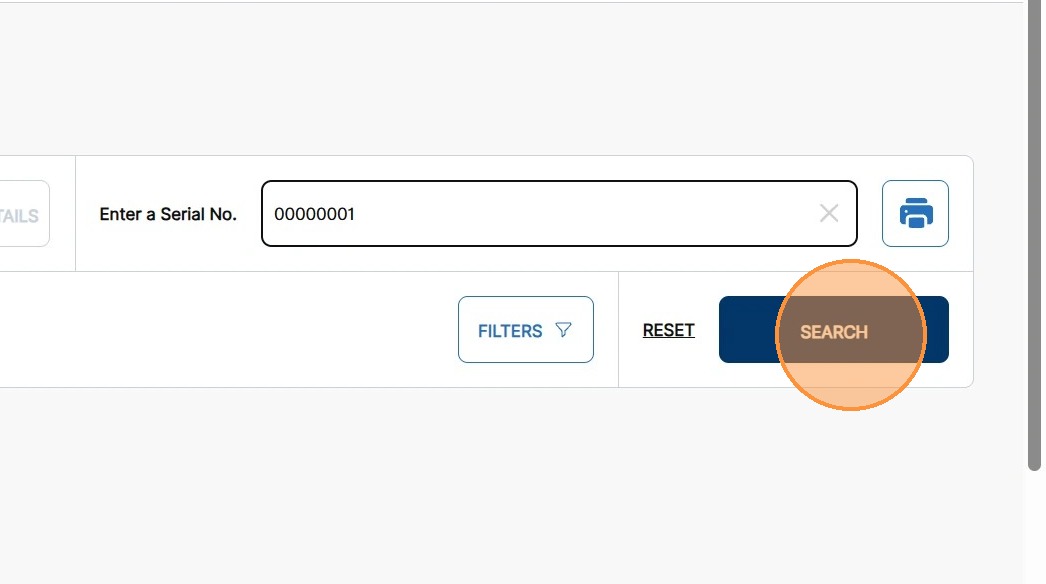
5. Click Search.
Note: By default, the search is conducted within only the selected Customer.
When searching by the selected Customer, when the results display, the Standard Header displays with key Standard details, such as image, description, manufacturer, model no., etc.
For more information on navigating these results, see “How to Use Inquiry – Item Search – Search by Standard.”
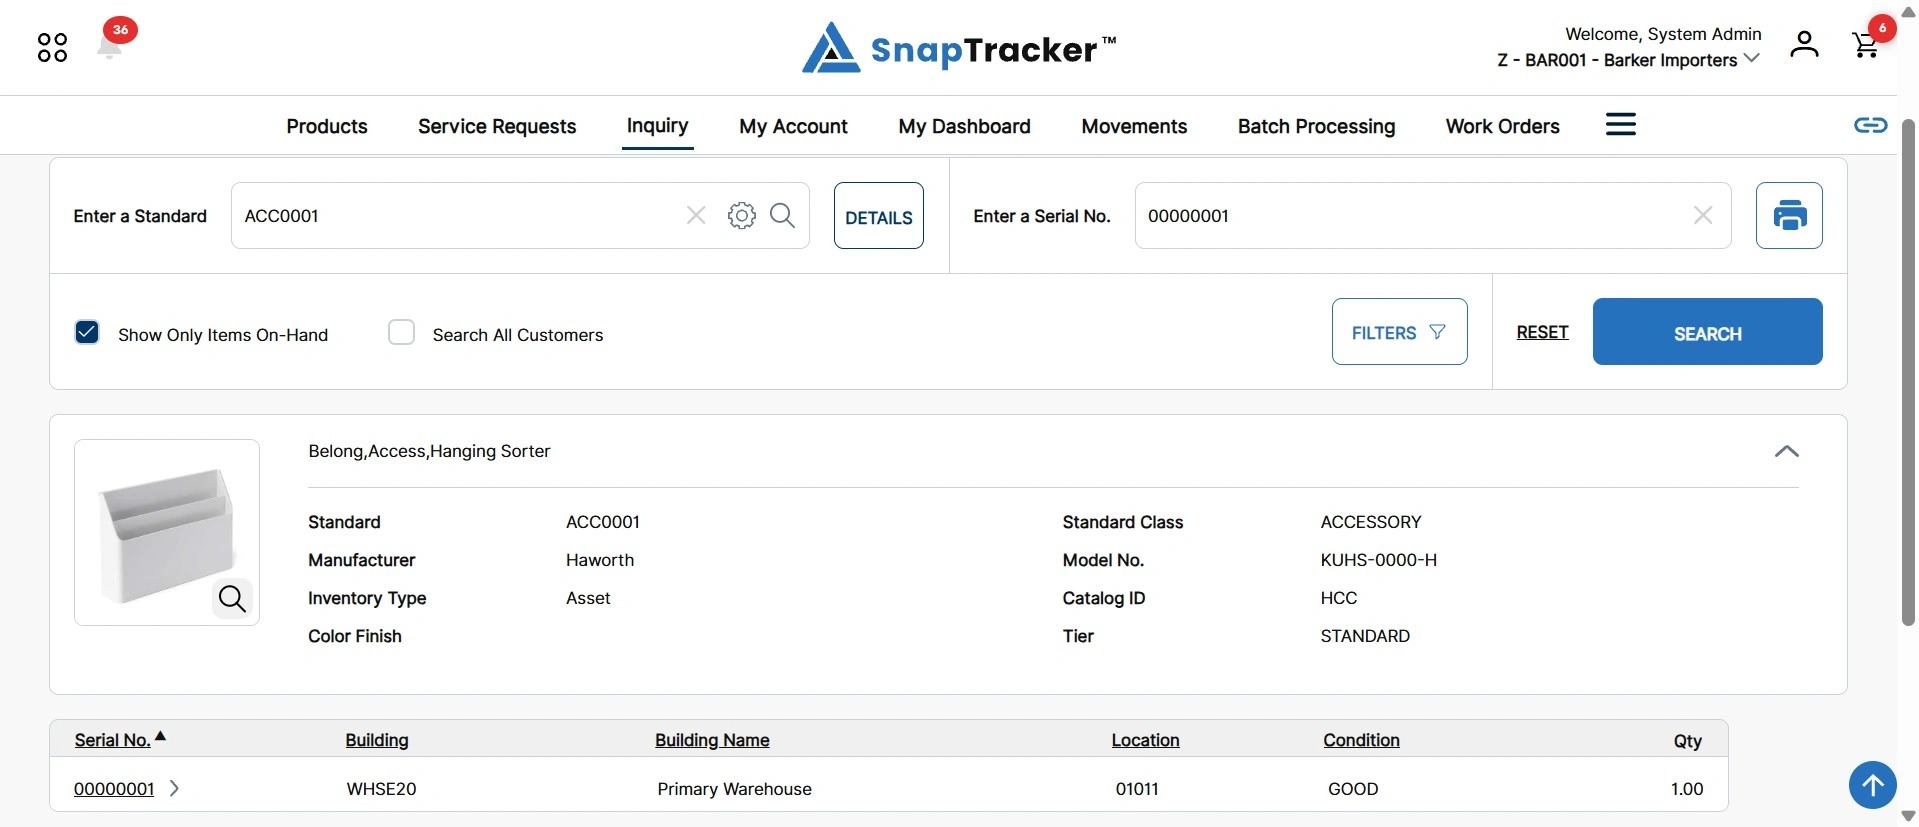
Observe the fields in the results:
- Serial No. – The serial number of the item.
- Building – The Building the item is in (if applicable).
- Building Name – The name of the Building the item is in (if applicable).
- Location – The specific Location the item is located in the Building (if applicable).
- Condition – The current Condition of the item (if applicable).
- Qty – The total quantity related to the serial number. Note: The quantity may be more than one when it is a Like item. Asset items should always have a quantity of 1.
6. To apply filters to your search, click Filters.
The Filters side panel displays.
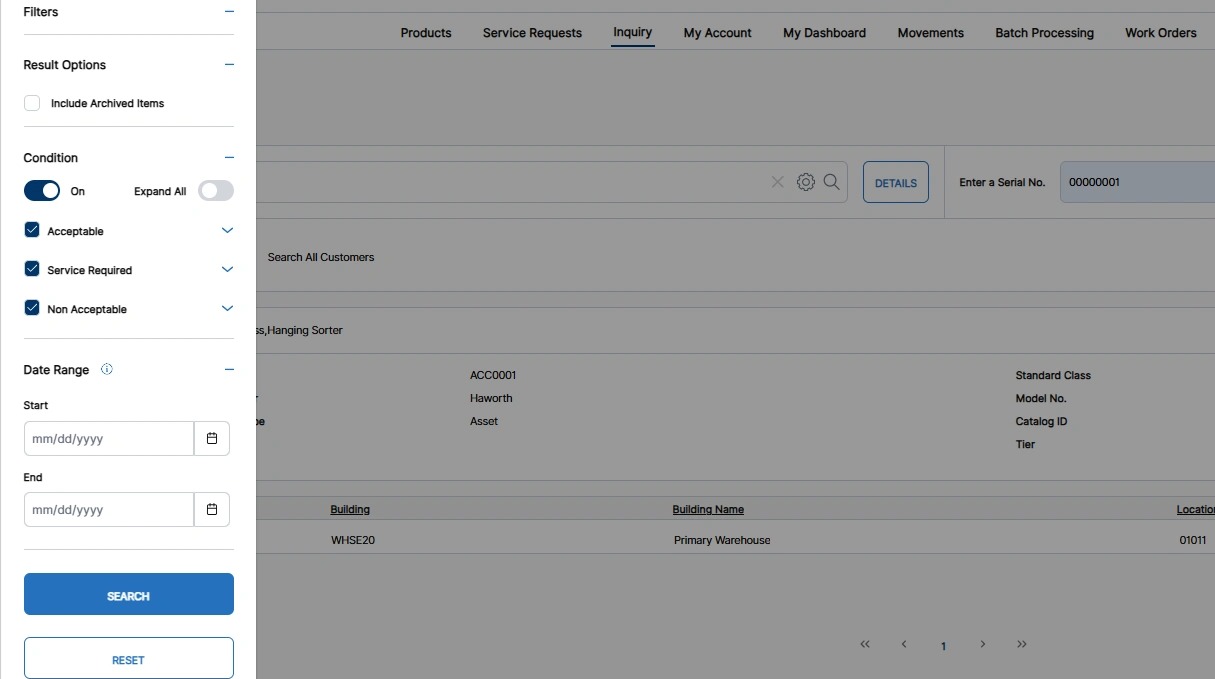
Observe the filter options:
- Include Archived Items – Select whether or not to include items that have been archived.
- Condition – (This helps filter Like Item results). Select the Acceptability Flag and/or Conditions to filter.
- Click the arrow beside each Acceptability Flag to view the Conditions, or click Expand All to expand every Acceptability Flag.
- Click to activate the On toggle to auto-select all conditions.
- Date Range – Set a Start and/or End Date to filter results by their Last Inventory Movement Date. Note: Like items will inherit the most recent movement date.
7. Populate the desired filters and click Search.
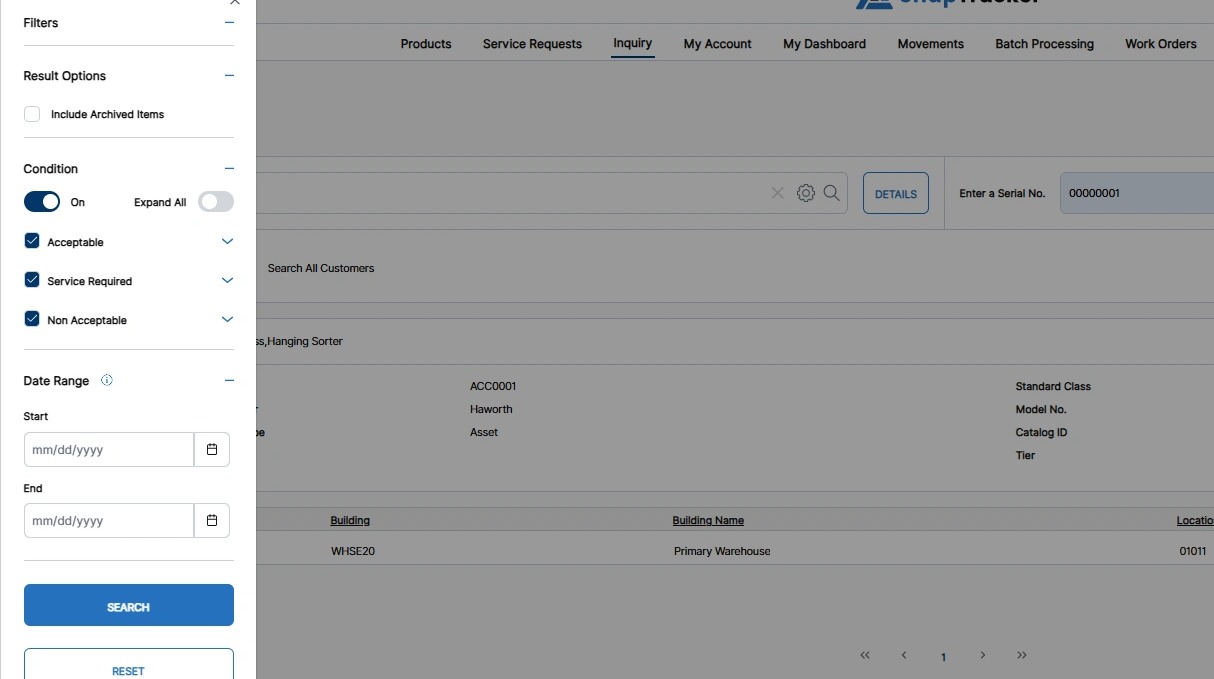
The filtered results display.
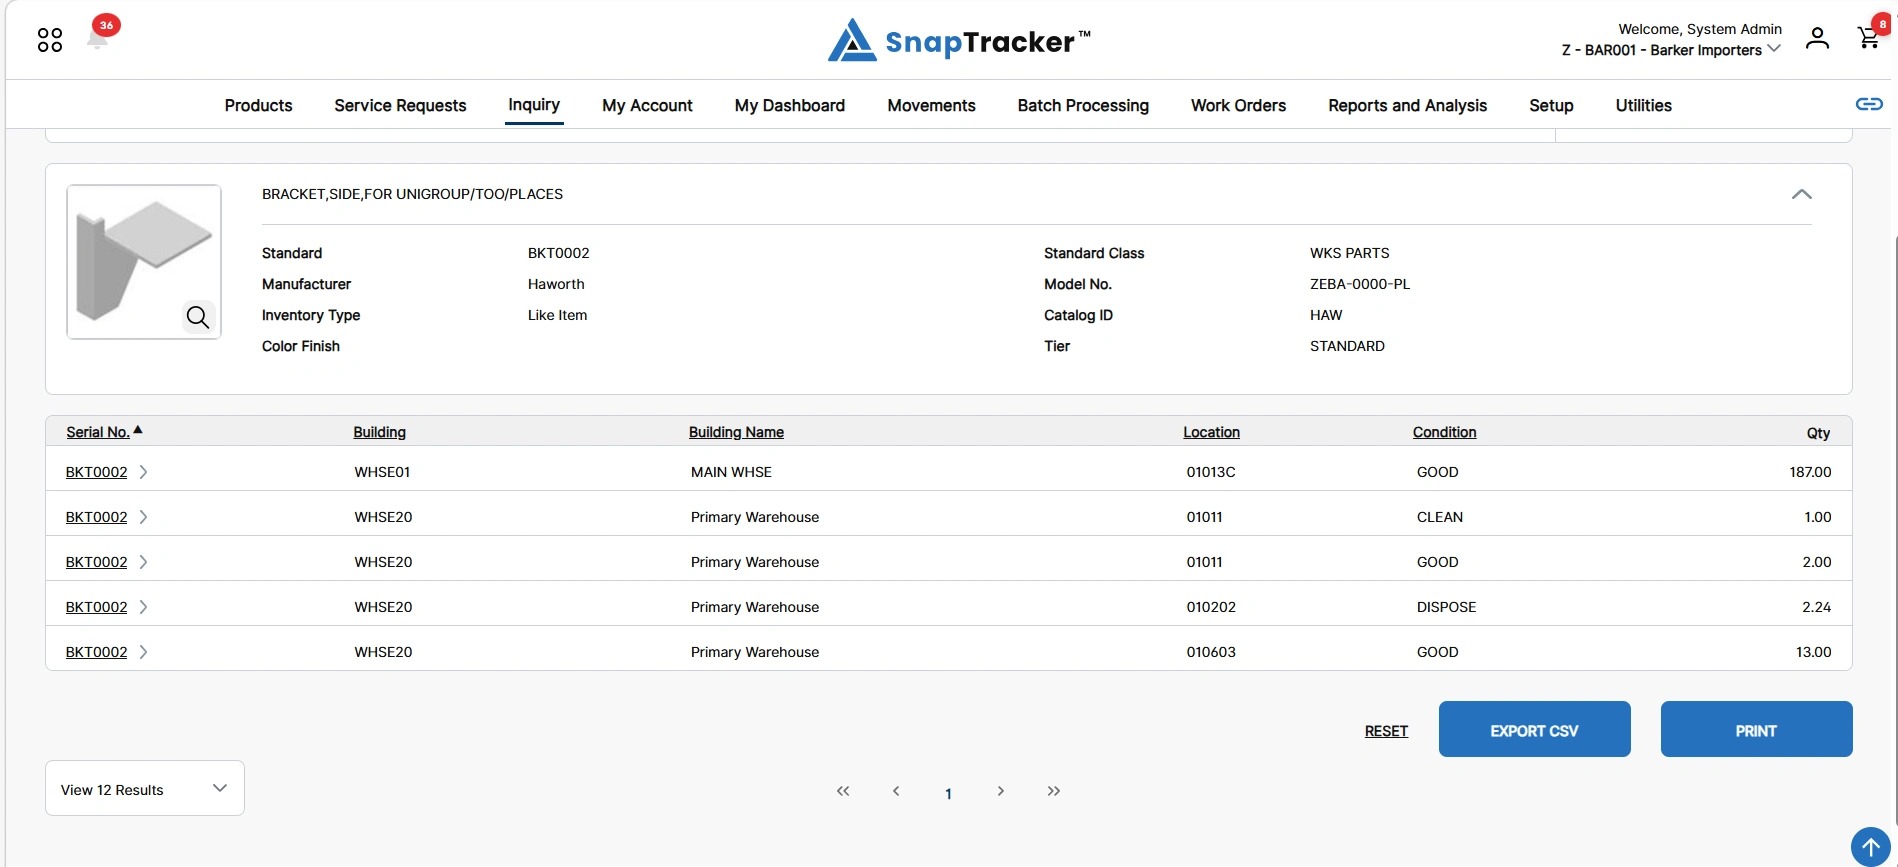
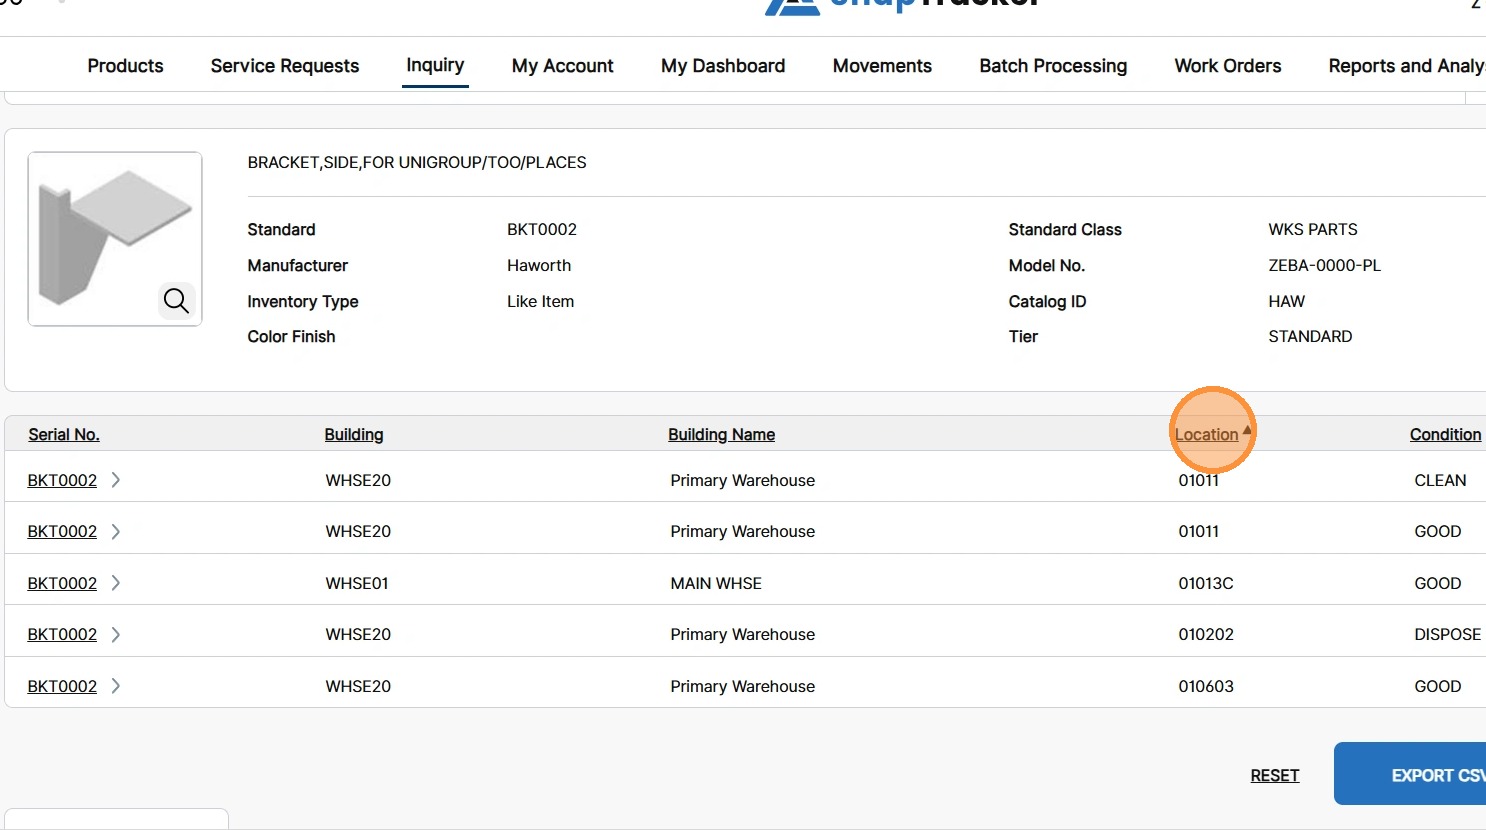
8. To sort the results by a particular field, click the hyperlinked column header.
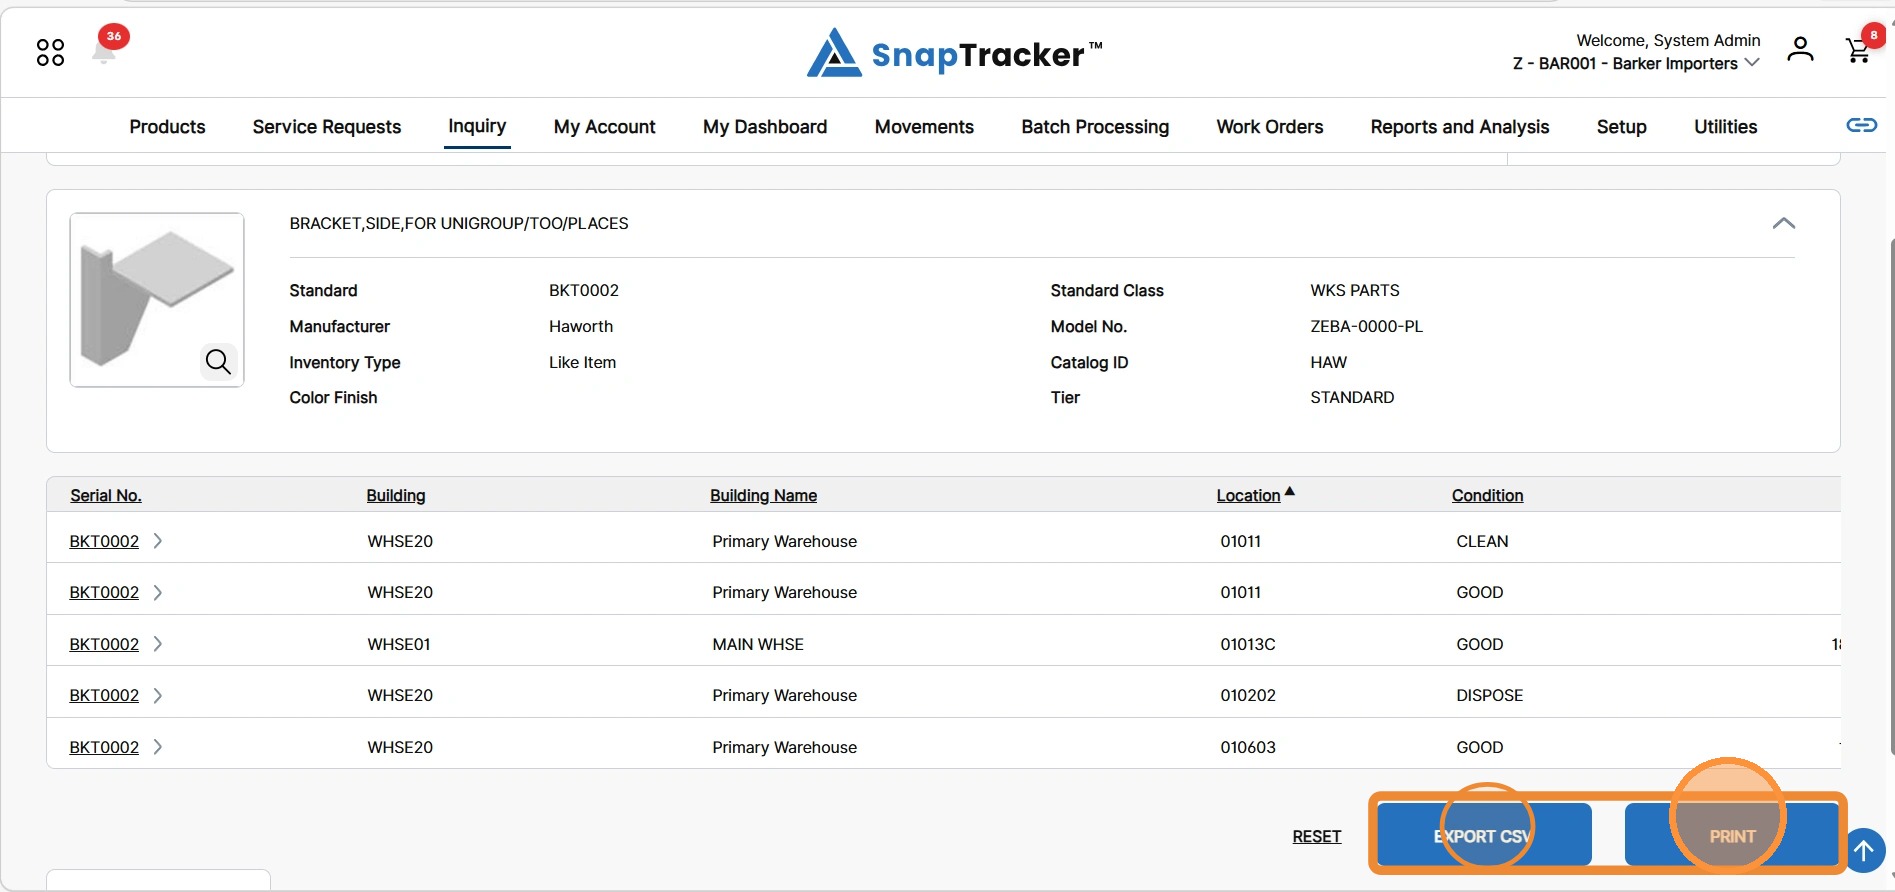
9. To download the item search results, click Export CSV or Print.
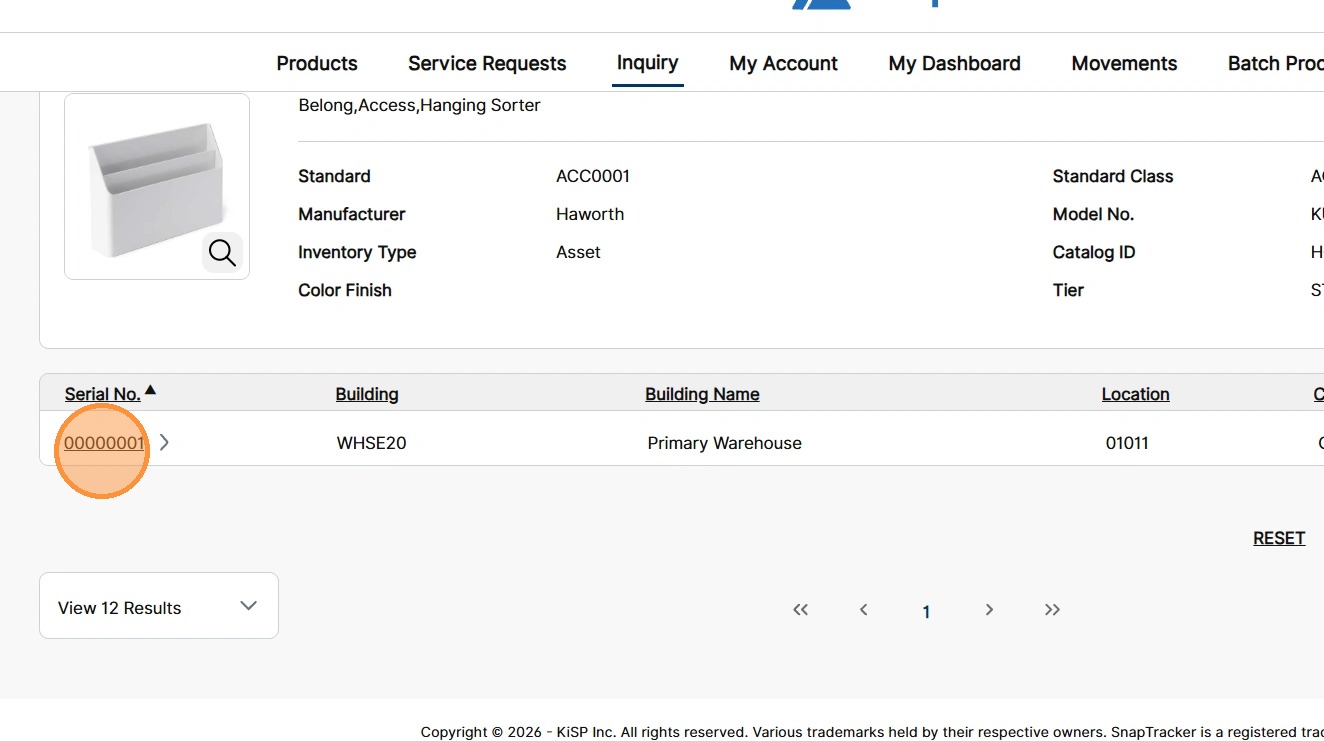
10. To view full item details, click a hyperlinked serial number.
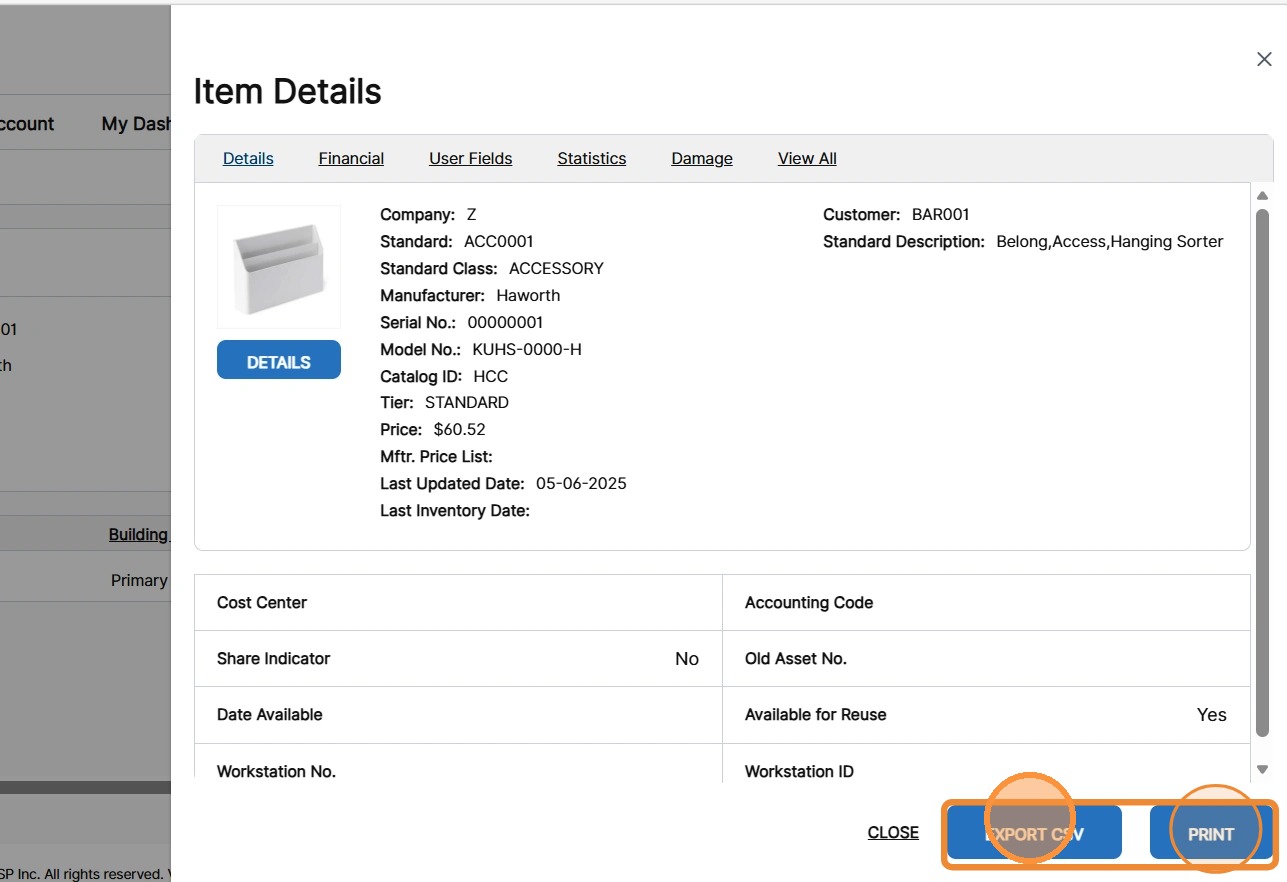
The Item Details side panel displays. The Item information is divided into six separate tabs: Details, Financial, User Fields, Statistics, Damage and View All.
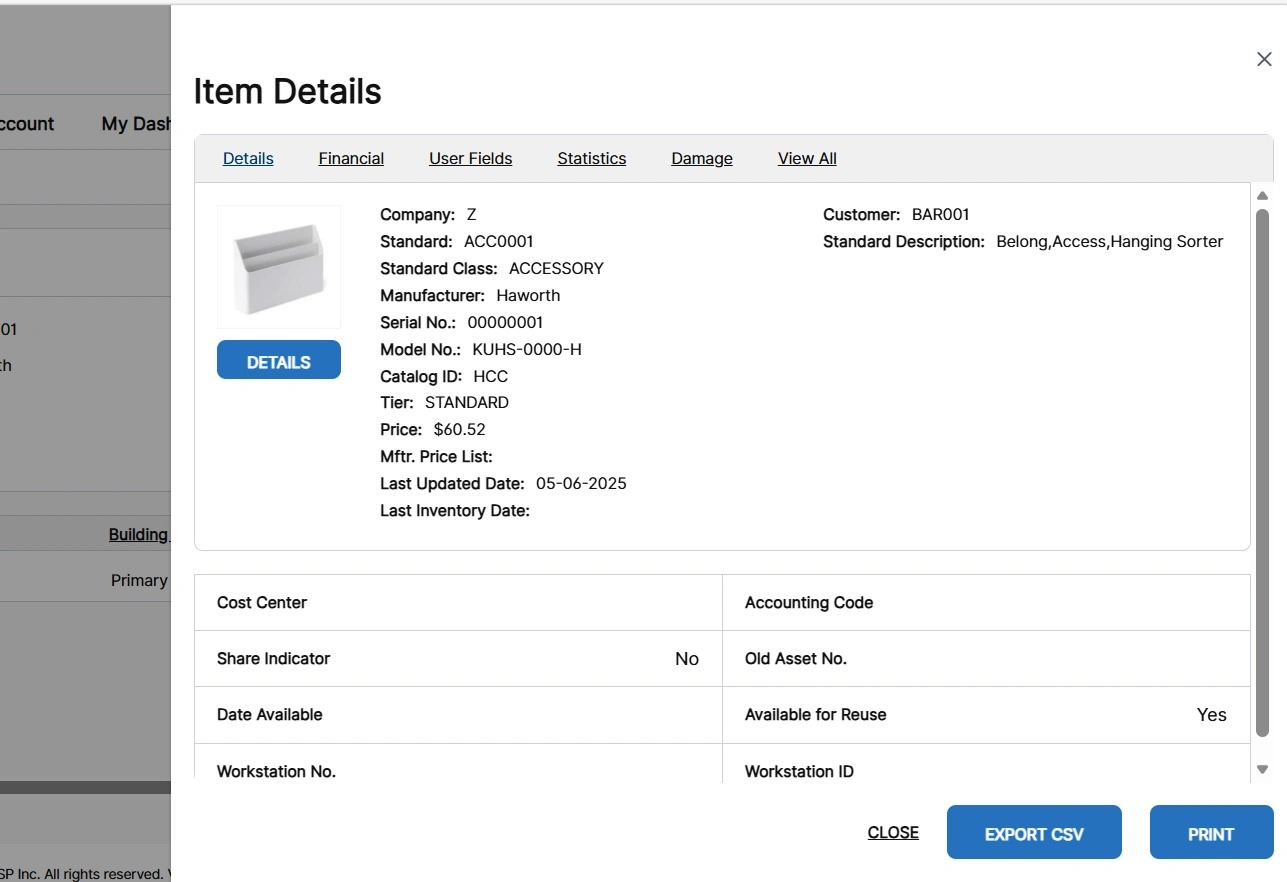
11. To download the Item Detail information for a specific tab, select the tab and click Export CSV or Print.
Note: To export details from all tabs at once, click View All and then export the information.
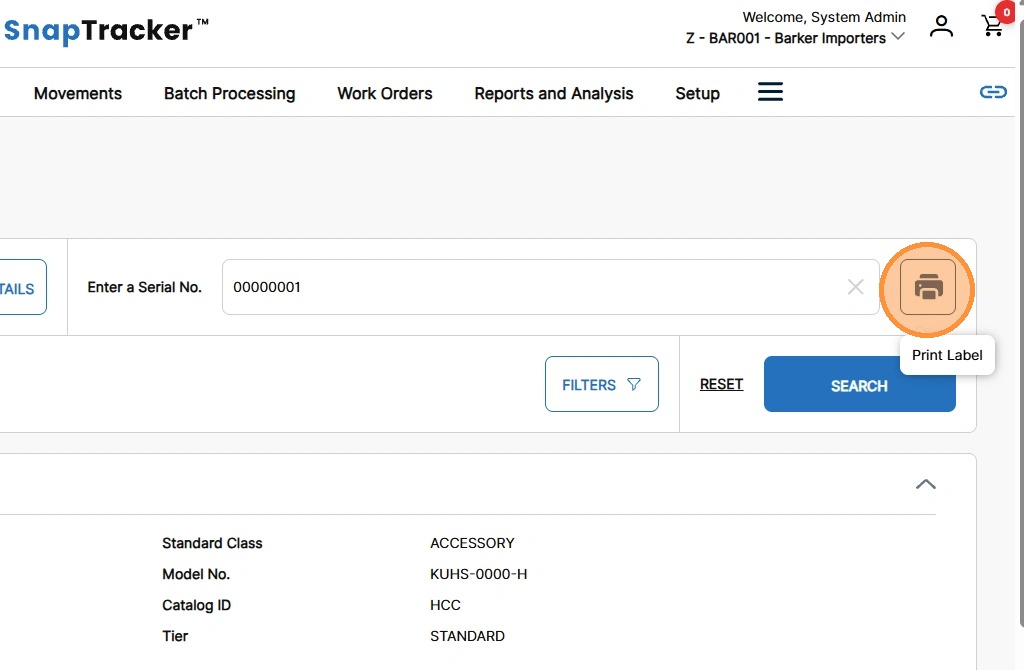
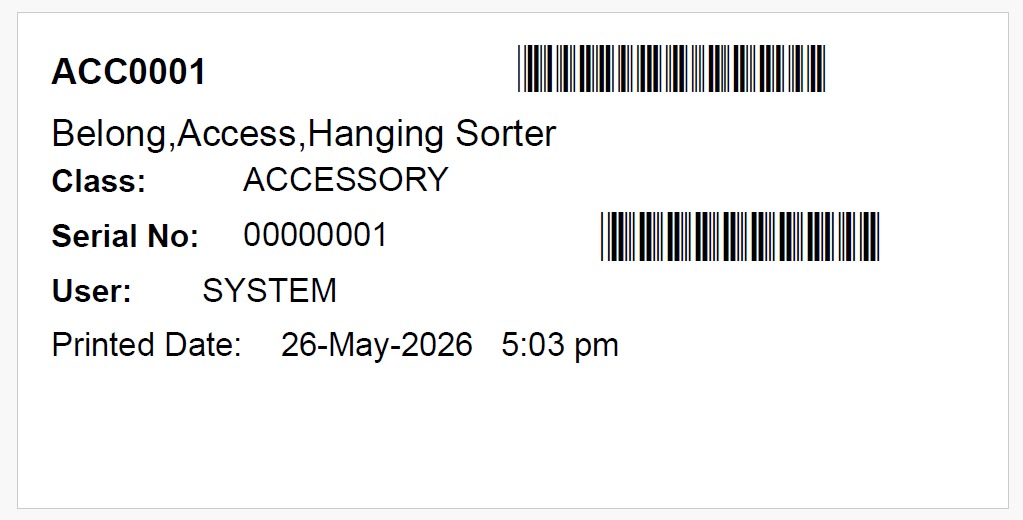
When a single serial number is selected, you have the option to print a barcode to a label. The label is set to print on a 3×1.5 inch label.
12. To print the label for a serial number, click the Print Label button.
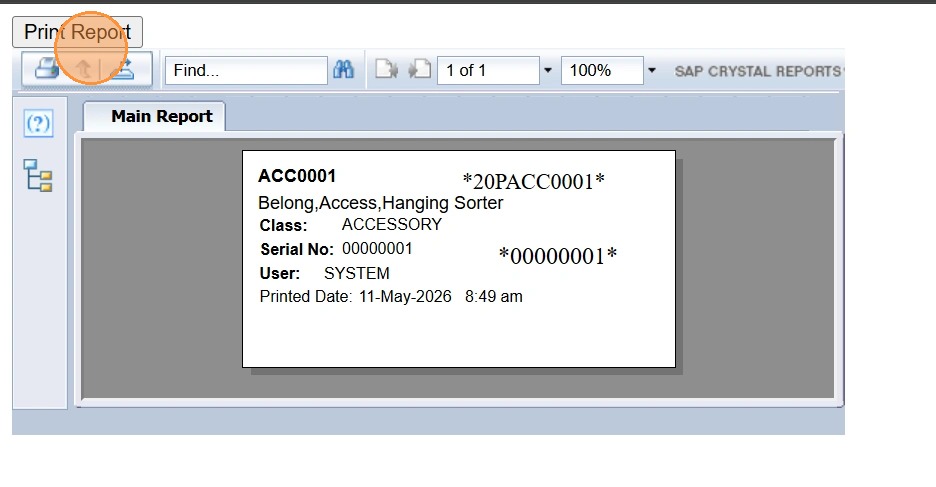
A pop-up displays with the item label. To print the label, click Print Report.
Sample Label:
For more information on how to conduct an Item Search by Standard or across all Customers, see “How to Use Inquiry – Item Search – Search by Standard” and “How to Use Inquiry – Item Search – Search by Serial Number Across All Customers.”