
How to Create a Custom Menu
Custom Menus can be created in SnapTracker by site admins to create shortcuts to specific areas within the site or add additional content such as a link to the service provider’s corporate website or product information for their users. Custom Menus can be created as new navigational links or displayed within selected modules, with a URL or custom HTML.
A custom menu is not Customer specific. Once created, the same menu is available for all SnapTracker Customers on the site. Access needs to be assigned at the User level.
Before starting, make sure:
- You are logged in to SnapTracker.
- You have Menu Access to Utilities and Custom Menus.
This post outlines how to create a Custom Menu.
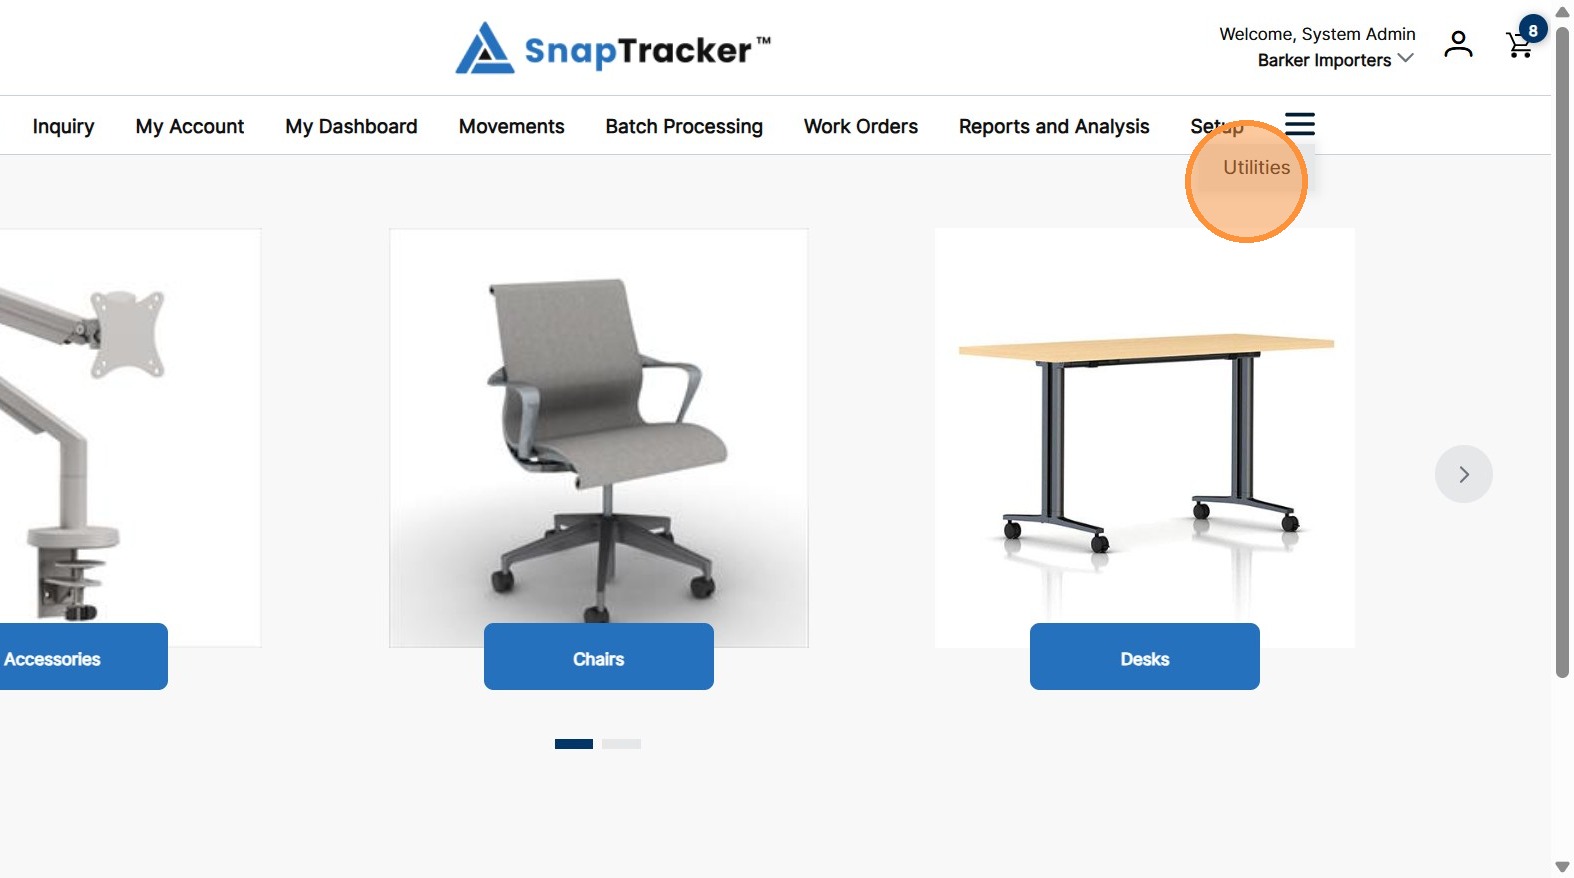
1. In the header, click Utilities.
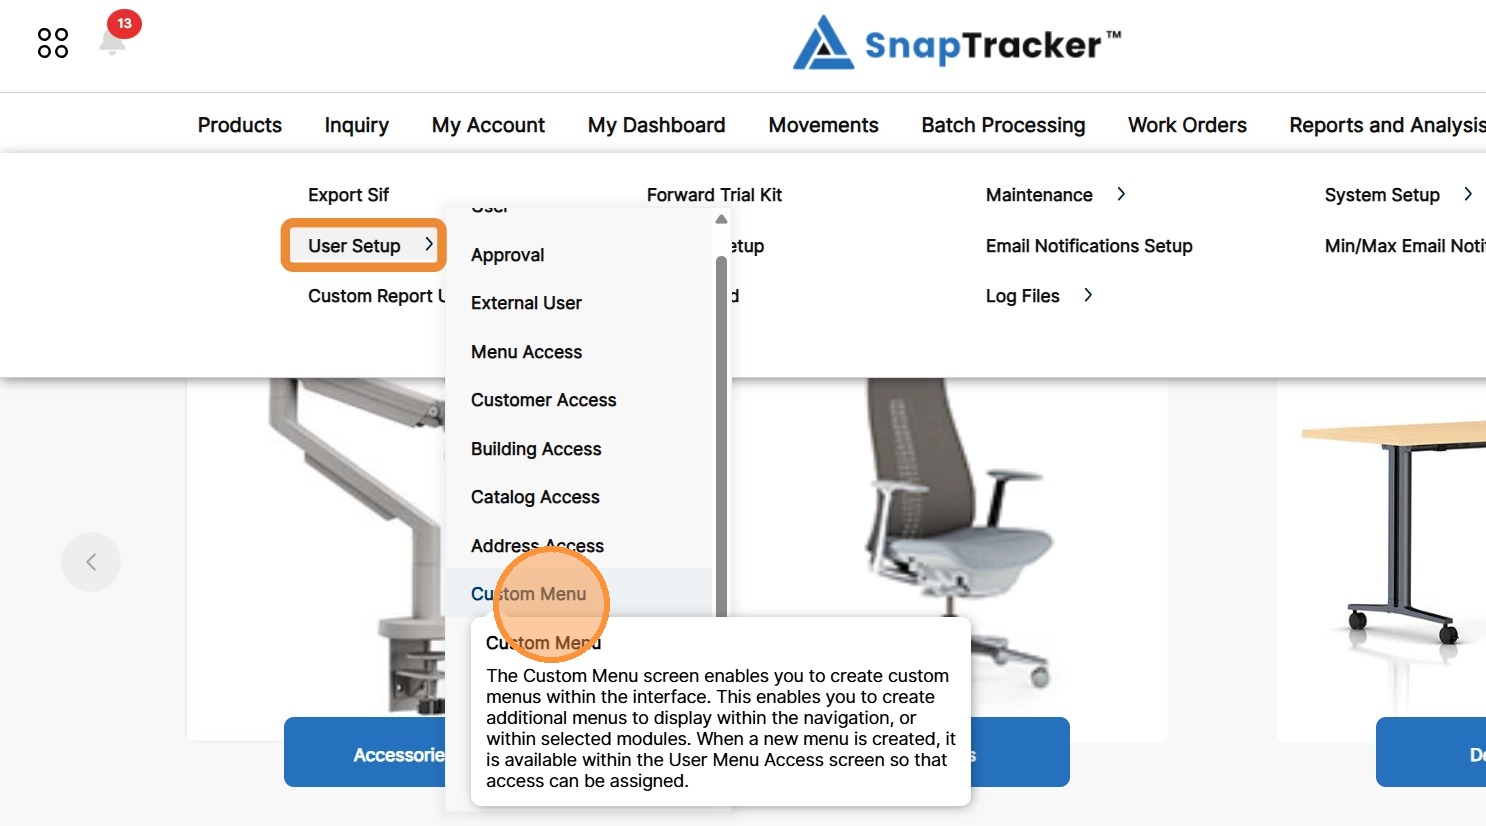
2. Click the arrow beside User Setup, then click Custom Menu.
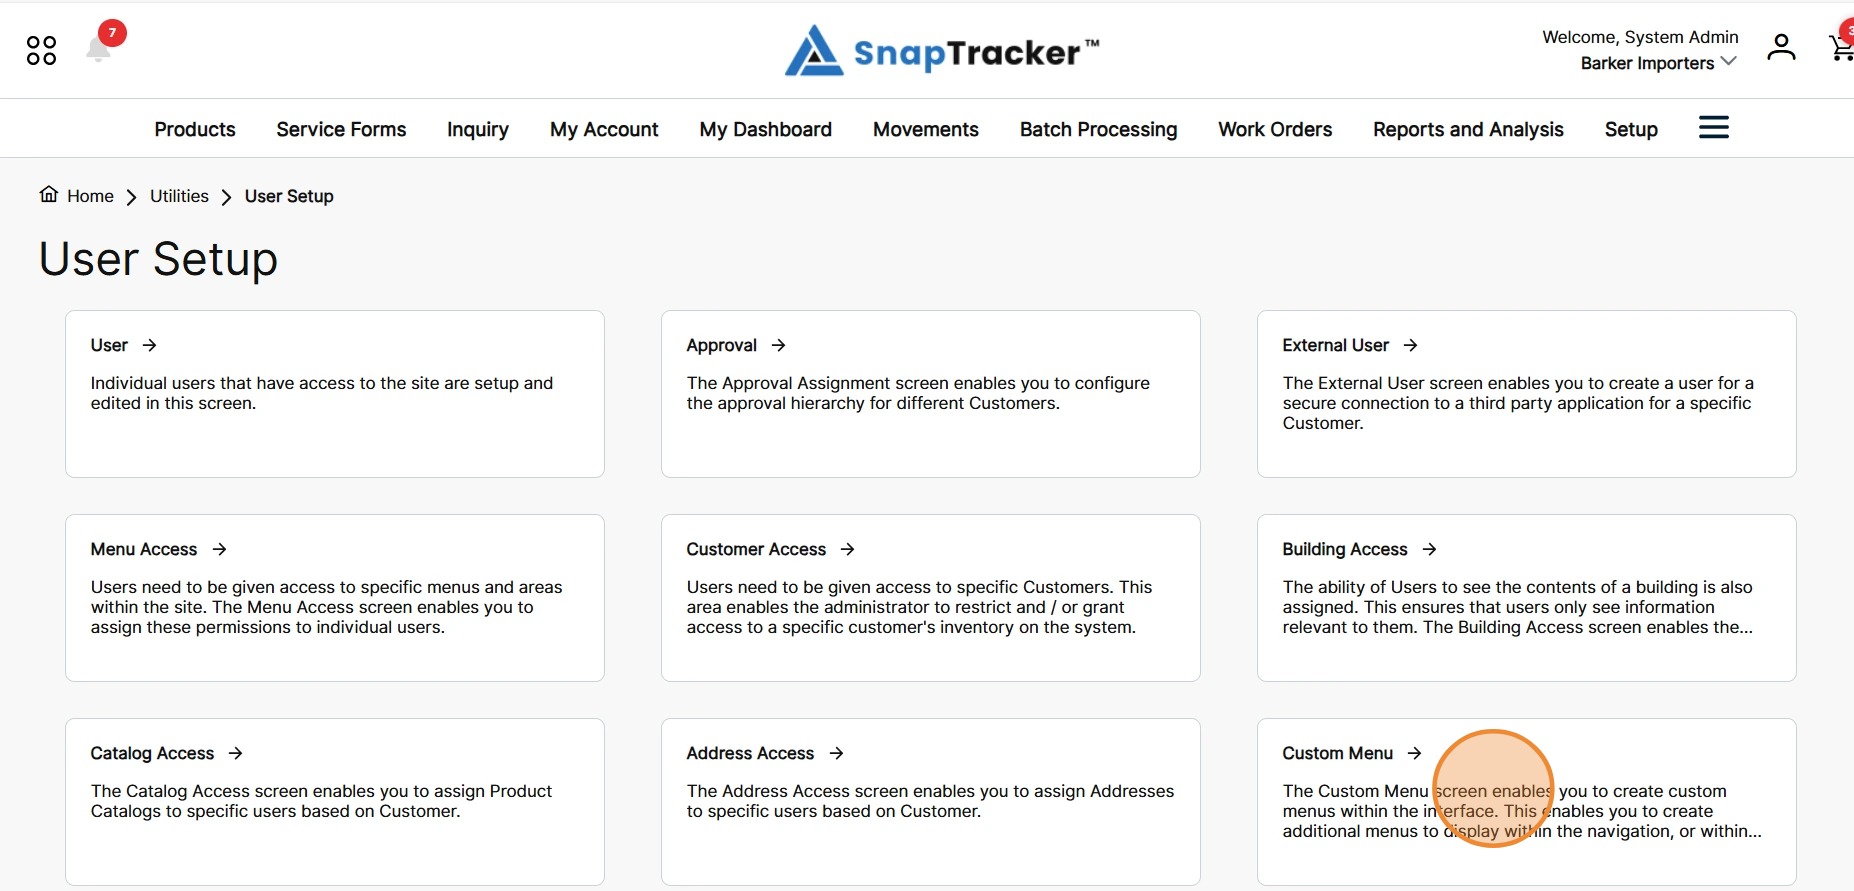
Another way to access the Custom Menu screen is to click Utilities>User Setup.
The different User Setup screens display. From here select Custom Menu.
The Custom Menu screen displays.
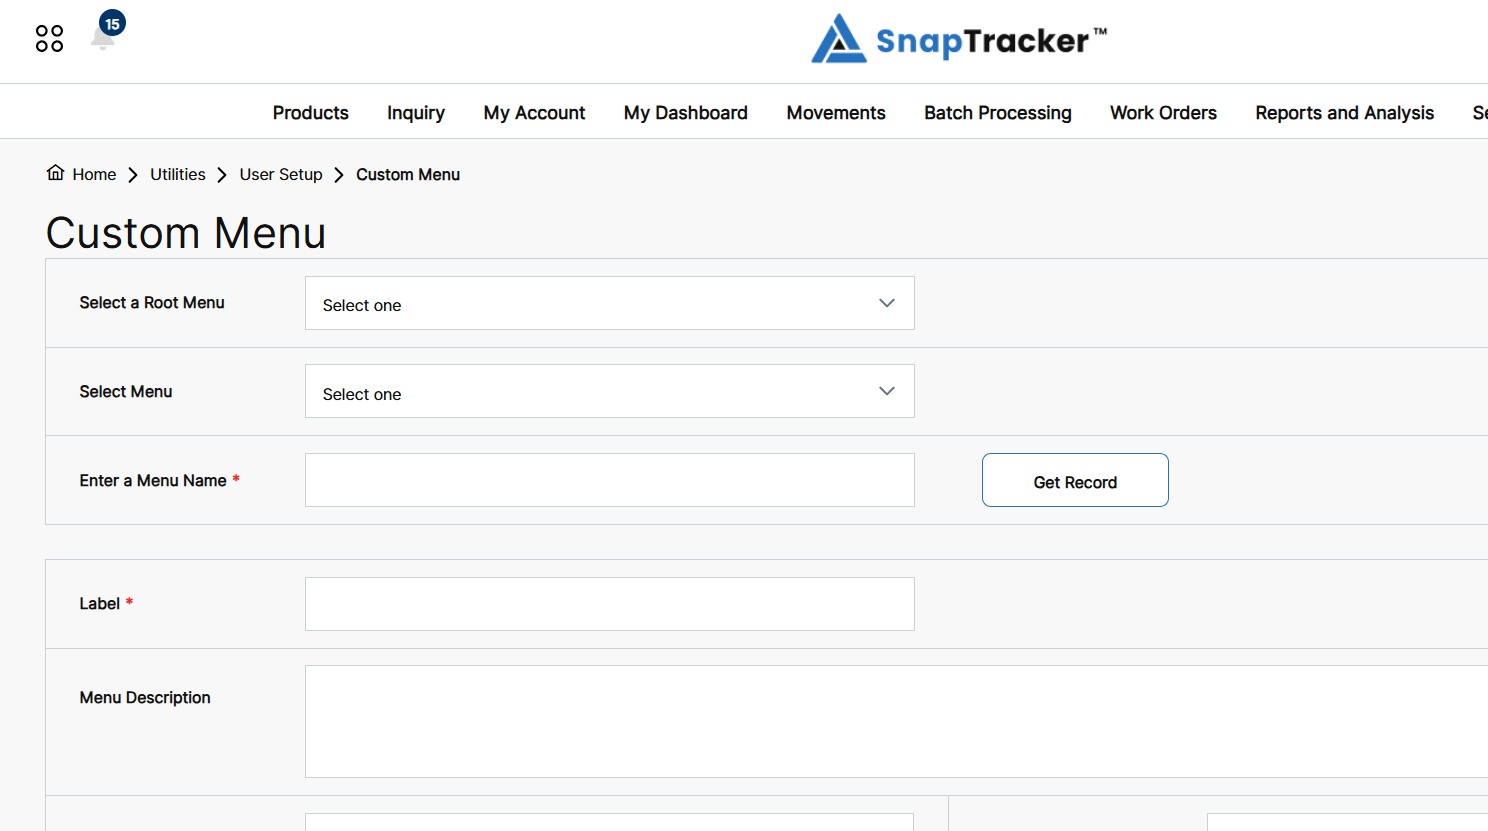
3. To select the menu or section in SnapTracker to create the custom menu in, click the Select a Root Menu dropdown and select the desired Menu.
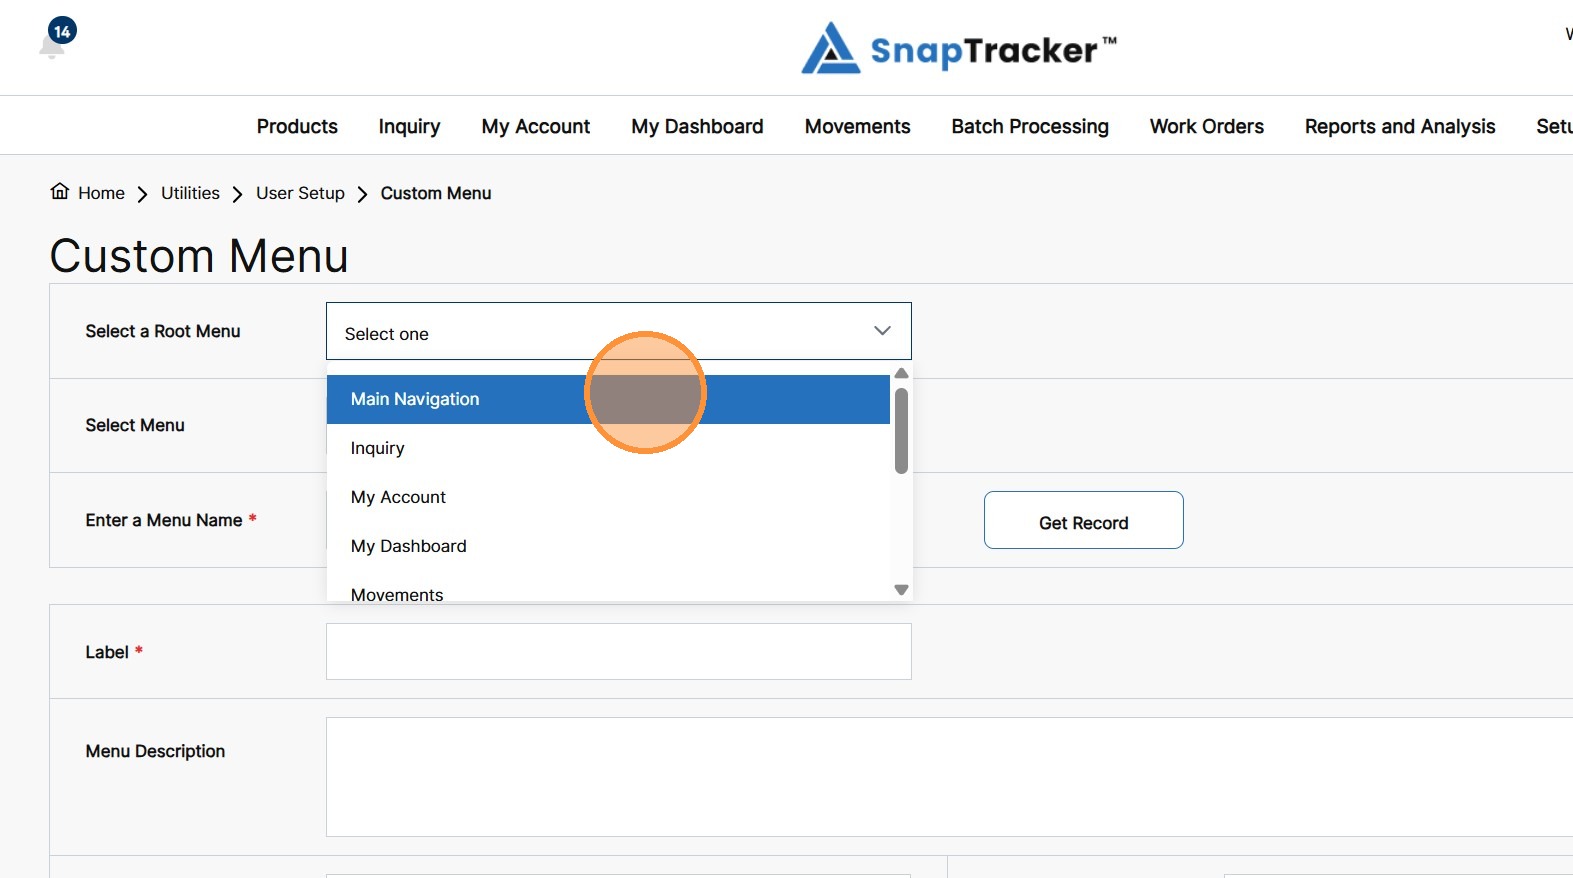
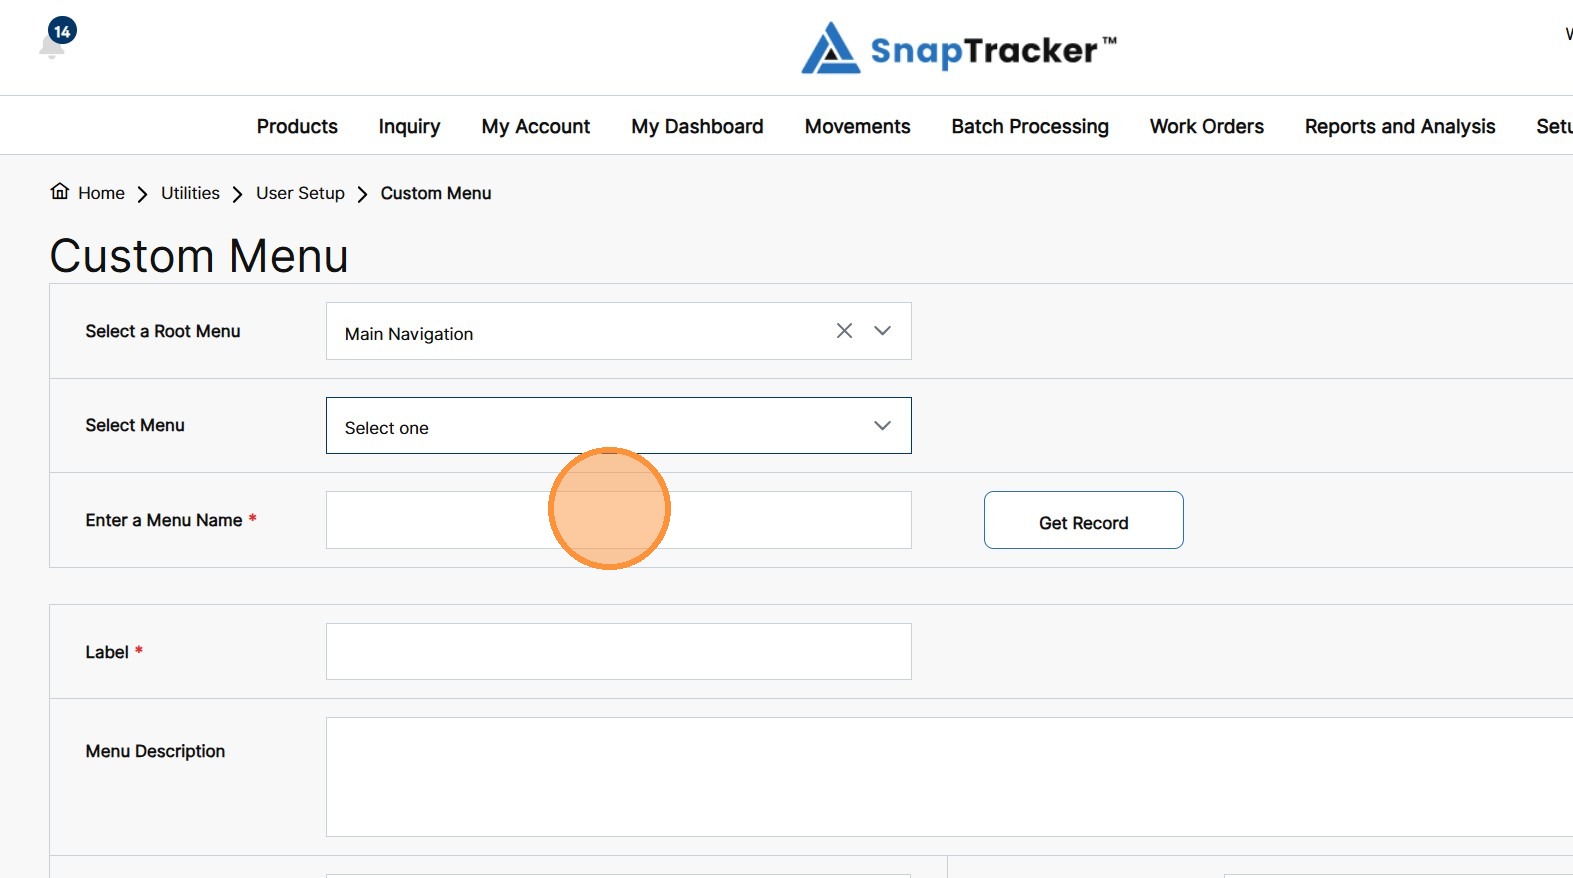
4. In the Enter a Menu Name field, enter your new Custom Menu name.
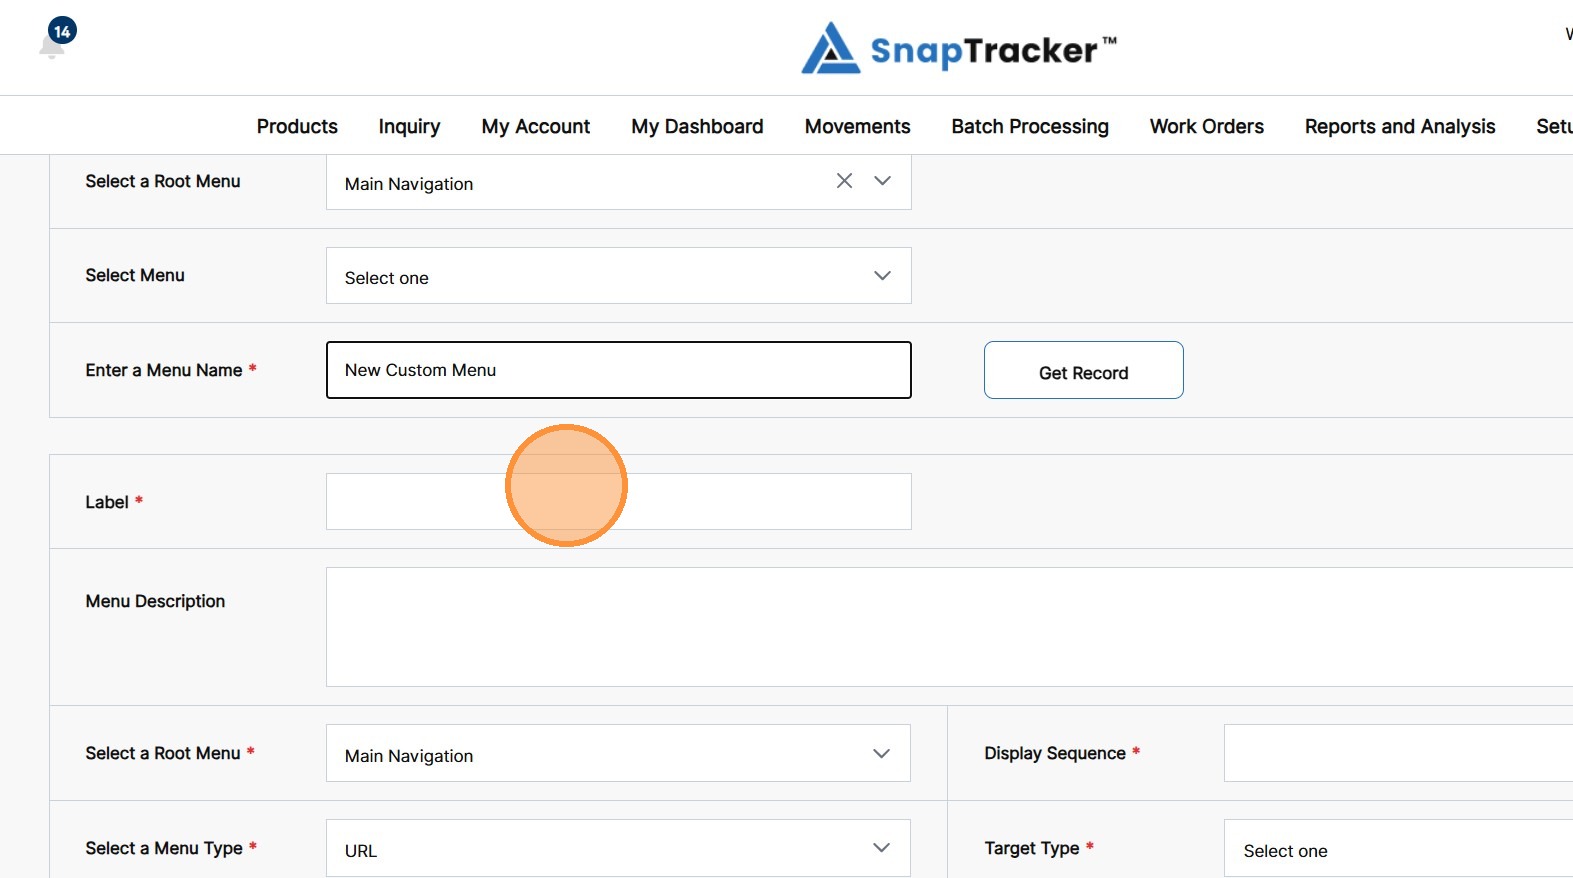
5. In the Label field, enter the label for your Custom Menu.
Note: The Menu Name and Label may be the same. Once a menu is created, you can edit the Label, but you cannot edit the Menu Name.
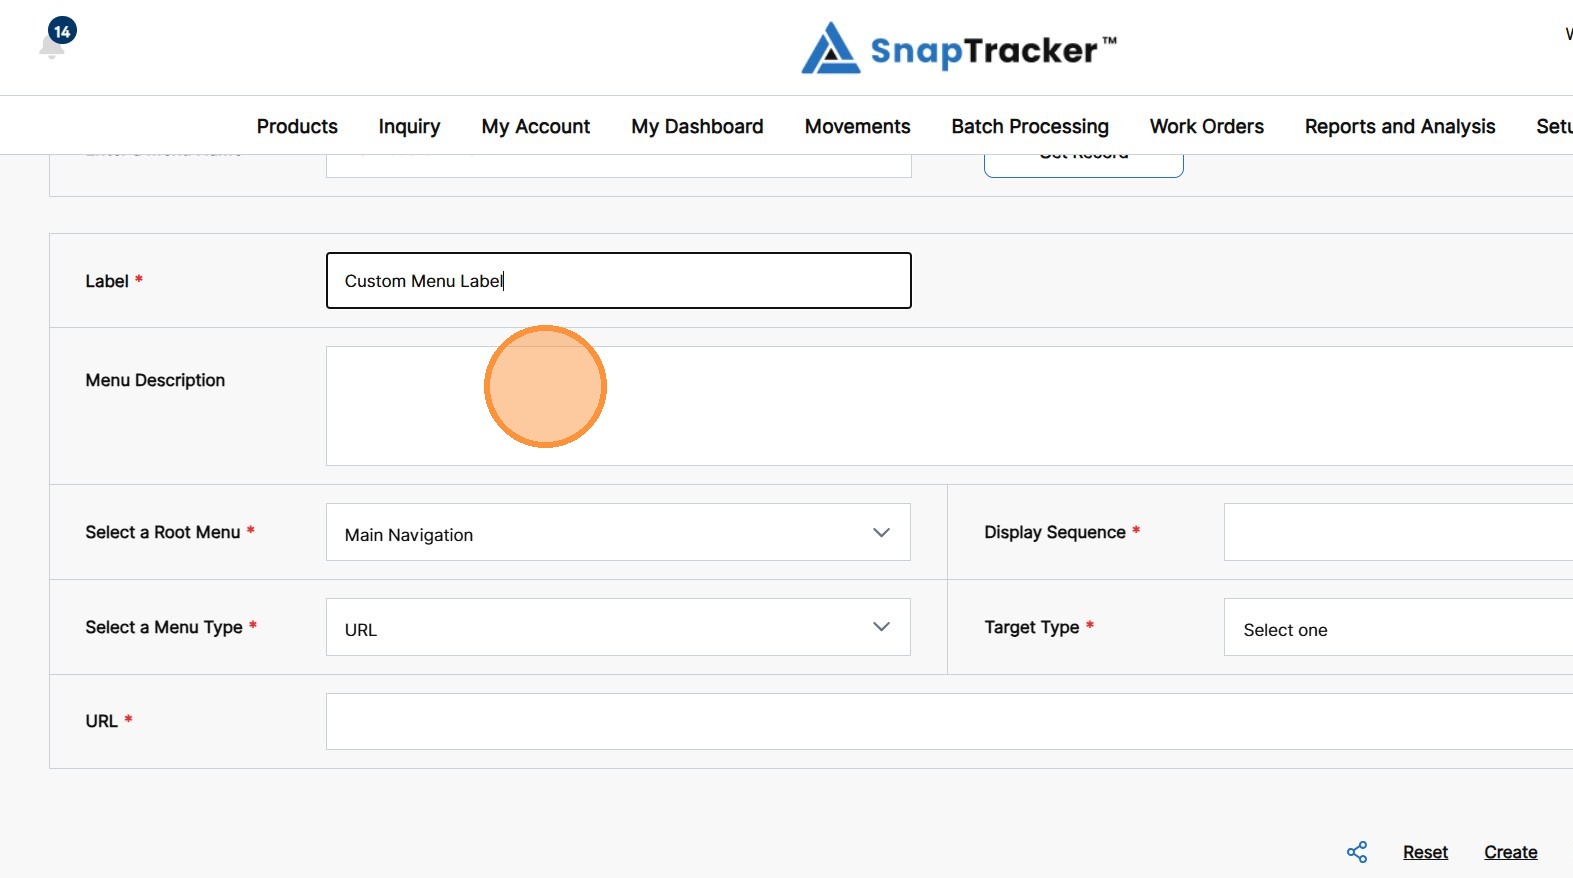
6. In the Menu Description field, enter a description for the new Custom Menu.
Note: The description is optional.
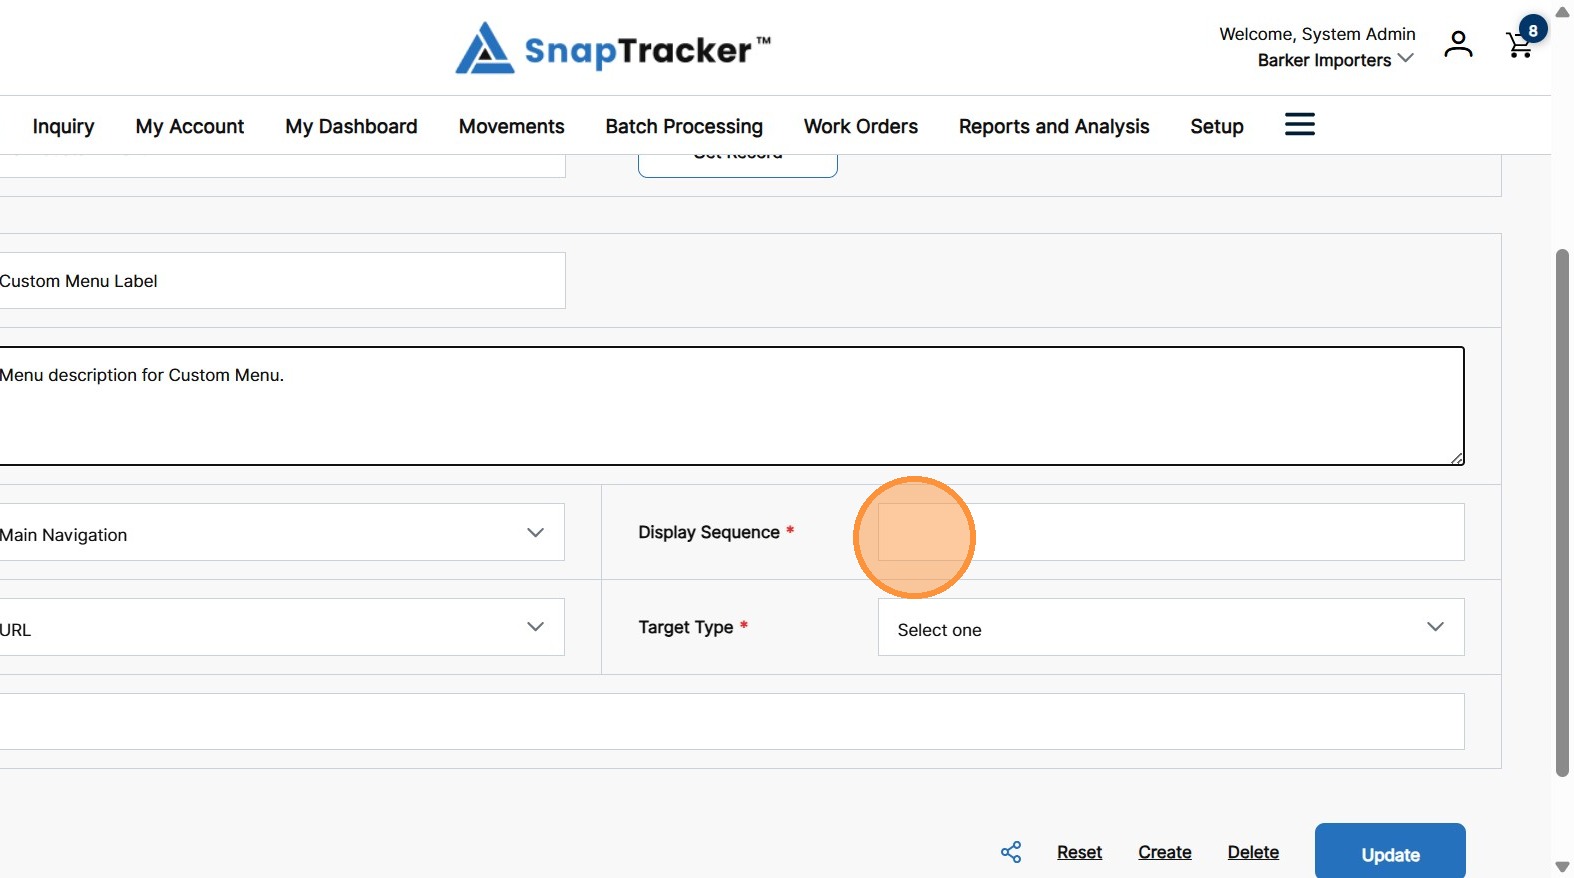
7. In the Display Sequence field, enter a number to determine the sequence the new custom menu is displayed in the Root Menu.
Note: The display sequence displays in ascending order. Lower numbers are displayed first, e.g. “0” will place the Custom Menu first. If multiple menus have the same Display Sequence, they are ordered alphanumerically.
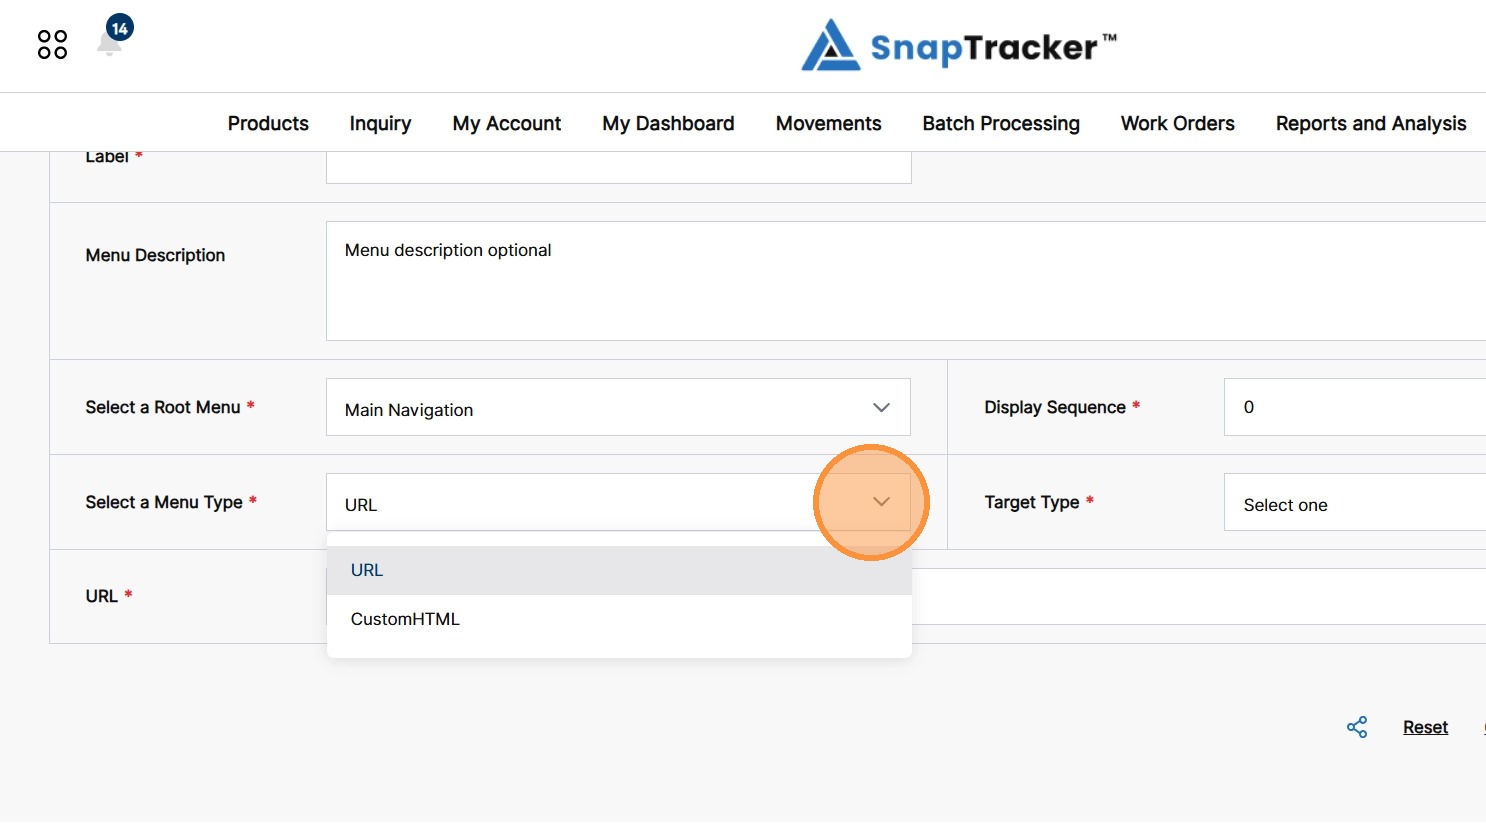
8. Click the Select a Menu Type dropdown to create a Custom Menu with a URL or custom HTML.
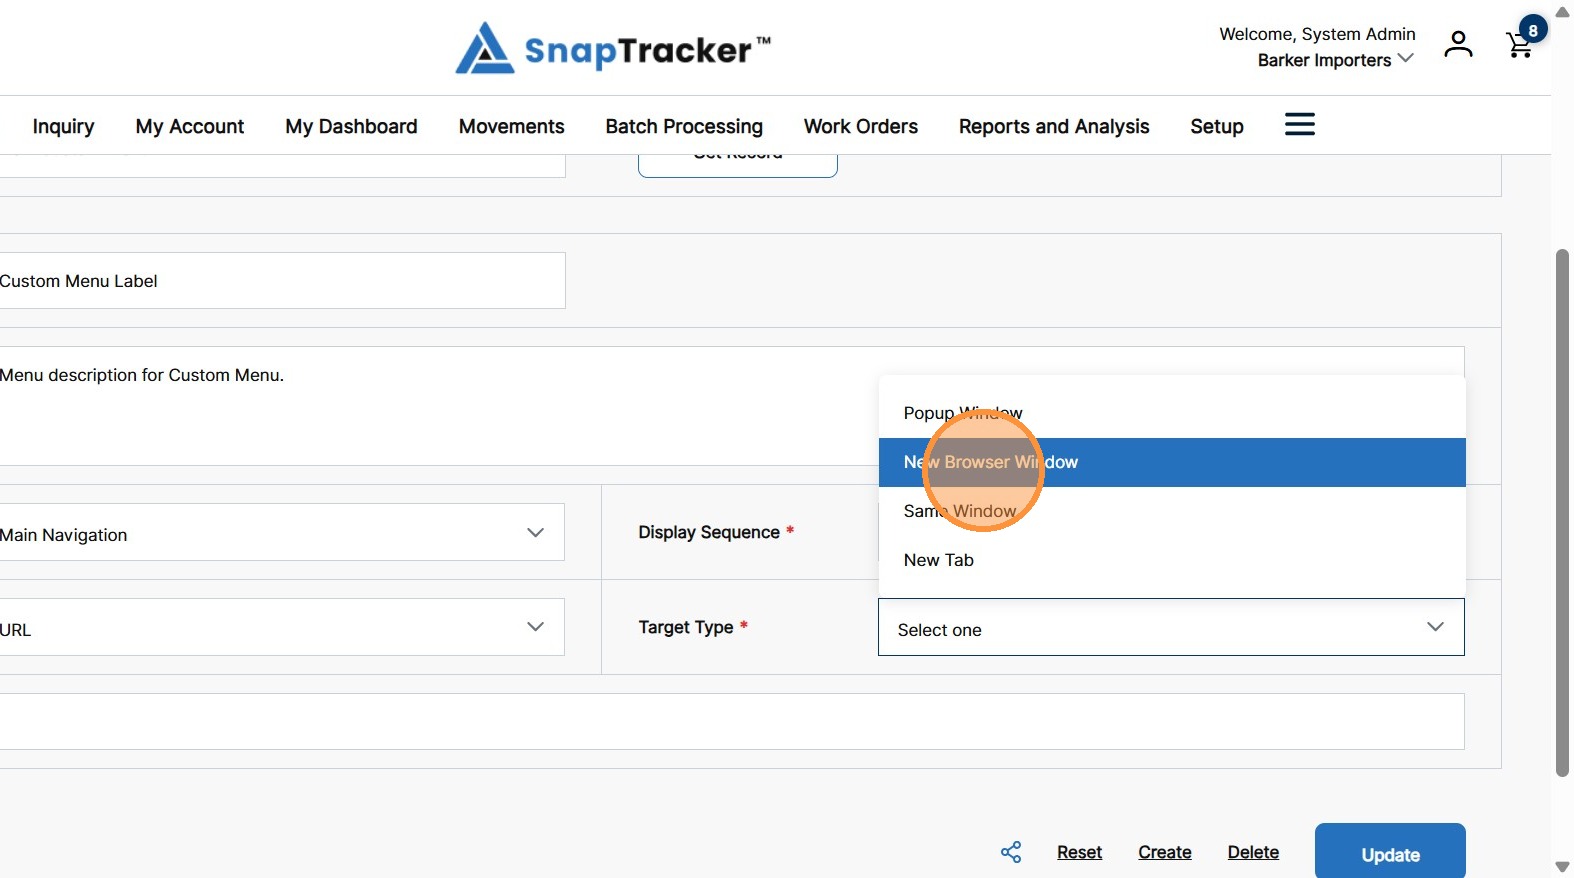
9. Click the Target Type dropdown to choose how the Custom Menu opens when the user clicks it, e.g. in a Pop-up Window or a New Tab.
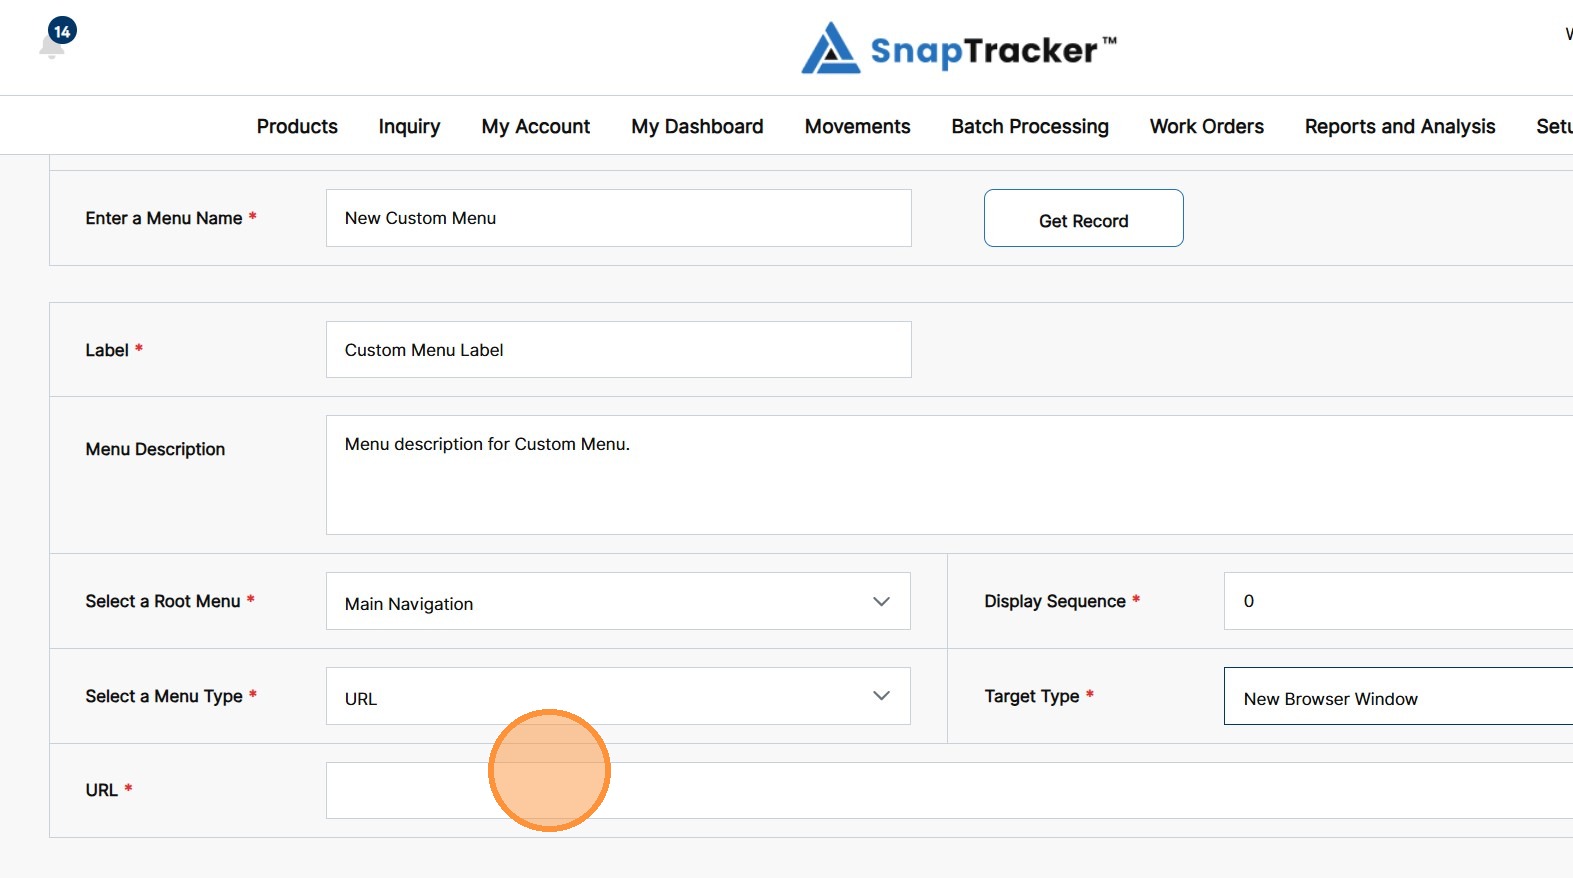
10. Based on your choice from the Select a Menu Type dropdown, in the URL field, enter the URL or custom HTML.
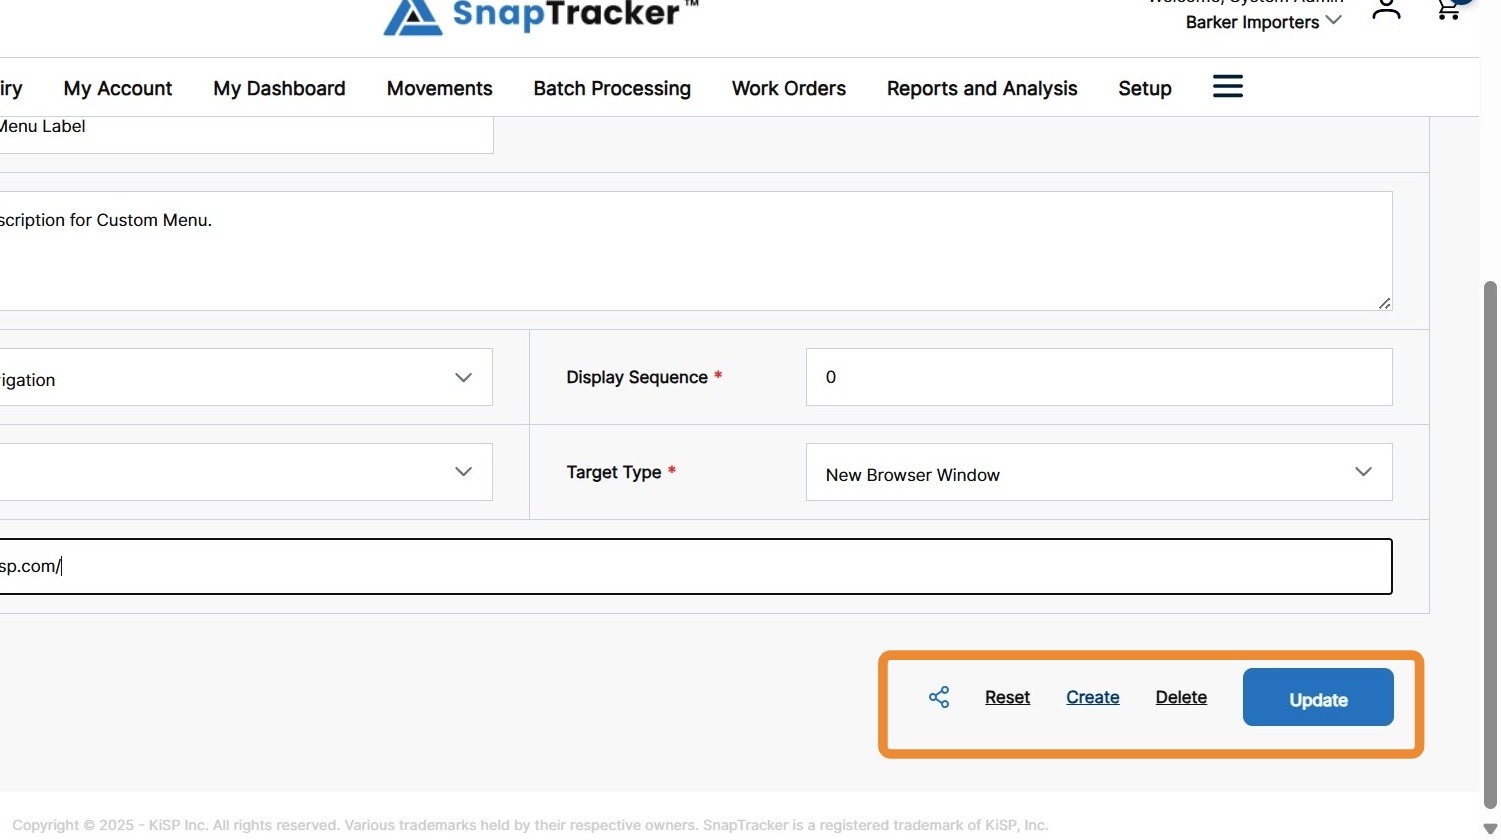
Observe the primary actions:
-
Shareable Link icon – Create a Shareable Link for the Custom Menu (See
-
Reset – Reset any unsaved changes made.
-
Create – Create a new Custom Menu.
-
Delete – Delete the current Custom Menu.
-
Update – Update the current Custom Menu. When any changes are made to the menu, you must click Update to save the changes.
11. Click Create.
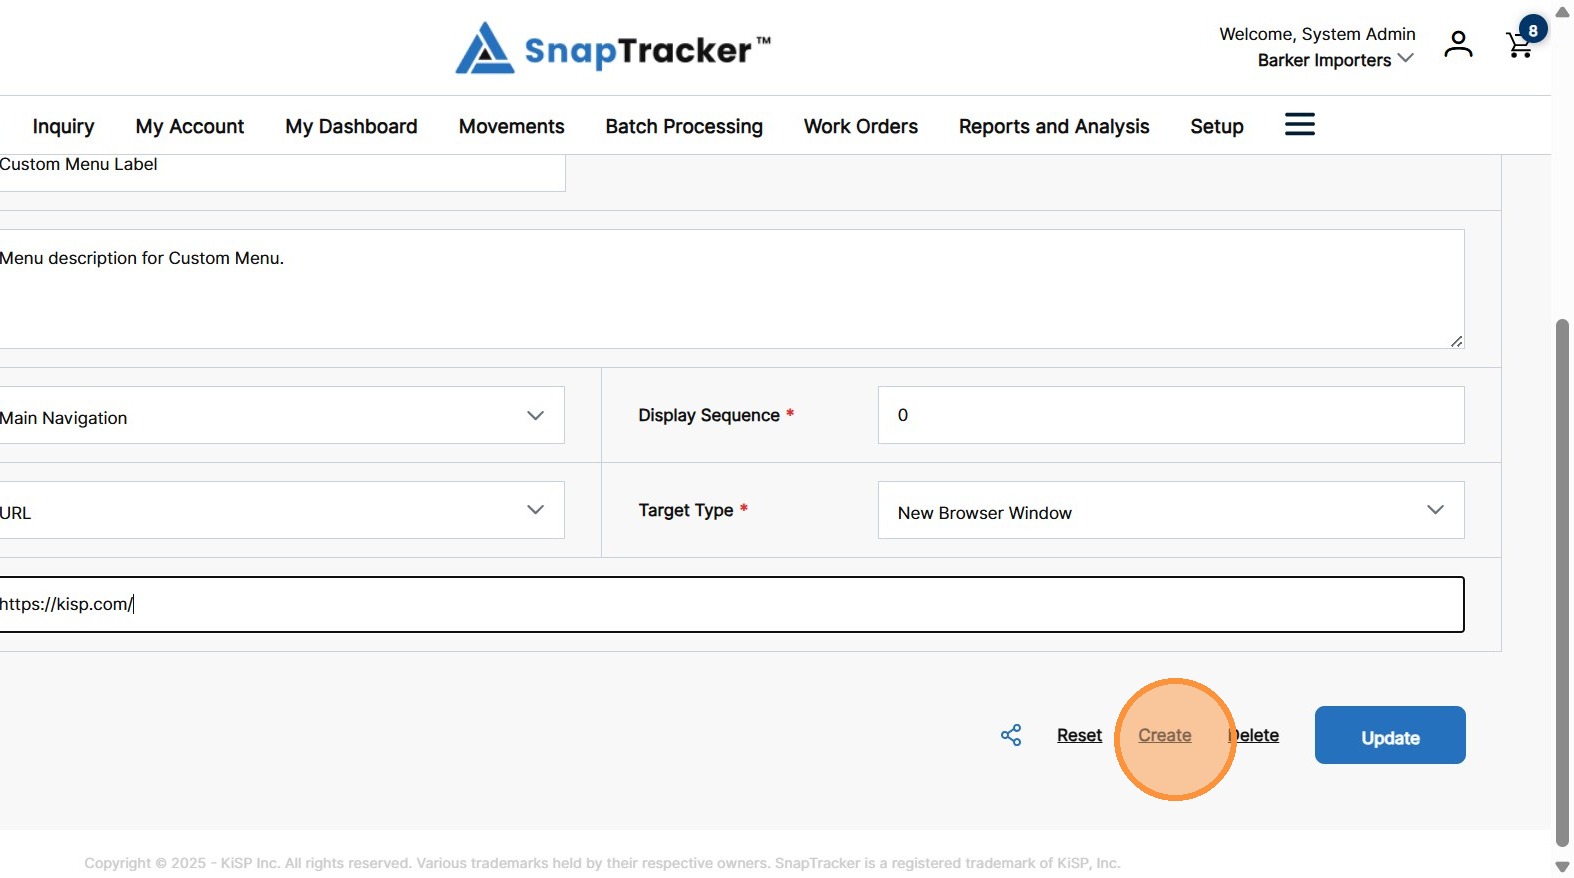
The new Custom Menu is created.
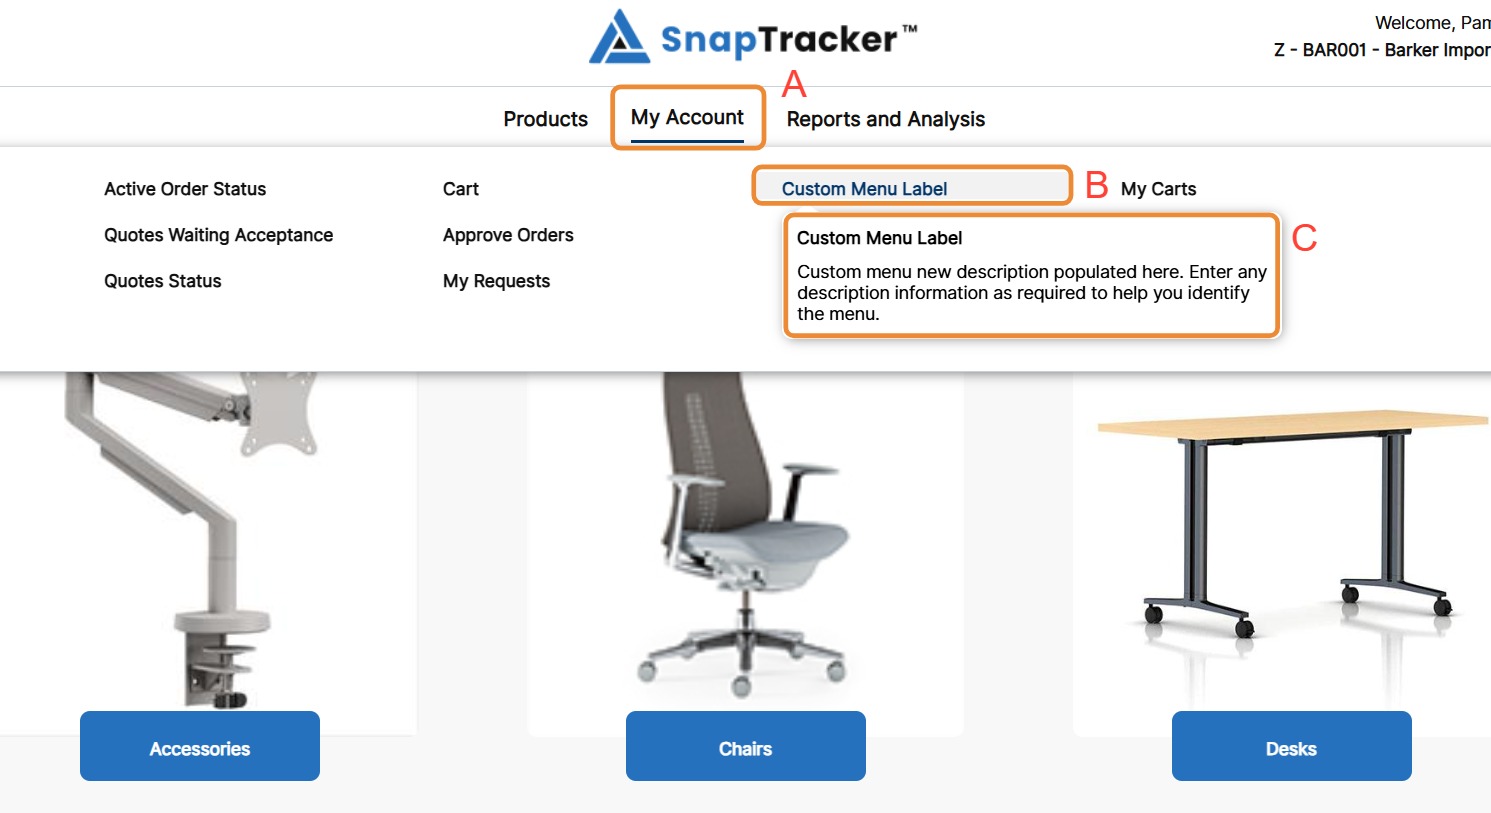
Observe the new Custom Menu and the fields added from the Custom Menu screen:
A. Select a Root Menu.
B. Label.
C. Menu Description.
Note: As the Display Sequence for all other menus are also 0, the menus are displayed alphanumerically in ascending order.
Note: Once created, the menu is available to be assigned to all SnapTracker users on the site. It is not Customer specific. Access needs to be assigned at the User level.
By default only System Administrator users have access to the Custom Menu.
For more information on how to assign menu access, refer to “How to Set Up User’s Menu Access”.