How to Implement a Customized Template at the Customer Level
Your SnapTracker site can be customized and designed to match your unique branding and business needs. The Template Customization module enables you to upload custom images, add HTML content, and modify other styling elements. The Customer level customization is applied to an individual customer. The customized Customer will does not inherit any changes made at the System or Company level template.
Note: All Companies and Customers share one System wide, customized Login Page. Template customization can also be done at the System and Company level.
Before starting, make sure:
- You are logged into SnapTracker.
- You have menu access to Customer Template Customization.
This post outlines how to navigate and customize the Customer level Template Customization.
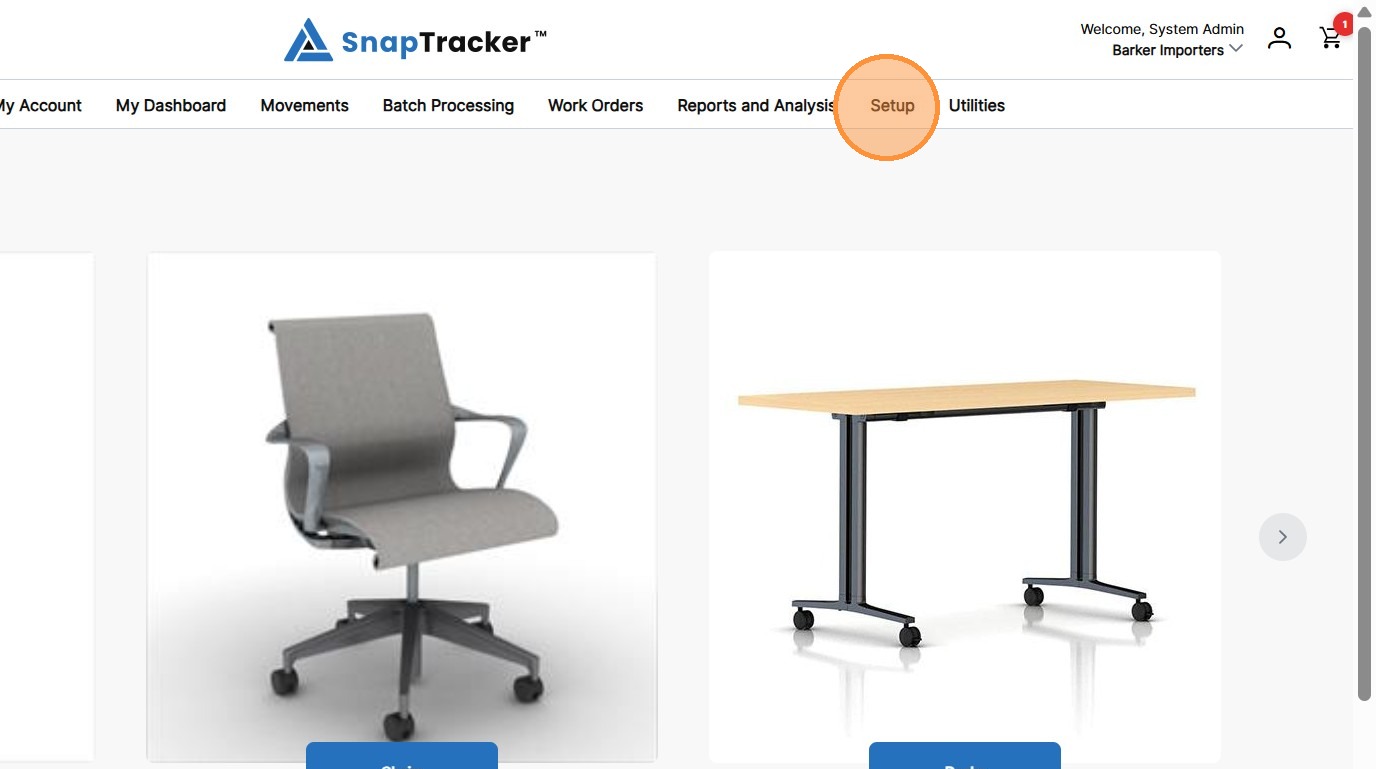
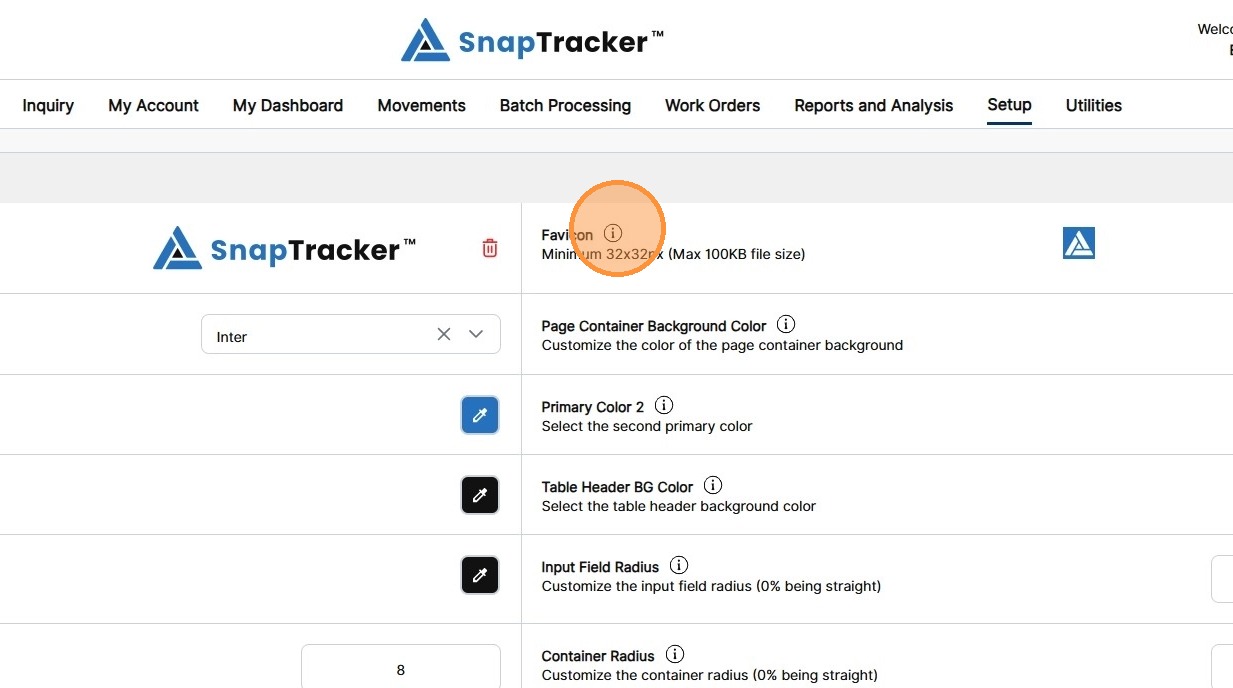
1. In the header section, click Setup.
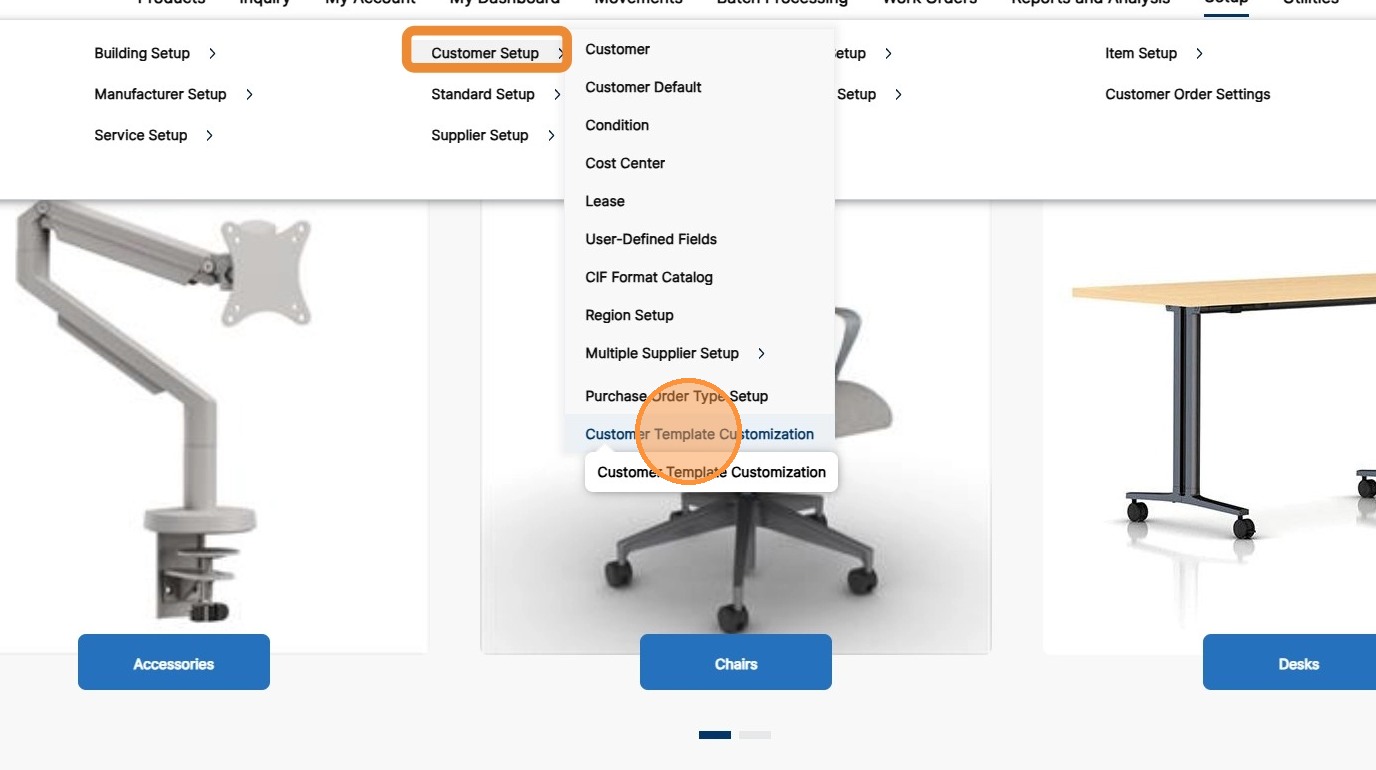
2. Click the arrow beside Customer Setup, then click Customer Template Customization.
The Customer Level Template Customization screen displays.
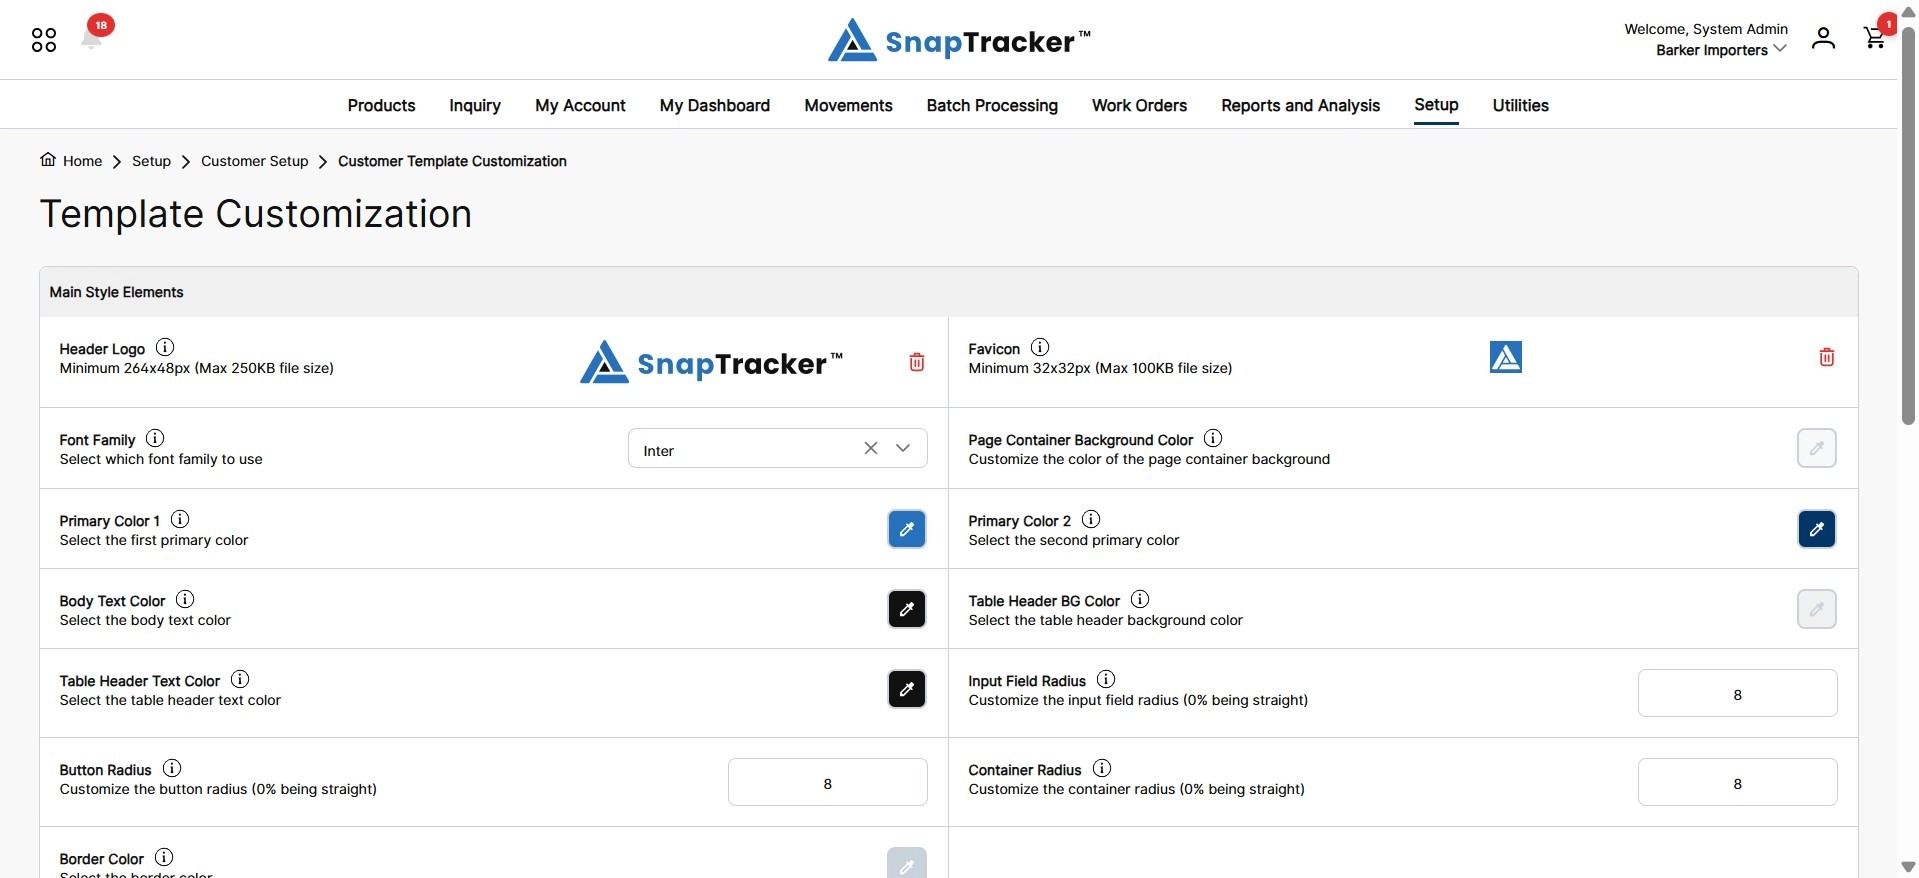
The screen is divided into different sections:
- Main Style Elements.
- Home Screen.
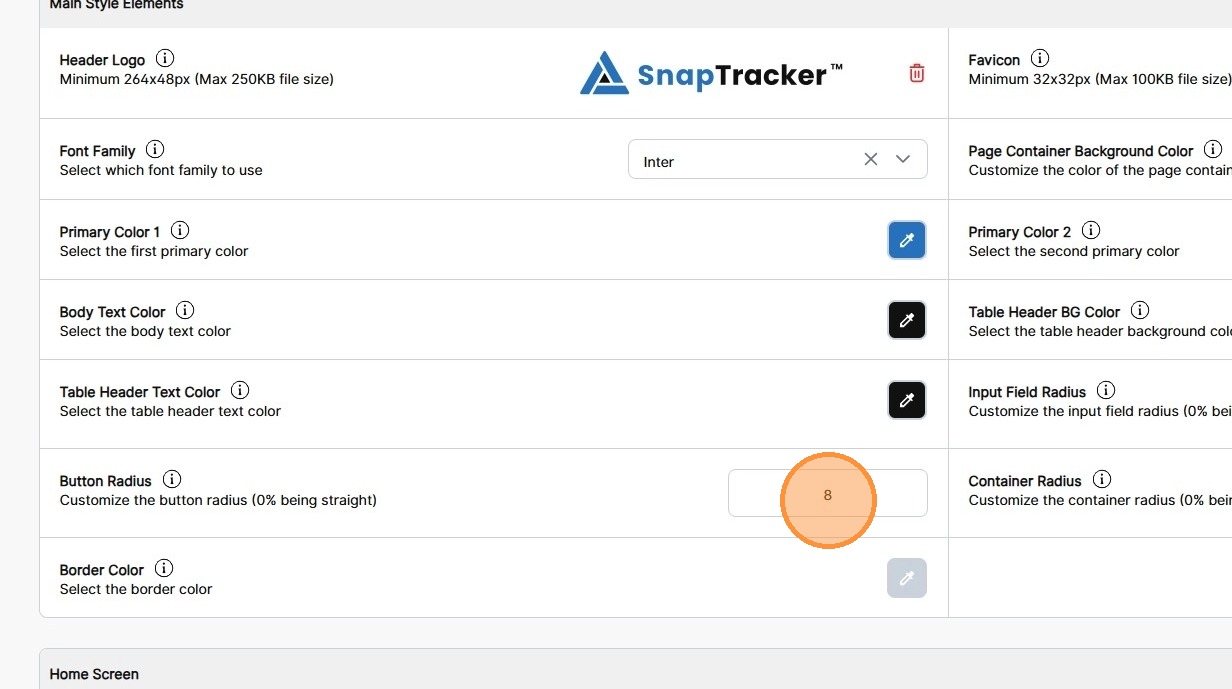
The Main Styling Elements section displays at the top.
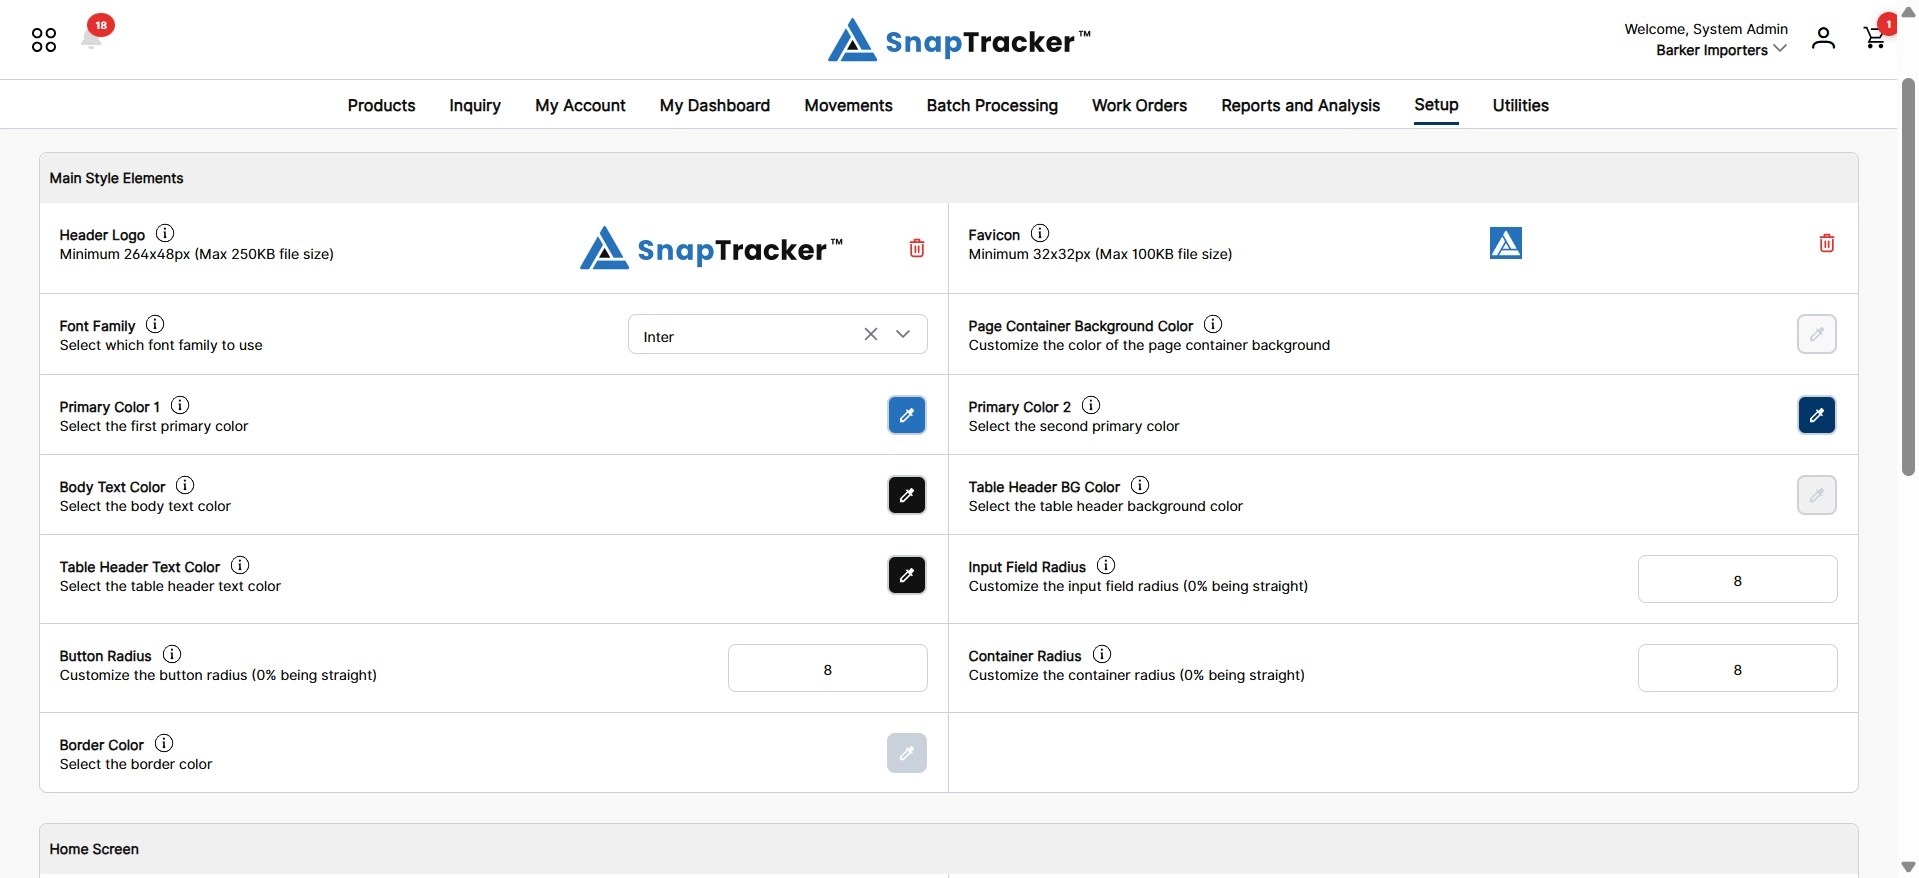
Observe the fields in the Main Style Elements section:
- Header Logo – Upload a custom site image for the global header section.
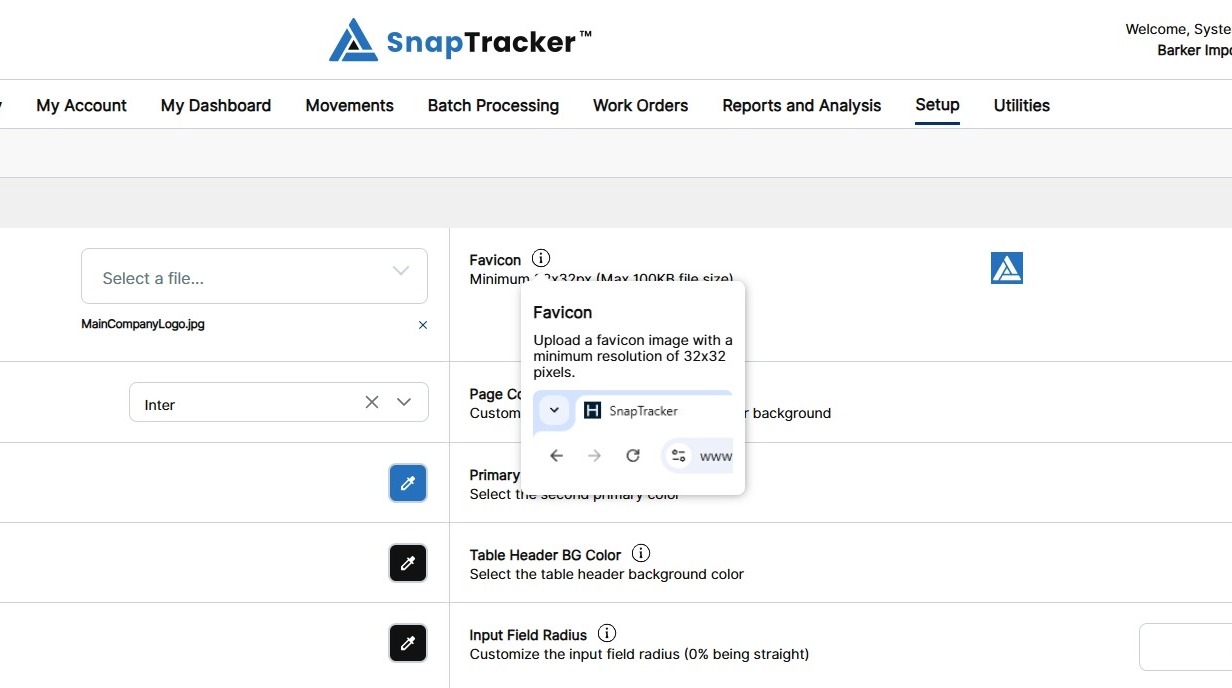
- Favicon – Upload a custom site image for the icon in your browser tab.
- Font Family – Select a Font to be used in the site. Note: Custom fonts will need to be shared with the SnapTracker team to implement.
- Page Container Background Color – Select the color for the background of each screen.
- Primary Color 1 – Select the primary color 1 in the site, which is the main color for action buttons and other elements.
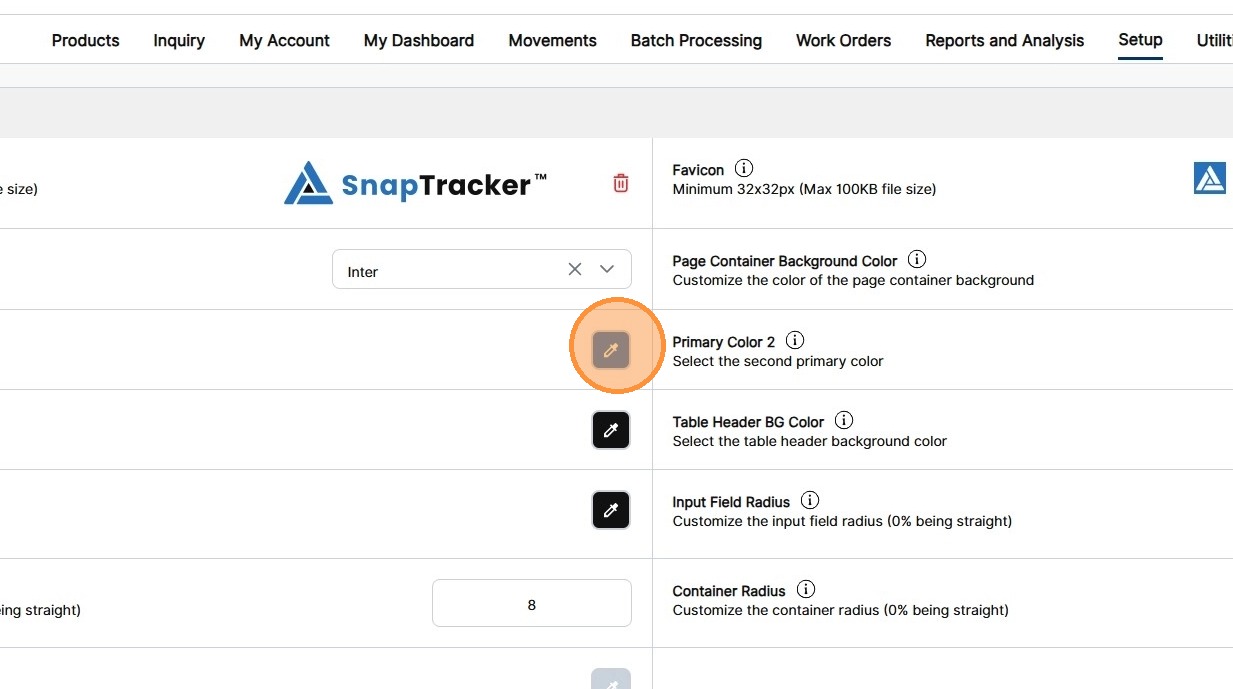
- Primary Color 2 – Select the primary color 2 in the site, which is the hover color for action buttons and other elements.
- Body Text Color – Select the text color of the main body text within screens.
- Table Header BG Color – Select the background color of the header section within tables.
- Table Header Text Color – Select the text color of the header section within tables.
- Input Field Radius – Determine how rounded you would like the input boxes to be, where zero is square. Enter the value desired for the input field radius within screens.
- Button Radius – Determine how rounded you would like the button radius to be, where zero is square. Enter the value desired for the button radius within screens.
- Container Radius – Determine how rounded you would like the container radius to be where zero is square. Enter the value desired for the container border radius within screens.
- Border Color – Select the color for the container borders within screens.
3. For more information on each field, click the “i” icon to open a popover with further explanation.
The popover displays, with relevant information and image references as applicable.
4. To replace an image from the default template, click the delete (or trash bin) icon.

5. To upload a custom image, click the Select button.

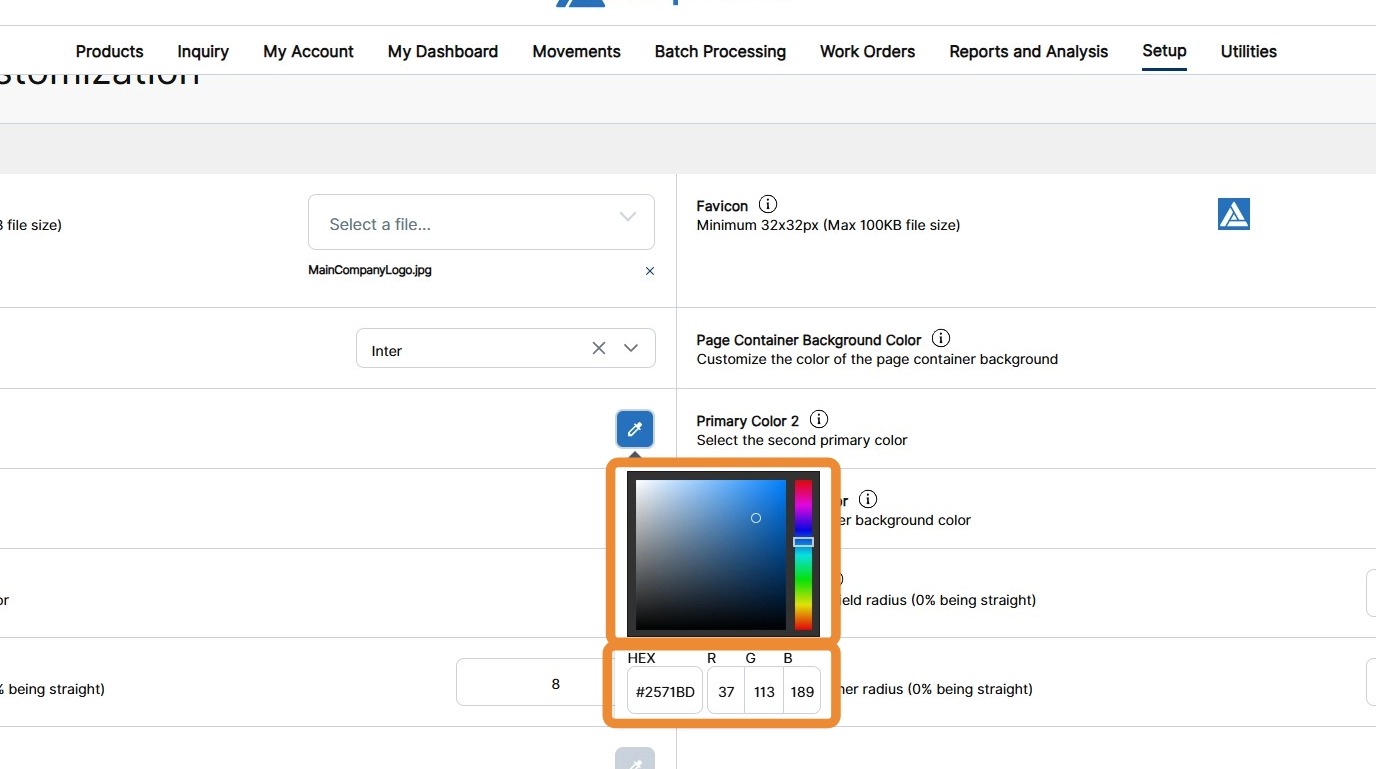
6. To edit a color field, click the color picker icon.
7. Drag the slider to the desired colors, then select a position on the color grid.
Alternatively, input a color’s hexcode or RGB code.
8. Modify any other desired styling elements in the Main Styling Elements section.
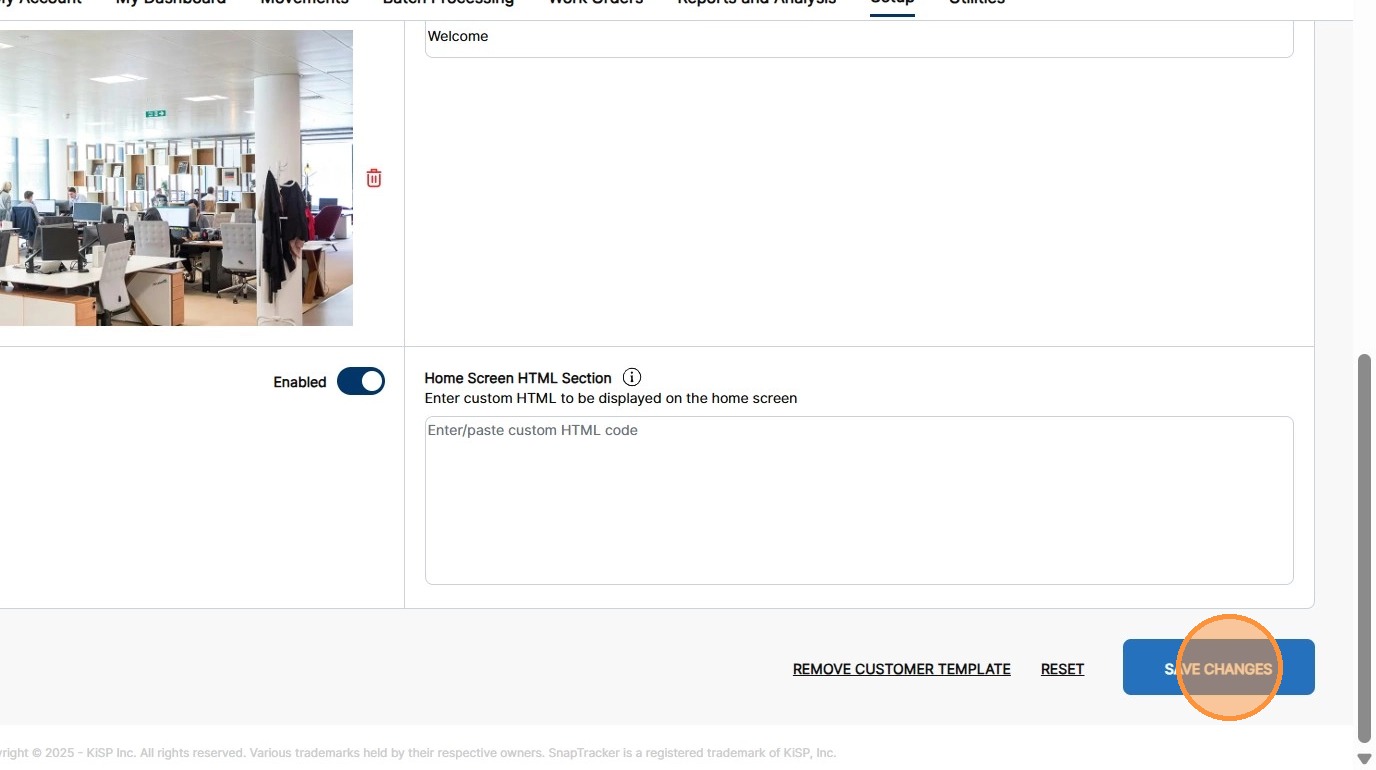
Scroll to the Home Screen section.
The Home Screen section displays.
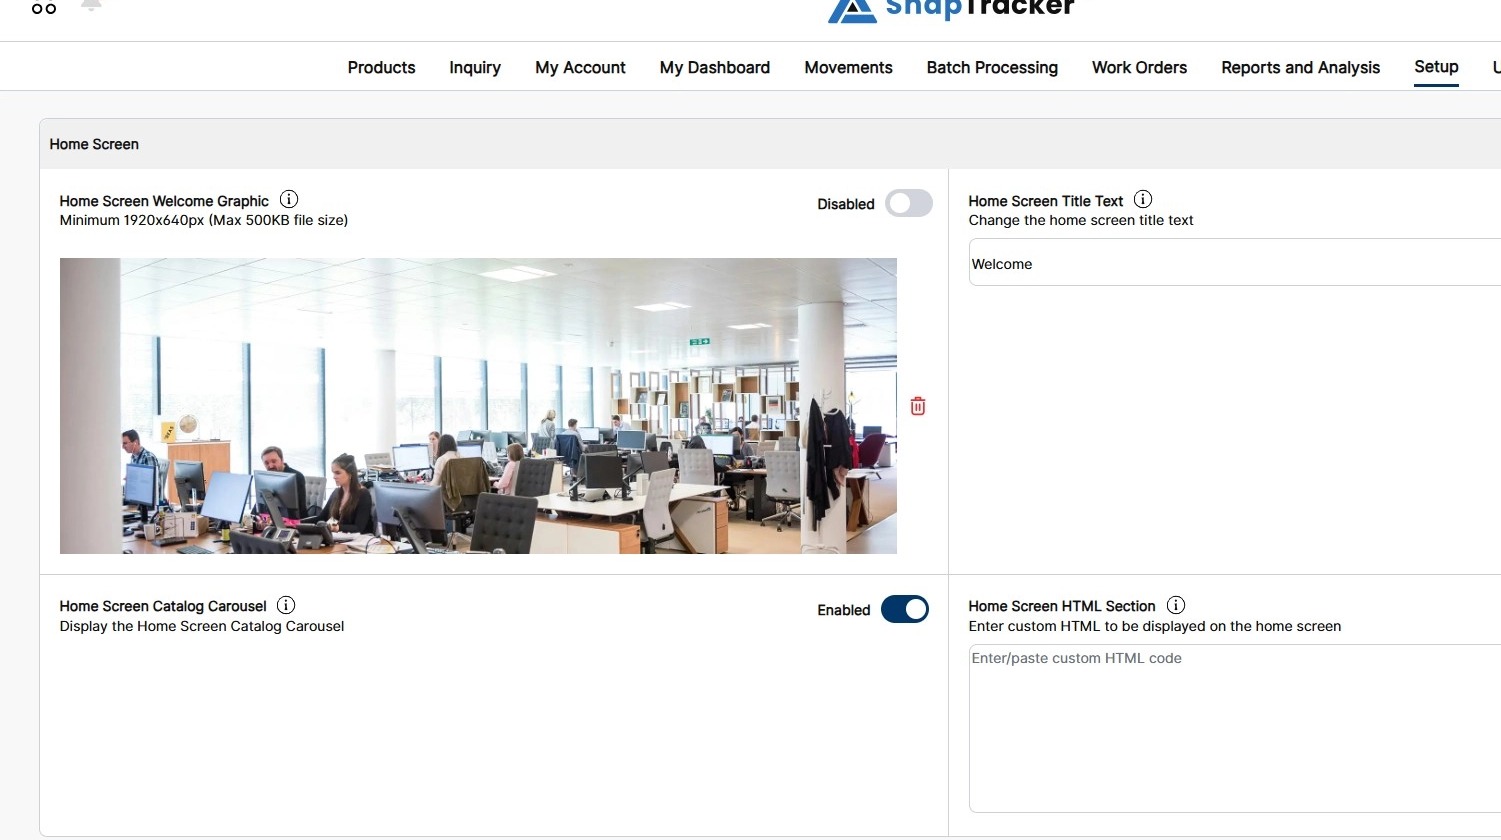
Observe the fields for the Home Screen section:
- Home Screen Welcome Graphic – Upload a custom image for the top area of the home screen.
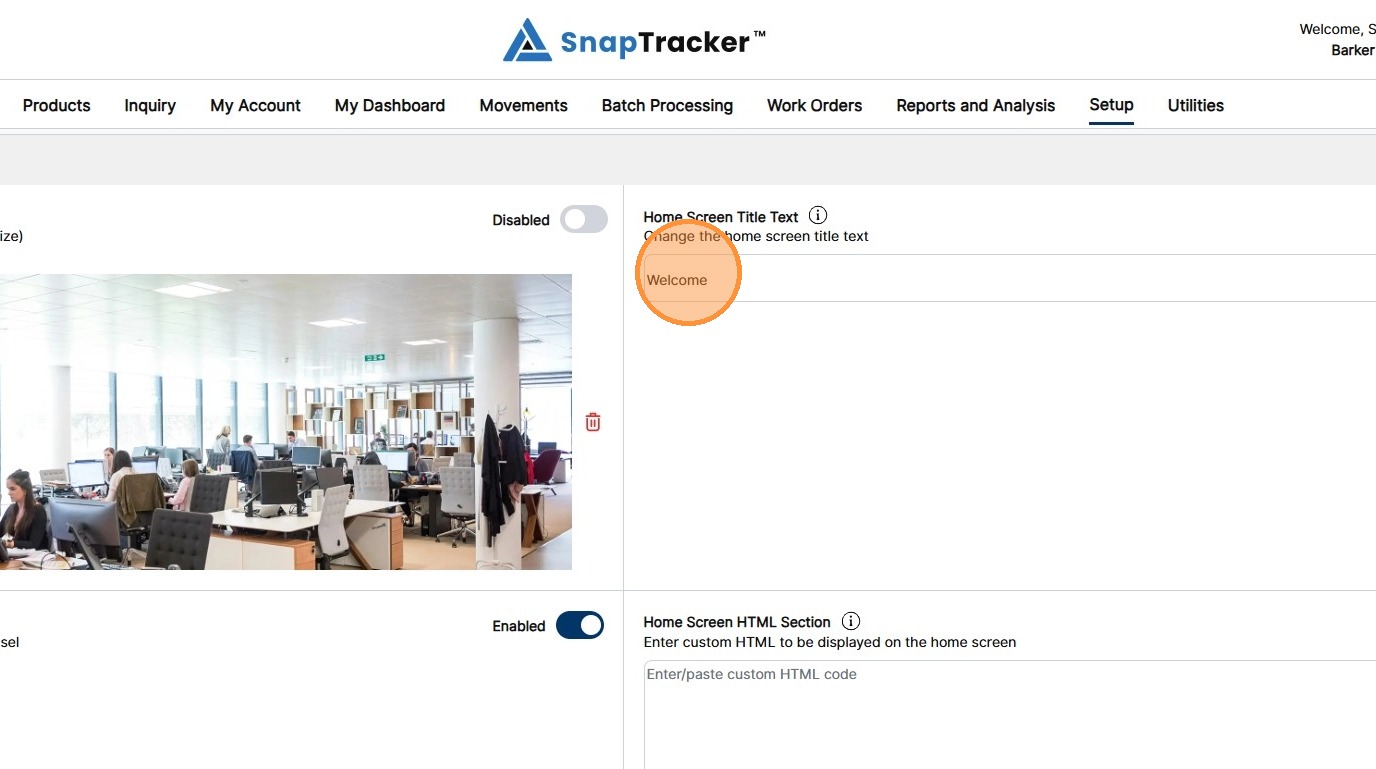
- Home Screen Title Text – Enter custom title text for the home screen, above the welcome graphic.
- Home Screen Catalog Carousel – Click to enable/disable the catalog carousel. Note: Catalogs must be created first.
- Home Screen HTML Section – Enter any custom HTML to add styling elements, content, and links to the home screen.
9. Modify the desired fields for the Home Screen section.
Scroll down to the bottom of the screen for the action buttons.
The action buttons display.
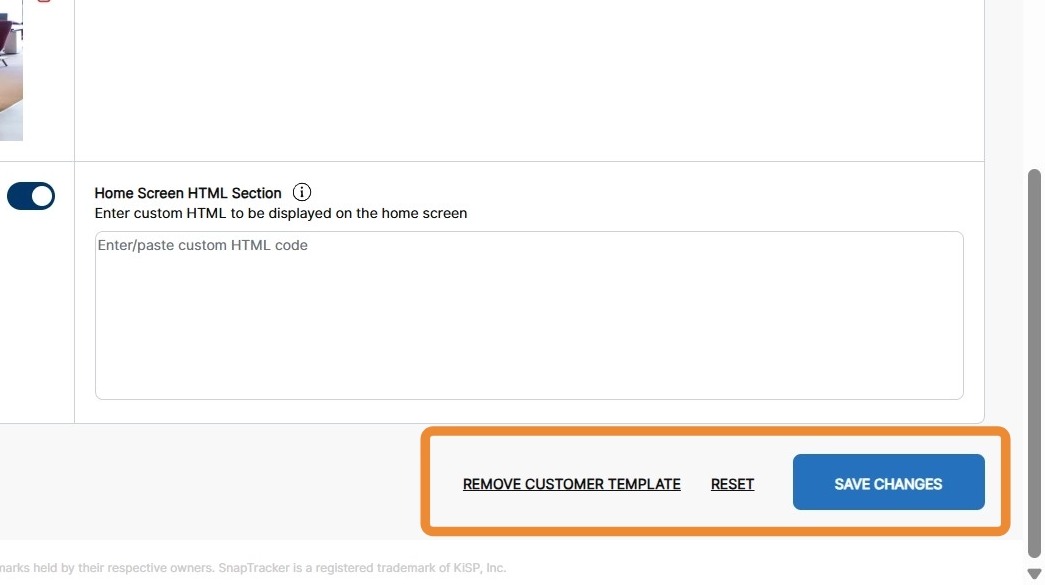
Observe the primary action buttons:
- Remove Customer Template – Remove the customized Customer level template, reverting the customer who is using the Customer template to the customized Company level template, customized System level template, or the default System Delivered template (as applicable).
- Reset – Reset all unsaved changes made to the template customization fields.
- Save Changes – Save all changes and custom image uploads to the template customization fields.
Note: The Customer using the Customer level Template Customization inherits any changes to this level, or inherits the restoration to any previous level’s customized template.
10. To commit the changes for the customer, click Save Changes.
For information on customizing the site at the Company or System refer to: