
How to Use Inquiry – Item Transaction History – Search by Standard
The Inquiry section is used to search for different information related to product in SnapTracker. The Item Transaction History screen is designed to help you view the full transaction history for an item and view further detailed transaction information.
You can search for an item by looking up a Standard within the selected Customer, or directly search for a specific serial number. When searching by Standard, you can use the Standard Search pop-up to lookup a specific Standard, or enter the Standard directly.
Once the results for a Standard are returned, you can select an individual item and filter the transactions by transaction type, User, adjustment indicator, batch number, and date ranges. You can also print the results as is or export in CSV format.
Before starting, make sure:
- You are logged into SnapTracker.
- You have at minimum one Standard created.
- You have at minimum one recorded transaction on the site.
- The correct Customer is selected from the Customer selection list.
- You have access to Inquiry – Item Transaction History.
This post outlines the process of searching for items by Standard in the Item Transaction History screen.
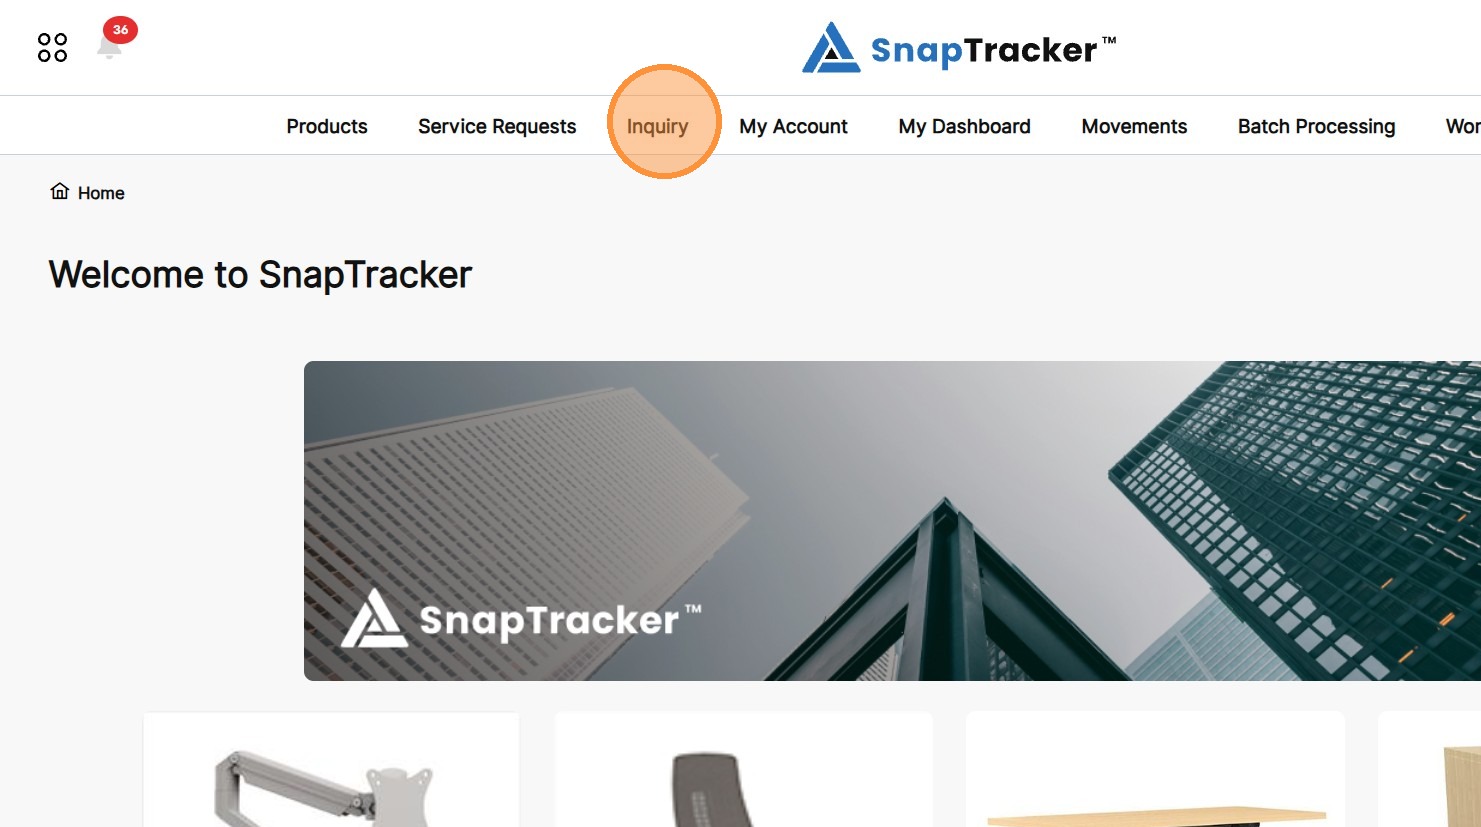
1. In the header section, click Inquiry.
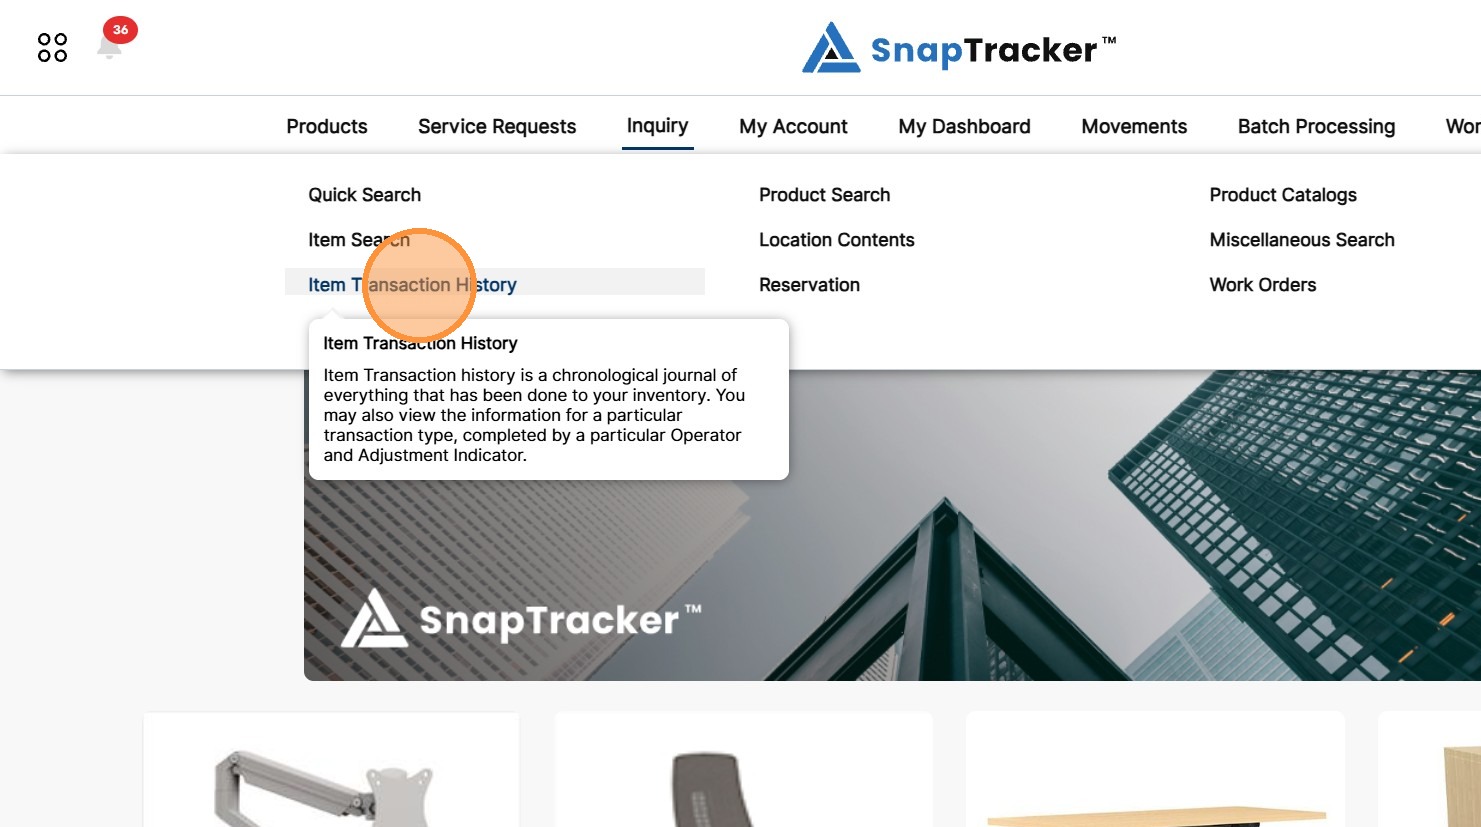
2. Click Item Transaction History.
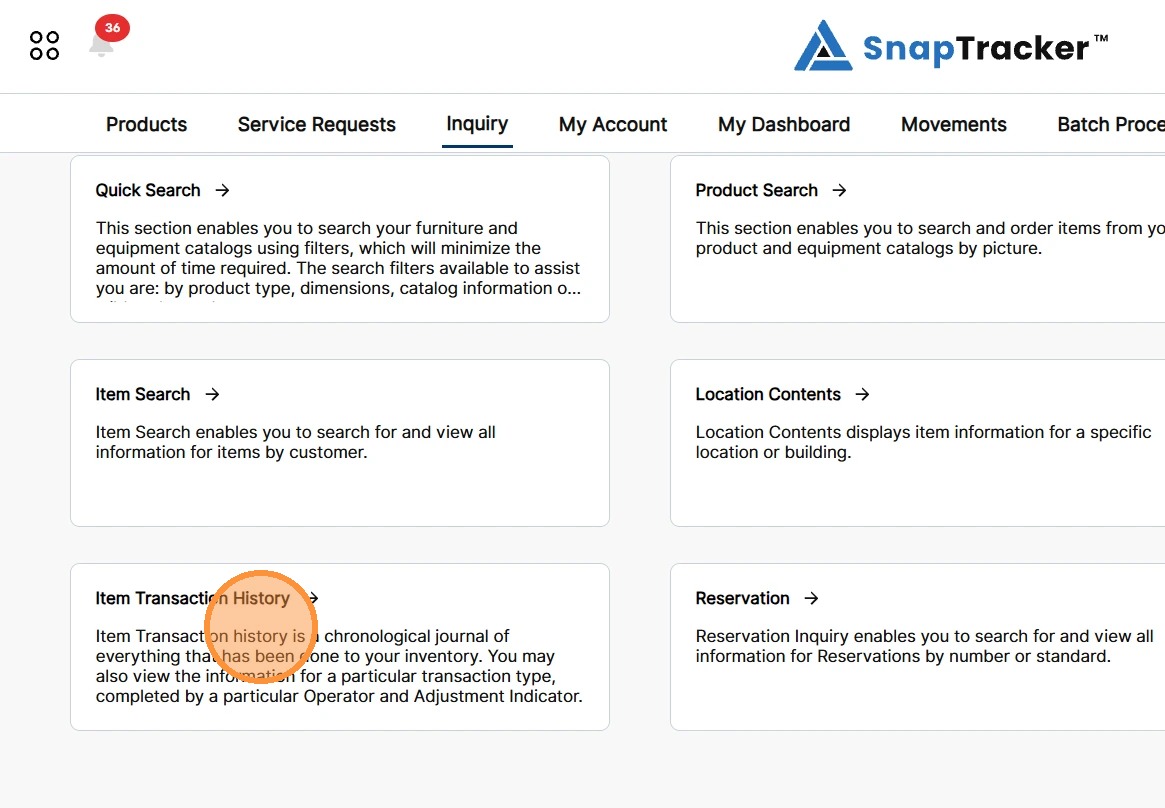
Another way to access the Inquiry Item Transaction History screen is to navigate to the Inquiry main screen.
From here, select Item Transaction History.
The Item Transaction History screen displays.
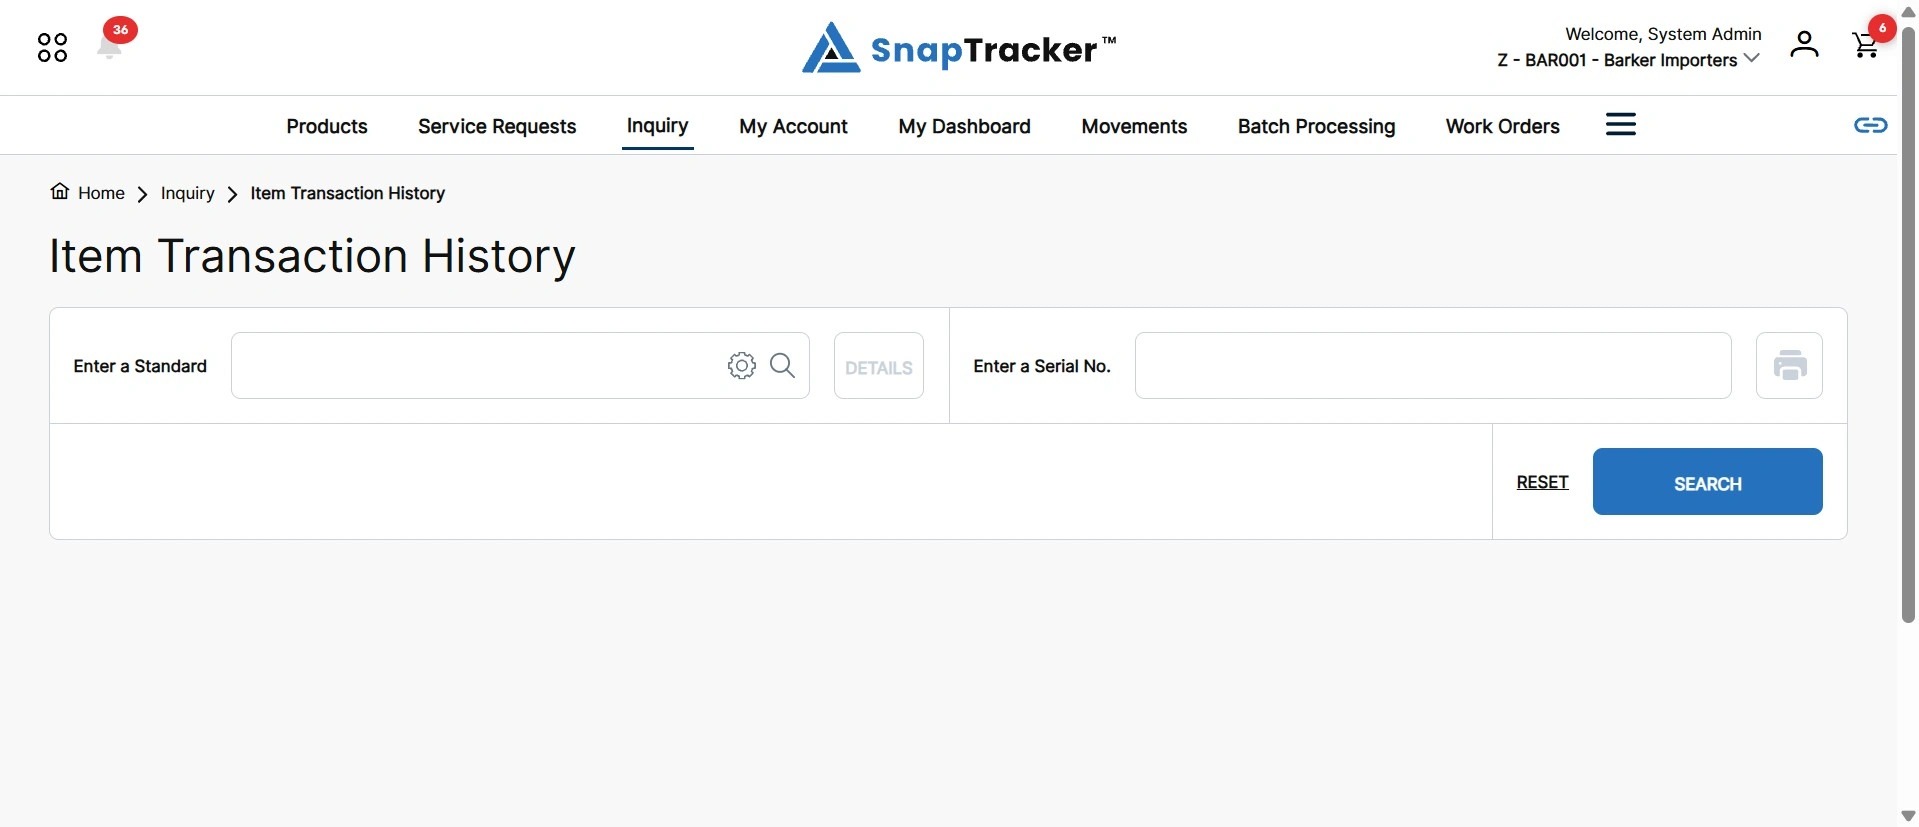
3. To search for a Standard to find specific items, click the gear icon.
Note: When searching for a Standard, the results returned only show items on hand. To search for transactions for items with zero on hand, search for a specific serial number.
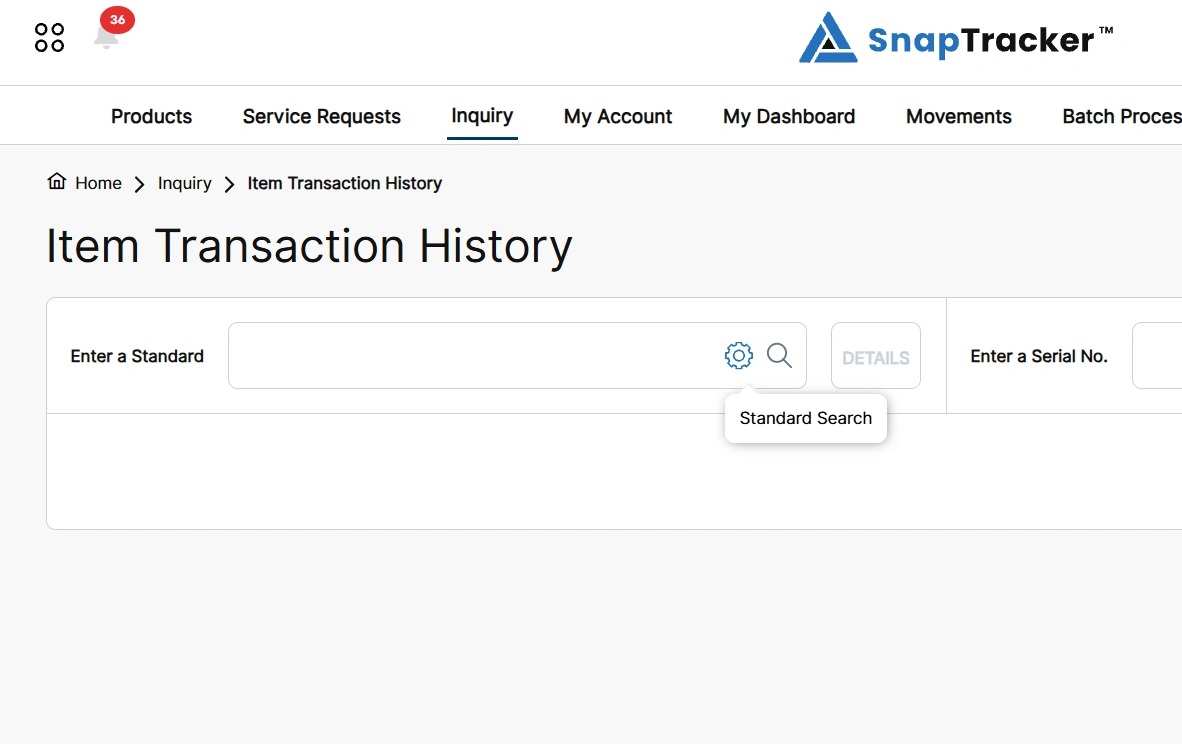
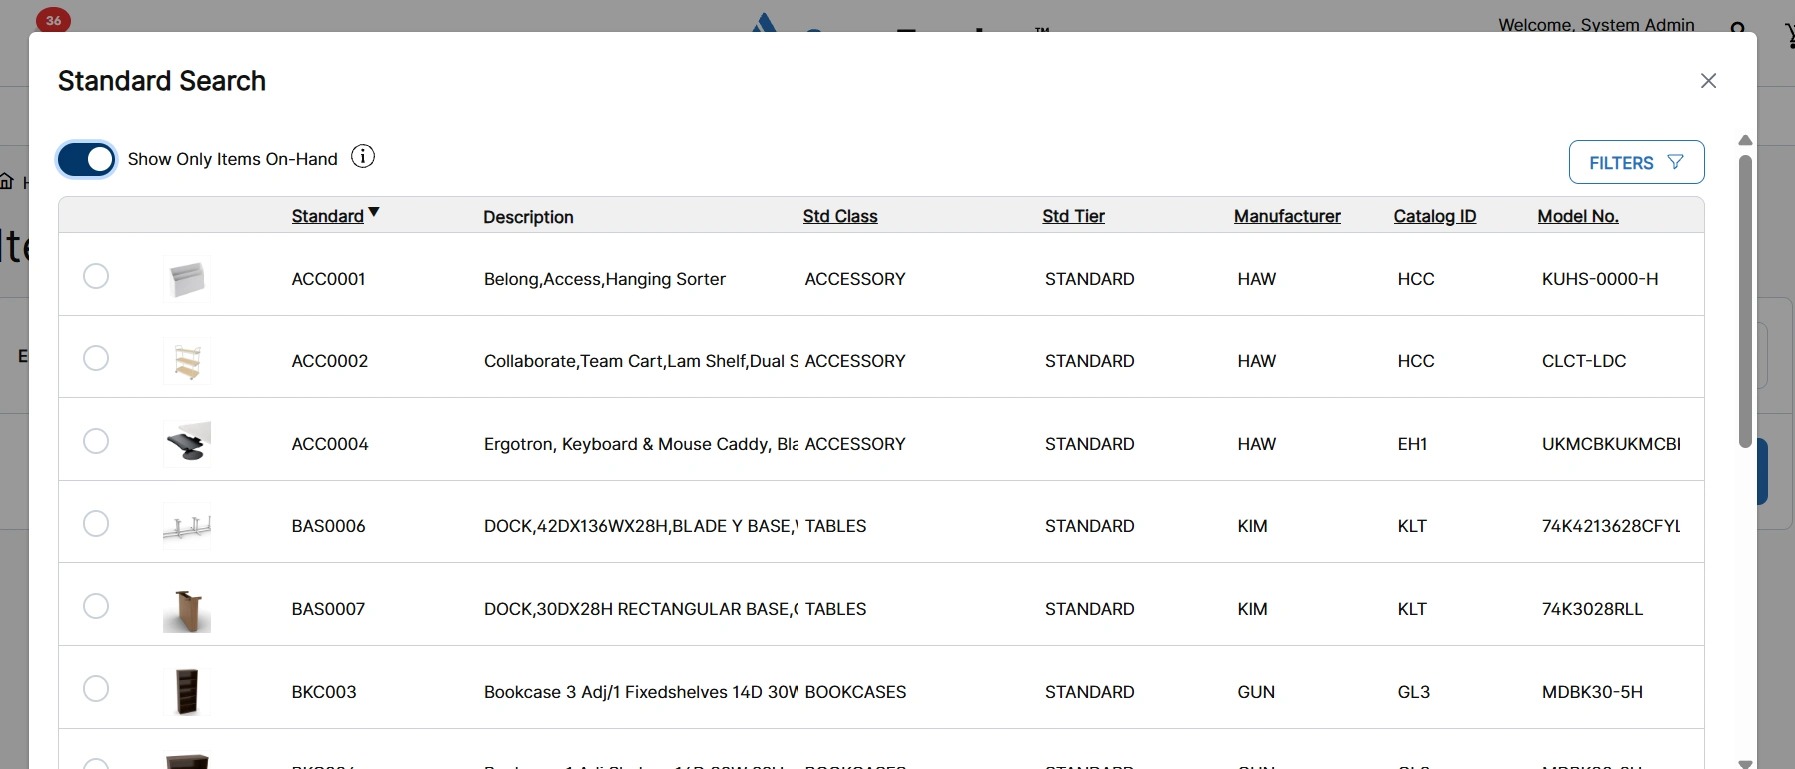
The Standard Search pop-up displays with a list of Standards.
For more information on conducting a Standard Search, see “How to Use Inquiry – Item Search – Search by Standard“.
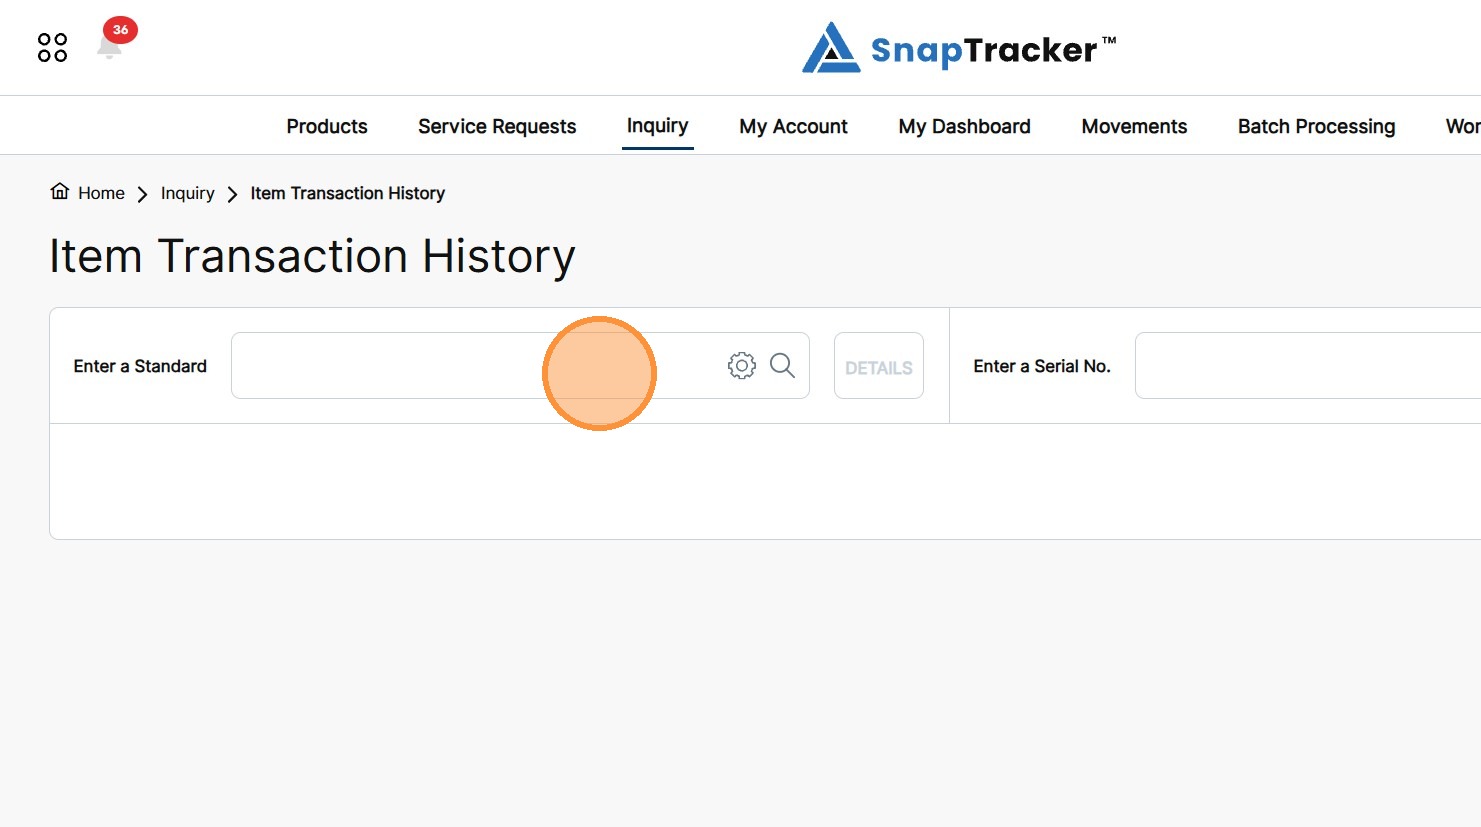
4. Alternatively, in the Enter a Standard field, enter the Standard .
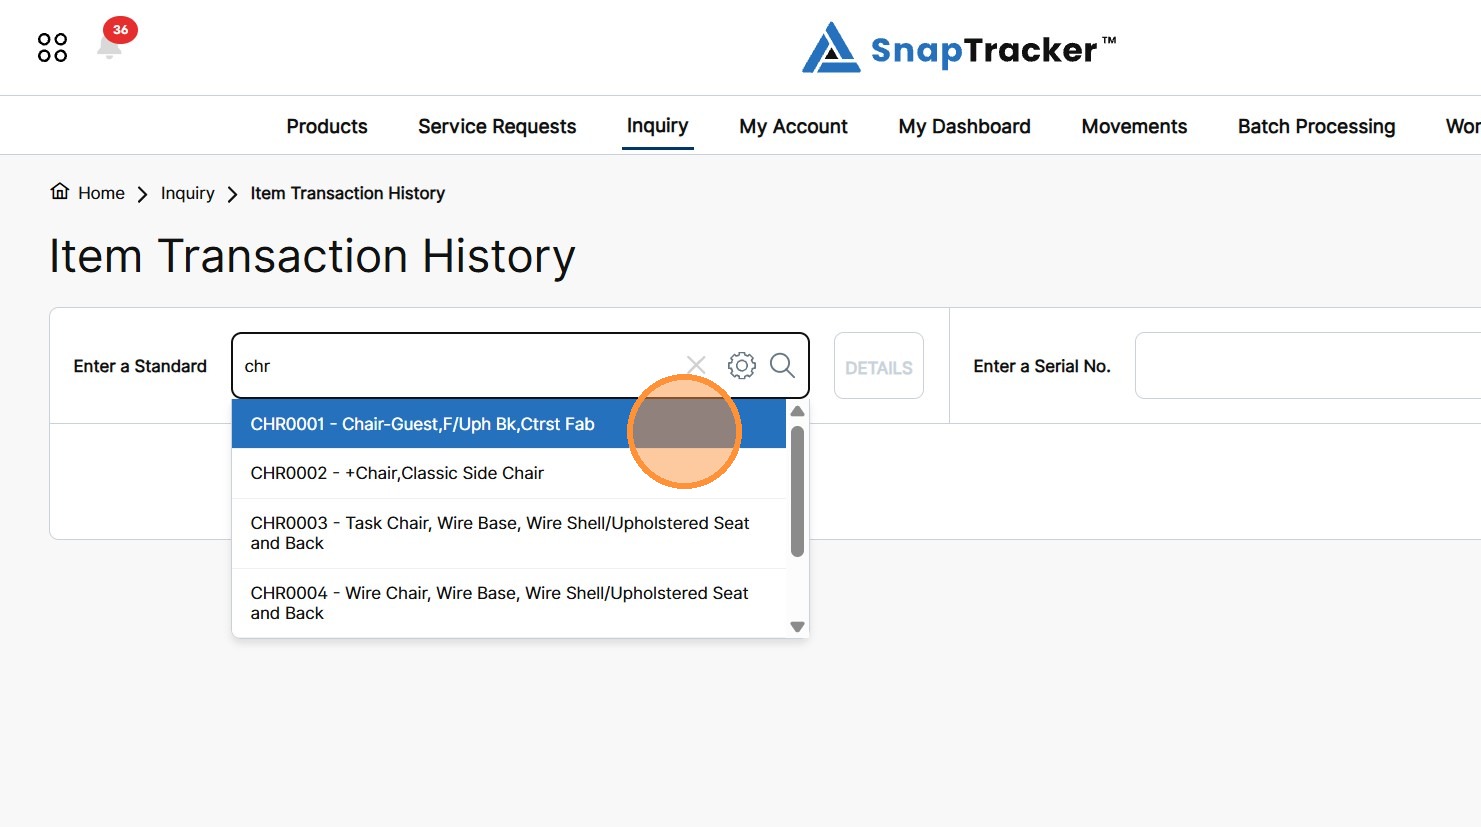
As you begin typing, suggestions display.
5. From the auto-populated suggestions, select the desired Standard.
6. Click Search.
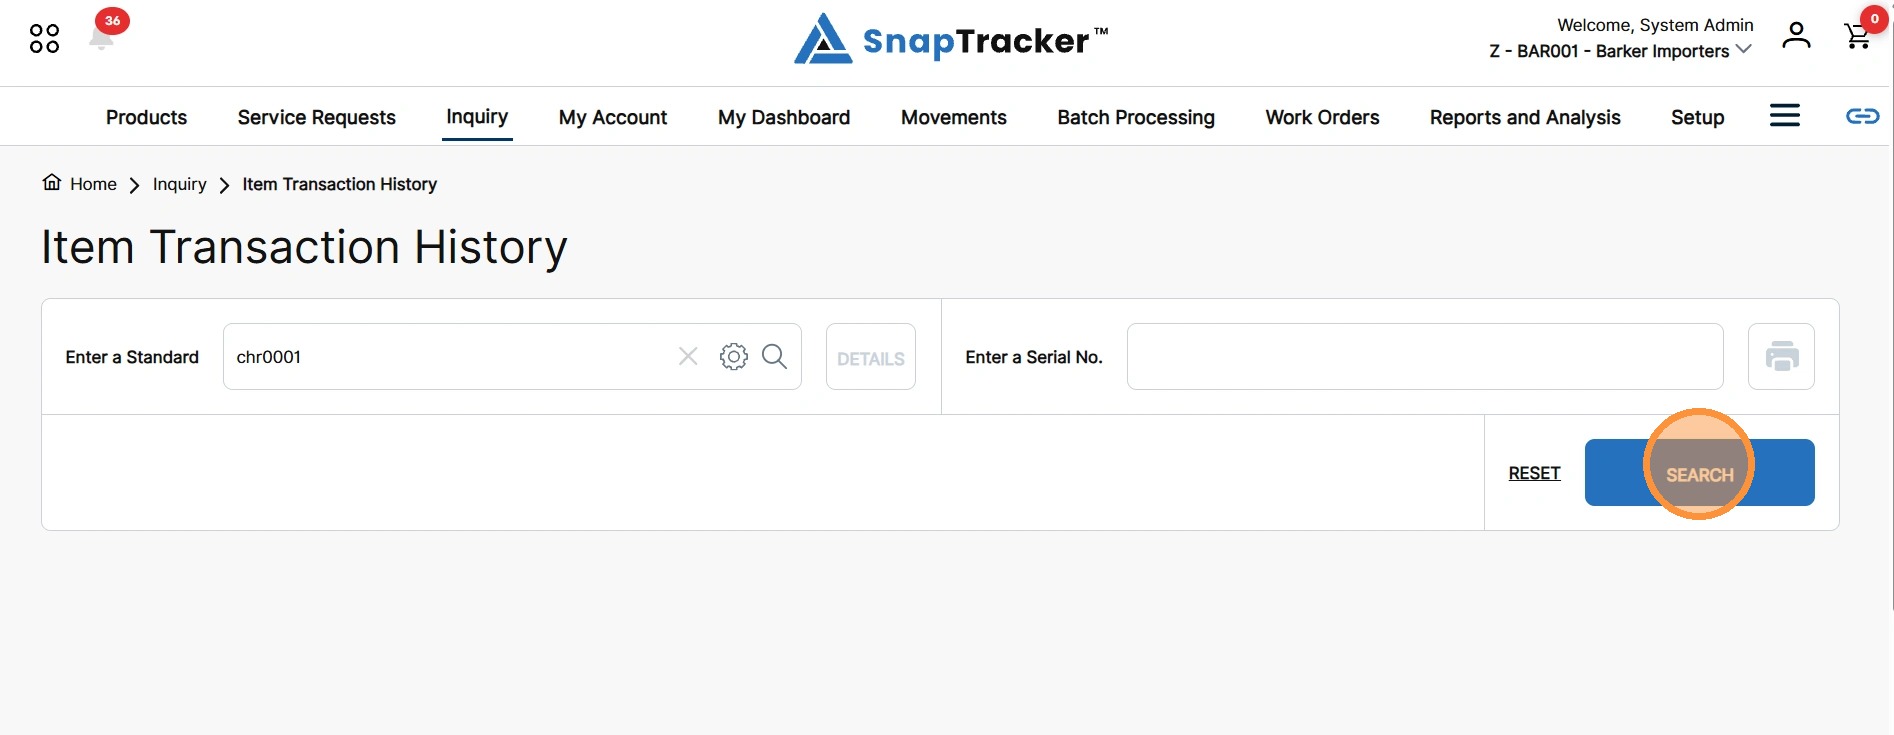
The preliminary search results display, with all the items with transactions associated with the Standard.
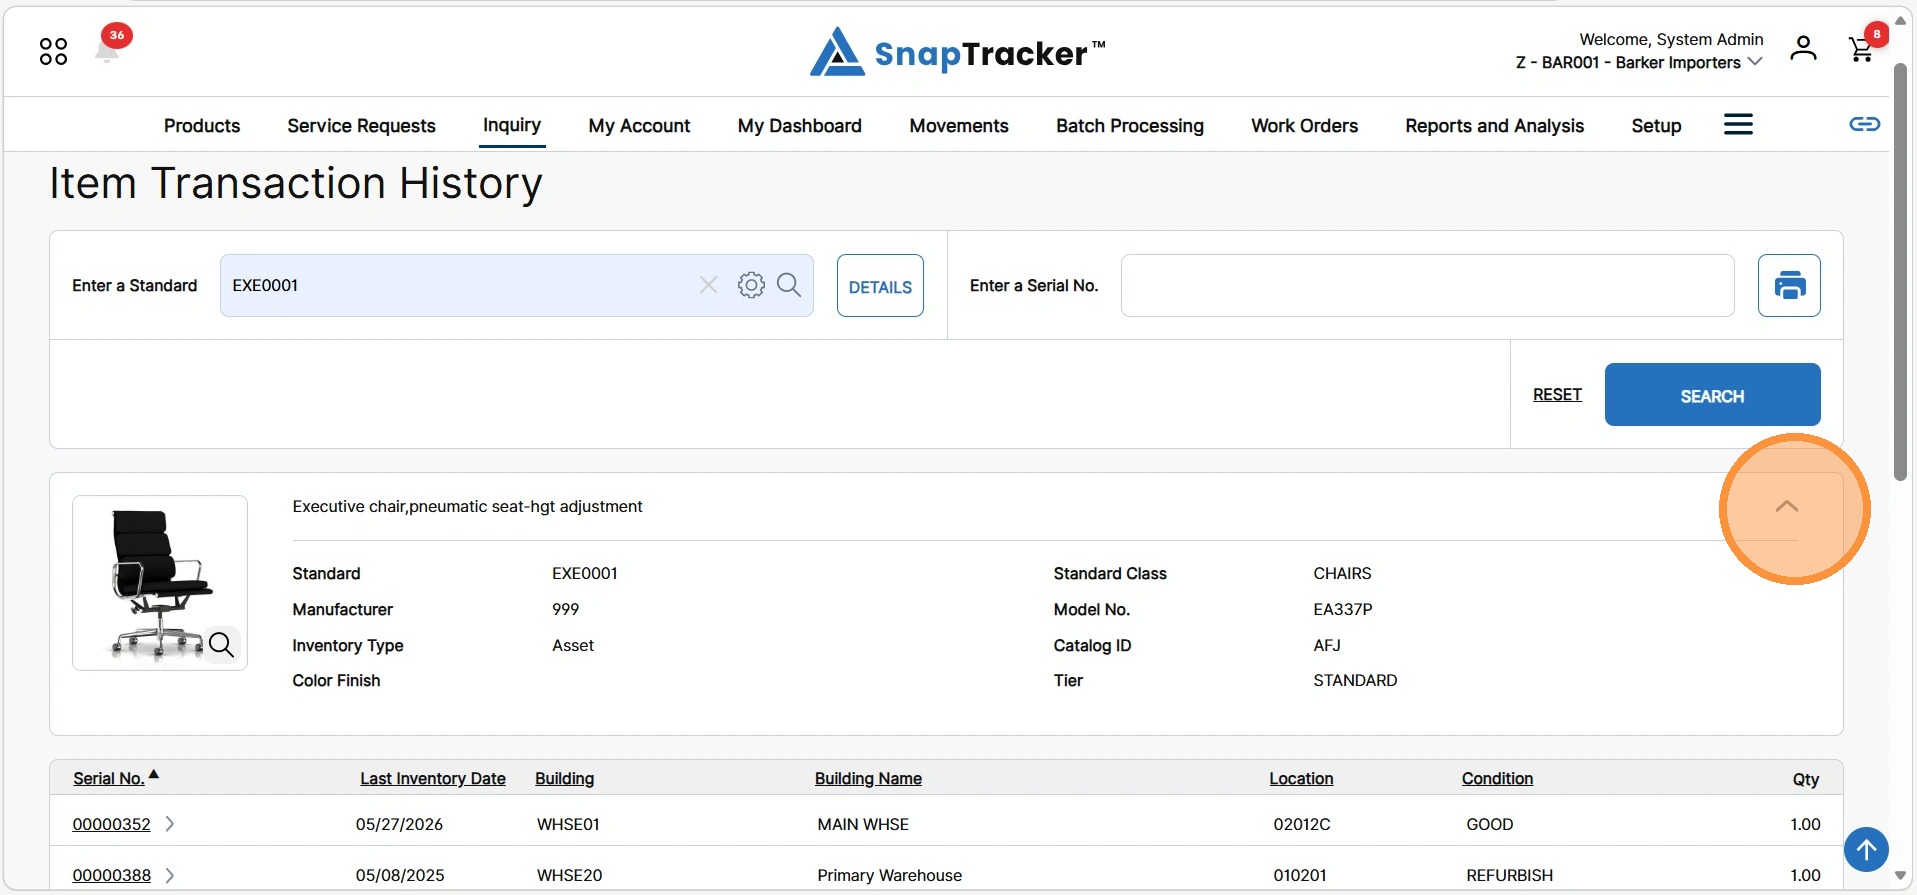
The matching result’s Standard Header displays with key Standard details, such as image, description, manufacturer, model no., etc.
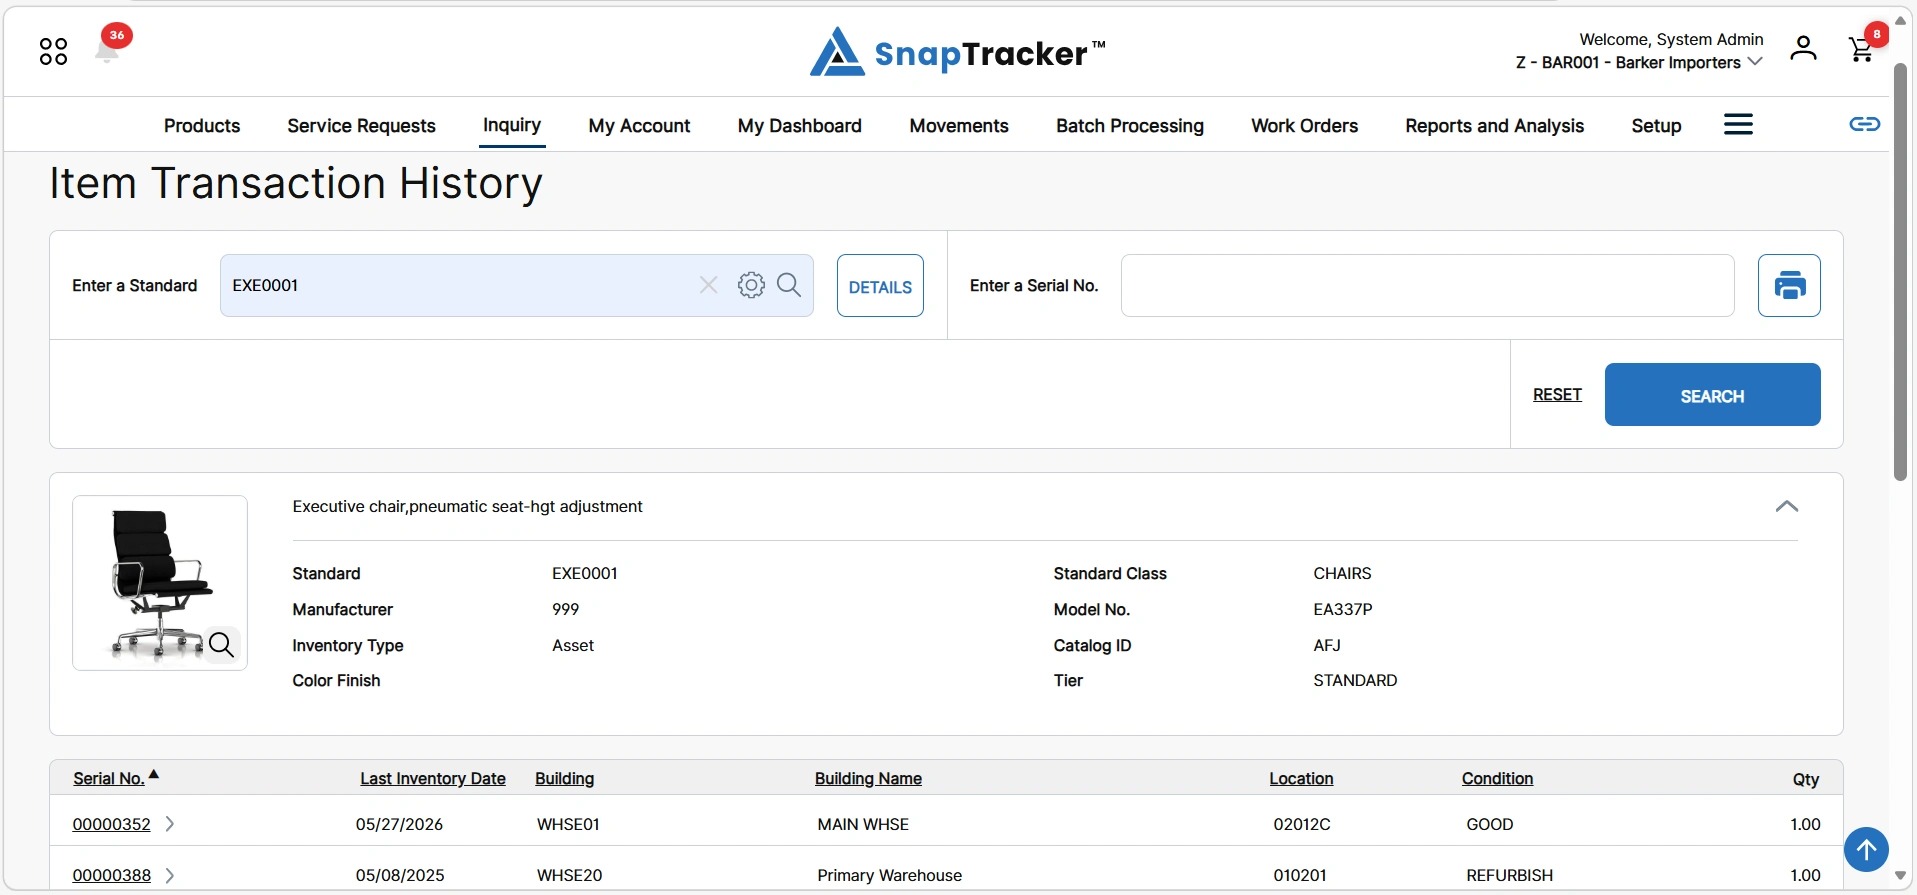
Observe the fields in the results:
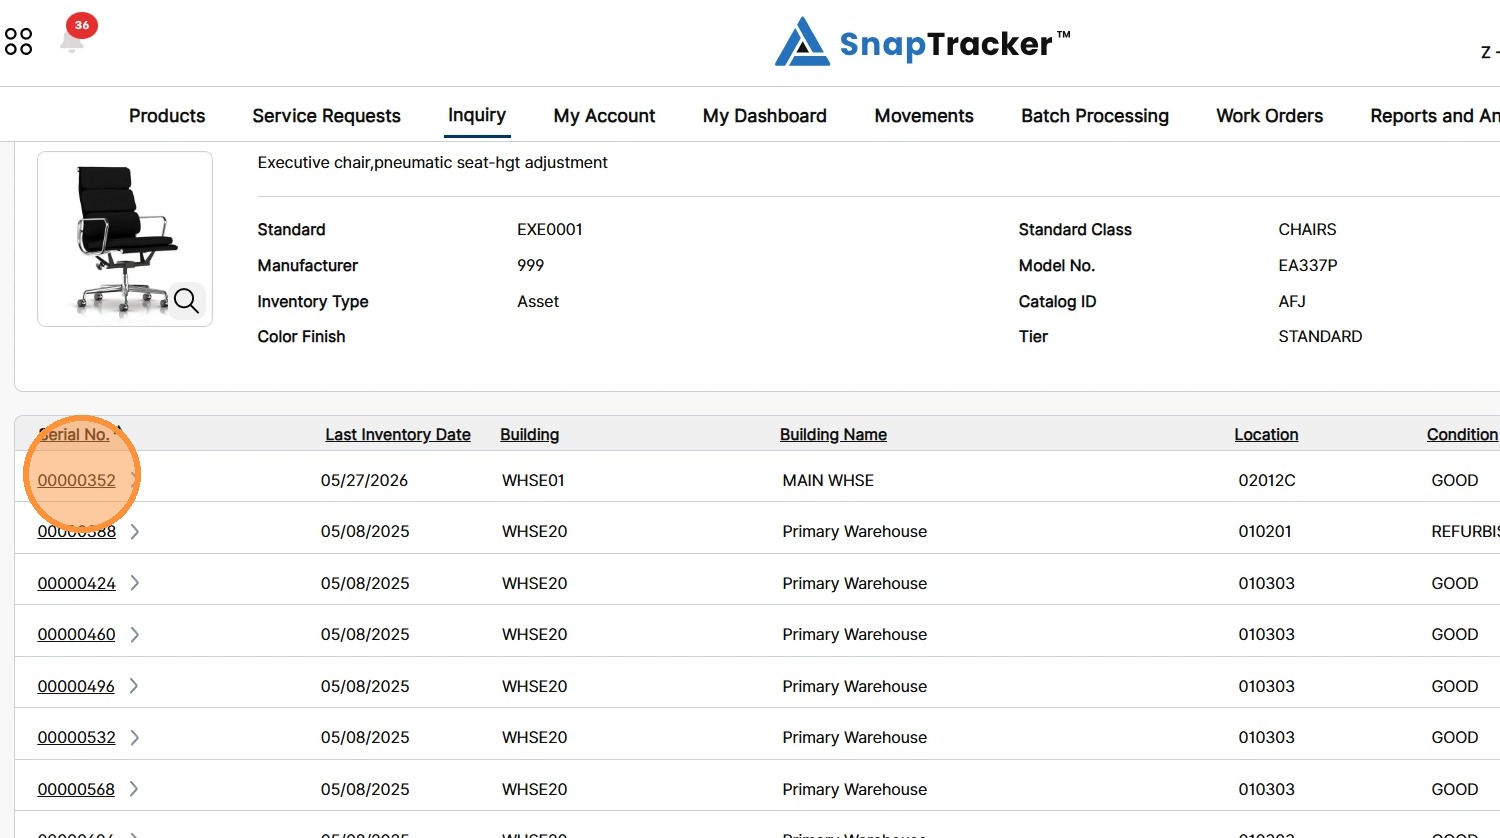
- Serial No. – The serial number of the item.
- Last Inventory Date – The last inventory movement date for the item.
- Building – The Building the item is in.
- Building Name – The name of the Building the item is in.
- Location – The specific Location the item is located in the Building.
- Condition – The current Condition of the item.
- Qty – The total quantity related to the serial number. Note: The quantity may be more than one when it is a Like item. Asset items should always have a quantity of 1.
7. To view Standard product details, click the Details button.
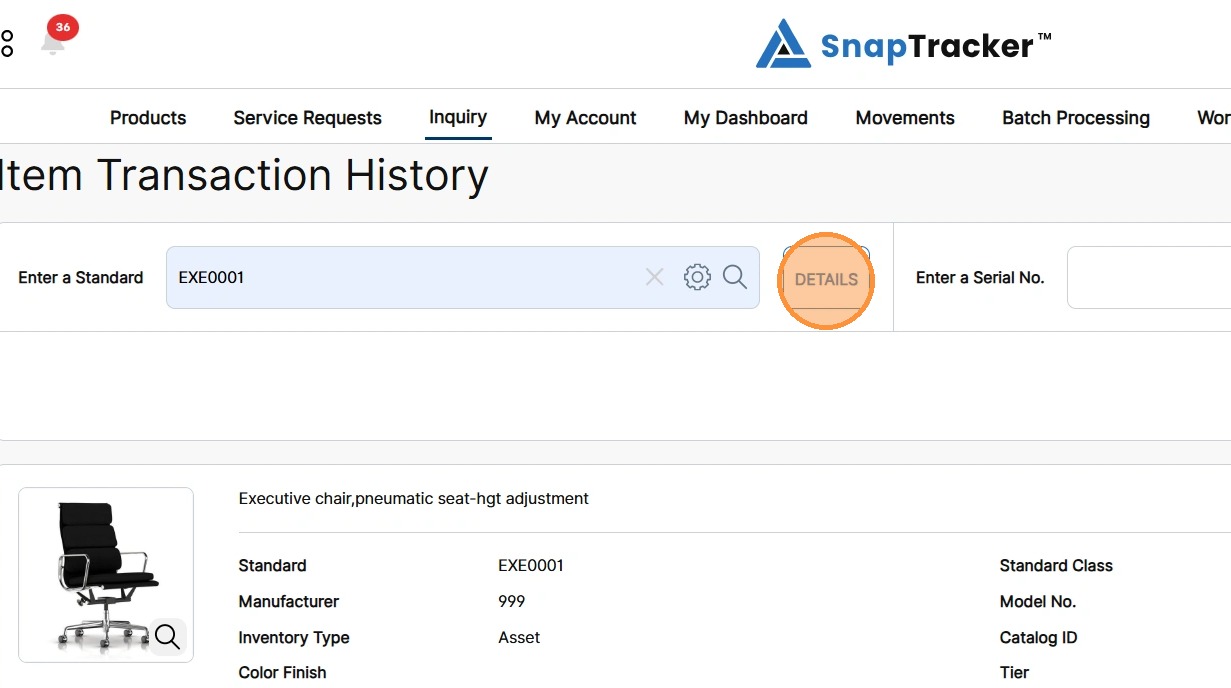
The Product Details pop-up displays.
To close the pop-up, click X.
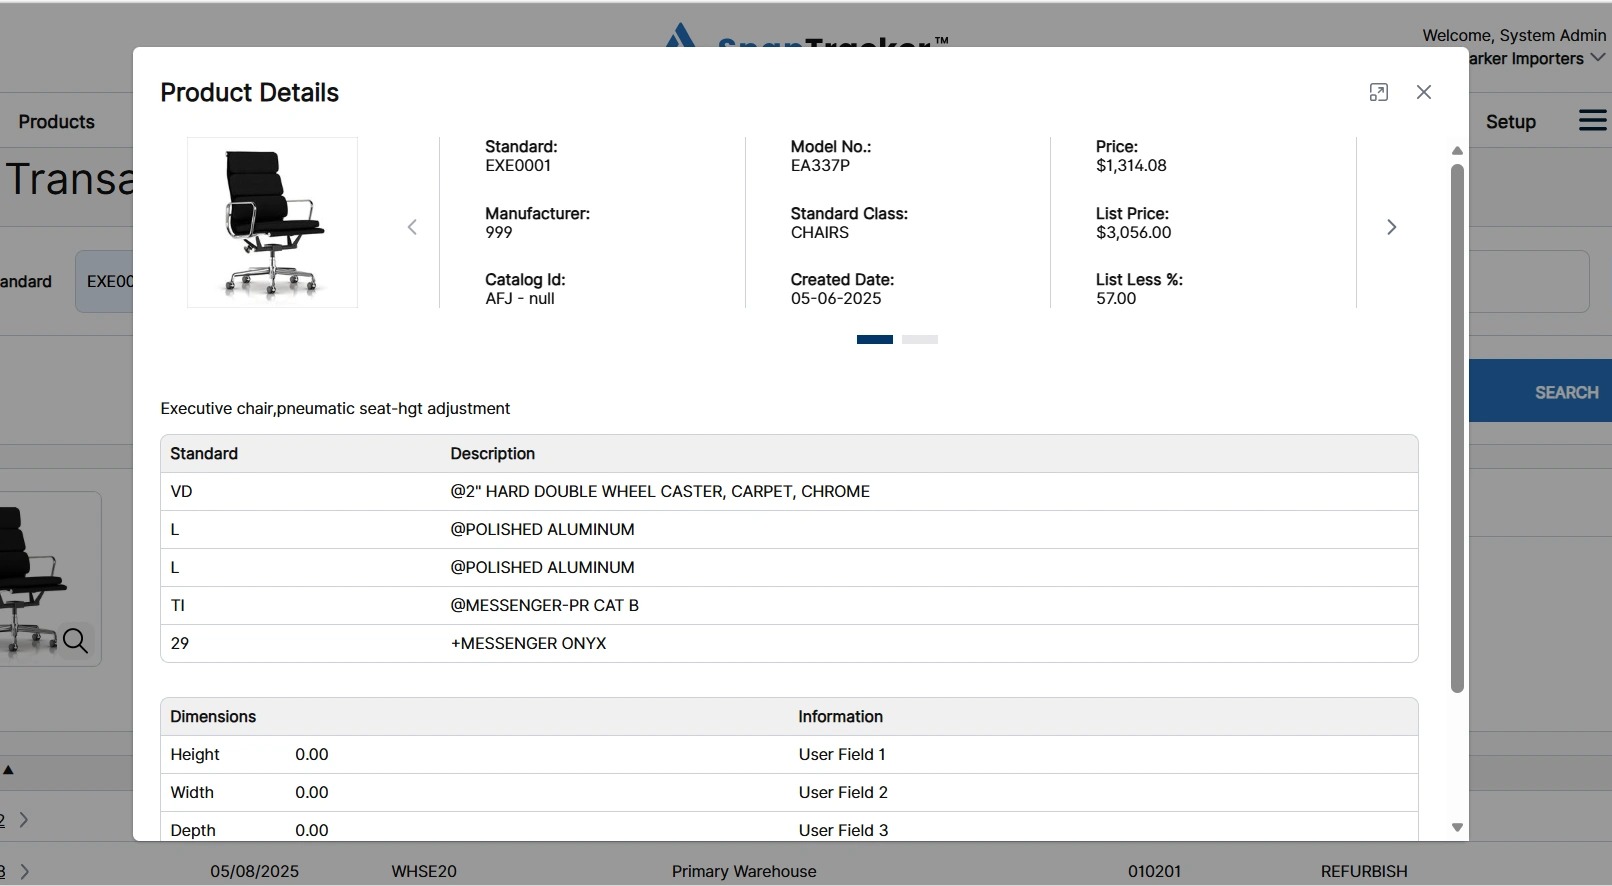
8. Alternatively, to view more details about the Standard, click the magnifying glass icon.
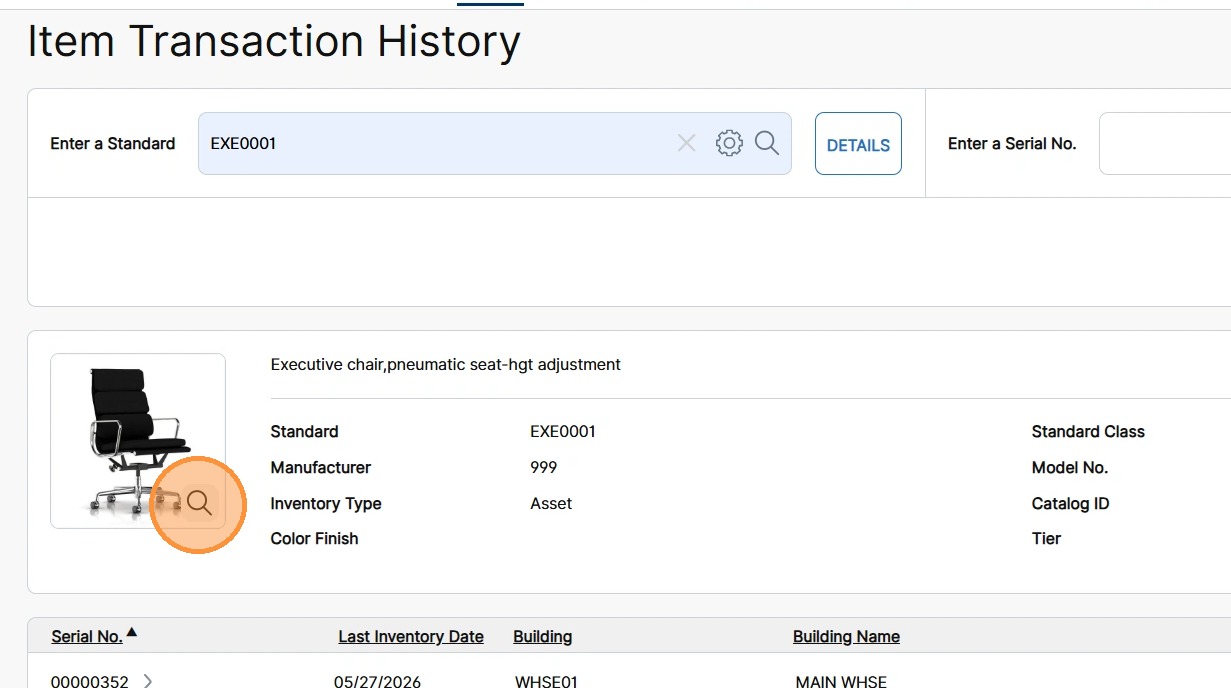
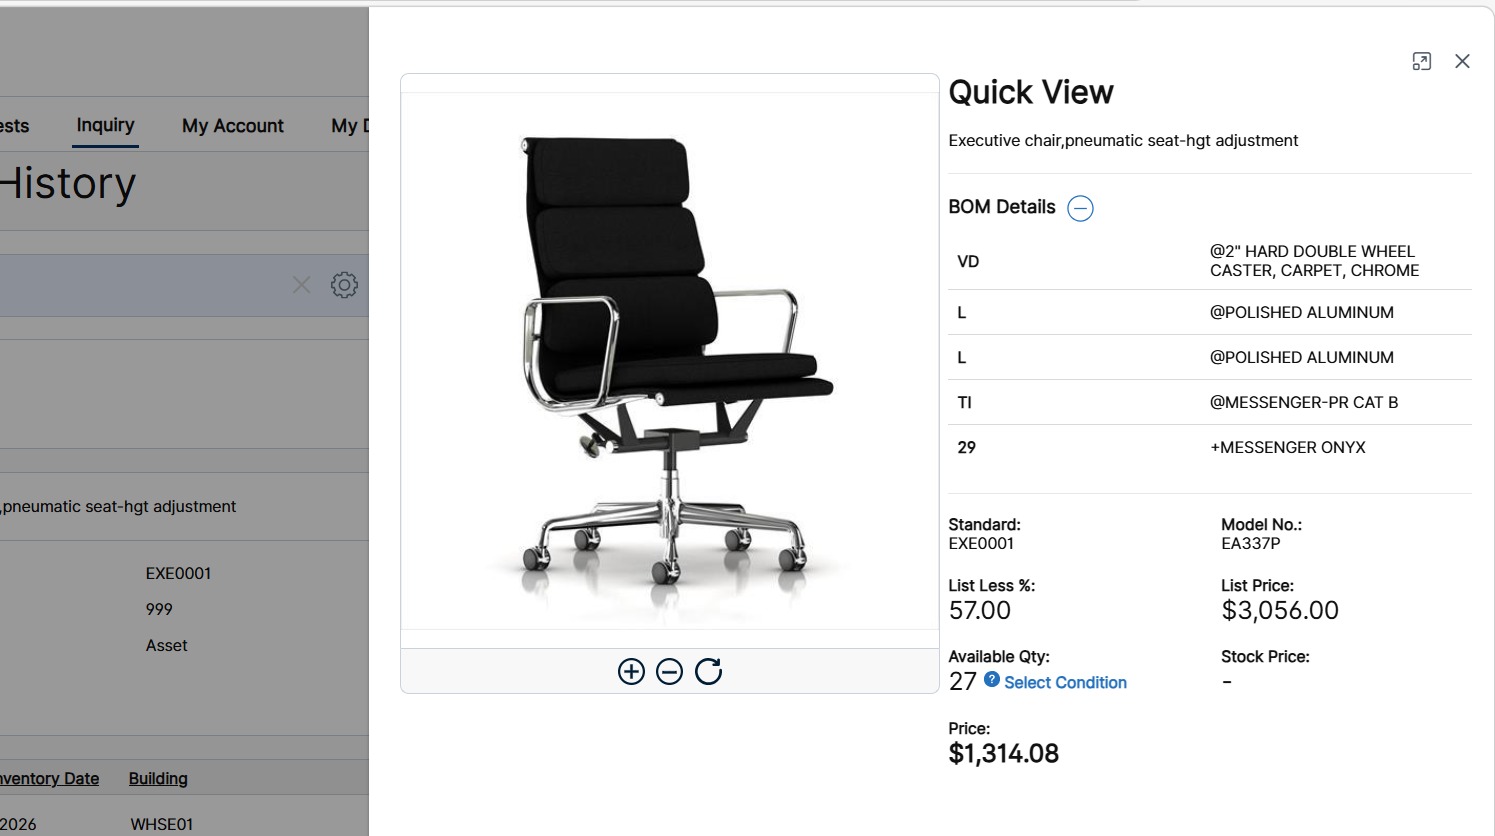
The Quick View side panel displays.
To close the side panel, click X.
9. To collapse/expand the Standard Header, click the associated arrow.
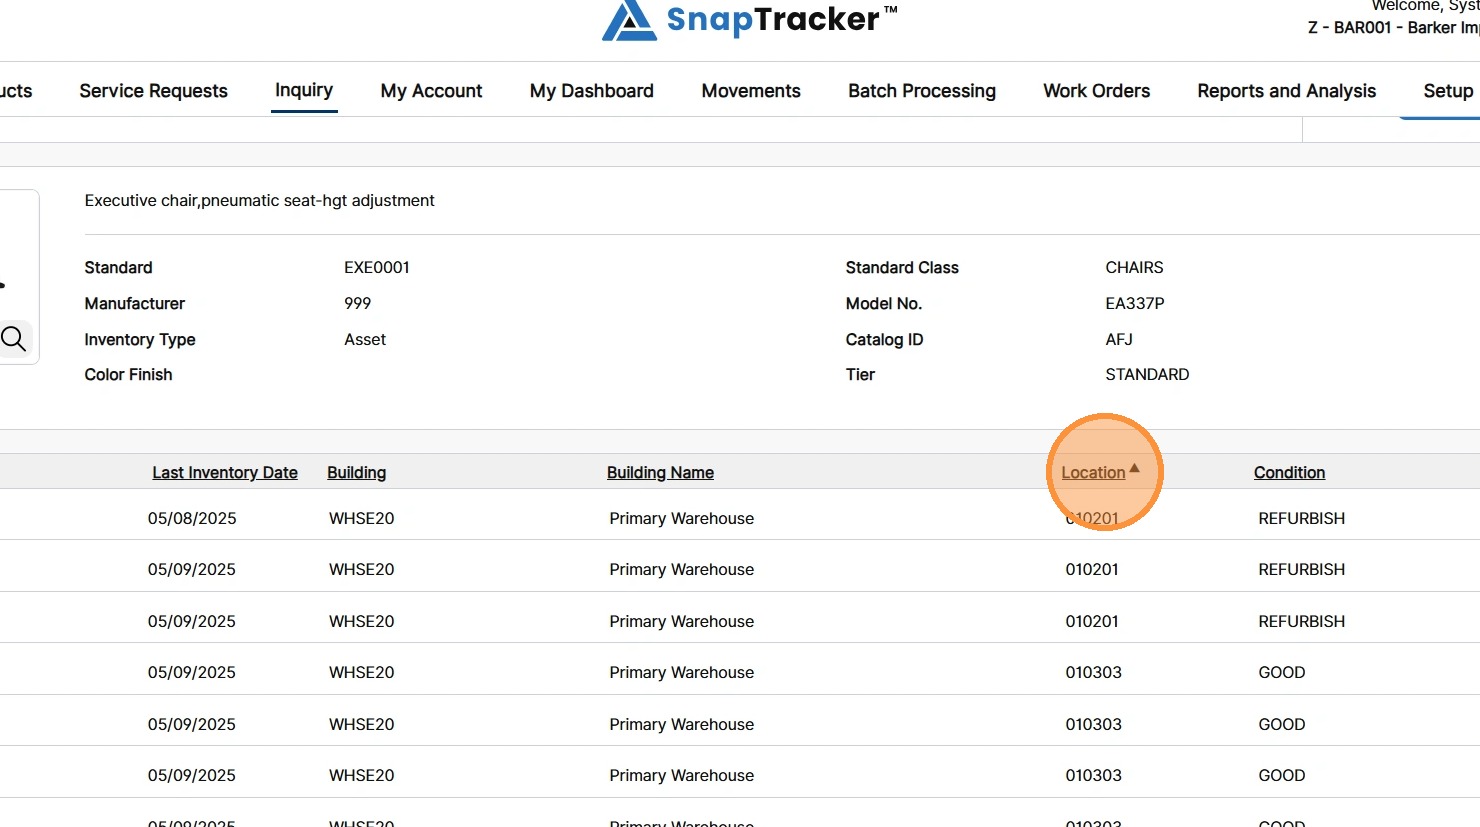
10. To sort the results by a particular field, click the hyperlinked column header.
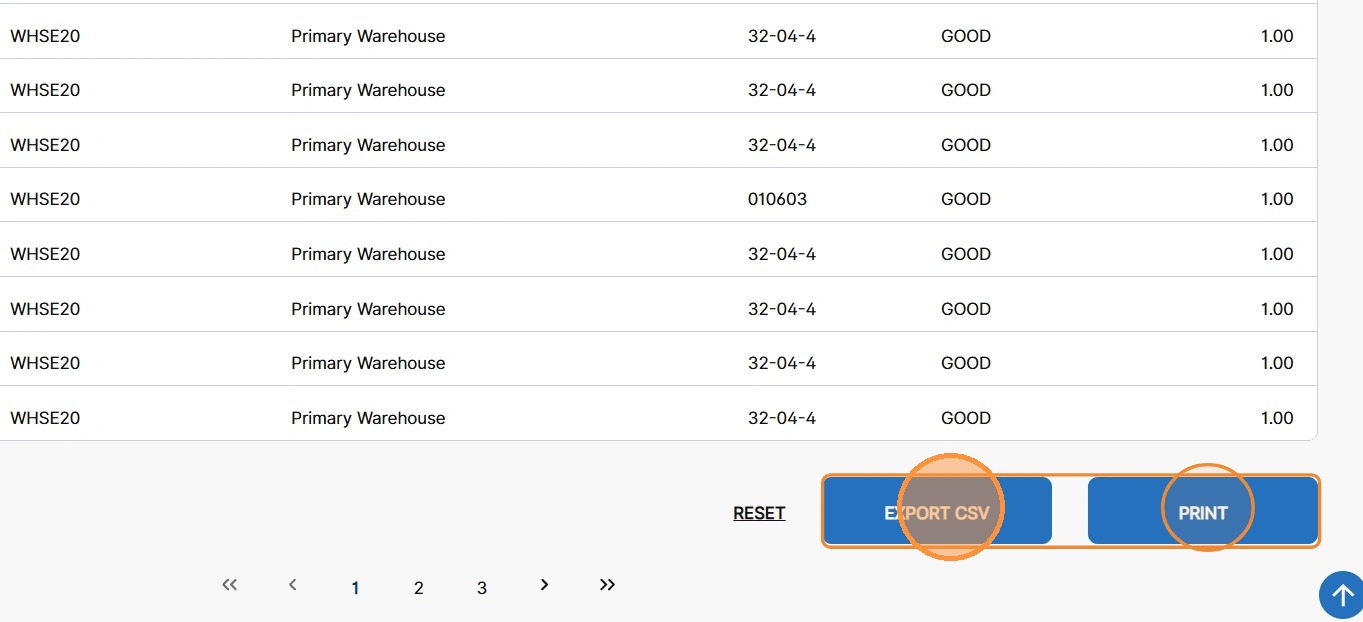
11. To download the list of serial number results, click Export CSV or Print.
12. To view item transaction history for a serial number, click the hyperlinked serial number.
The results update and the full transaction history for the selected item displays.
Note: To sort the results by a particular field, click the hyperlinked column header.
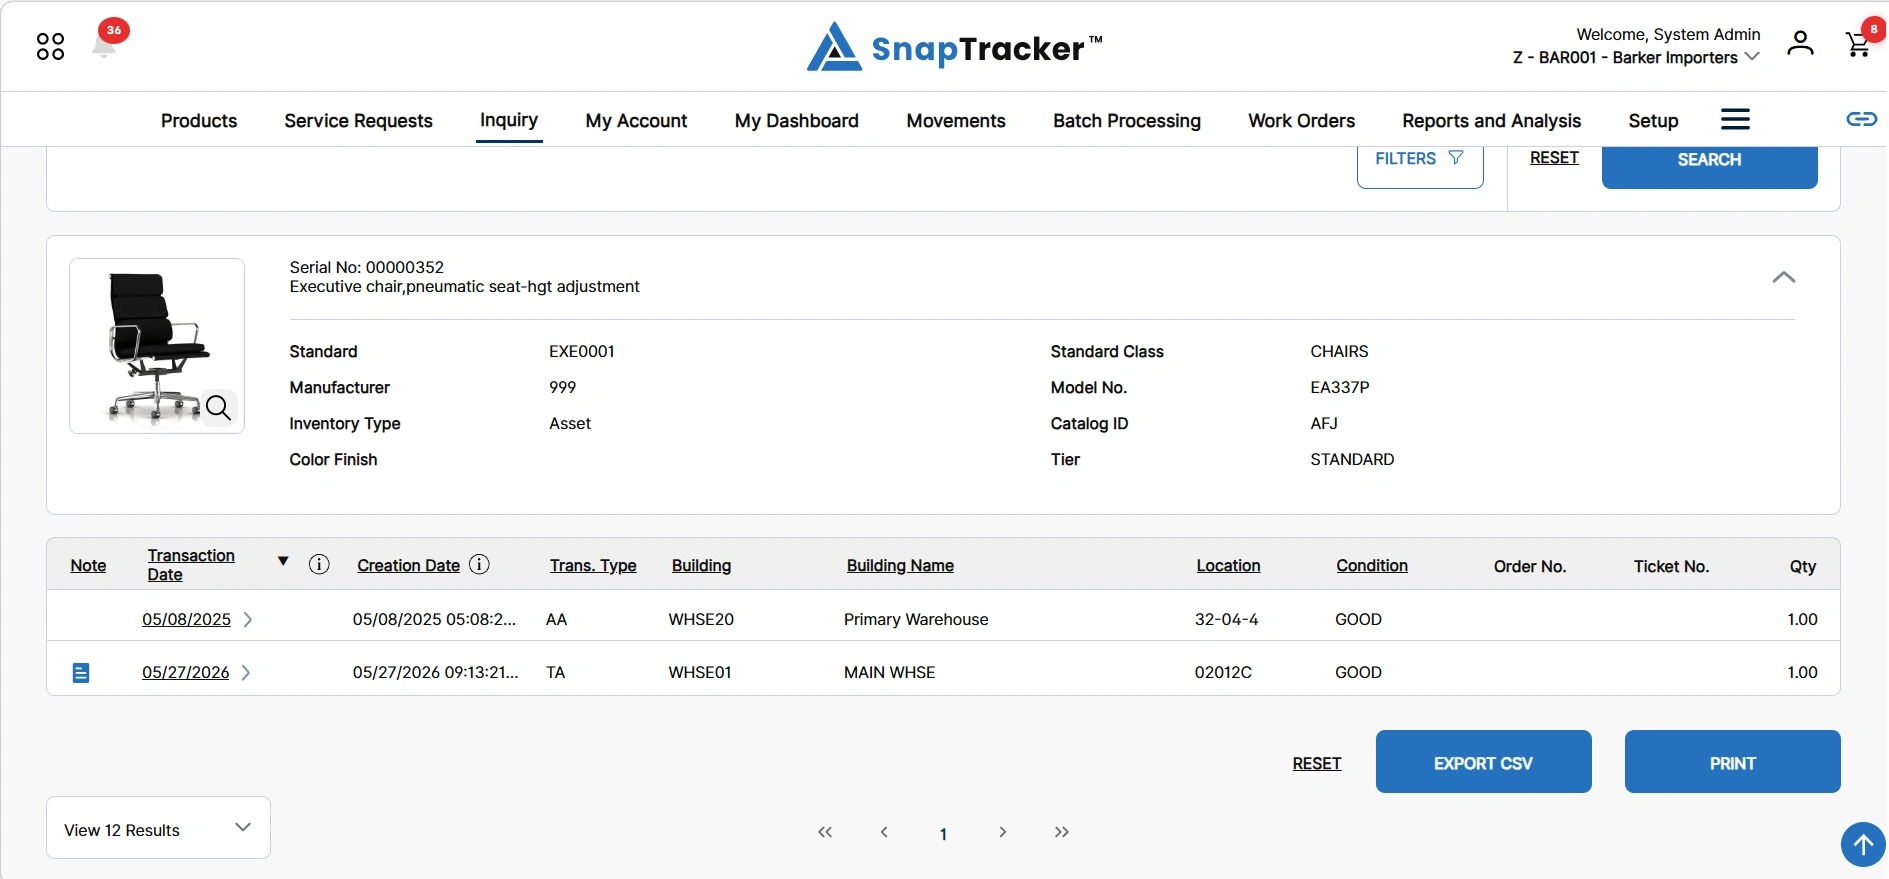
Observe the fields in the results:
- Note – An icon displays if a note was added to a specific transaction (if available). You can hover over the icon to see the note, or click the icon to view more details.
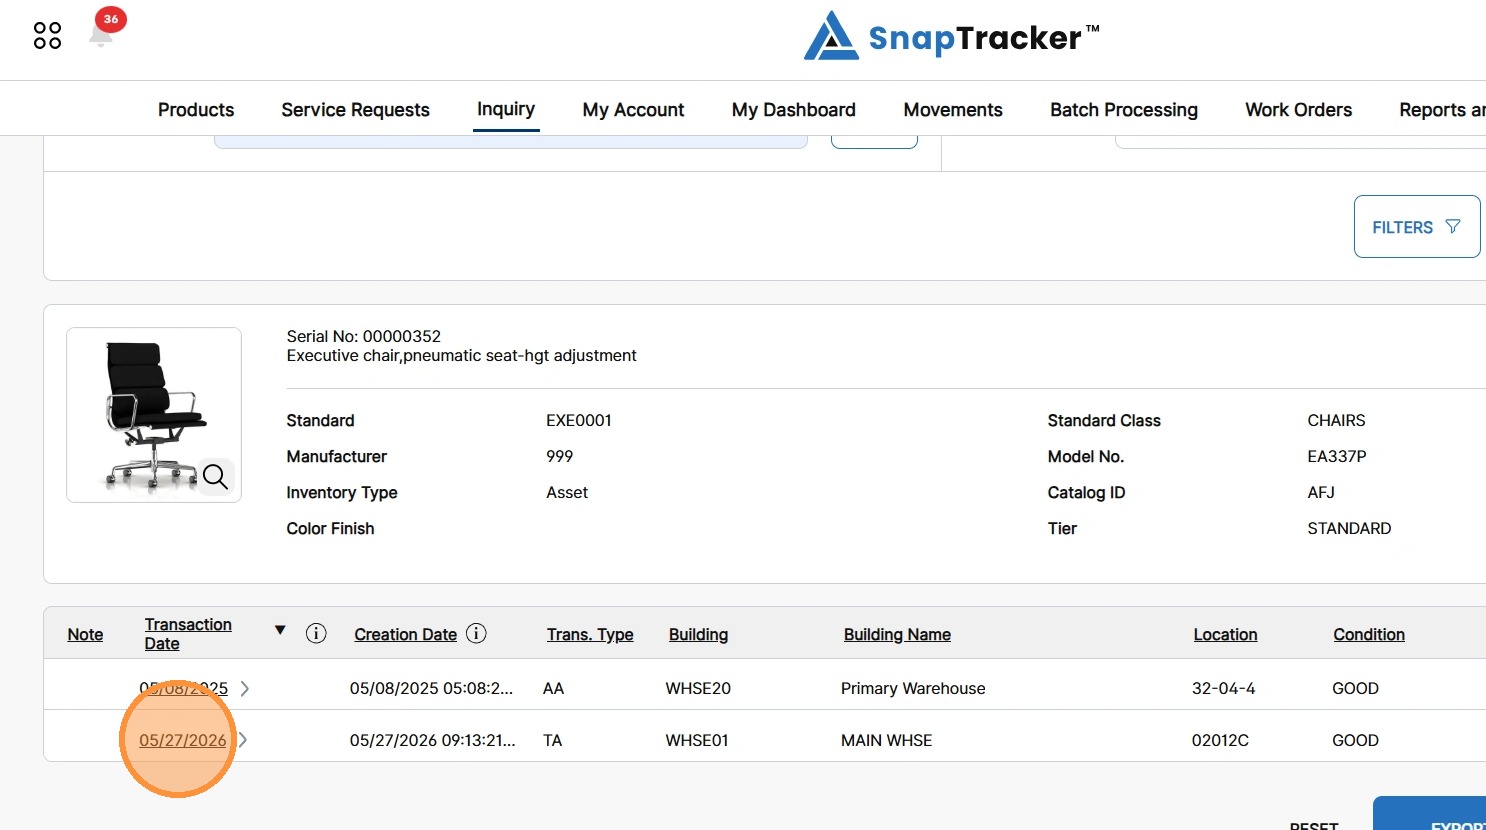
- Transaction Date – The date the transaction took place. The Transaction Date reflects the date on the scanner, so it may be different than Creation Date.
- Creation Date – The date the transaction was processed on the site. If the transaction was completed on the site in the Movement section, the Transaction Date and the Creation Date are the same.
- Trans. Type – The record’s transaction type.
- Building – The Building recorded in the transaction.
- Building Name – The name of the Building recorded in the transaction.
- Location – The specific Location in the Building recorded in the transaction.
- Condition – The Condition of the item recorded in the transaction.
- Order No. – The Work Order Number recorded in the transaction (if applicable).
- Ticket No. – The Work Order Ticket Number recorded in the transaction (if appicable).
- Qty – The total quantity of items recorded on the transaction. Note: Note: The quantity may be more than one when it is a Like item. Asset items should always have a quantity of 1.
13. To download the item transaction history results, click Export CSV or Print.
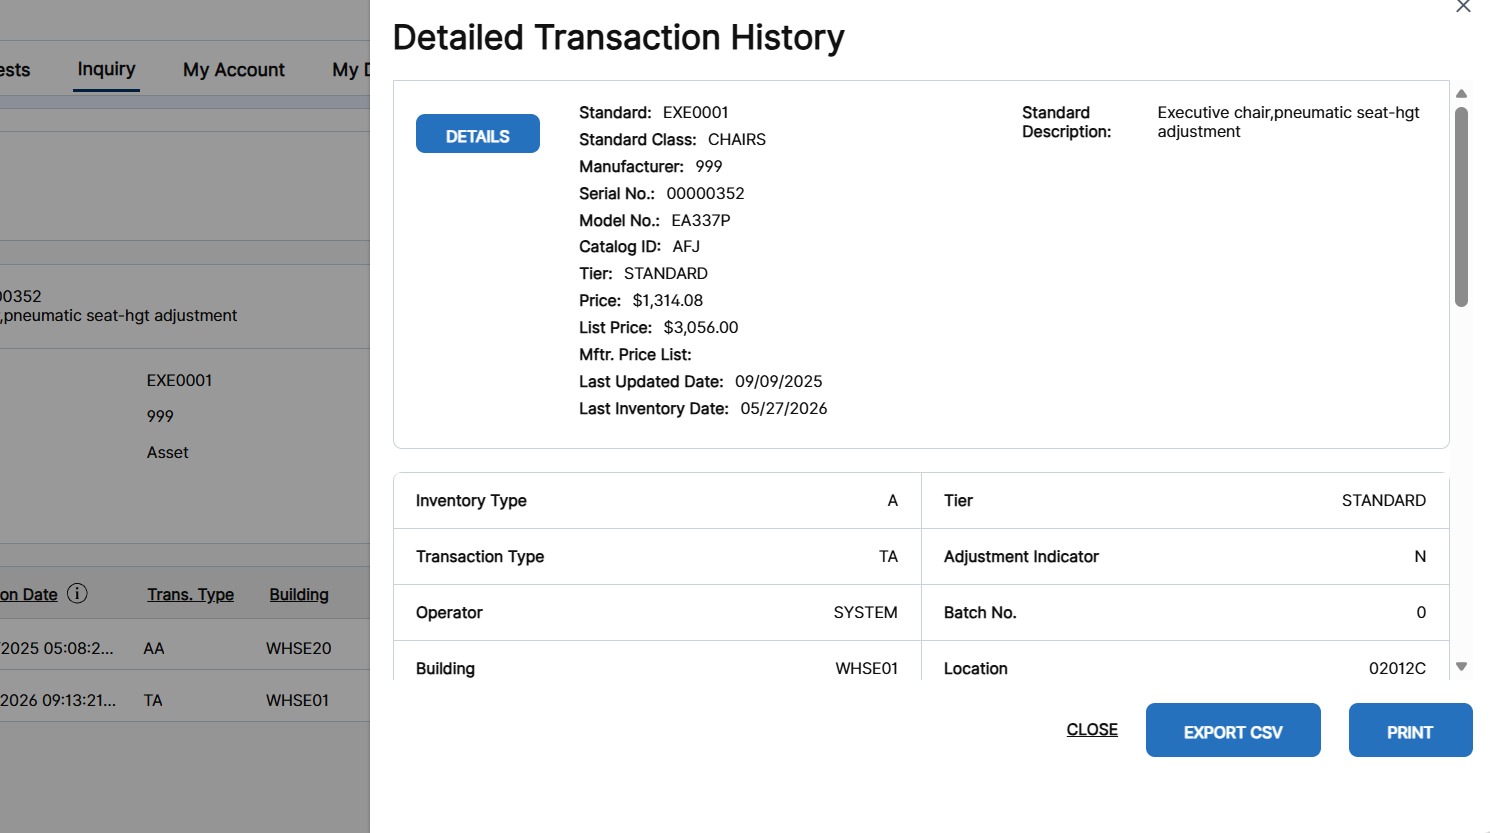
14. To view the full detailed transaction history for a single transaction, click a hyperlinked transaction date.
The Detailed Transaction History for the transaction displays.
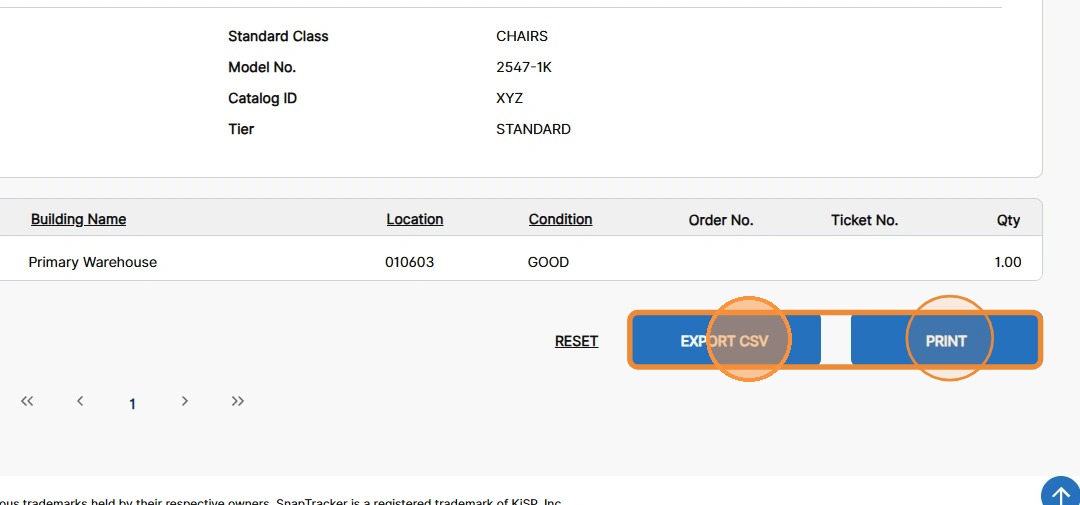
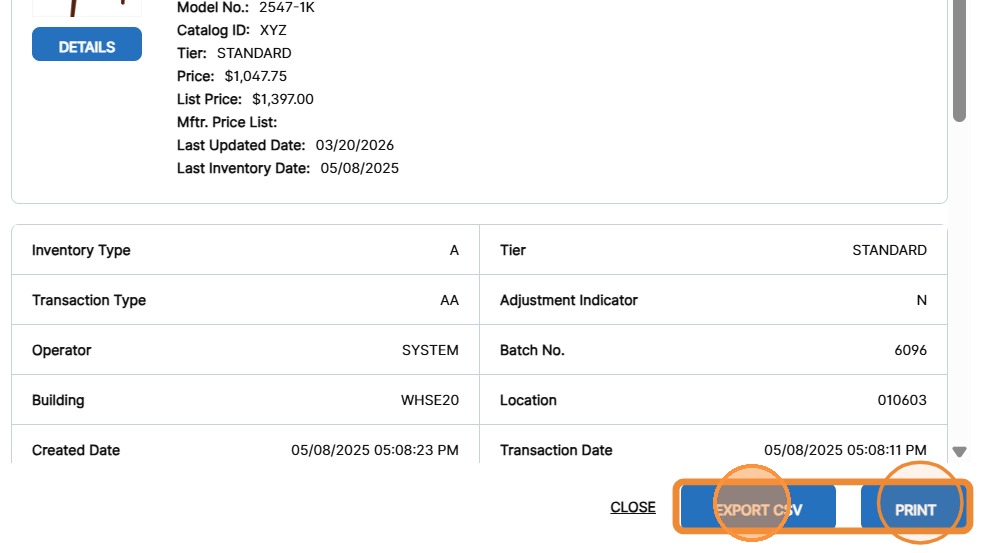
15. To download the detailed transaction history, click Export CSV or Print.
For more information on how to conduct an Item Transaction History search by Serial Number, see “How to Use Inquiry – Item Transaction History – Search by Serial Number.”