How to Use Inquiry – Quick Search (Asset Management) – Basic Search – Search Within Results
The Inquiry section is used to search for products. There are multiple ways of searching for products, such as using the Quick Search function. For Asset Management users, Quick Search is intended to quickly provide a summary of product you have in stock, based on the criteria you select. The search filters available to assist you include product type, dimensions, catalog information and wildcard searches. The results display product on hand, reserved, committed and available (based on user settings).
Before starting, make sure:
- You are logged into SnapTracker.
- You have at minimum one Standard created.
- You have at minimum one Standard Class created.
- The correct Customer is selected from the Customer selection list.
There are several ways to use Quick Search to view product details for a Customer. This post outlines the process of conducting a basic search for products concentrating on the steps involved in searching within the Quick Search results as a user that can view stock product.
1. In the header section, click Inquiry.
2. Click Quick Search.
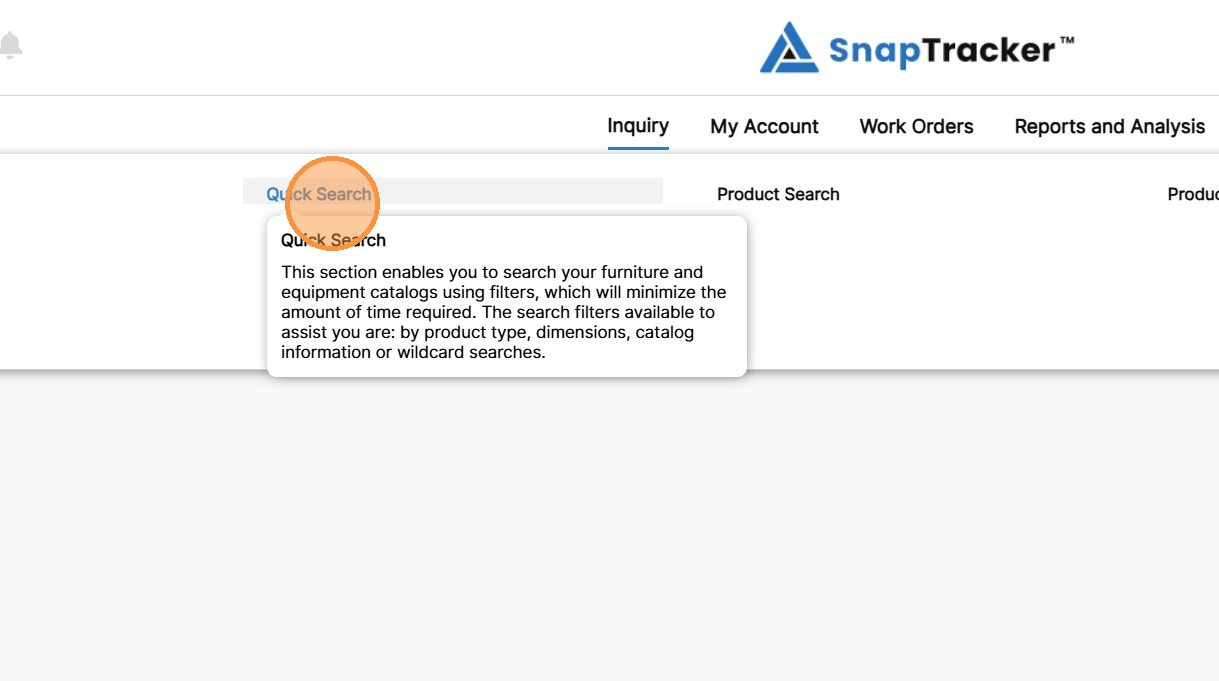
The Quick Search screen displays, showing available search and filter options.
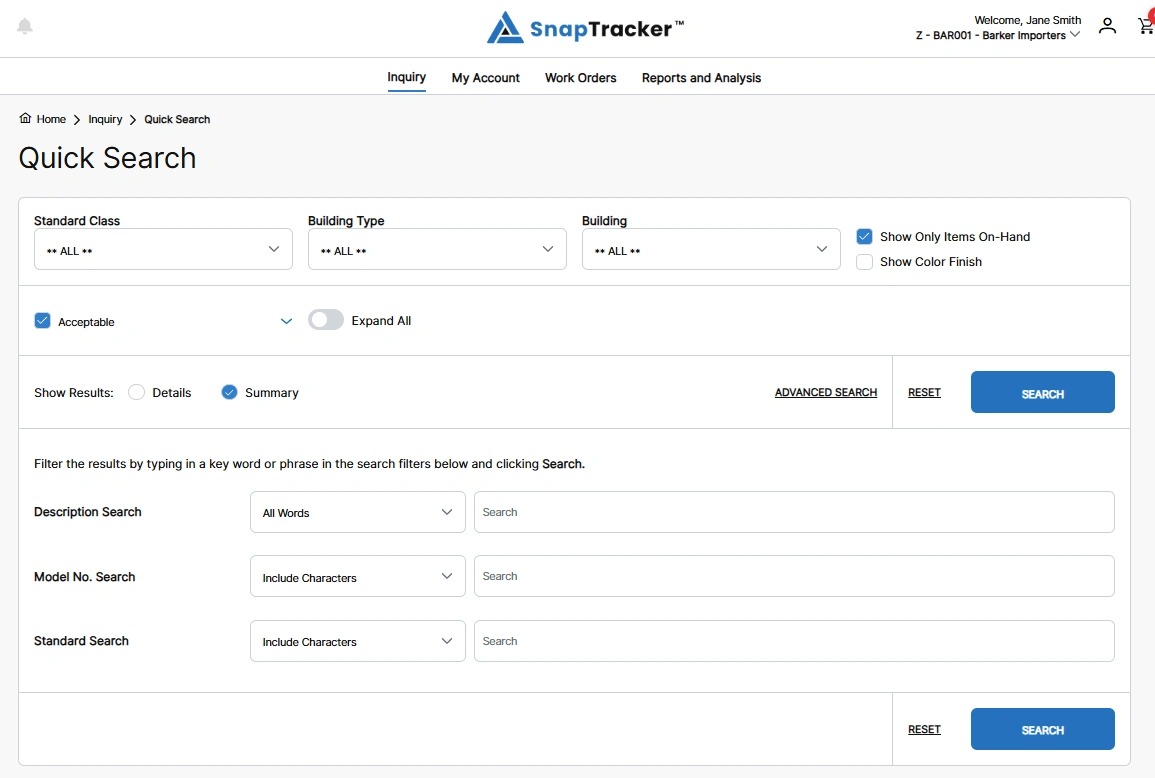
Observe the following filter options in the top half of the screen:
-
Standard Class – Standard Classes are also known as Product Categories. Select ALL or one Standard Class.
-
Building Type – Buildings are organized by Building Type. For example, service provider warehouses may be under one building type and customer onsite product may be under another. Select ALL or one Building Type.
-
Building – The Buildings are filtered based on the selection you make from Building Type. Select ALL or one Building.
-
Show Only Items On-Hand – Select/unselect the checkbox to show only the products with on-hand inventory, or include items without on-hand inventory.
-
Show Color Finish – Select/unselect the checkbox to show/hide the color finish field for each product in your results.
Note: You can set the Show Color Finish checkbox default in the User’s Profile settings.
-
Acceptability Flag/Conditions – Select the checkbox beside the desired acceptability flag(s) and/or condition(s) to search for.
Note: The acceptability flag(s) and condition(s) displayed are based on the specific user’s settings.
-
Show Results By – Select Details or Summary to display results by with item level detail, or simply a summary of information at the product level.
3. Populate the desired filter options and click Search.
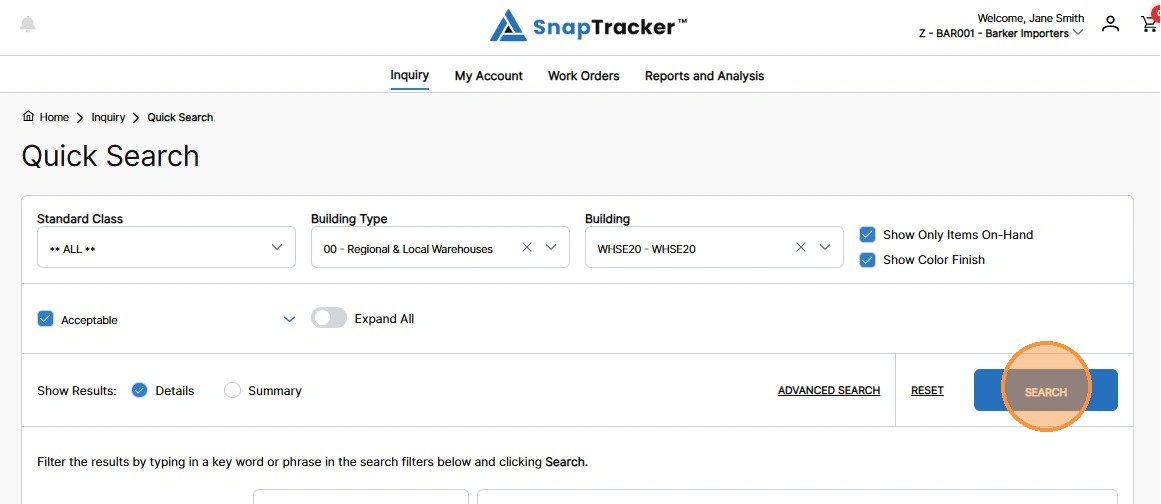
The results display.
Note: This search is showing the Summary results view.
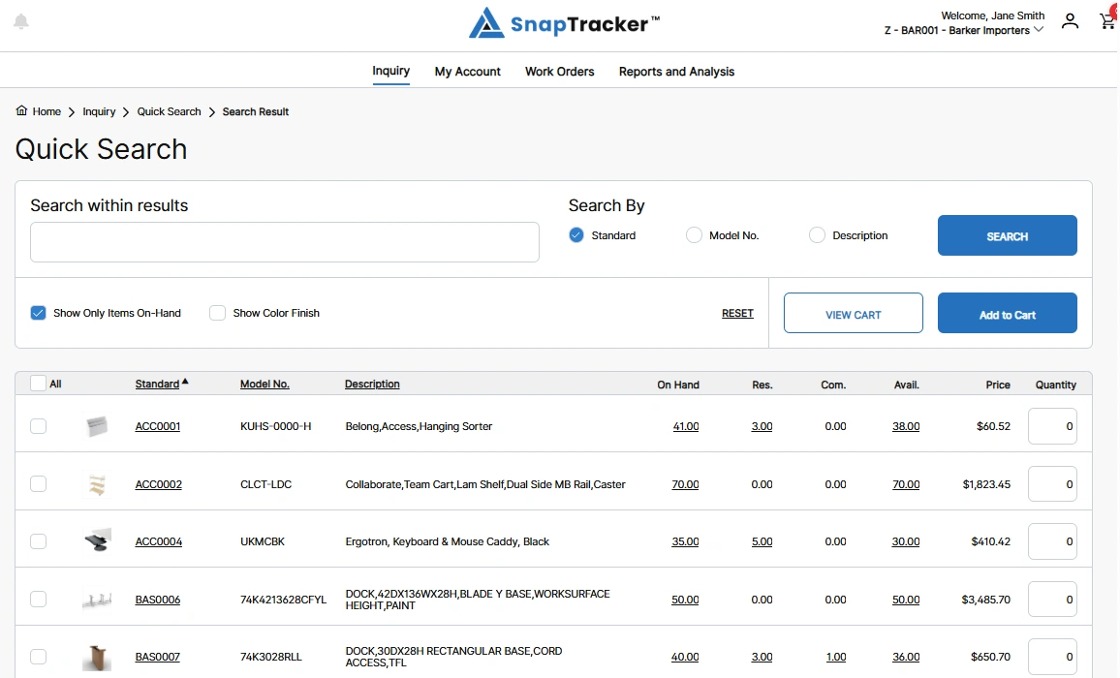
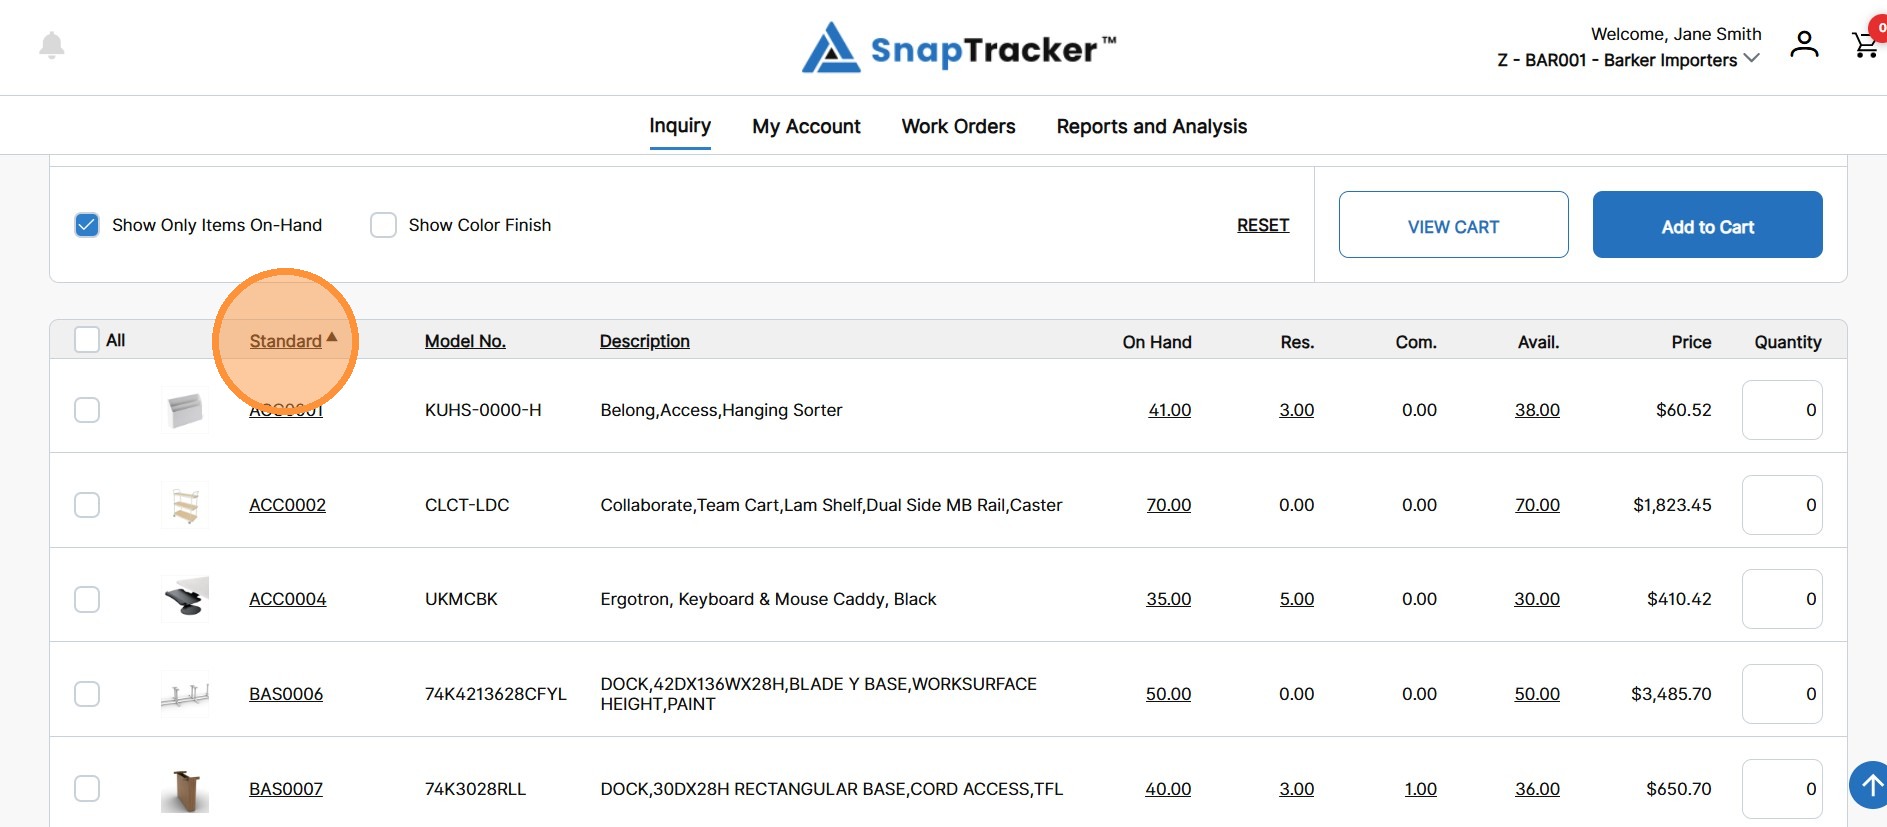
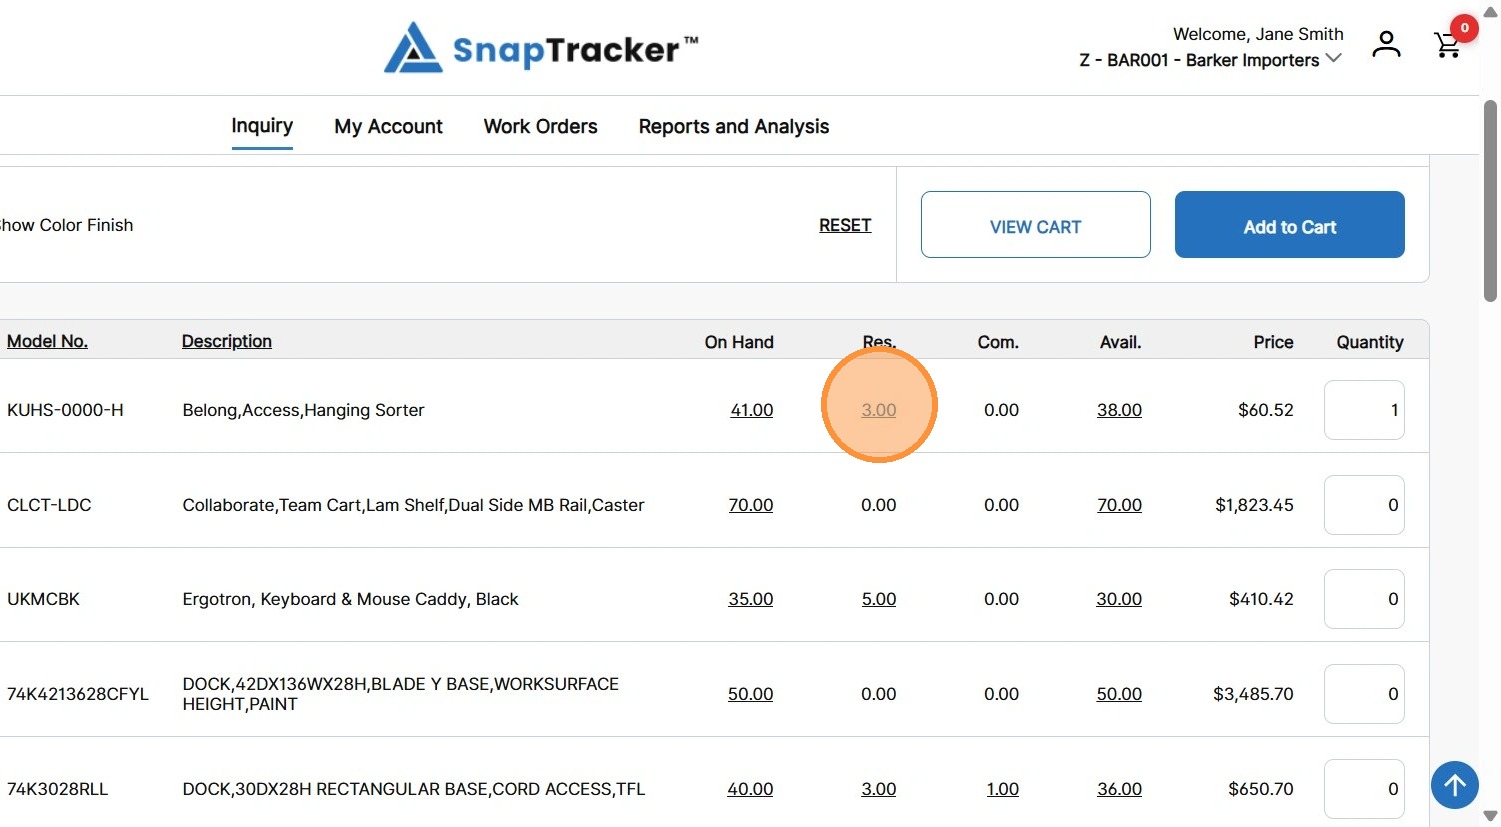
Observe the following columns in the Quick Search results:
- All (and individual checkboxes) – The product(s) that are selected to add to your cart.
- Standard – The unique Standard for the product in SnapTracker.
- Model No. – The model number of the product.
- Description – The description of the product.
- On Hand – The total quantity on hand of the product. (Displays based on User Access).
- Res. – The total quantity reserved of the product. (Displays based on User Access).
- Com. – The total quantity committed of the product. (Displays based on User Access).
- Avail. – The total quantity available to use of the product. (Displays based on User Access).
- Price – The purchase price of a new unit of the product. This is not necessarily the price of redeploying the product. (Displays based on User Access).
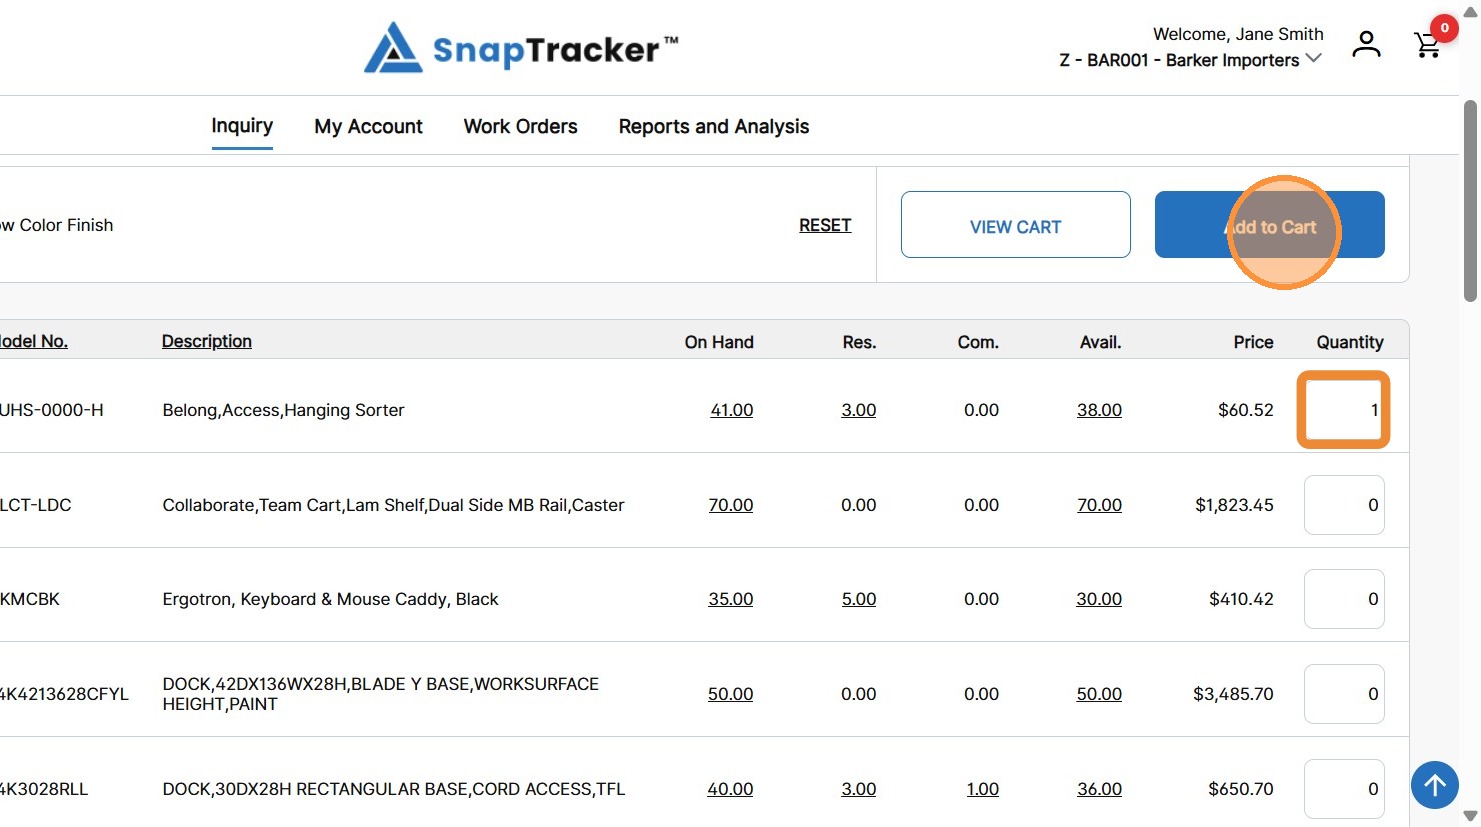
- Quantity – The desired number of units to add to your cart. (Displays based on User Access).
Note: Adjusting the quantity of a Standard automatically selects the respective checkbox for the product.
By default, the results display sorted by either Standard or Model No. in ascending order.
Note: Whether the results are sorted by Standard or Model No. is based on the setting in My Profile called Inquiry Default Search By.
The results can be re-ordered by clicking any underlined column header.

You are able to further filter the results by using the Search Within Results section, applying another layer of search and filtering to the initial results. You can filter the results by searching for specific information in one of these three fields for the Standard:
- Standard.
- Model No.
- Description.
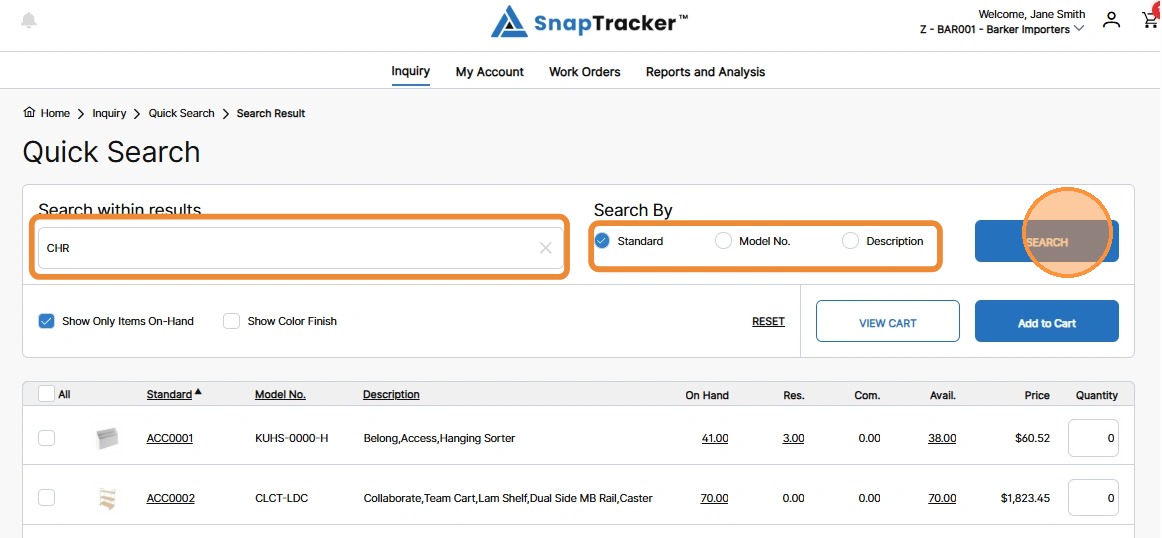
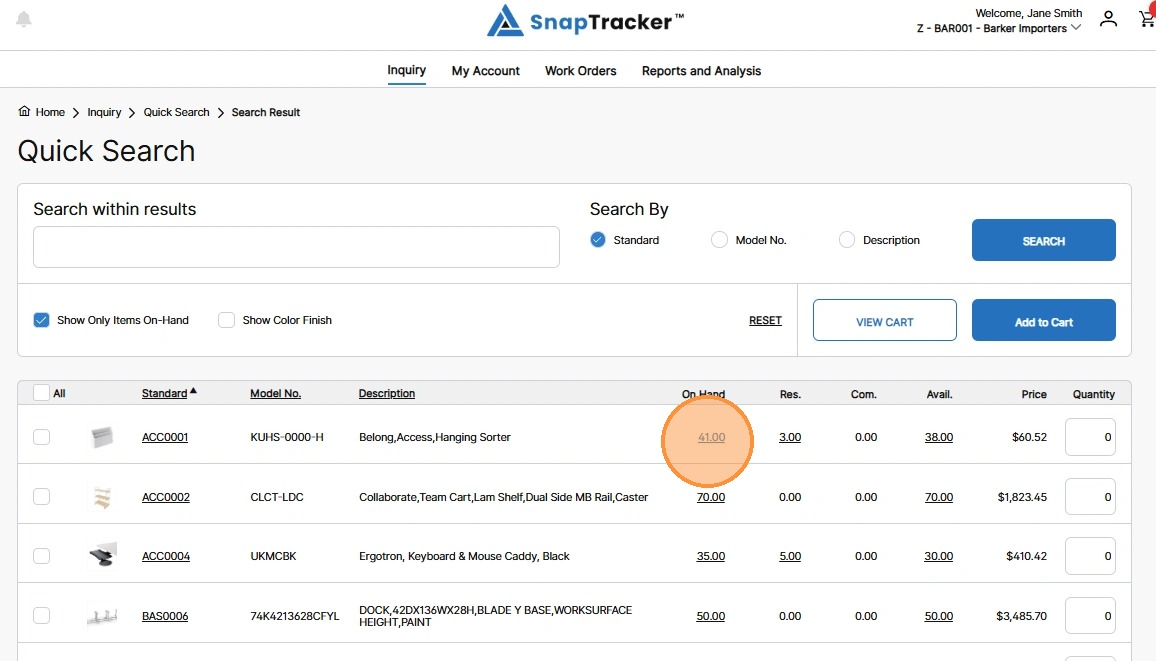
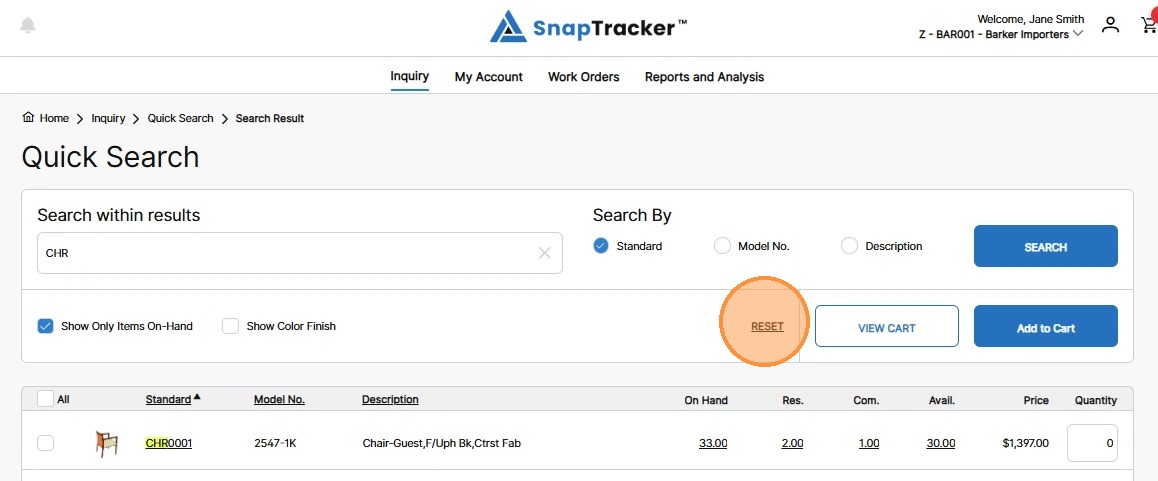
Observe the Search Within Results fields:
- Search within results – Enter the desired search input, based on the selected Search By condition.
- Search By – Used in conjunction with Search within results, select what field you want to search: Standard, Model No., or Description.
Also note:
- Show Only Items On-Hand – This is additional information letting you know the results shown only include product with an on hand quantity of one or more.
- Show Color Finish – Based on your initial input, select/unselect the checkbox to show/hide the color finish column for each product.
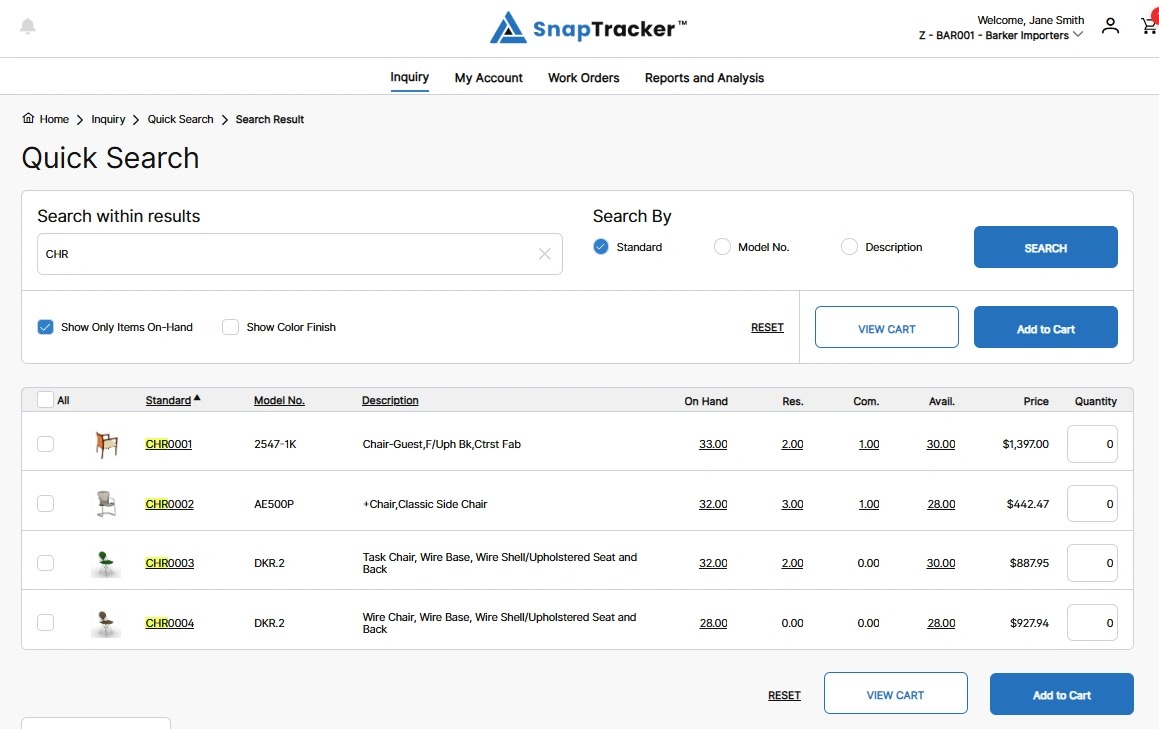
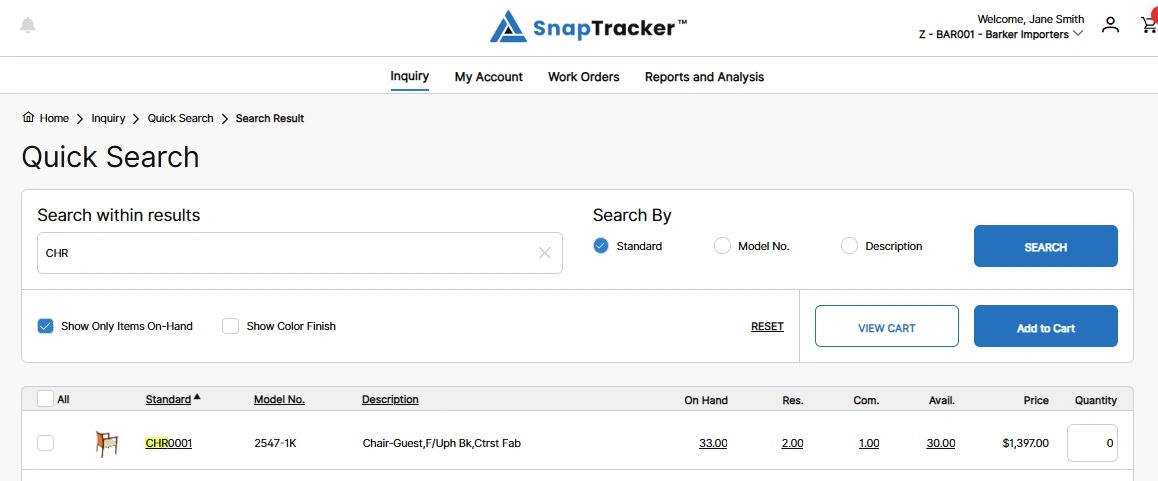
4. To search within the results, in the Search within results box, enter the desired search input, select the desired Search By field and click Search.
The filtered results display, with matching fields highlighted.
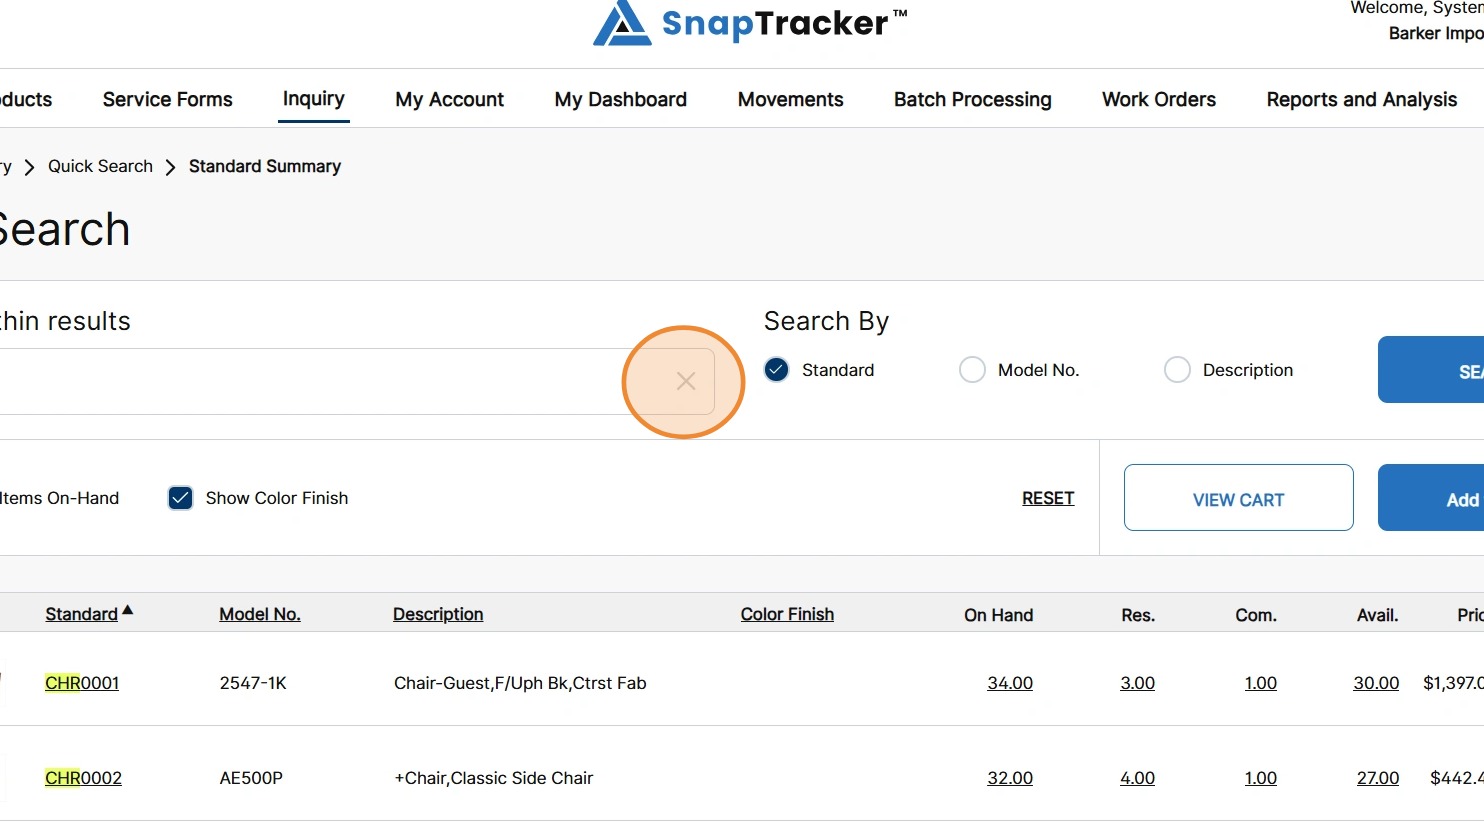
To clear the filtered results, click X in the text box.
The results display all the initial records again.
5. To modify the display order of the results, click an underlined header to sort by ascending or descending order.
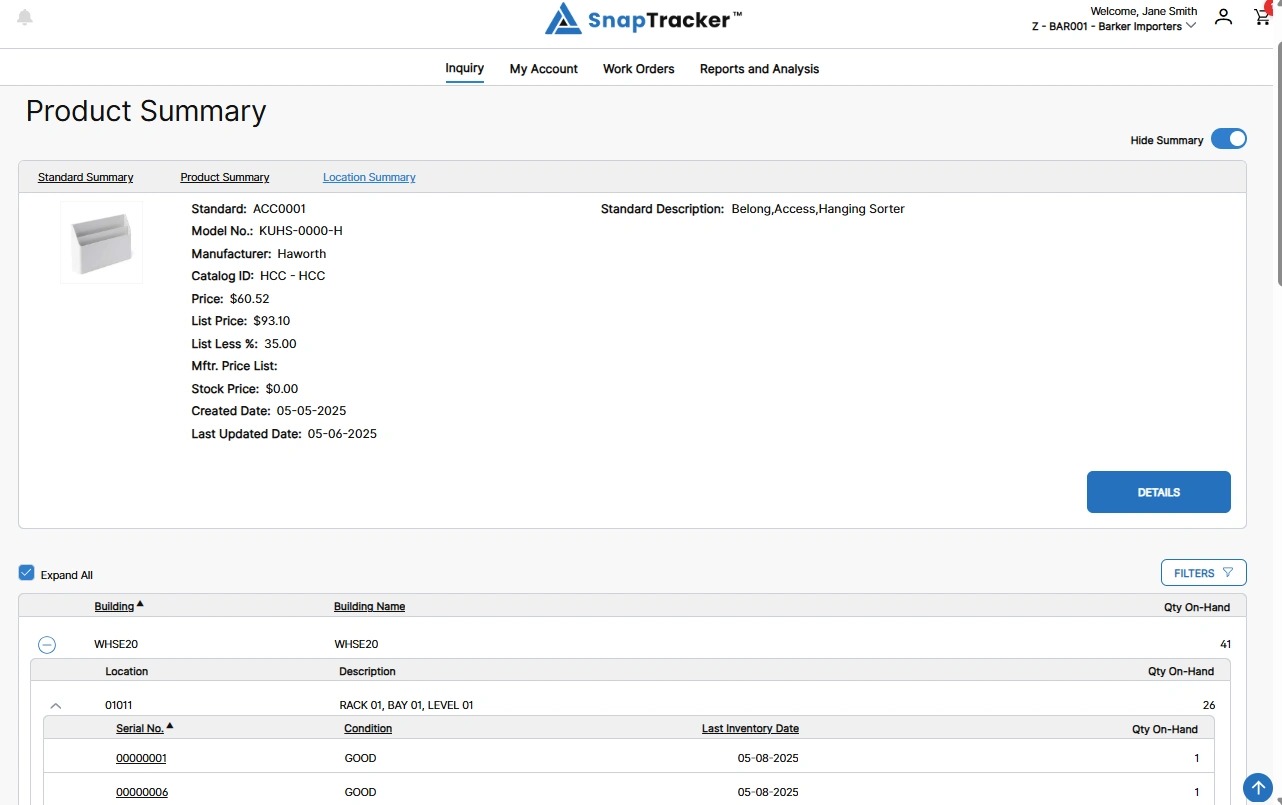
6. To open additional product details, click a hyperlinked Standard.
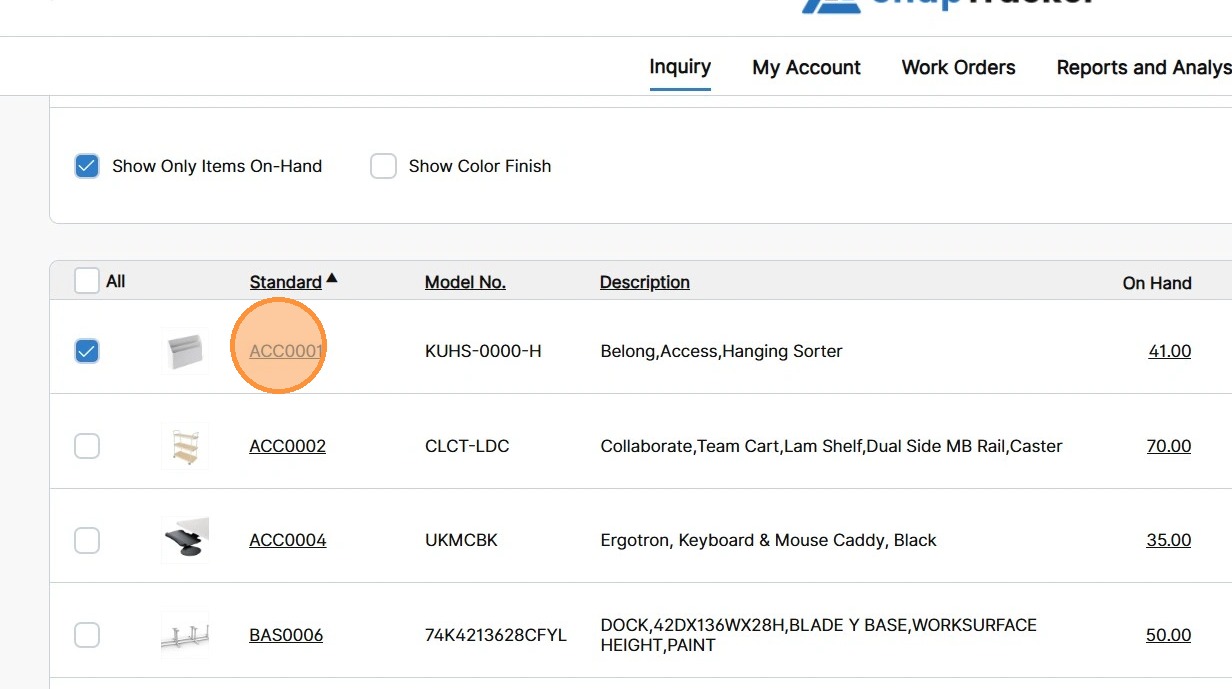
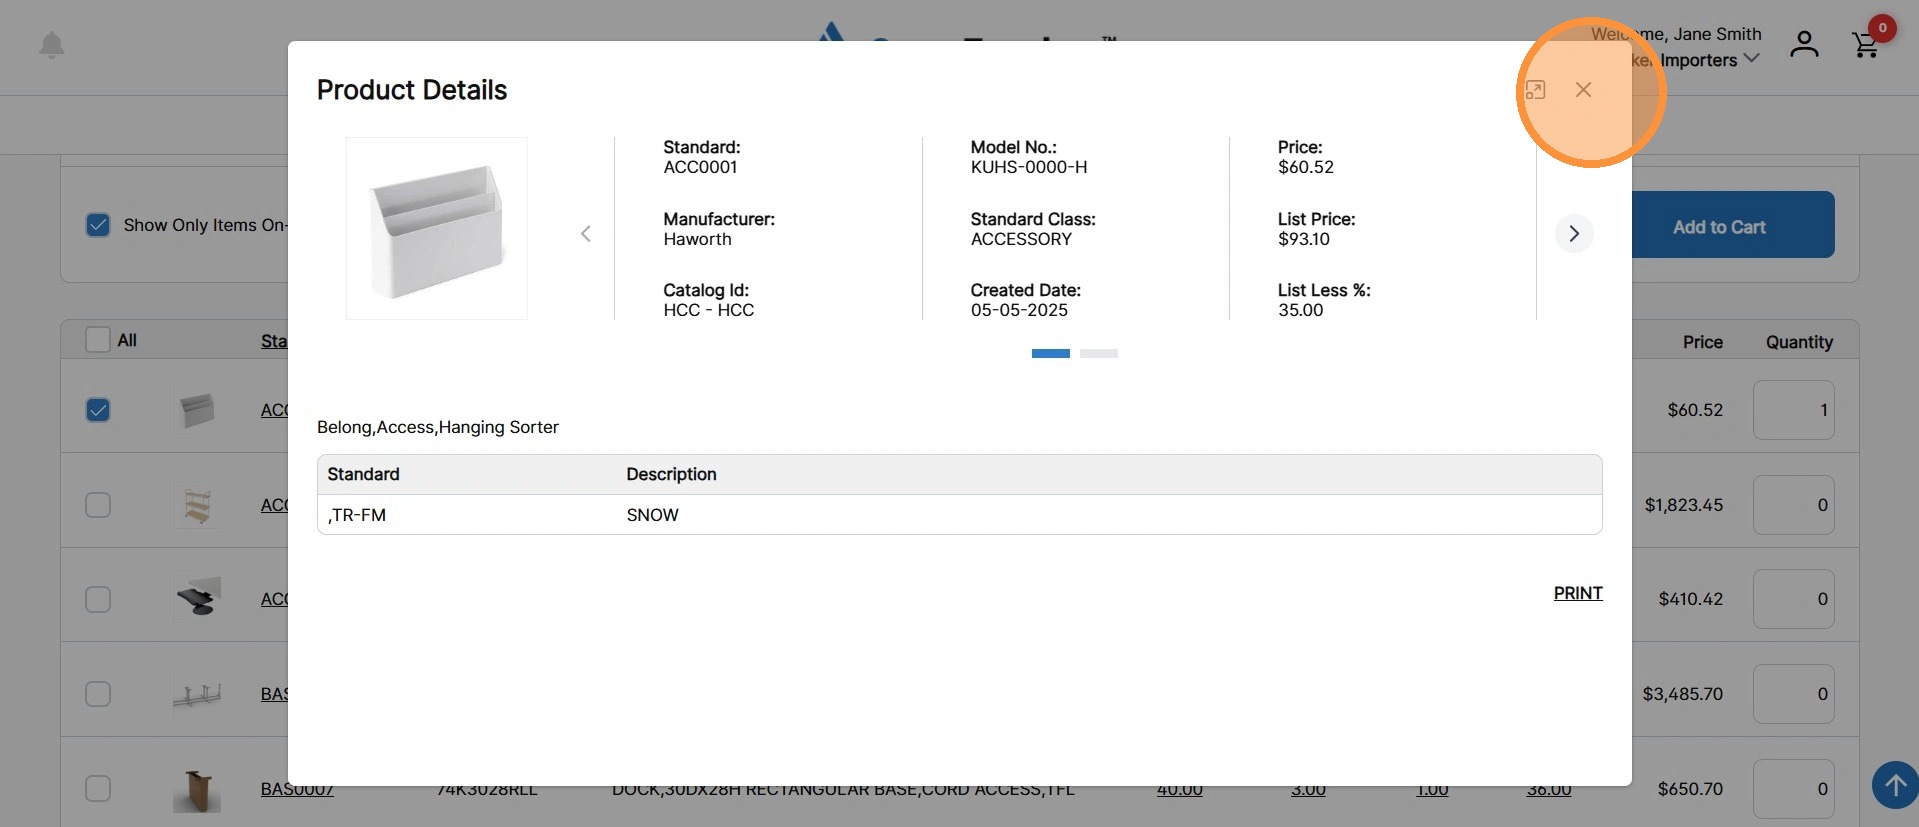
The Product Details pop-up displays.
Click the X to close the pop-up.
7. To view all on hand quantity details, click the hyperlinked On Hand value for a product.
The Location Summary screen for the selected product displays, with a product summary and full location details.
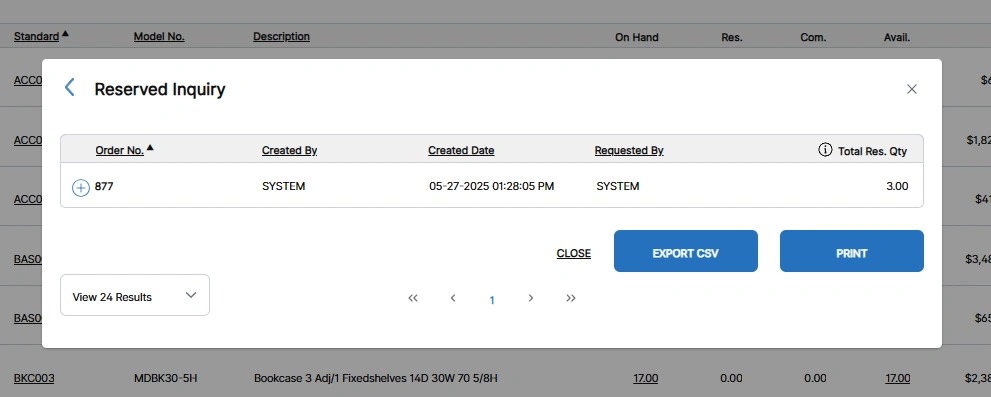
8. To view all reserved or committed quantity details, click the hyperlinked Res. value or the hyperlinked Com. value for a product.
The respective Inquiry pop-up displays.
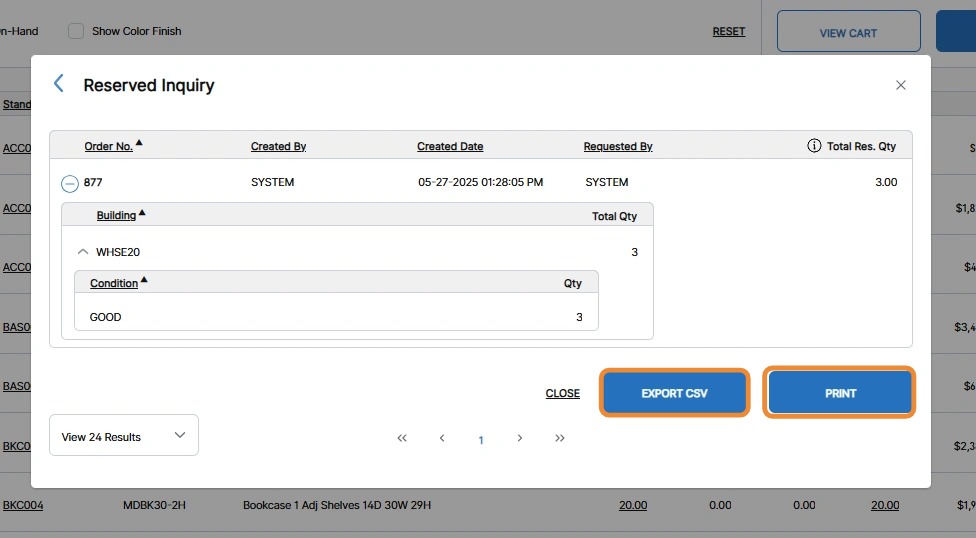
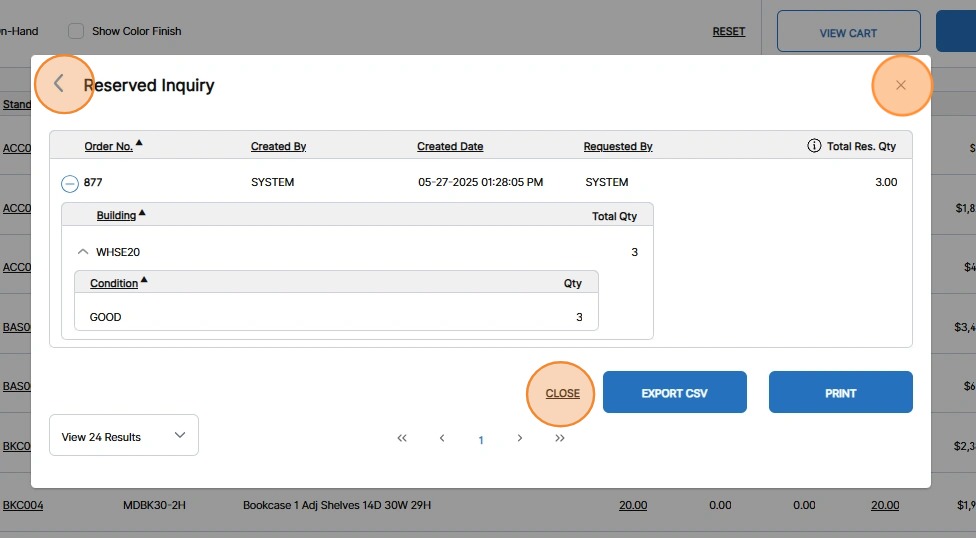
9. To view additional details for the allocated (product on a reservation or work order) product, click the expand icon (+) beside the Order Number.

The expanded order details display.
Note: From the Reserved or Committed Inquiry screens you can export the order information to a CSV or print it by clicking Export CSV or Print.
10. To close the pop-up, click X, Close or the icon beside the pop-up screen title.
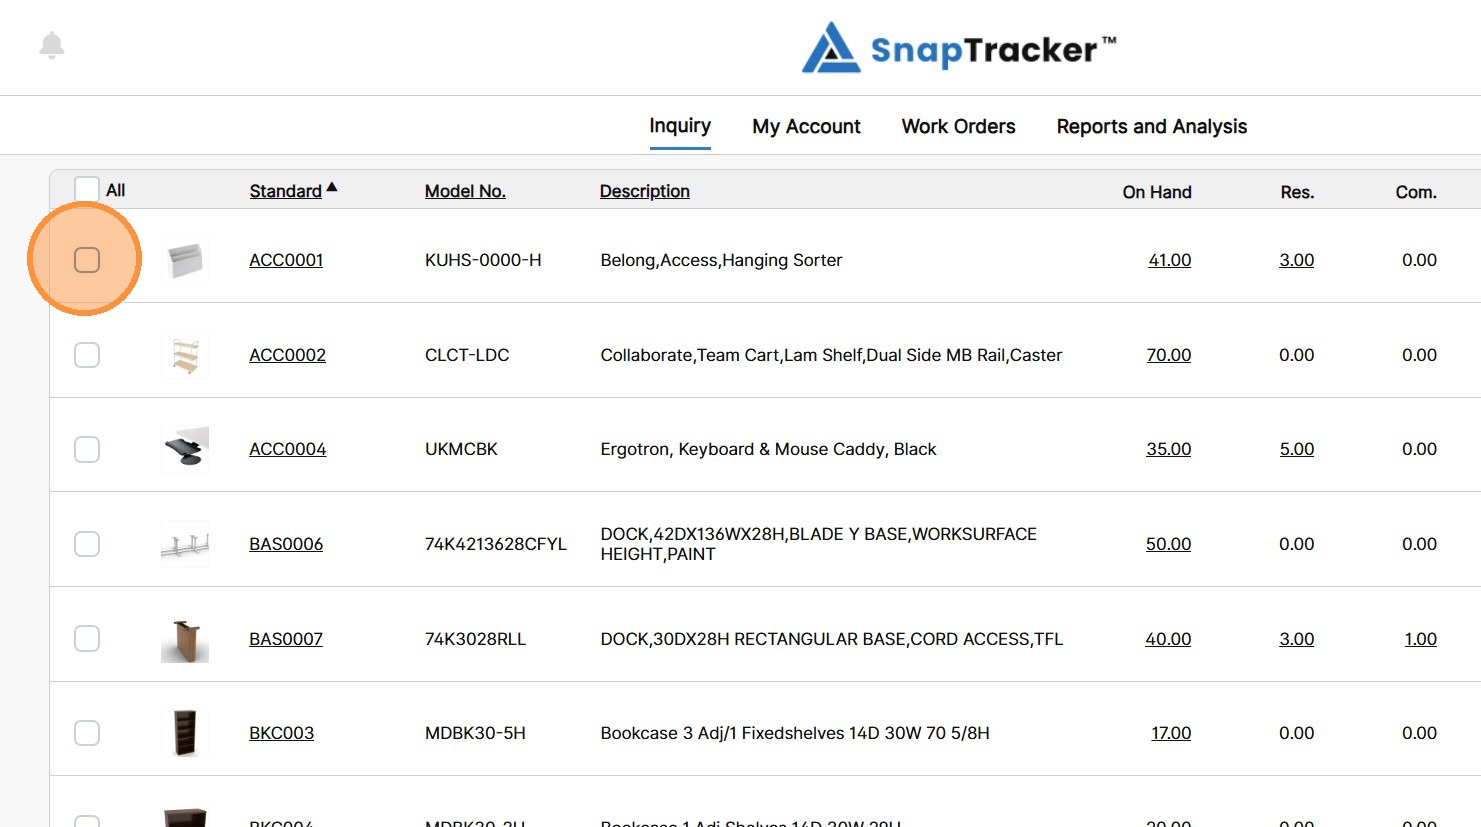
11. To add any items of a product to your cart, select the checkbox(es) for the desired product(s).
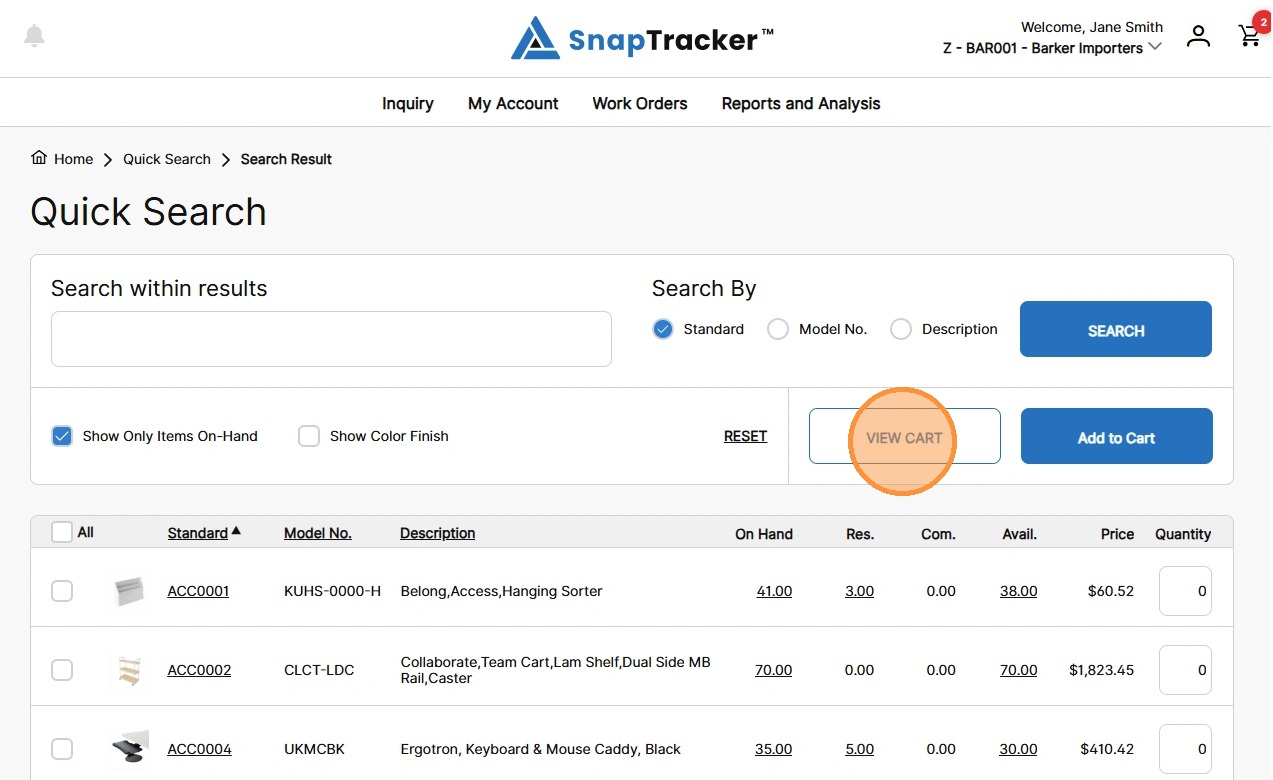
12. Modify the Quantity field to adjust the number of units to add, if desired and click Add to Cart.
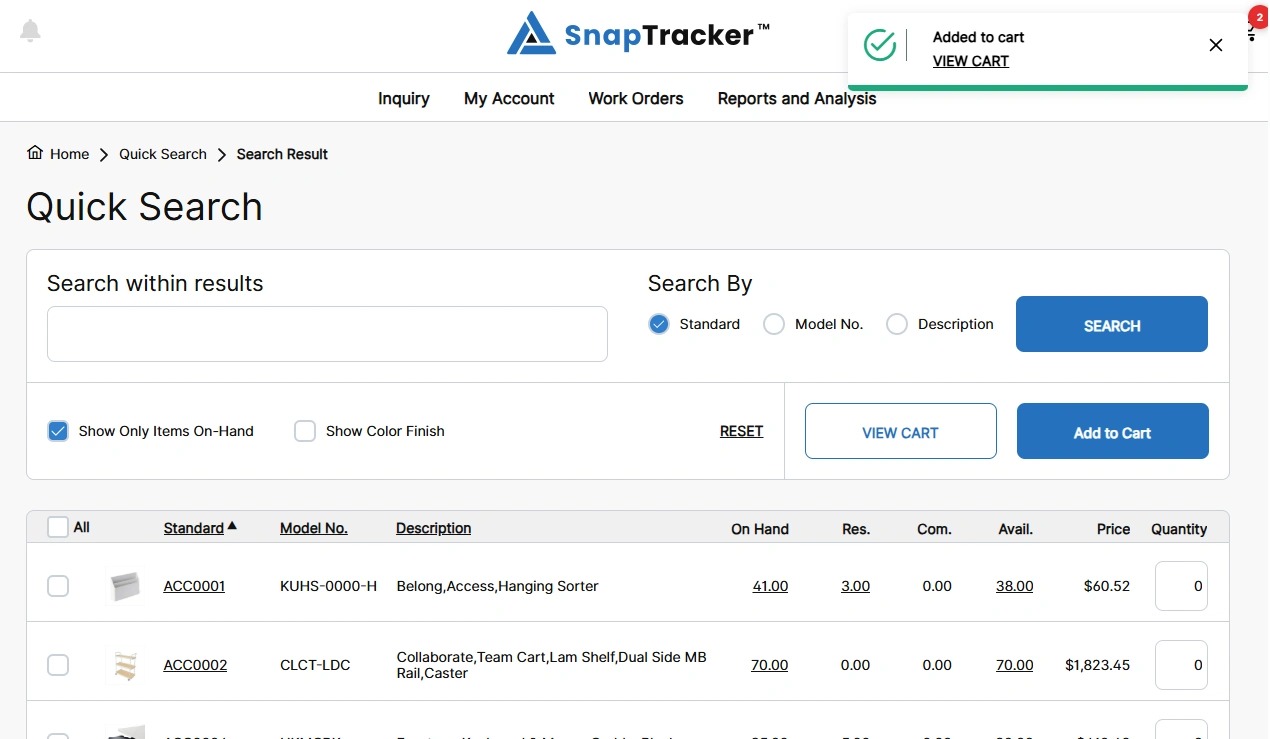
A success message displays that your products have been added to your cart.
13. To temporarily view your cart and return to your previous search results, click View Cart.
The Cart Details screen displays.
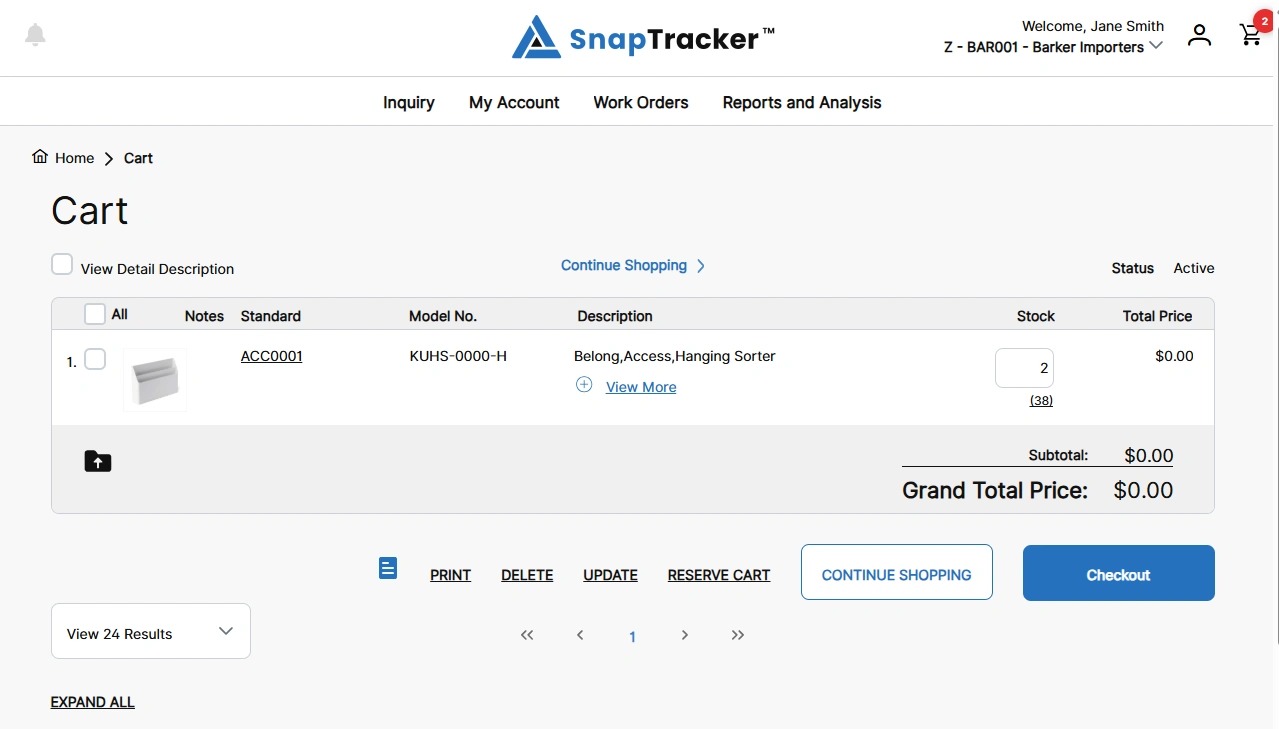
14. Review your cart details and click Continue Shopping to return to your previous search results.
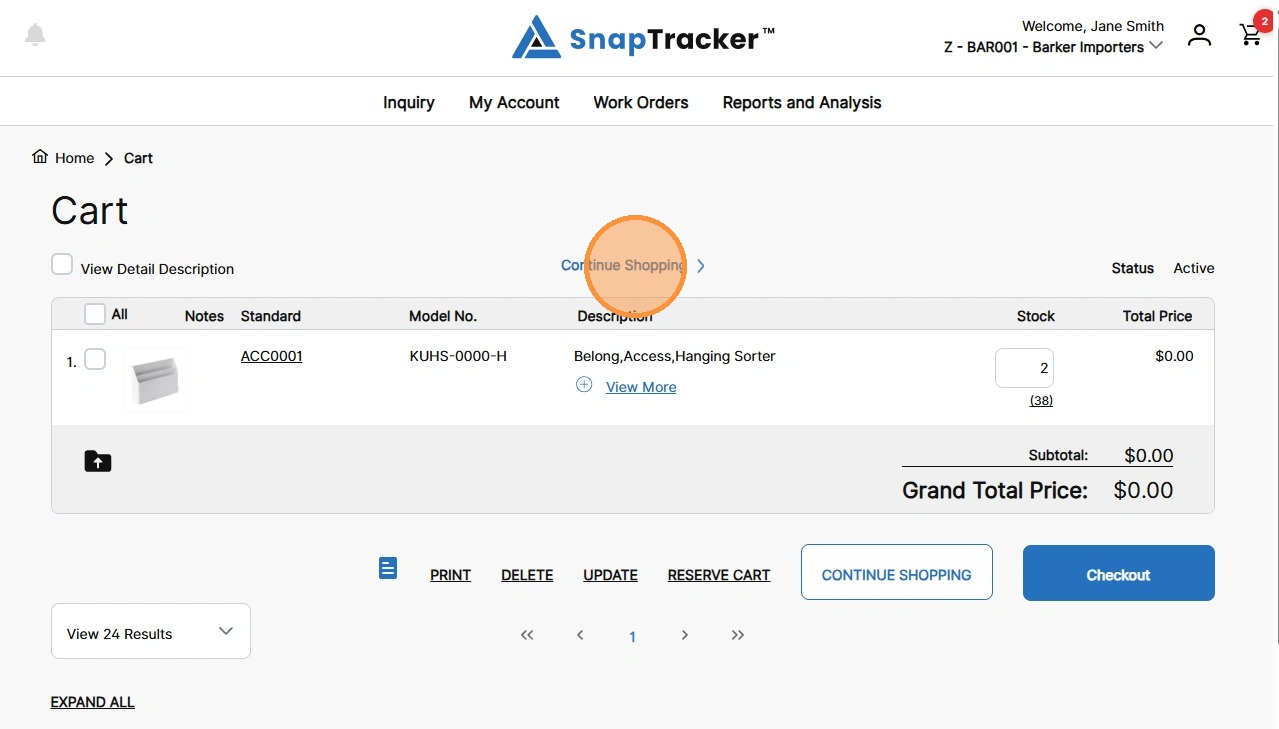
The Quick Search Results with your previous search and filter inputs display.
15. To clear and restart your search, click Reset.
To learn more about different search features in Quick Search refer to:
“How to Use Inquiry – Quick Search (Asset Management) – Basic Search – Summary View“.
“How to Use Inquiry – Quick Search (Asset Management) – Basic Search – Details View“.
“How to Use Inquiry – Quick Search (Asset Management) – Basic Search – Advanced Search“.
“How to Use Inquiry – Quick Search (Asset Management) – Basic Search – Request Product by Condition“.