How to Create, Edit, and Delete Custom Message Setup
Default messages are available for various ordering workflows and email notifications in SnapTracker. The Custom Setup screen enables you to customize these messages with additional styling options or custom HTML code to create a unique experience for your users. You may additionally, preview the customized message before implementing them on your site.
The Custom Setup screen enables you to create, edit, and delete custom messages for various on screen messages and email notifications.
Before starting, make sure:
- You are logged into SnapTracker.
- You have access to Utilities – Custom Setup.
- The correct Customer is selected from the Customer selection list.
This post outlines how to create, edit, and delete custom messages on your SnapTracker site.
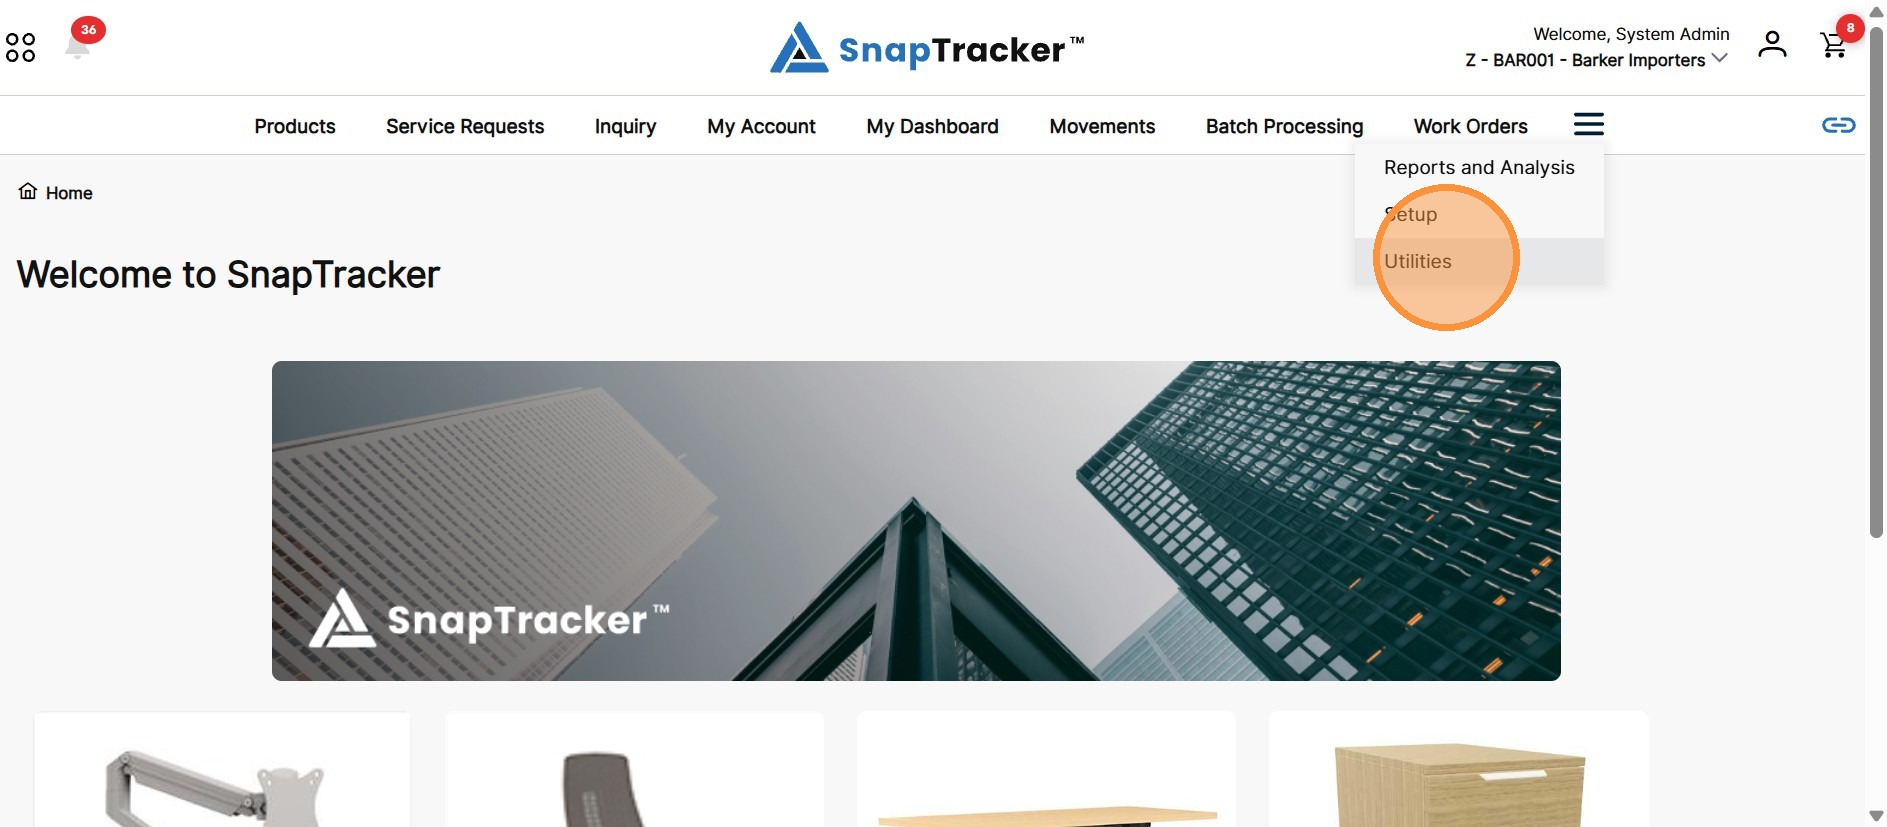
1. In the header section, click Utilities.
Note: Depending on your browser, you may need to click the View menu items icon to see Setup.
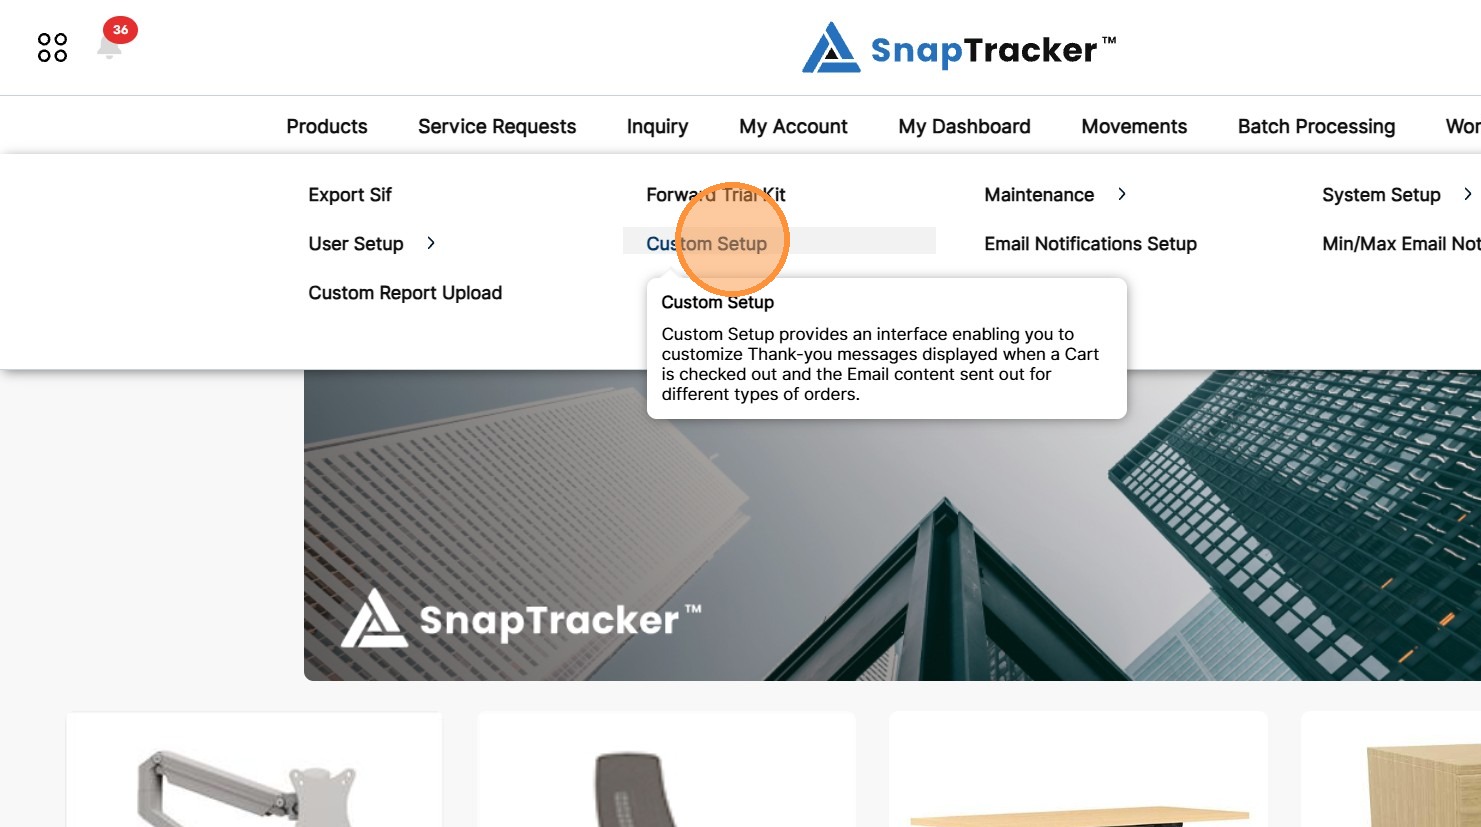
2. Click Custom Setup.
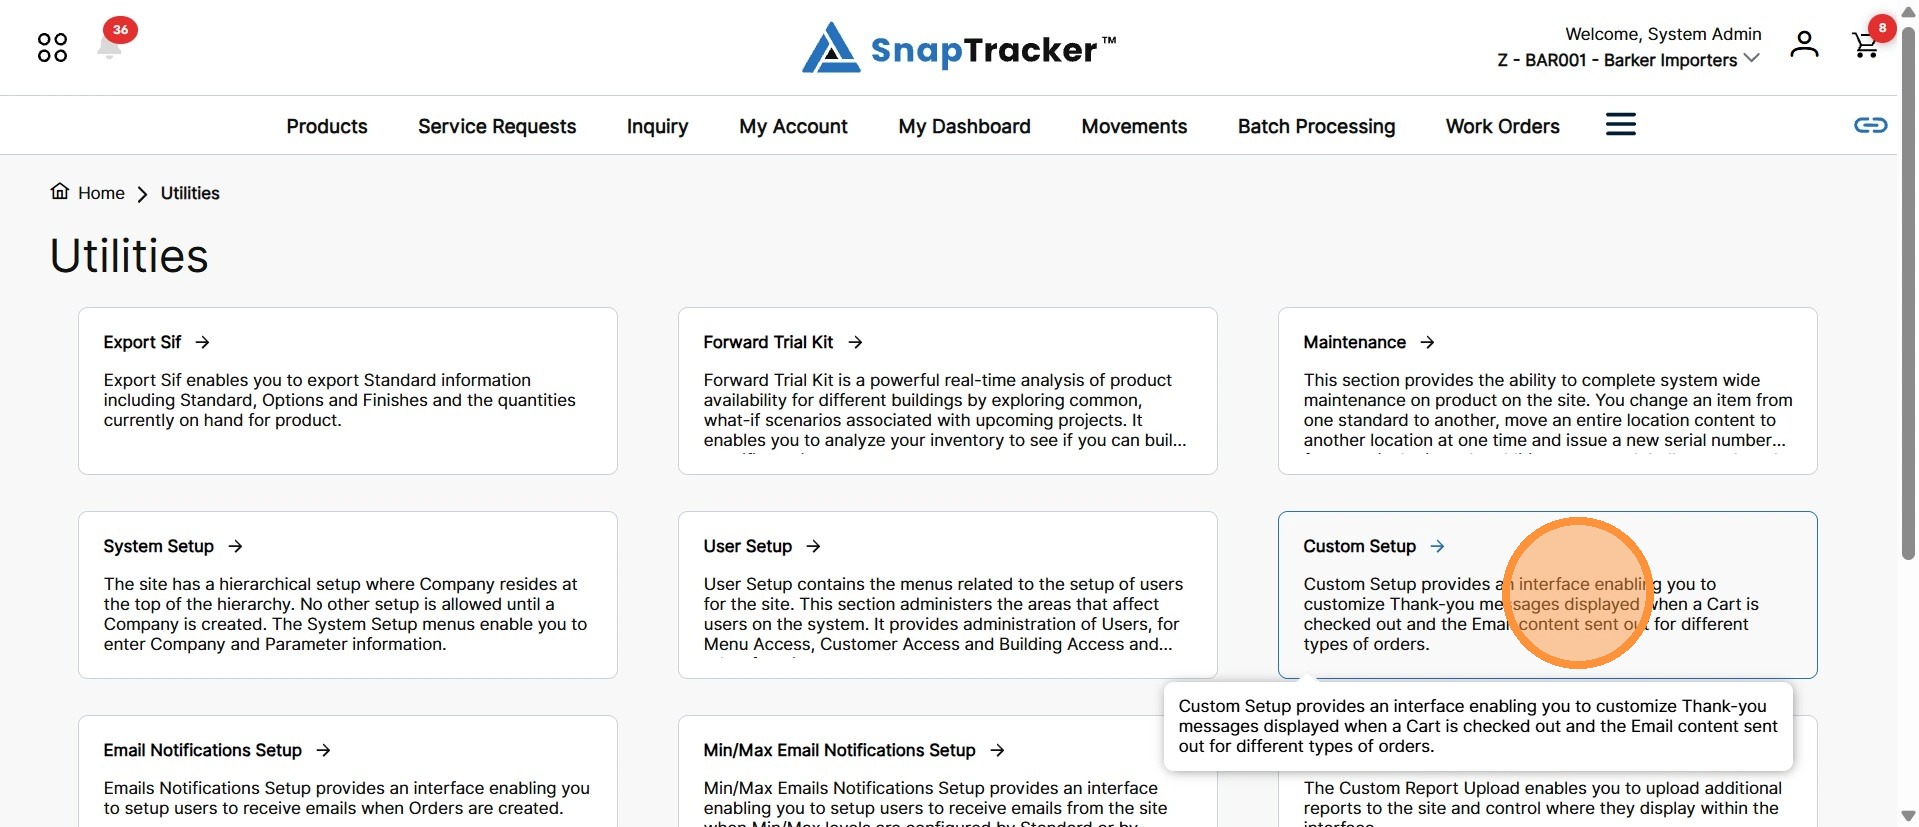
Another way to access the Custom Setup screen is to navigate to the Utilities main screen.
From here, select Custom Setup.
The Custom Setup screen displays.
Note: The screen is empty on default, with no specific request type selected. Ensure the correct Customer is selected before proceeding.
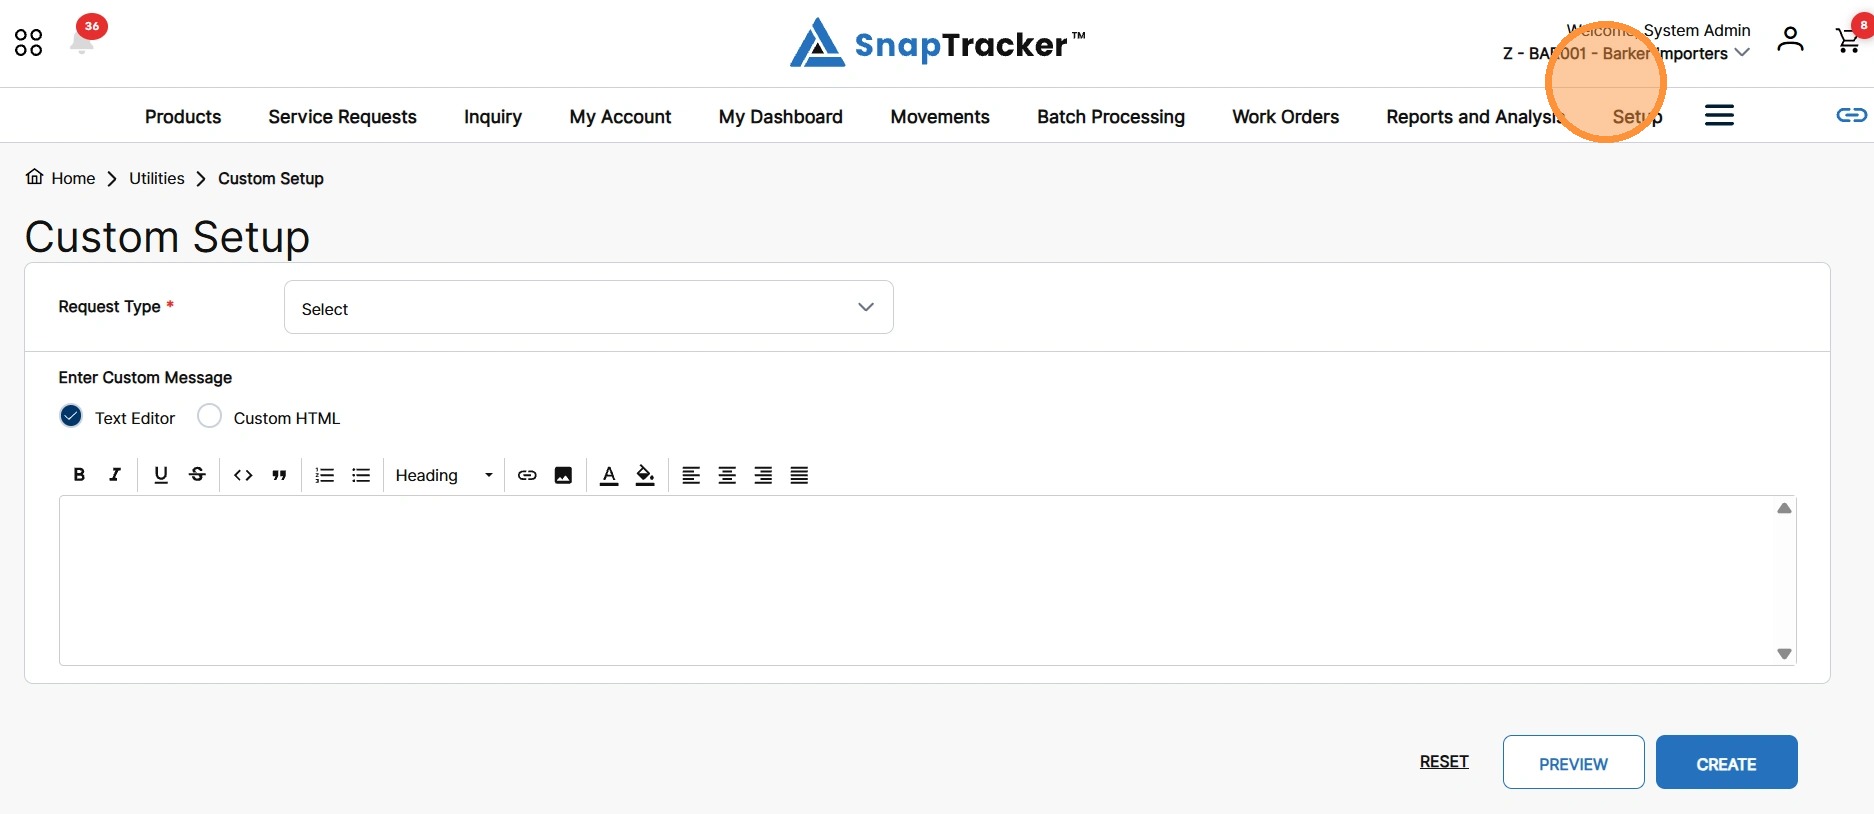
3. To view the different options available, from the Request Type dropdown, click the dropdown arrow.
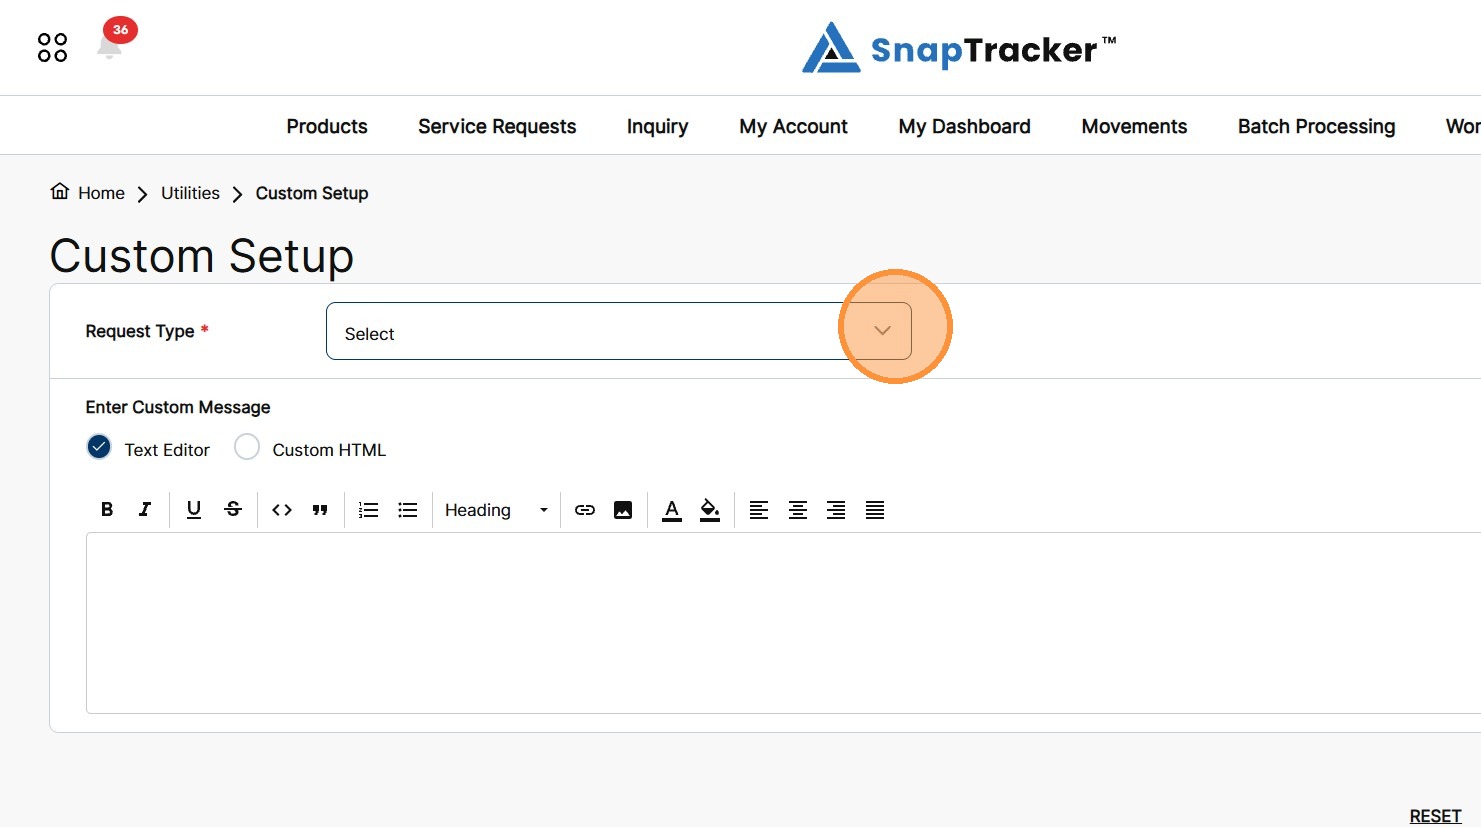
All customizable request types display.
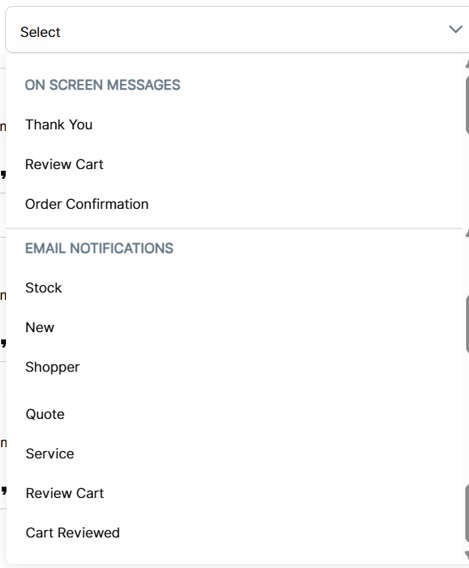
The various message that can be customized are organized into two categories:
- On Screen Message – Messages that display in the SnapTracker site.
- Email Notifications – Messages that are contained in the associated email notifications from a SnapTracker workflow.
4. From the list, select the desired request type.
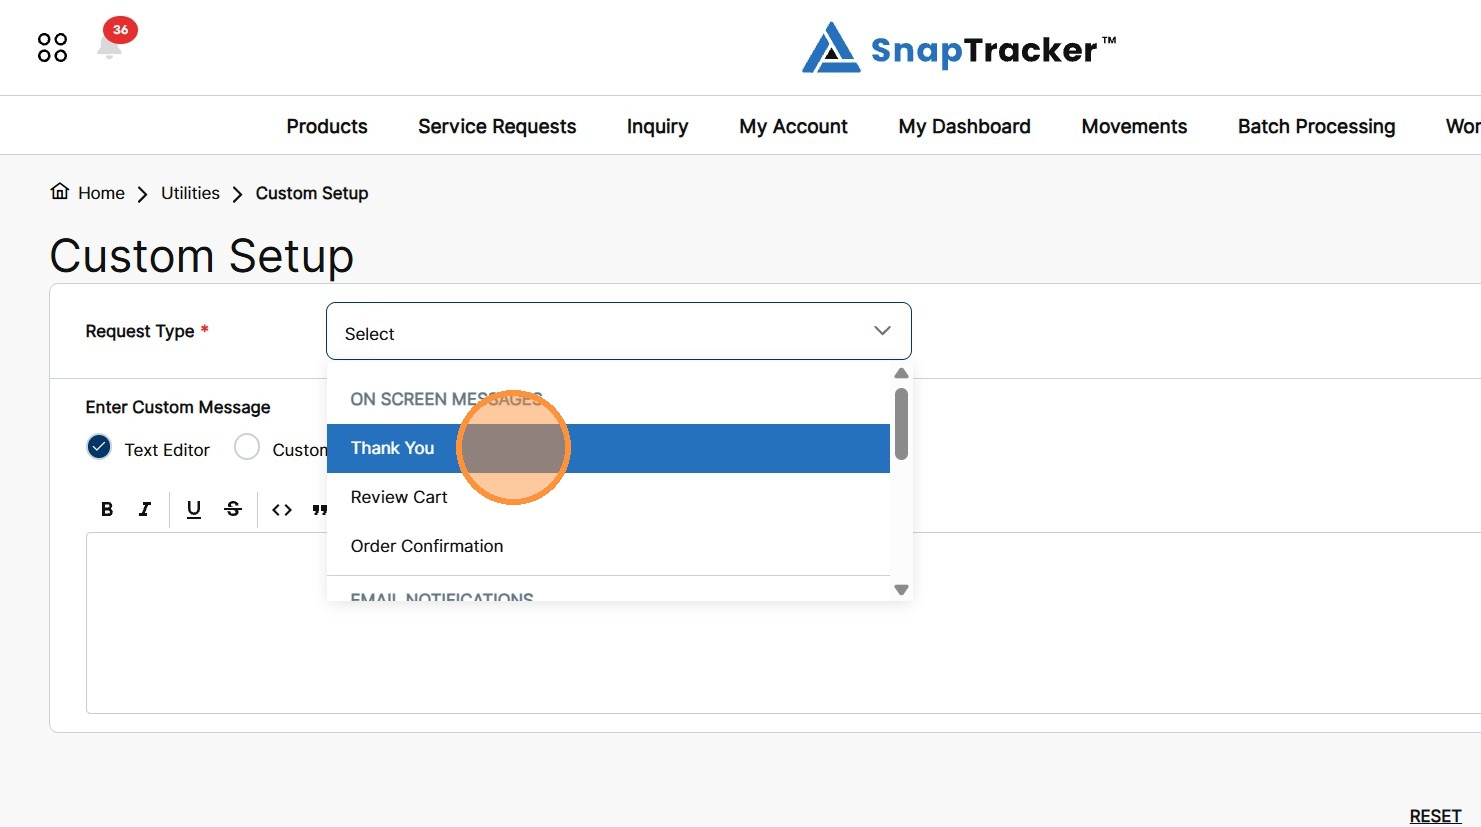
The selected request type displays with a description of what the message is and where it displays.
Note: To clear the selected request type, click X beside the request type name.
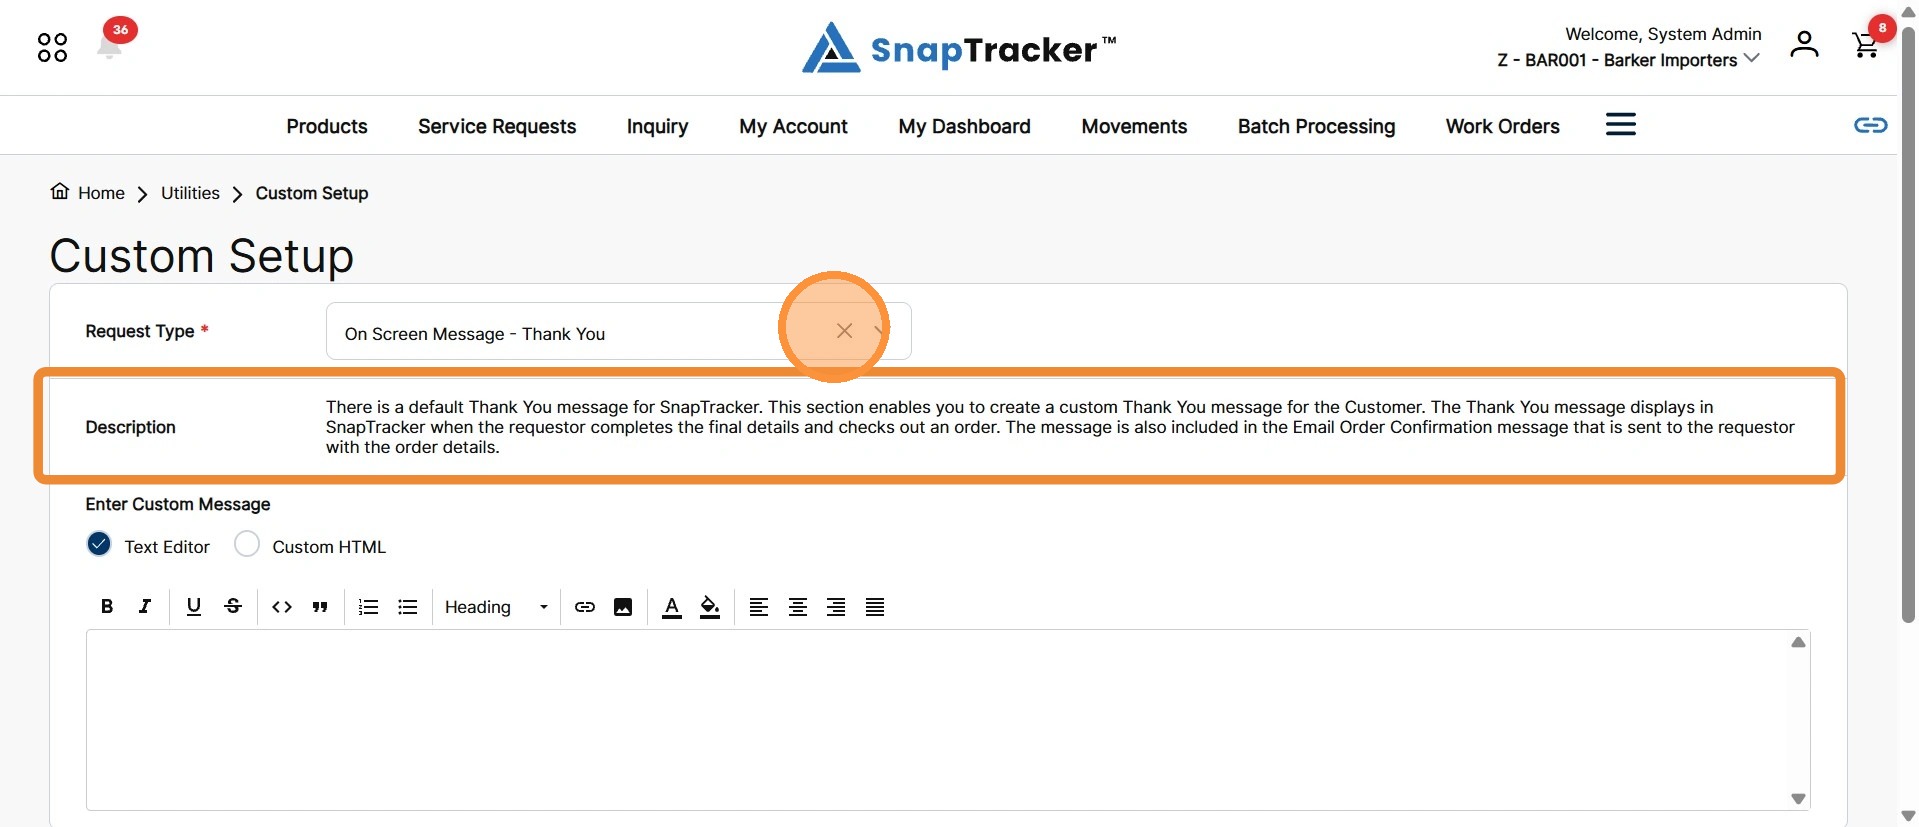
There are two editor options under the Enter Custom Message field:
- Text Editor – Edit content with basic styling options.
- Custom HTML – Edit content by using customized HTML code.
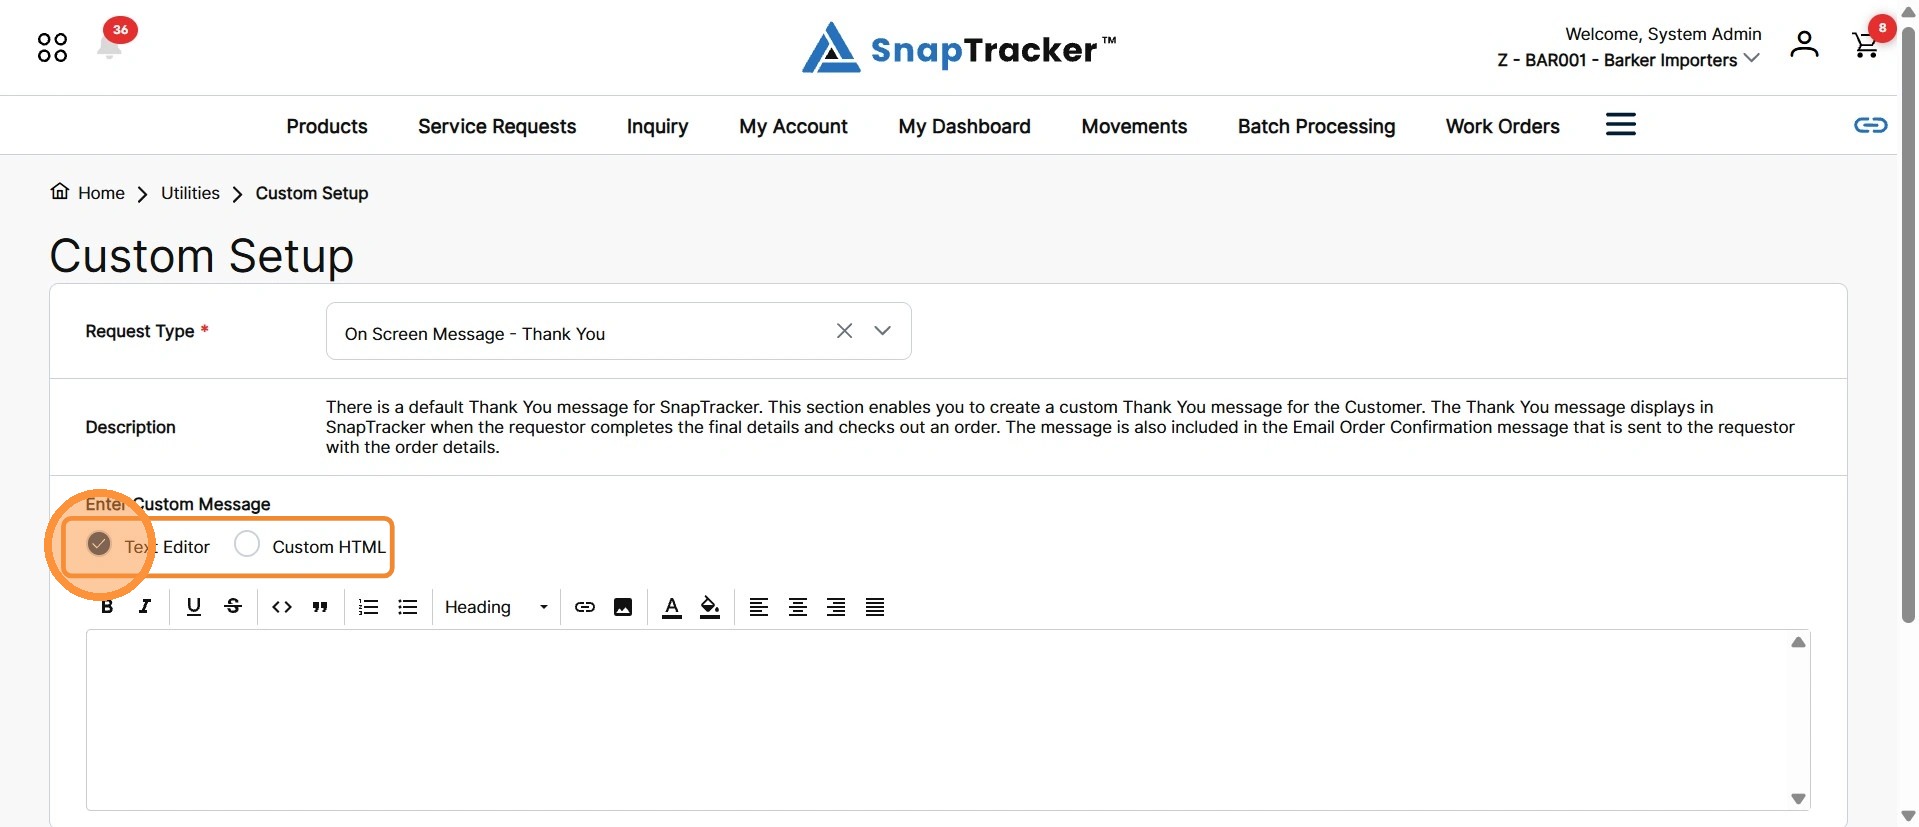
5. To create a custom message using the Text Editor option, select Text Editor.
Note: Text Editor is selected by default.
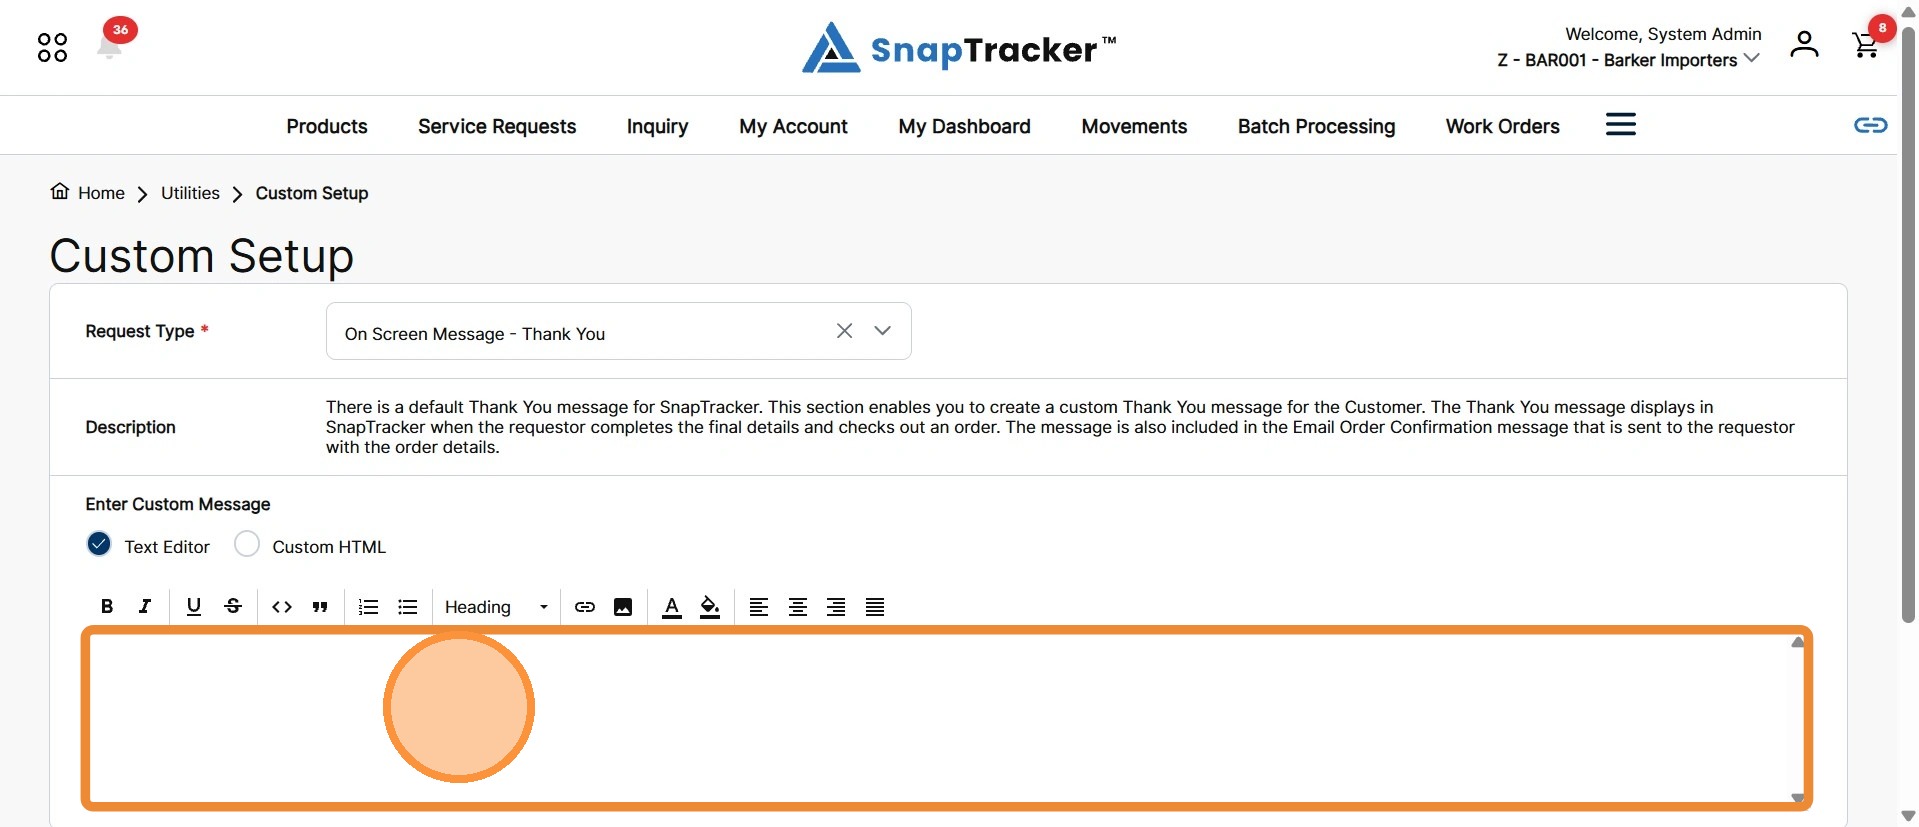
6. In the Enter Custom Message field, enter the desired message content.
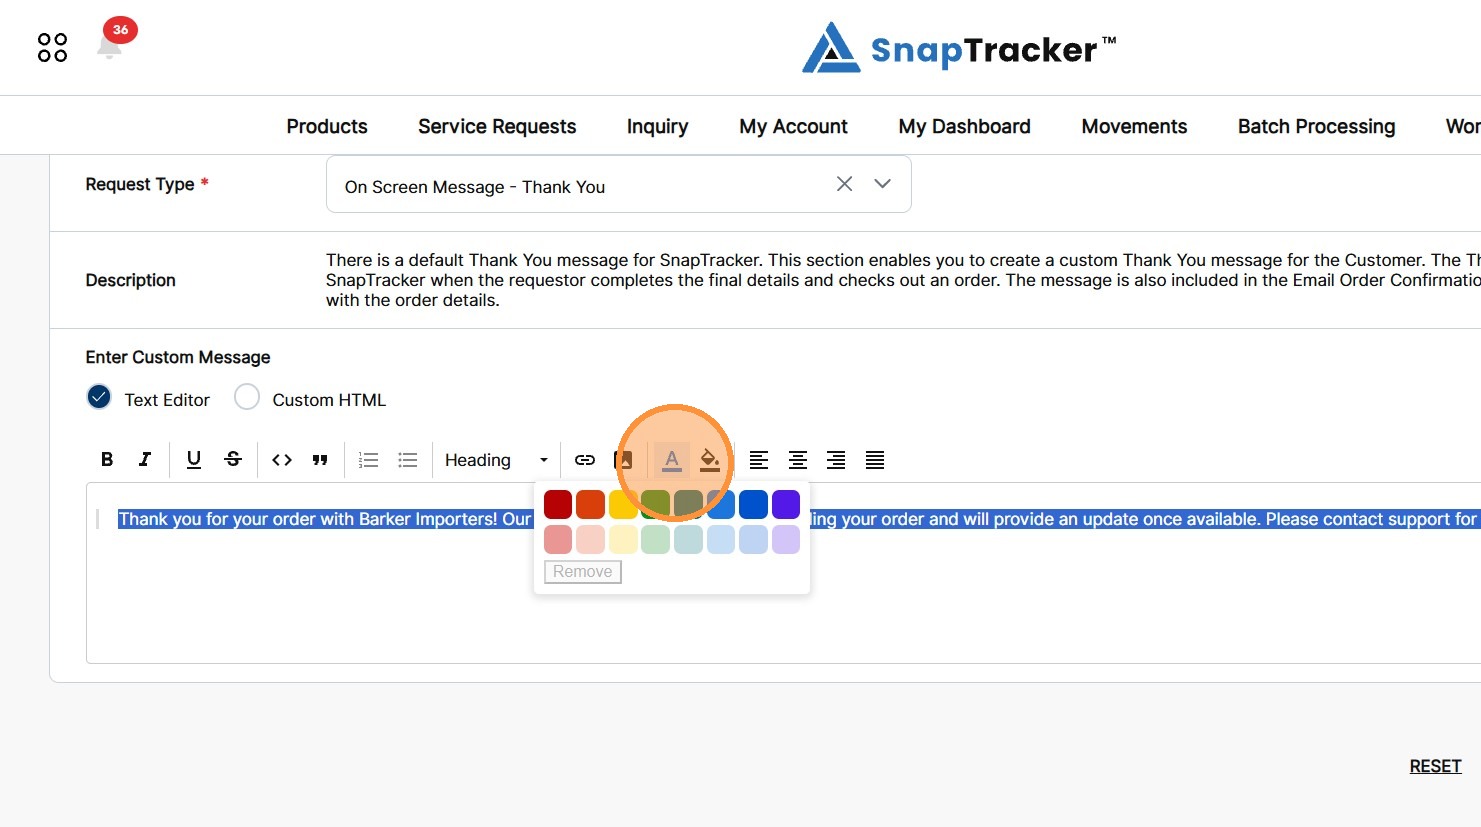
7. Apply additional styling as desired.
8. To preview the message before saving, click Preview.
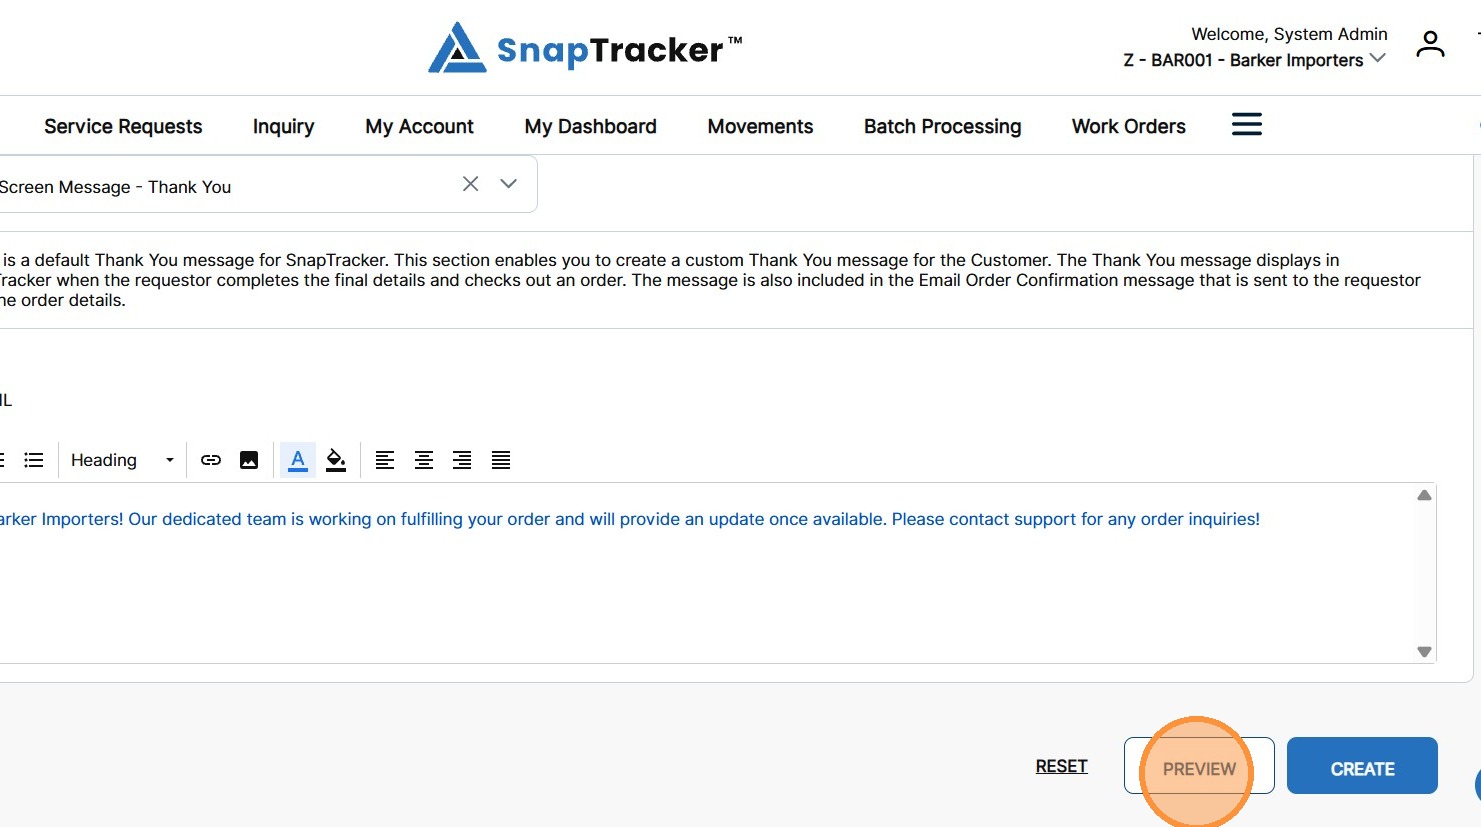
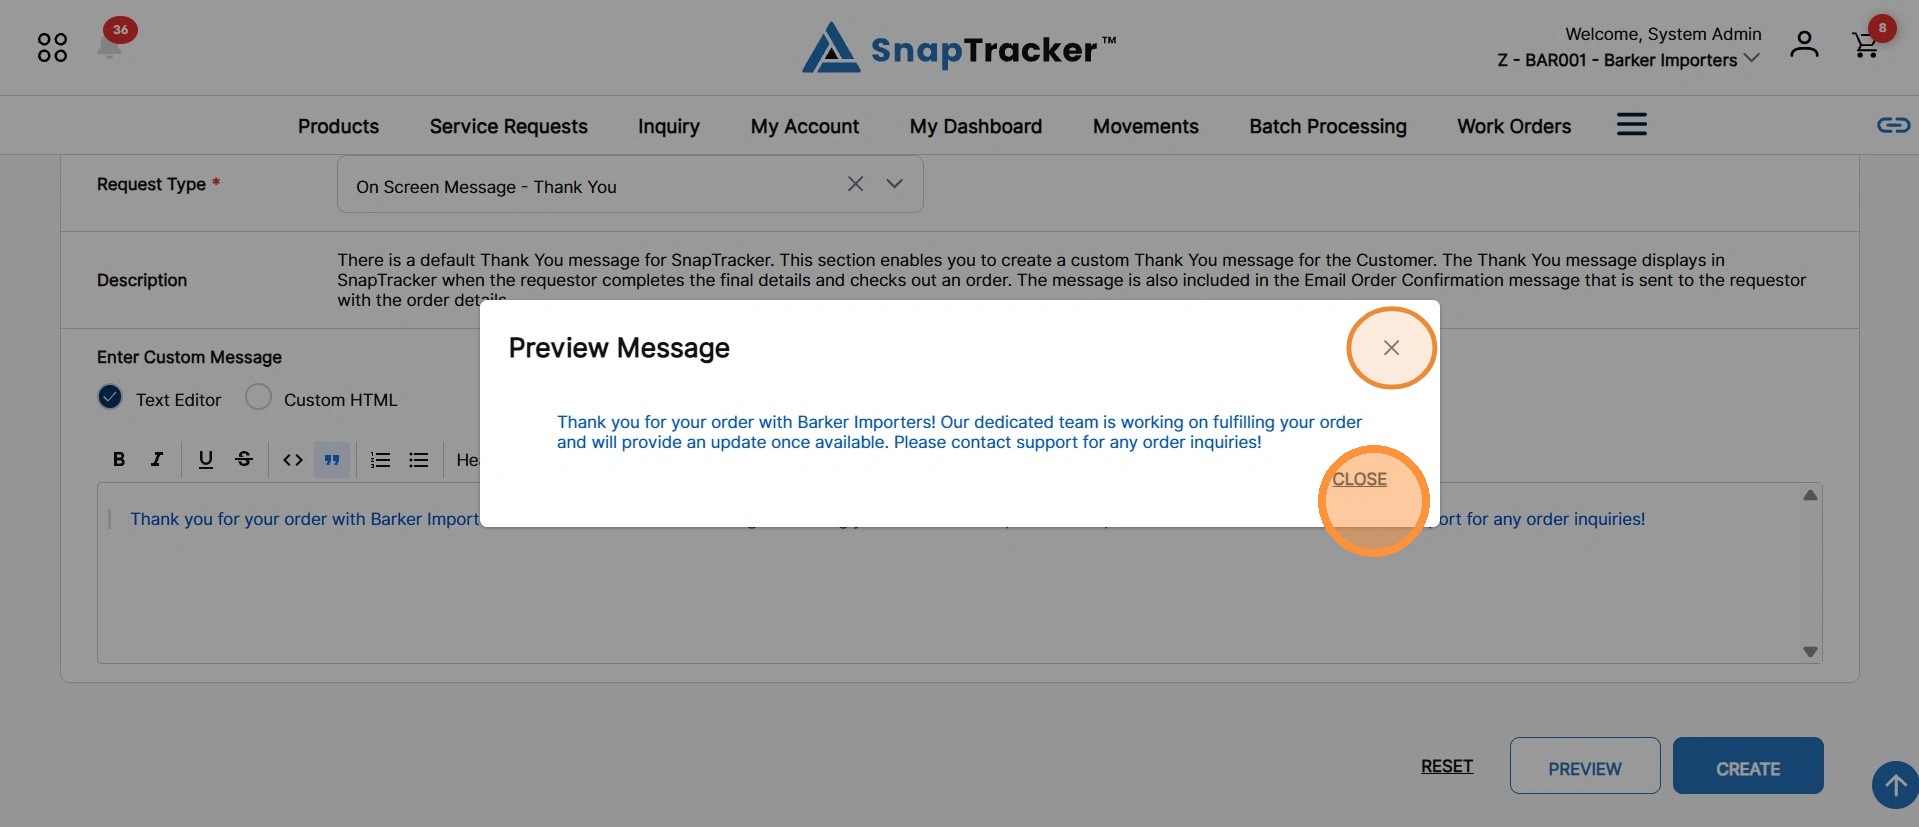
The preview pop-up of the custom message displays.
To close the pop-up, click Close or X.
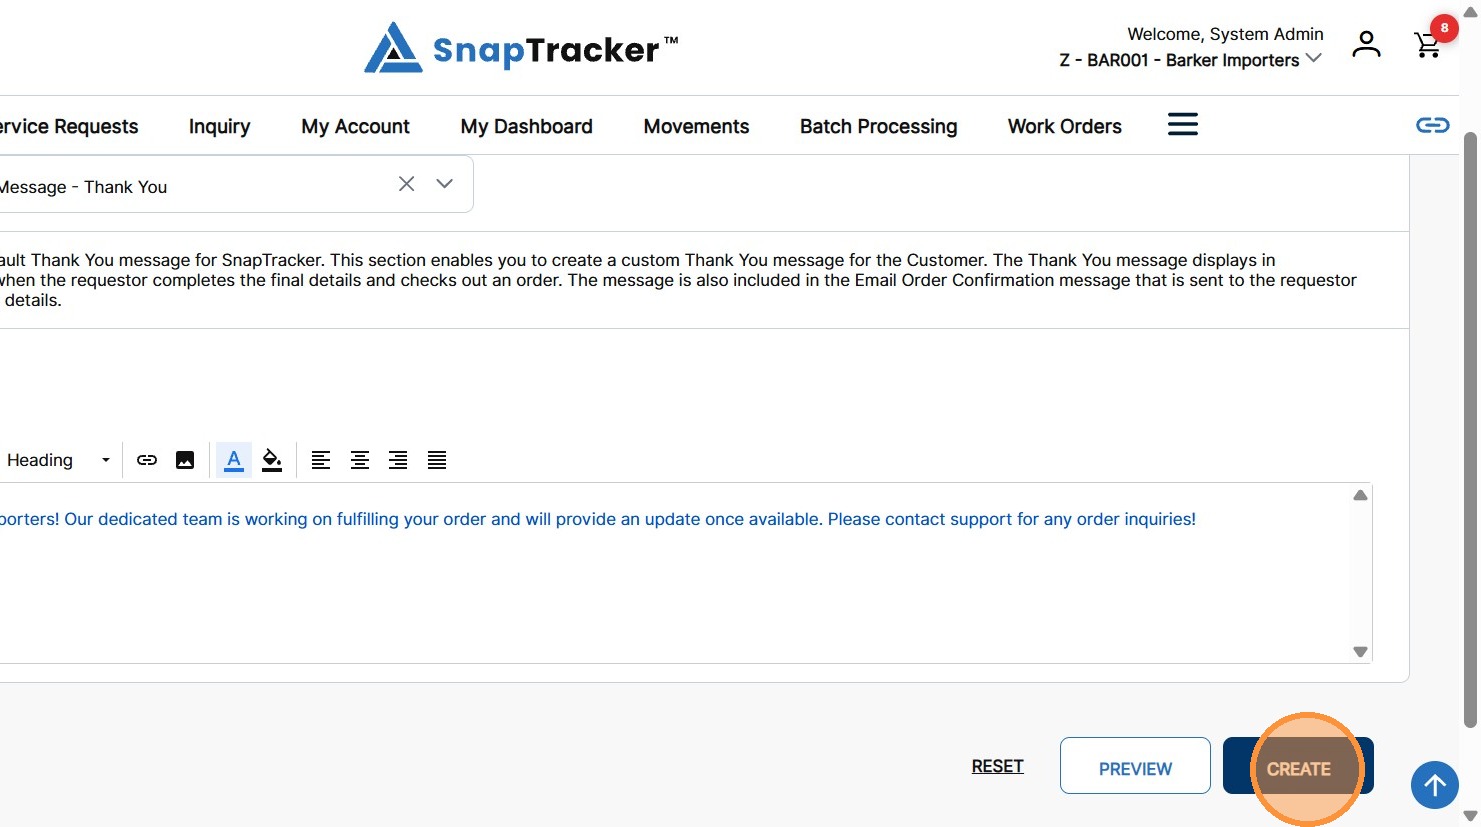
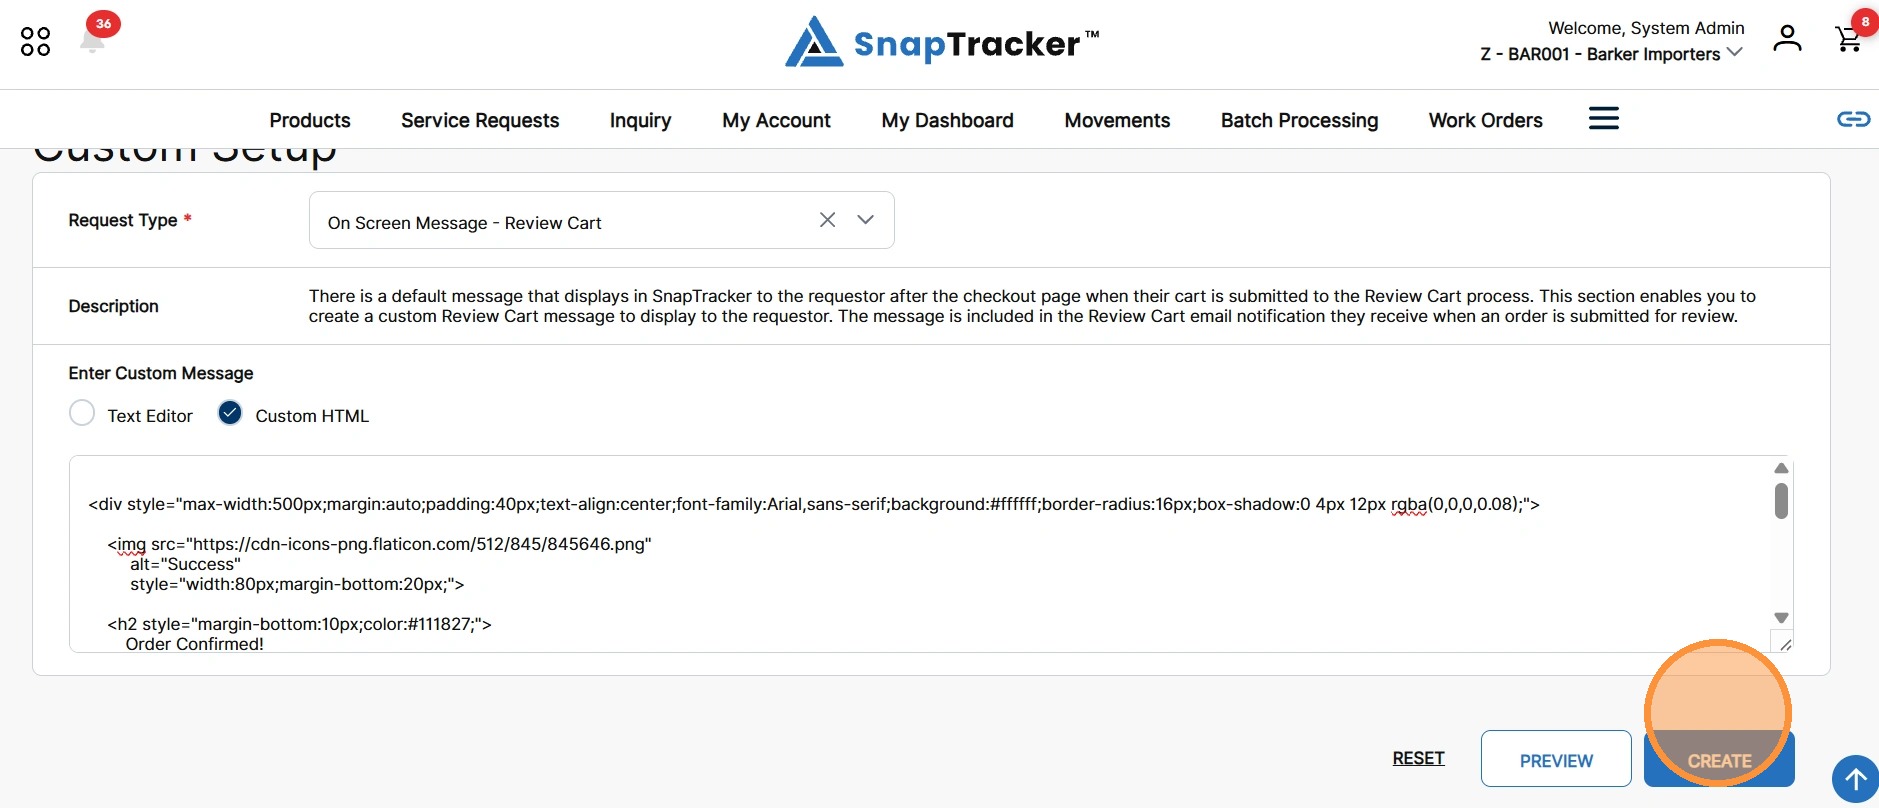
9. To finalize the custom message, click Create.
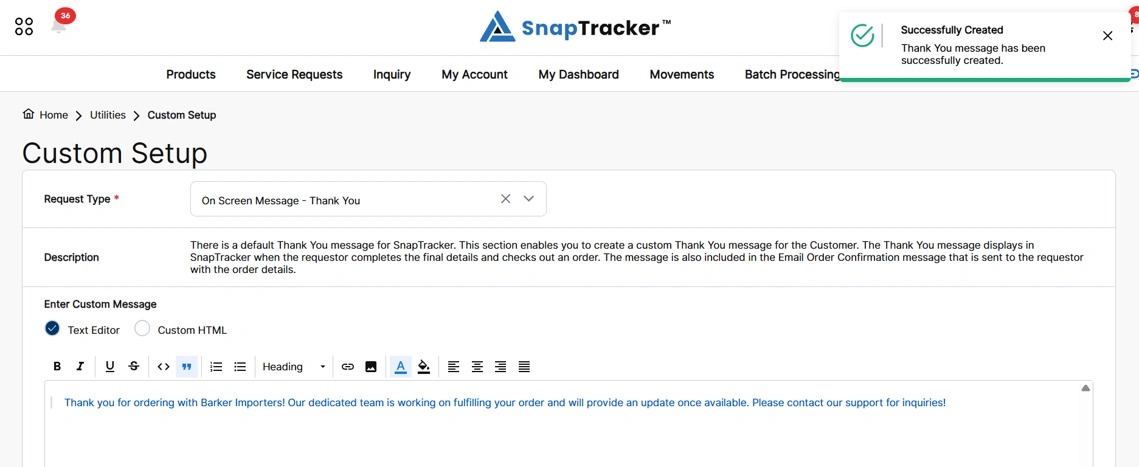
The custom message is saved and a success message displays.
10. To create a custom message using the Custom HTML option, select Custom HTML.
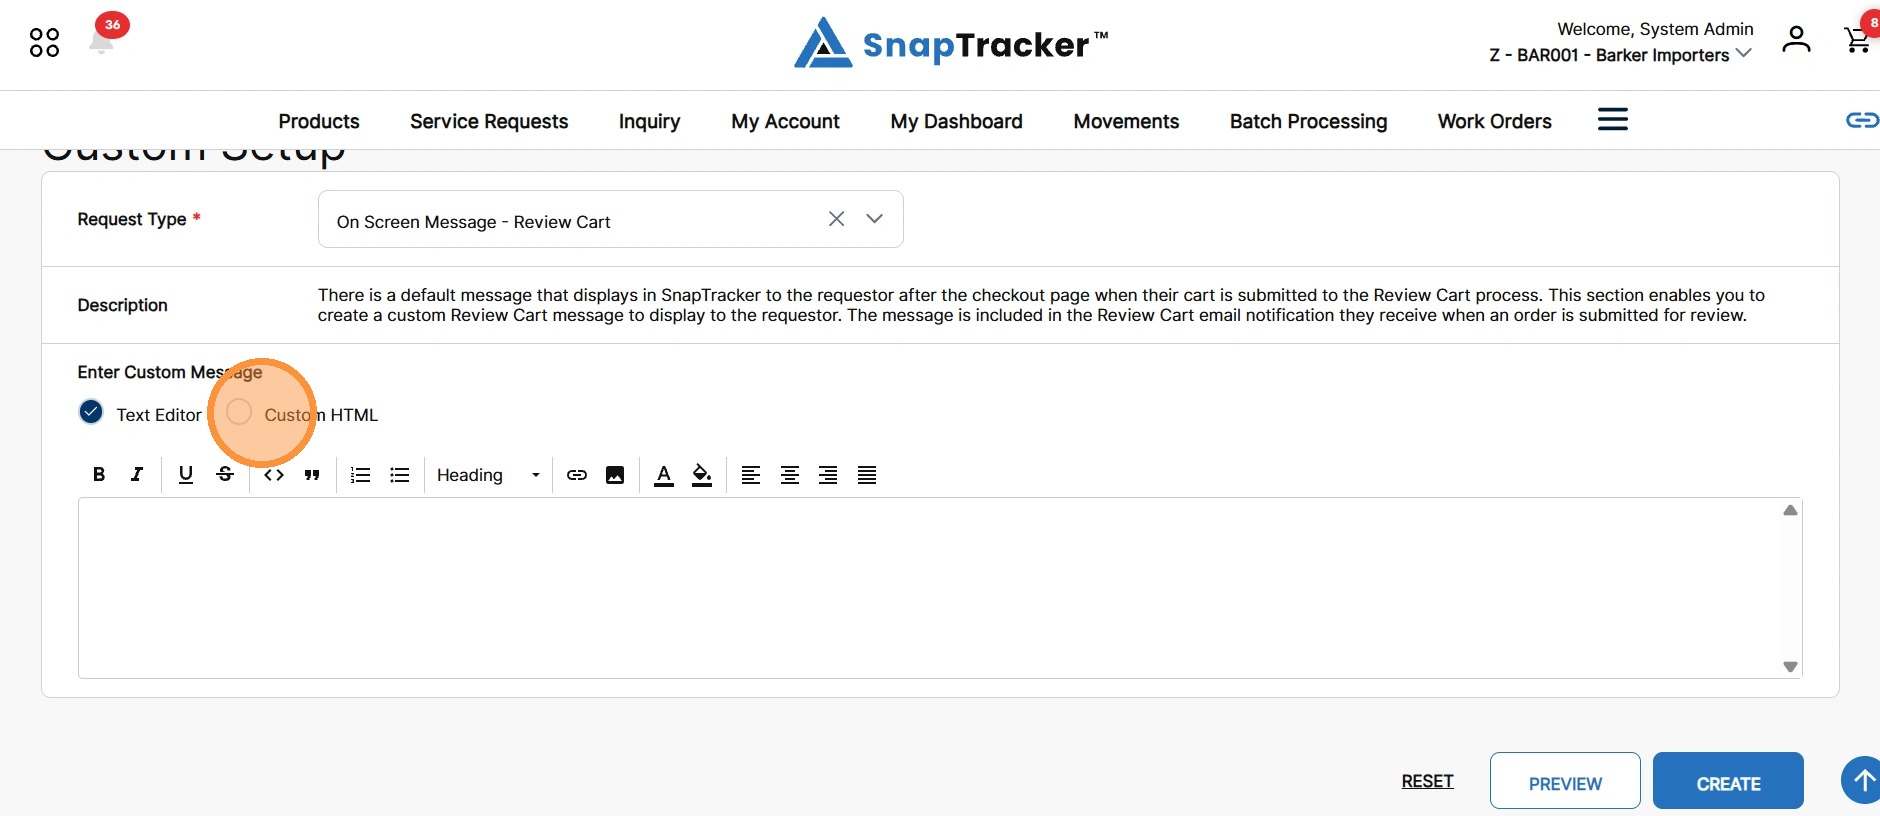
The Enter Custom Message field updates for the Custom HTML editor, without the previous styling options.
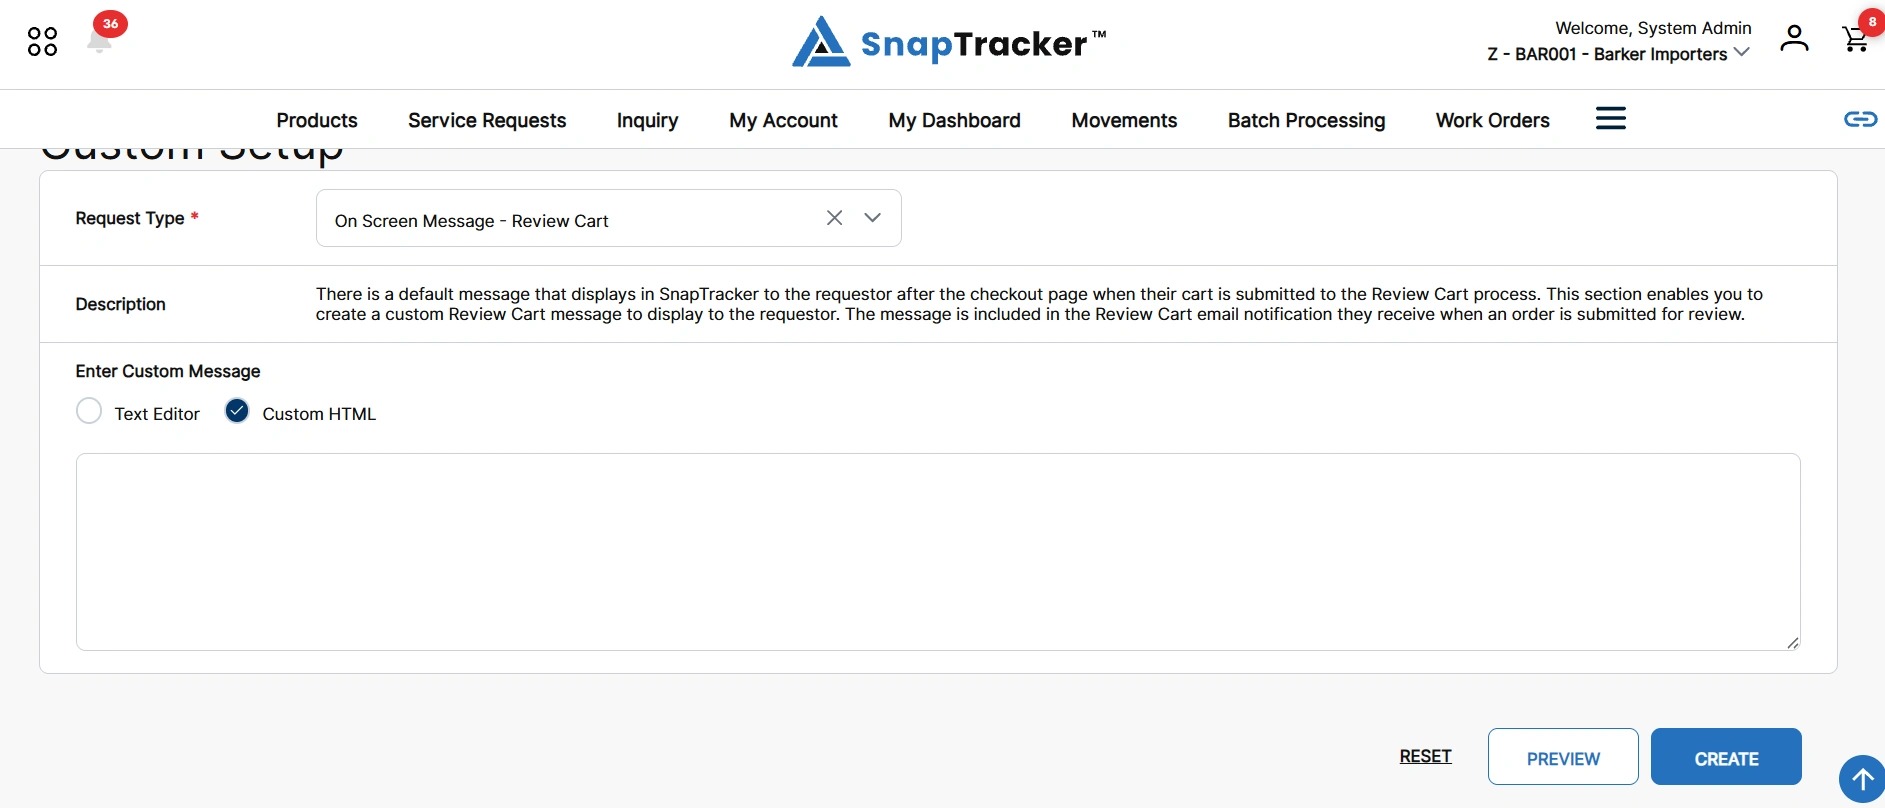
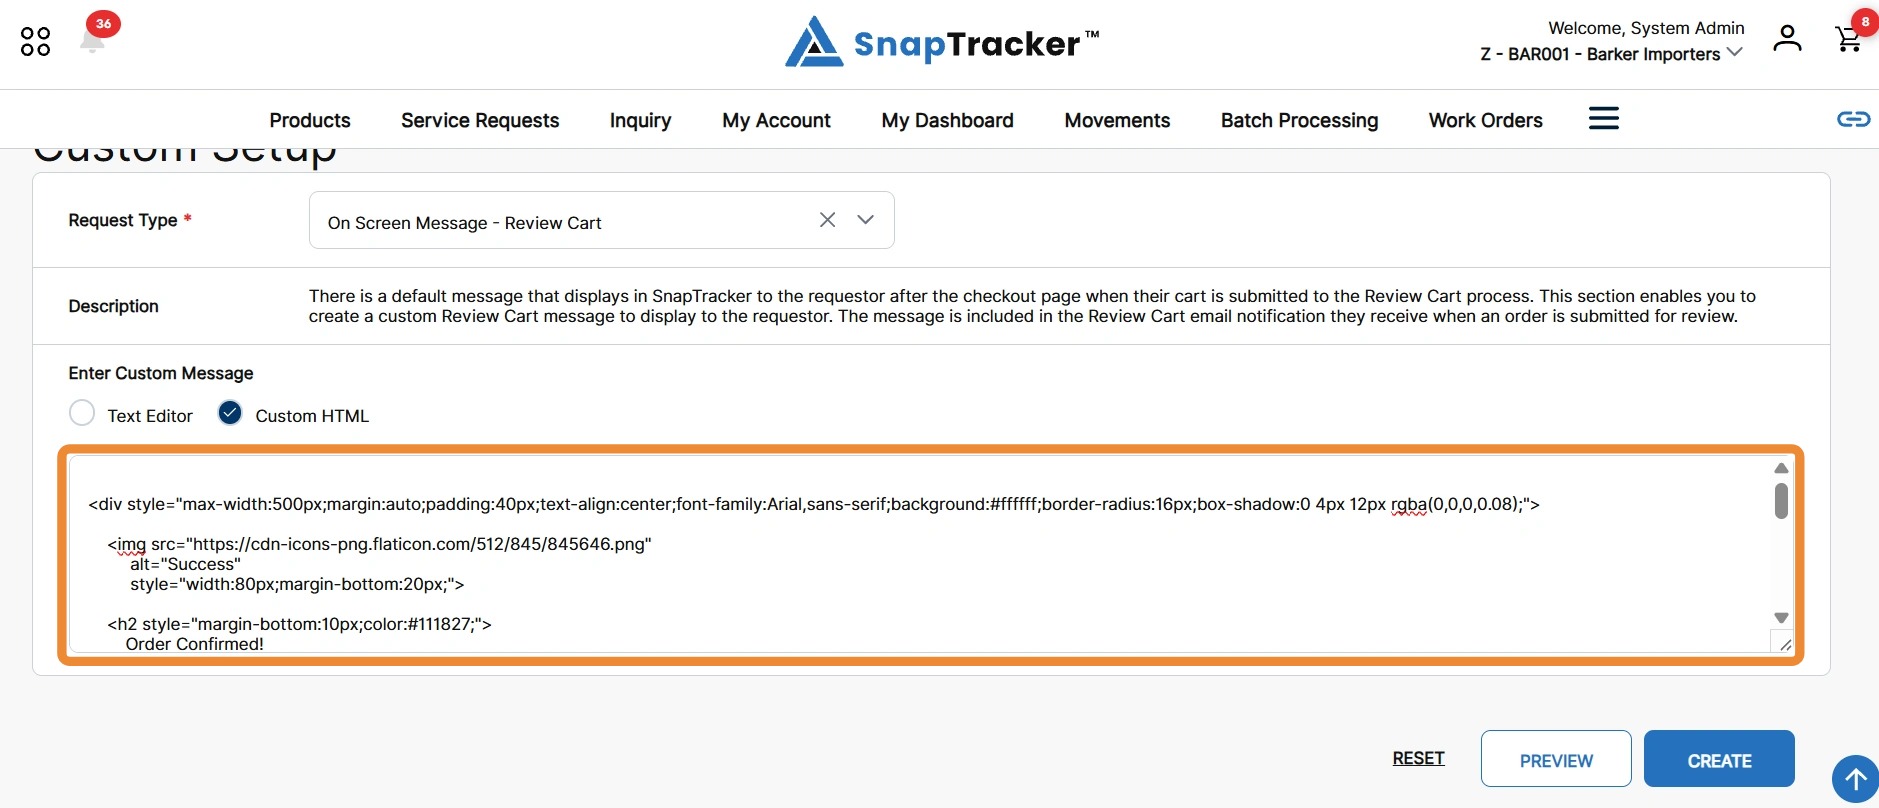
11. In the Enter Custom Message field, enter the desired HTML code.
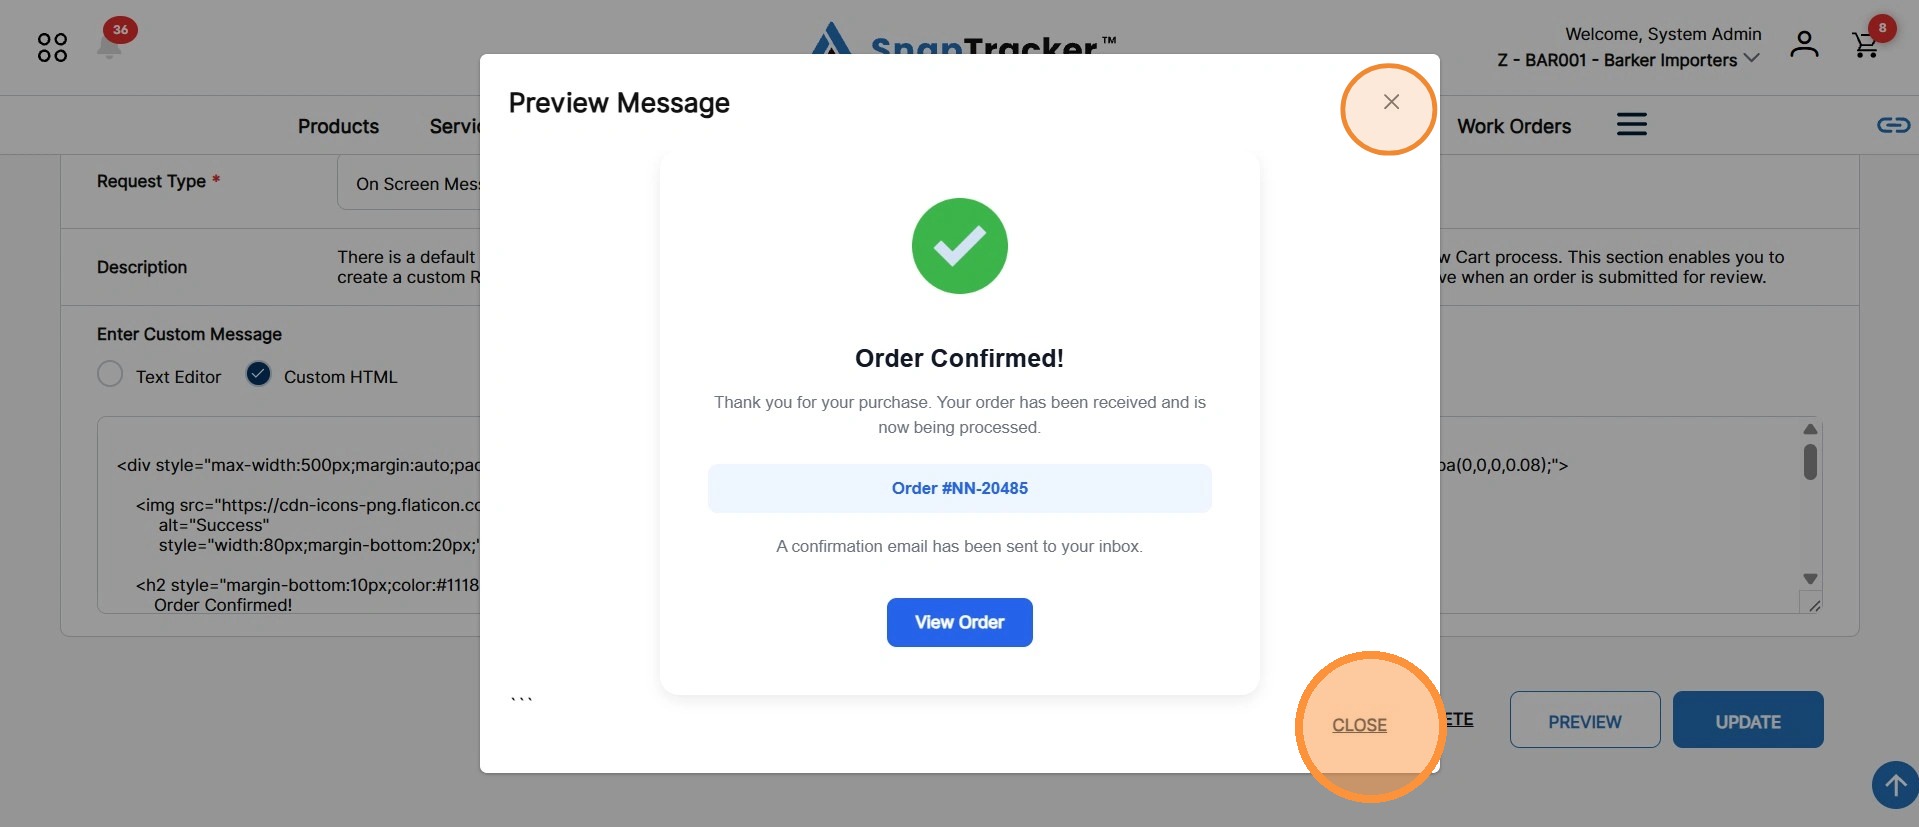
12. To preview the message before saving, click Preview.
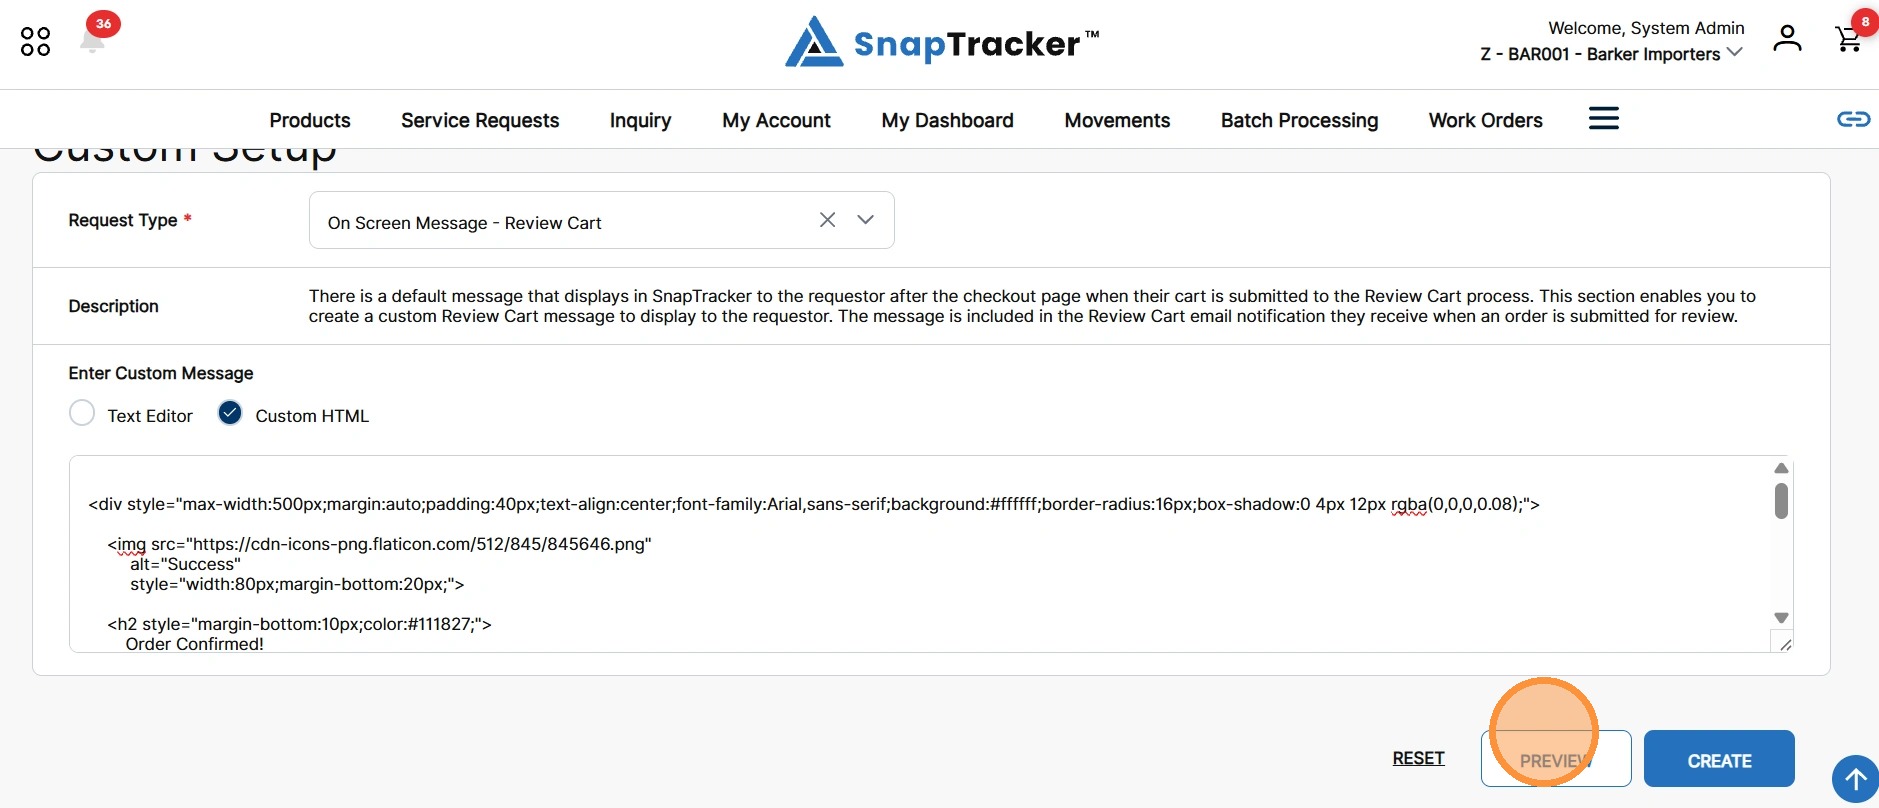
The preview pop-up of the custom message displays.
Click Close or X to close the pop-up.
13. To finalize the custom message, click Create.
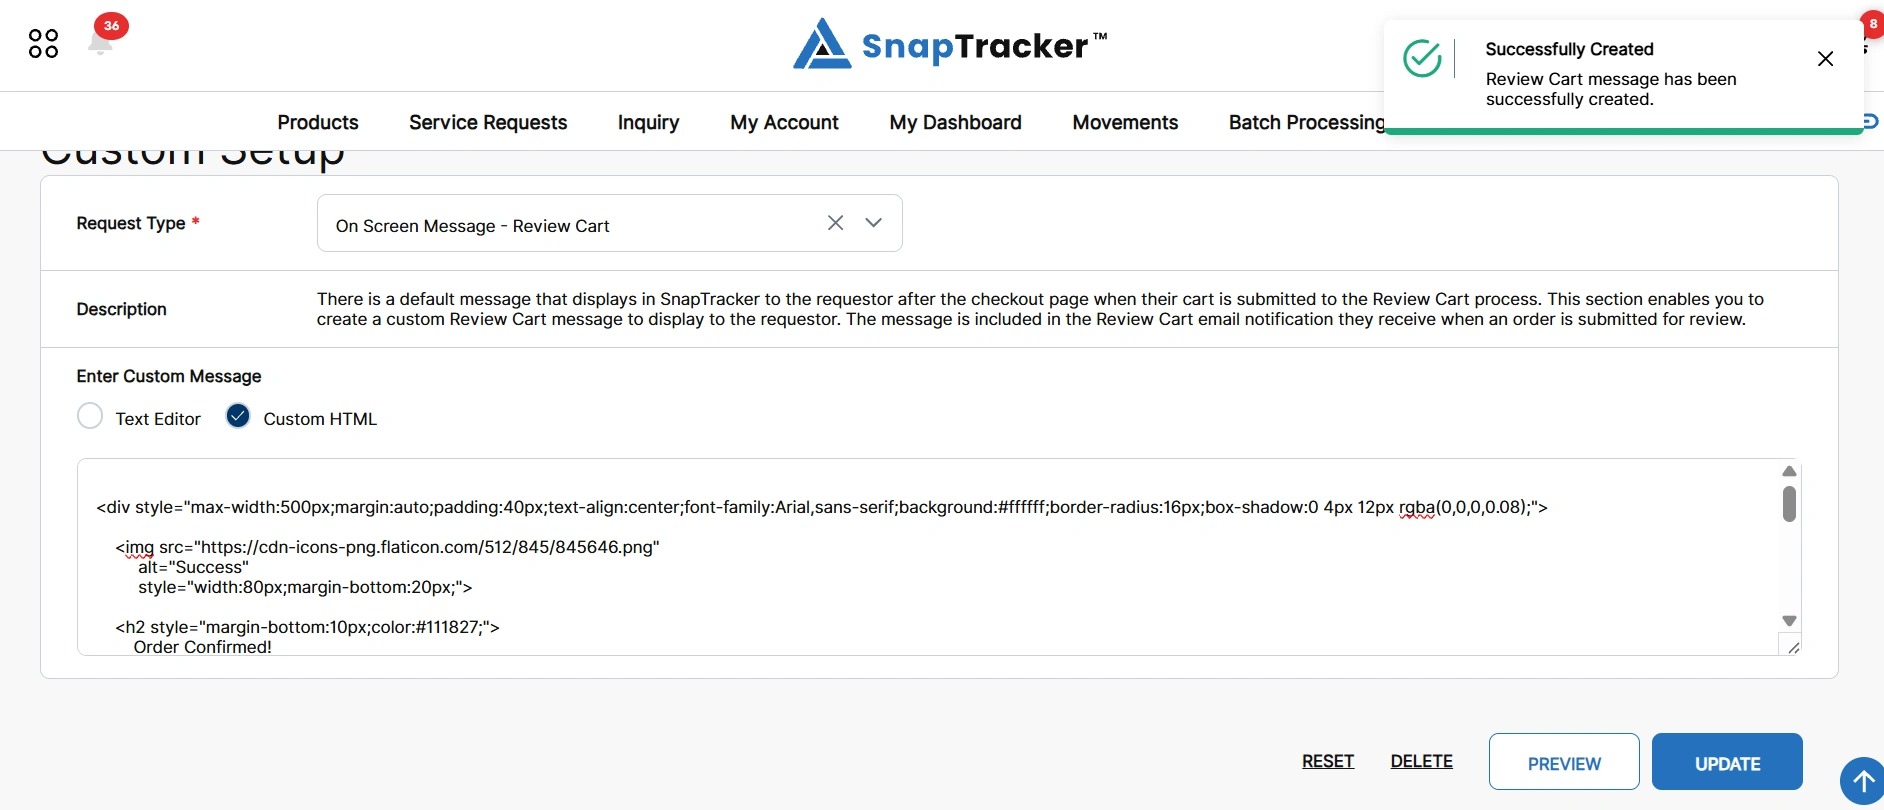
The custom message is saved and a success message displays.
14. To undo any unsaved changes made to a custom message for a request type, click Reset.
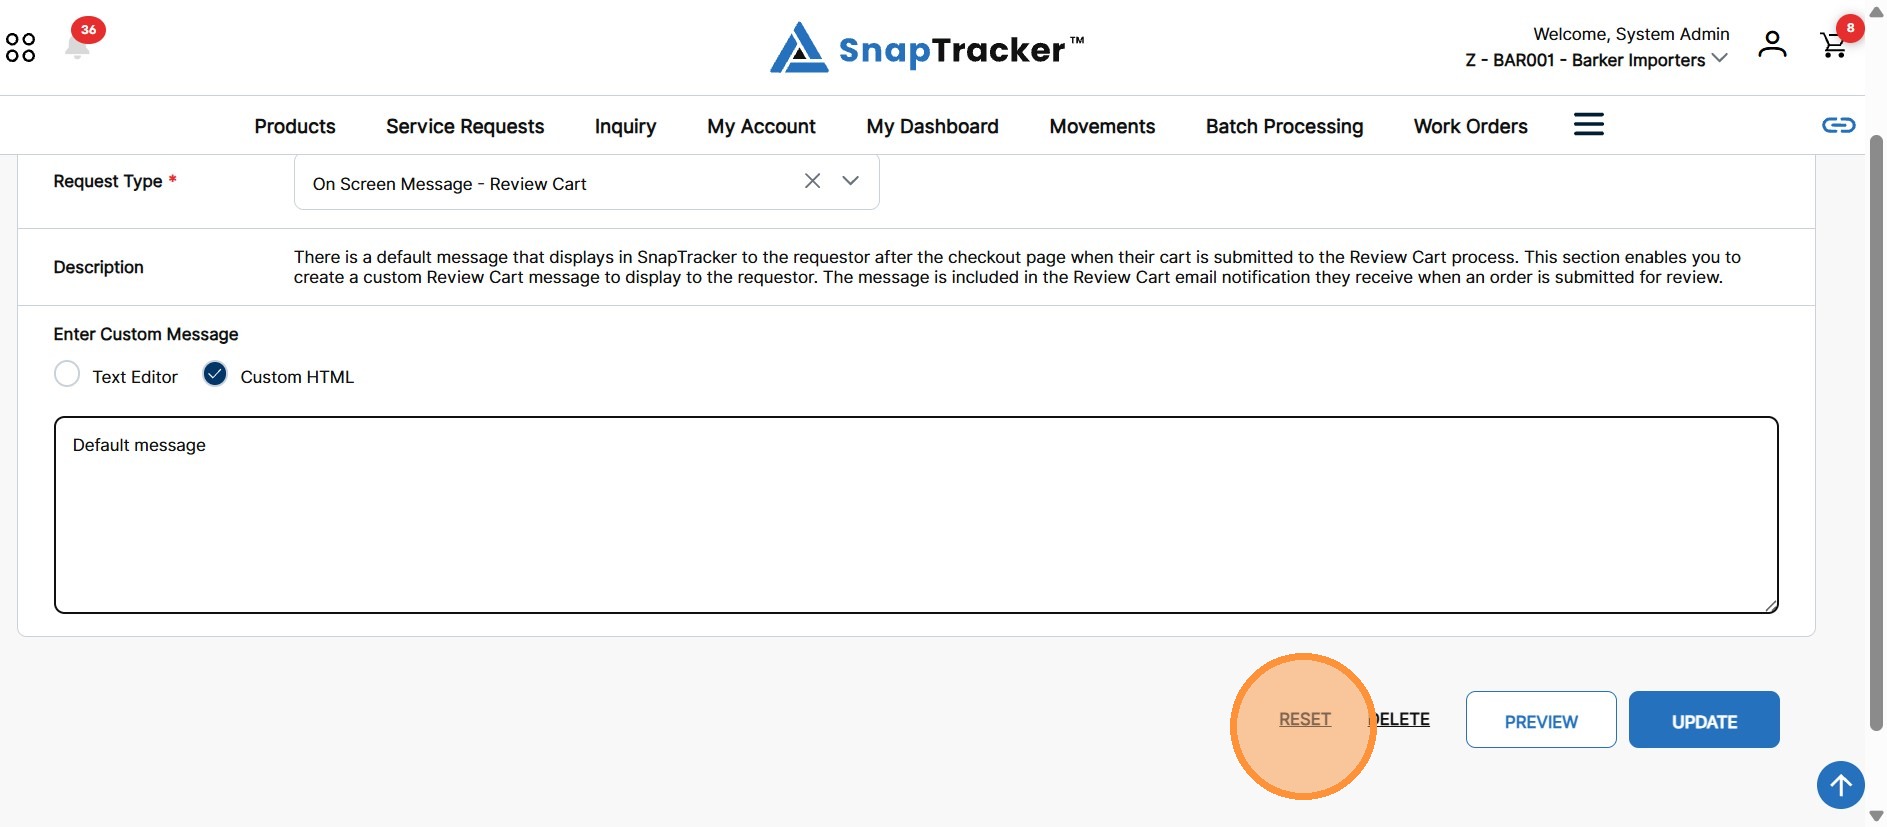
The previously saved message for the selected request type displays.
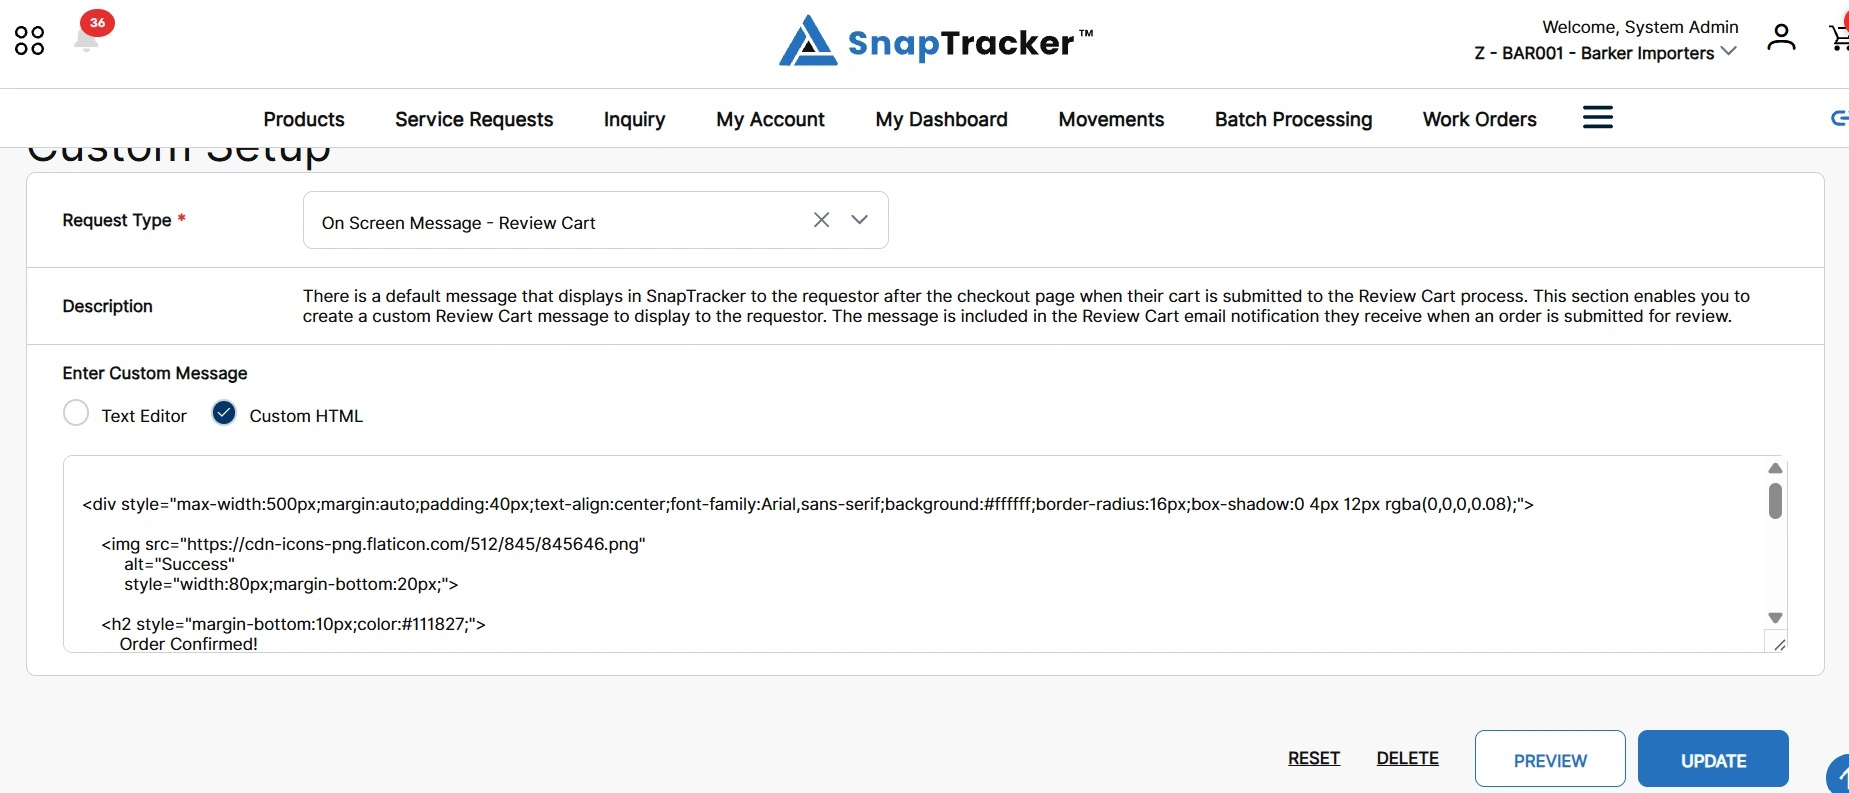
15. To update the content for a custom message, edit the desired content and click Update.
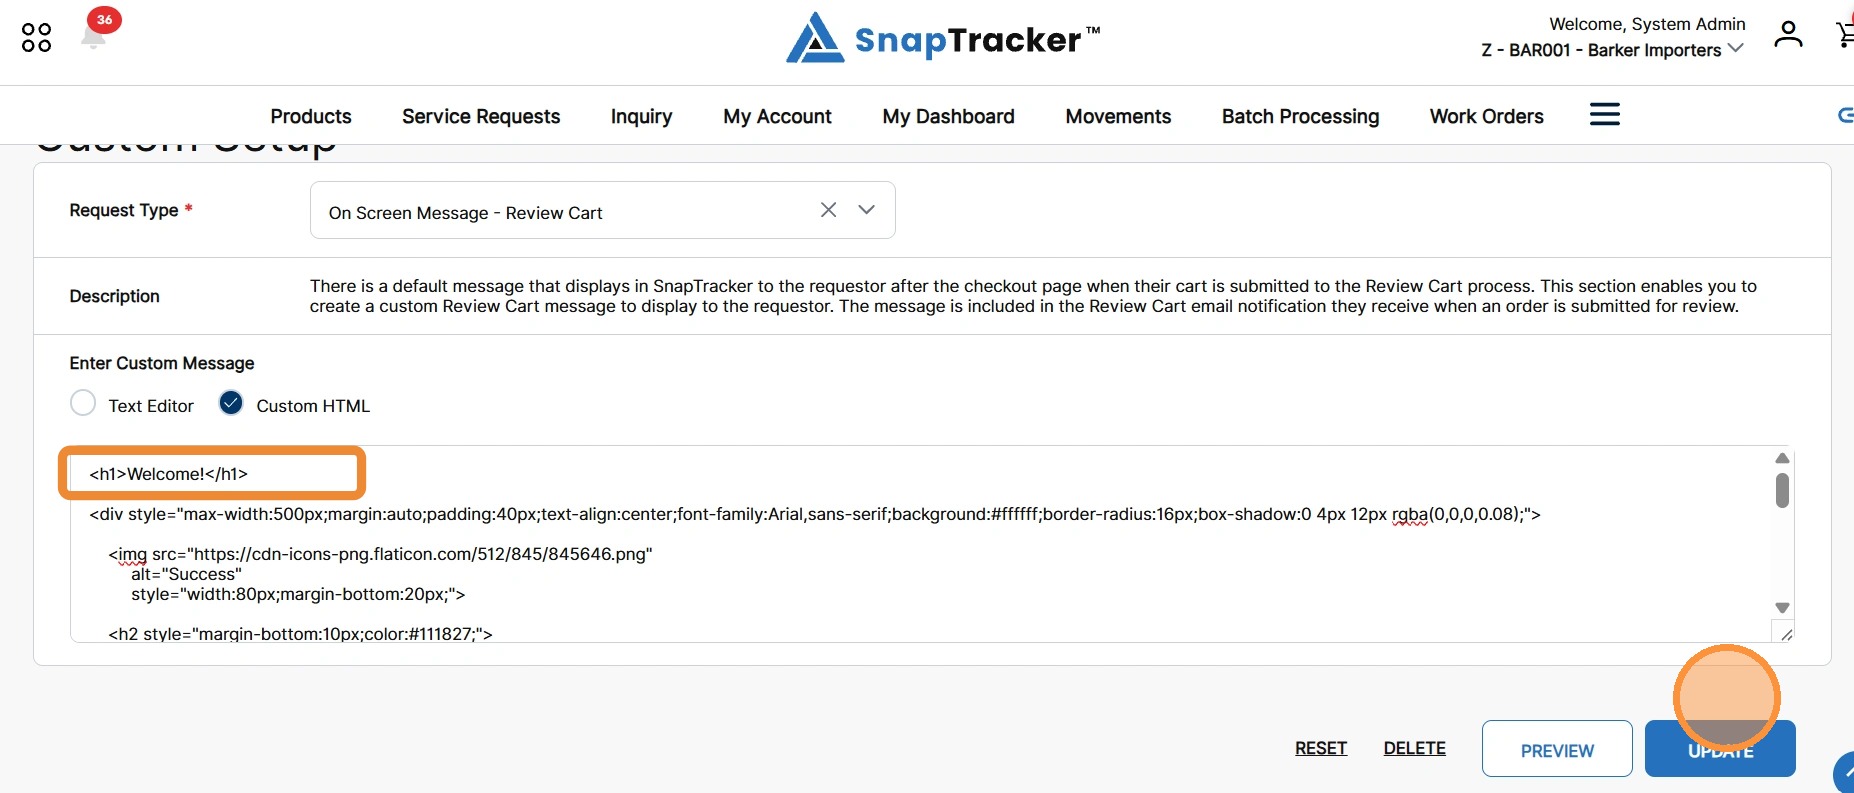
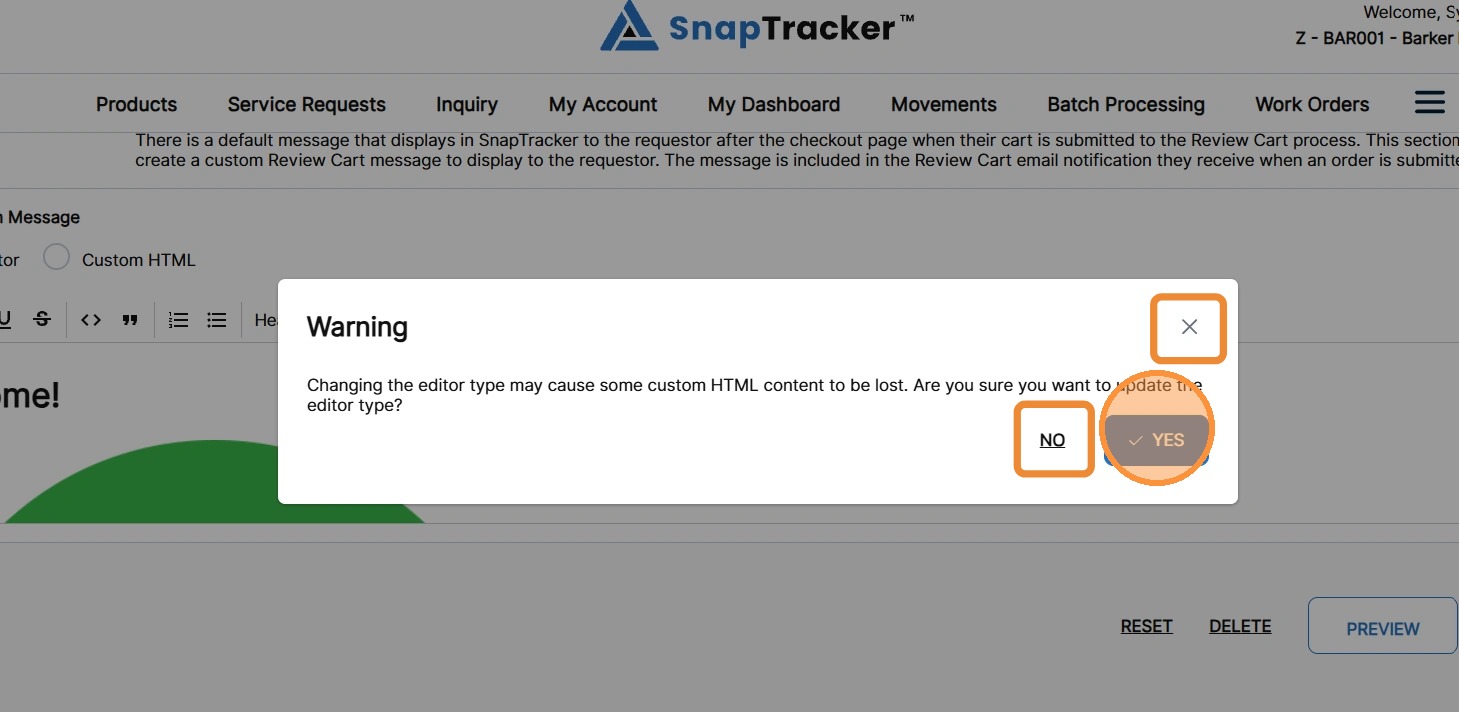
Note: If you change the editor options and try to update a message, a warning pop-up displays to confirm your desired change. Some styling or content may be lost when switching between the two editor options.
Click Yes to confirm updating the editor option, or click No or X to cancel.
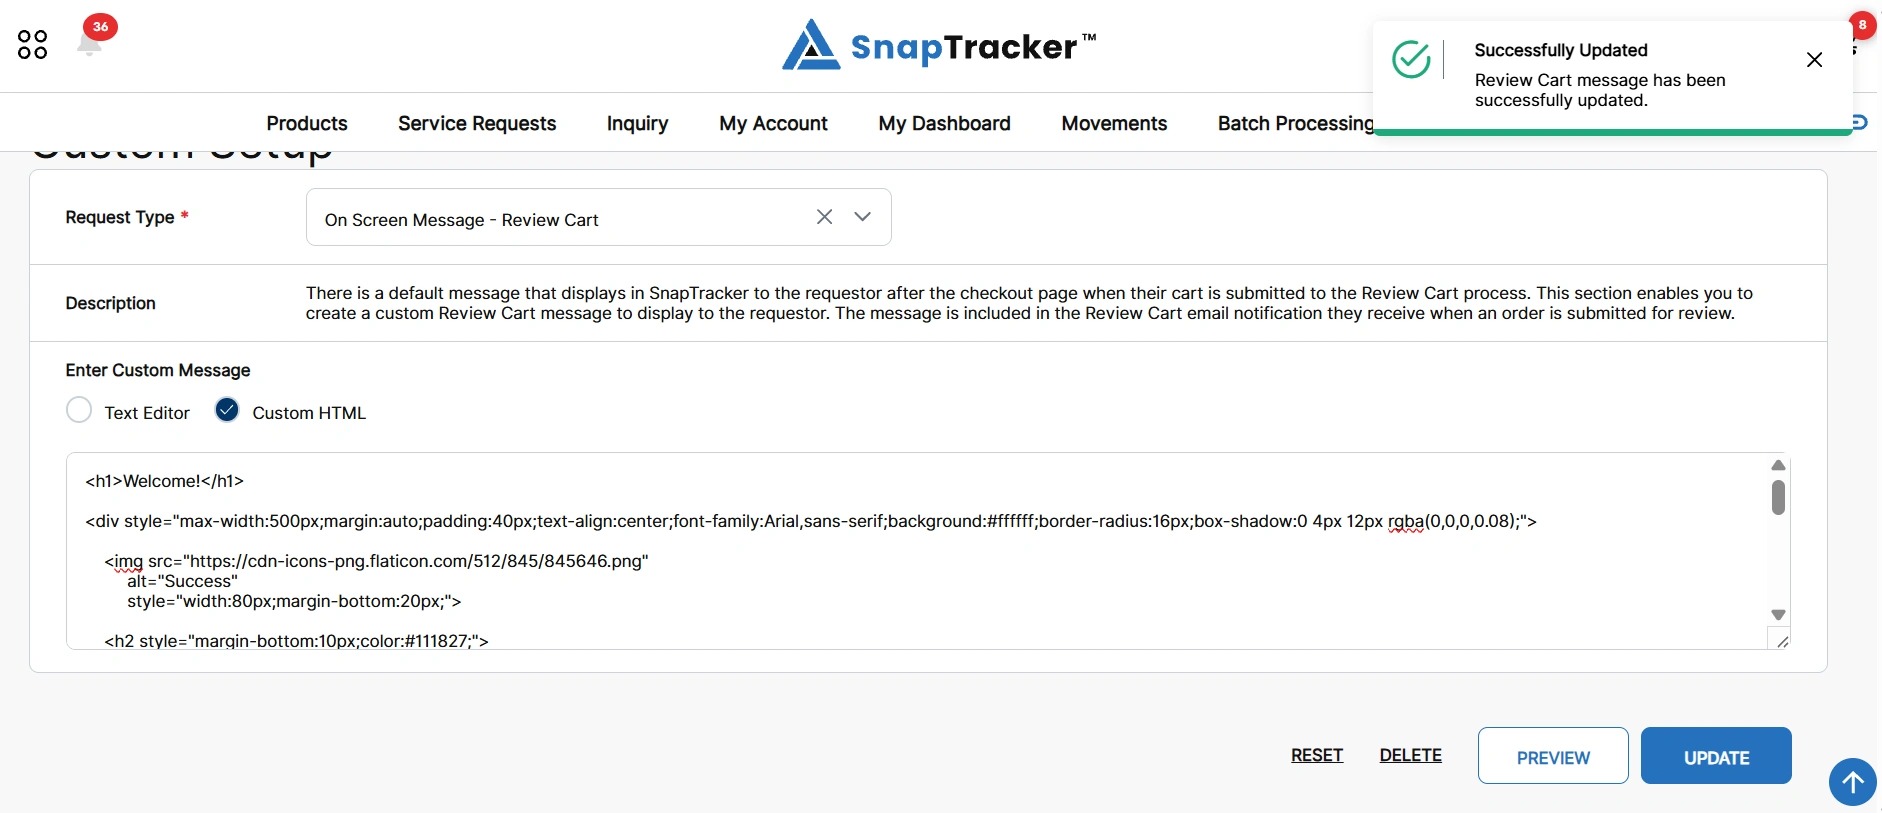
The custom message is saved and a success message displays.
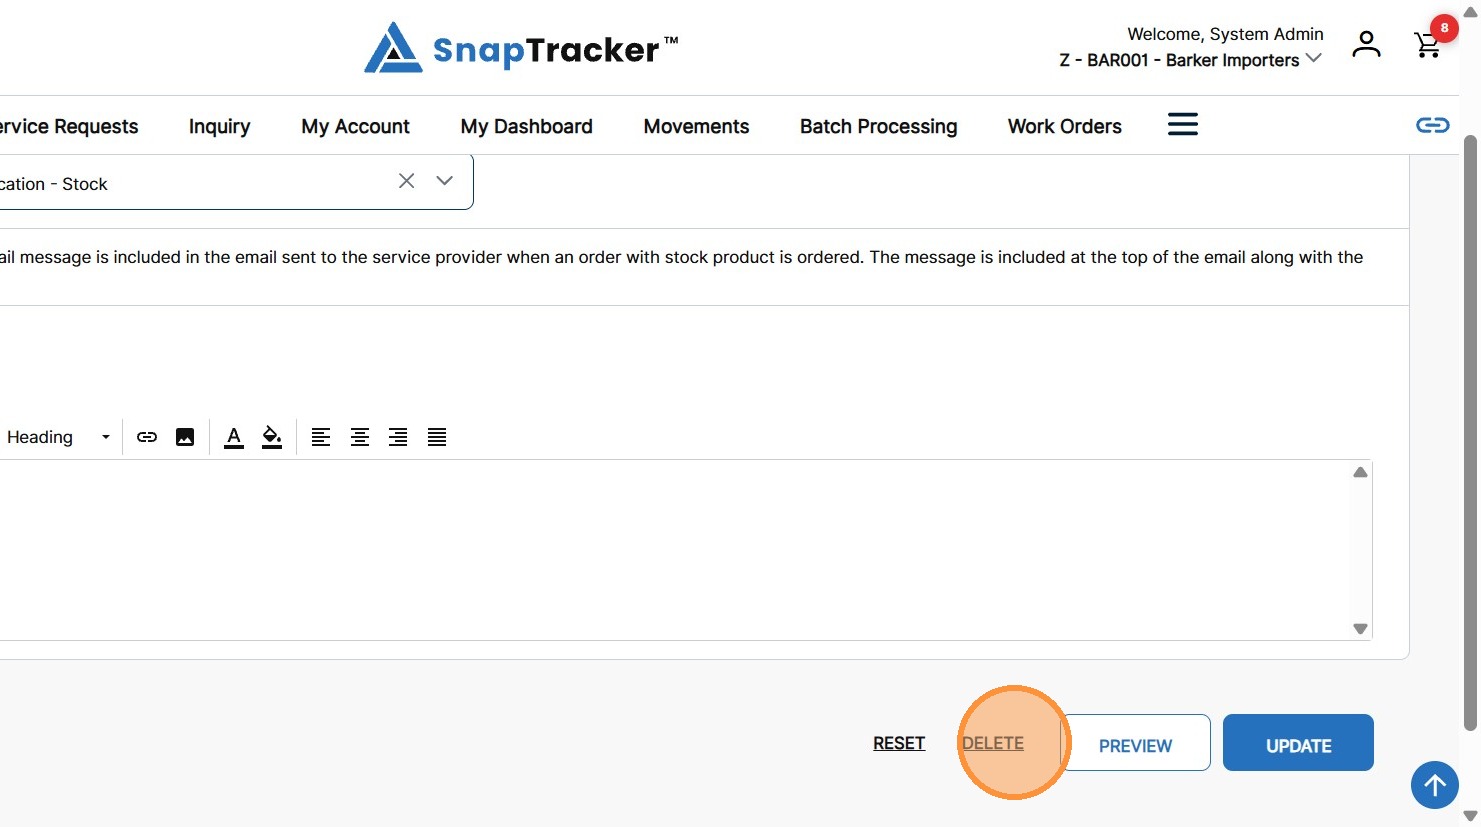
16. To delete a custom message, click Delete.
Note: SnapTracker defaults to display the default system message.
The Delete Message pop-up displays.
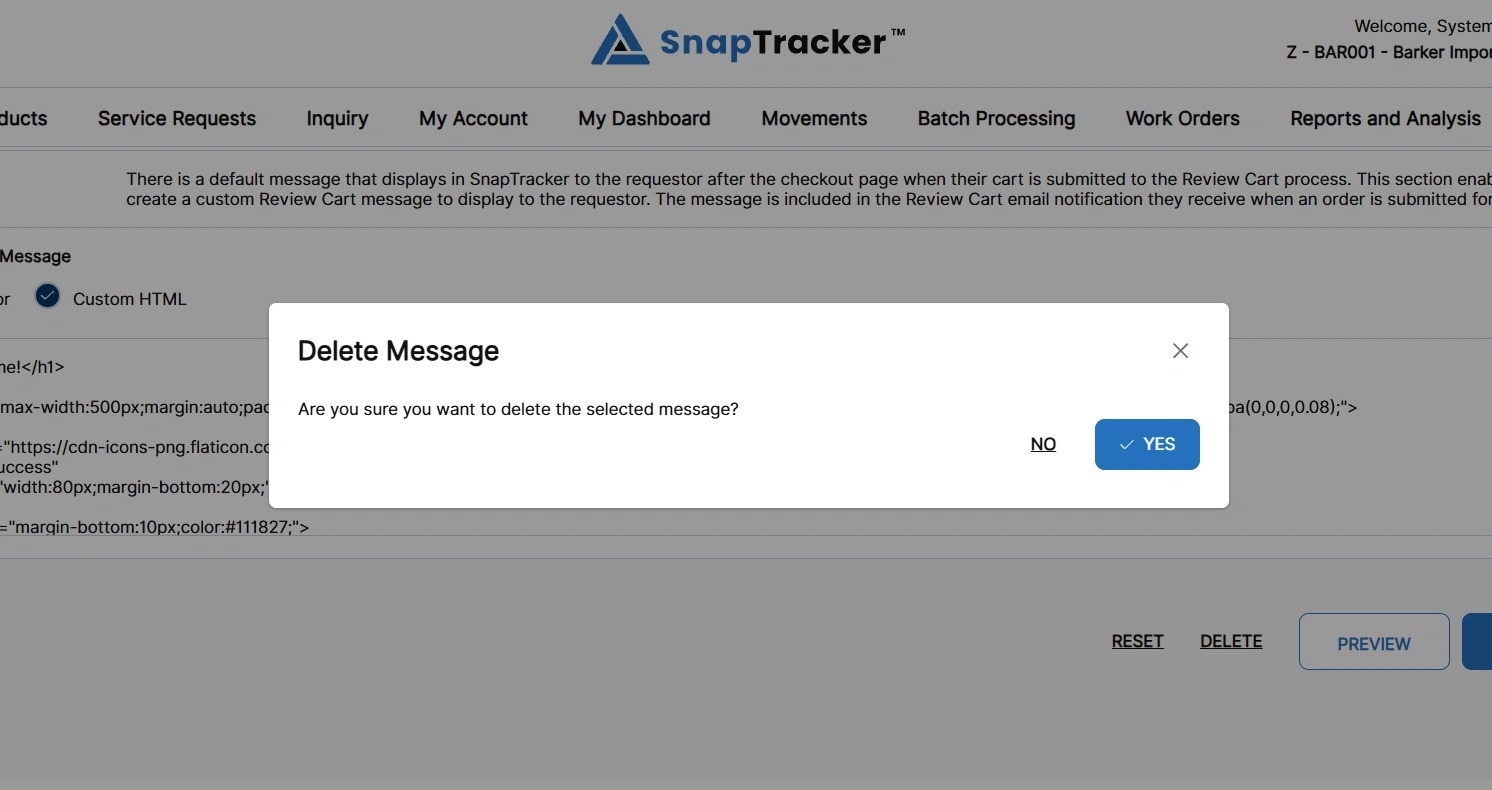
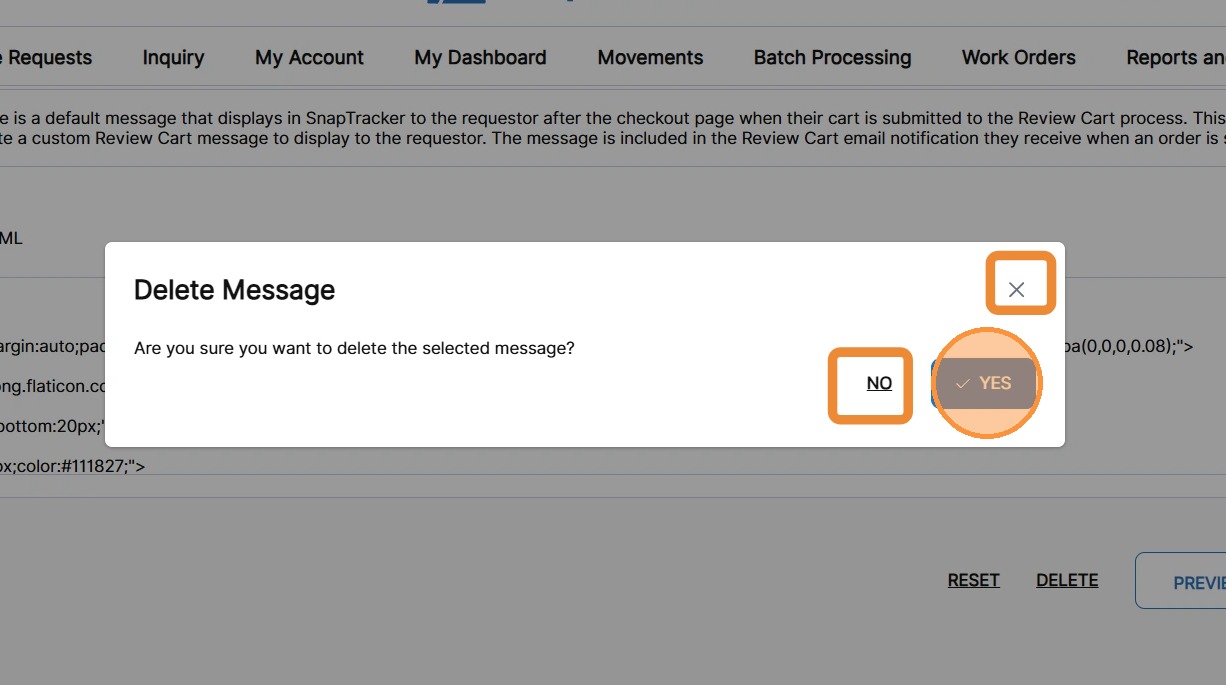
17. Click Yes to delete the selected message.
To cancel the delete, click No or X.
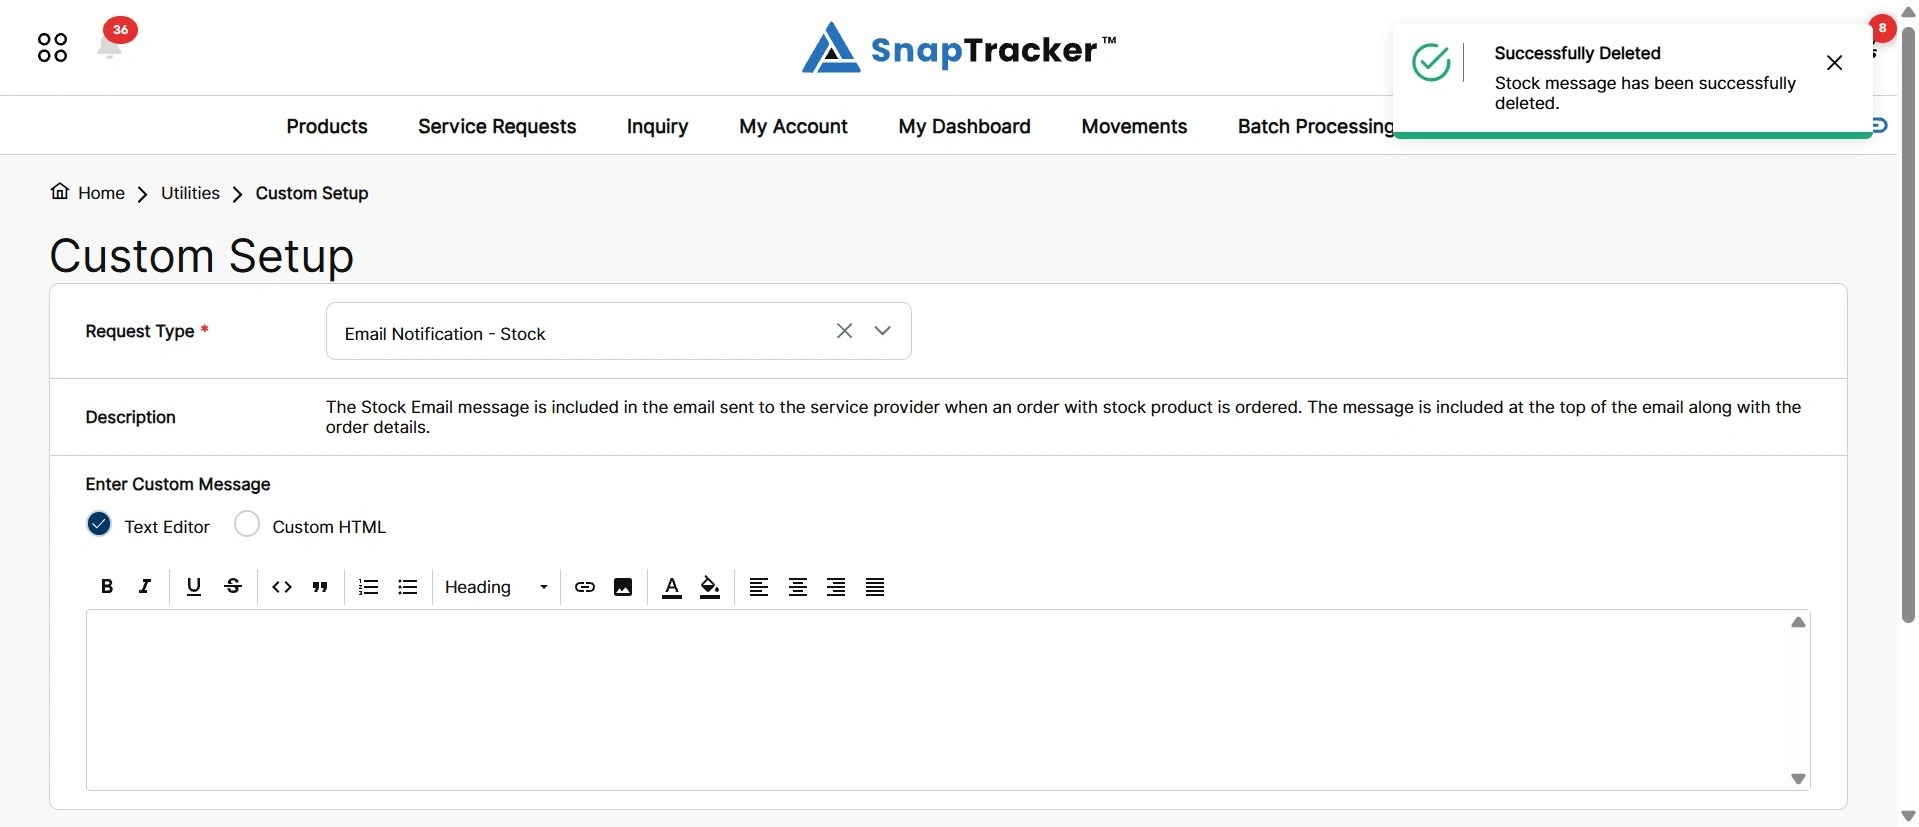
The custom message is deleted and a success message displays.