
How to Add a Service Form to a Cart
SnapTracker has several different workflows that can be configured for a Customer. One such workflow enables a shopper to add a service request to a cart. The service request can be added to a cart on its own or in addition to product added to the cart.
Services are available to be set up and enable users to request specific service requests along with their order. Users that have permission to shop for services may access them through the Service Forms screen, in which they can select a specific service request to add to their cart.
When a service form is added to a cart, there is no cost associated to the service initially. Depending on how the Customer is configured the user may have additional options to check out the cart without any pricing or to request a price. For Service Quoting, the cart needs to be submitted to a designated customer service rep (CSR) to have pricing added.
Before starting, make sure:
- You are logged into SnapTracker.
- Your user has shopping enabled.
- You have access to a Service Form.
- The correct Customer is selected from the Customer selection list.
This post outlines how to add a service form to a cart and check out without any service pricing.
1. In the header, click Service Forms.
Note: By default, the link is called Service Forms. If the field is customized in the Customer Setup screen, the customized text displays instead. For example here it is called Services.
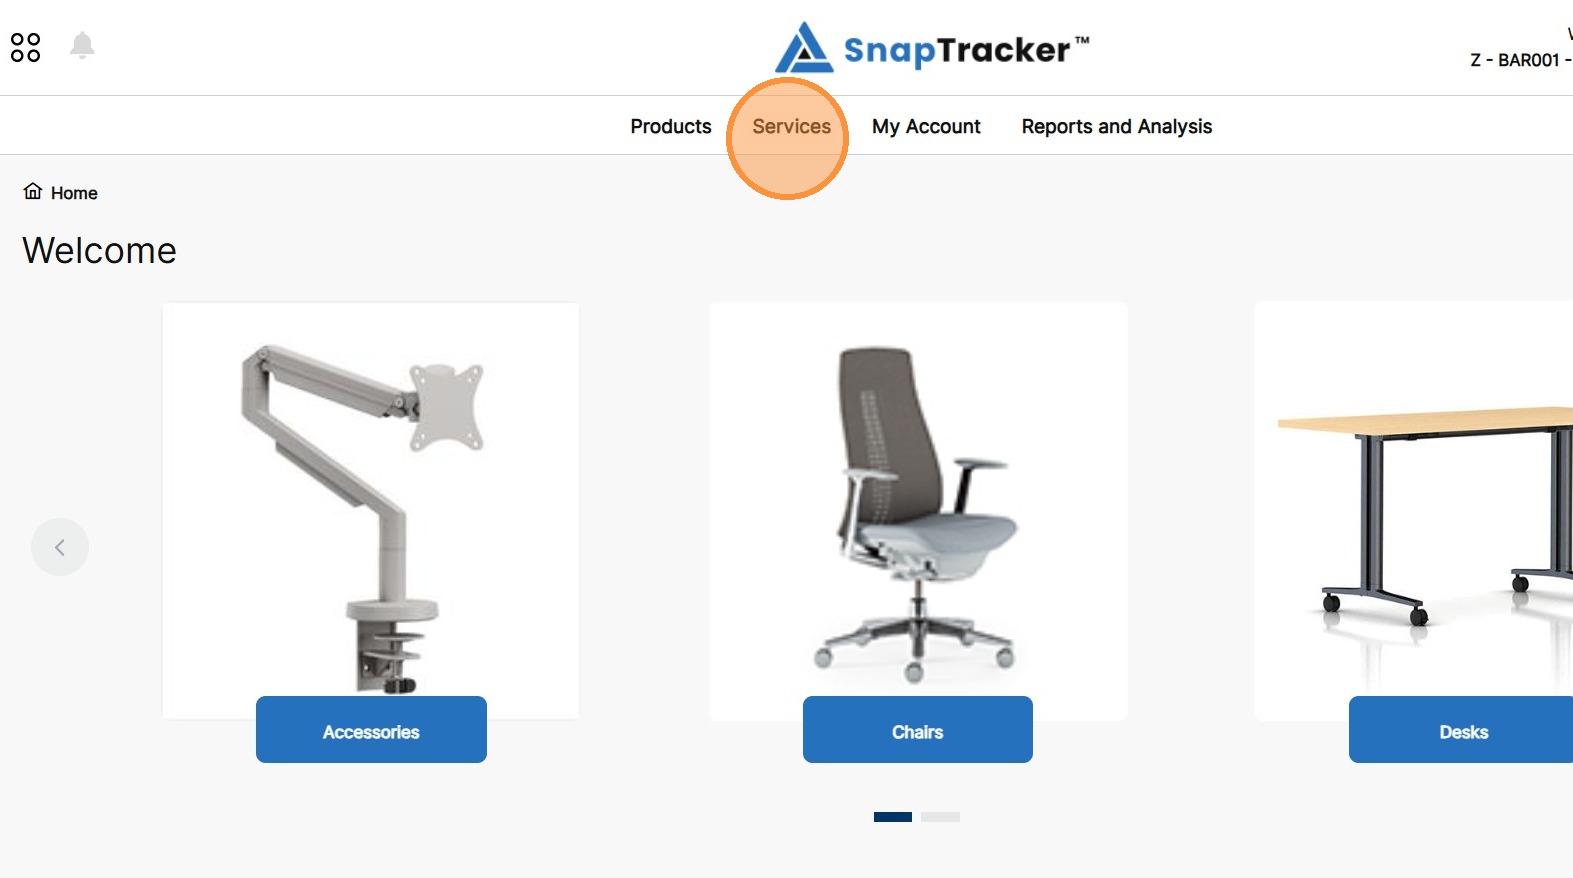
2. Click the desired service form.
Note: The service forms available are dependent on the Customer settings and User permissions.
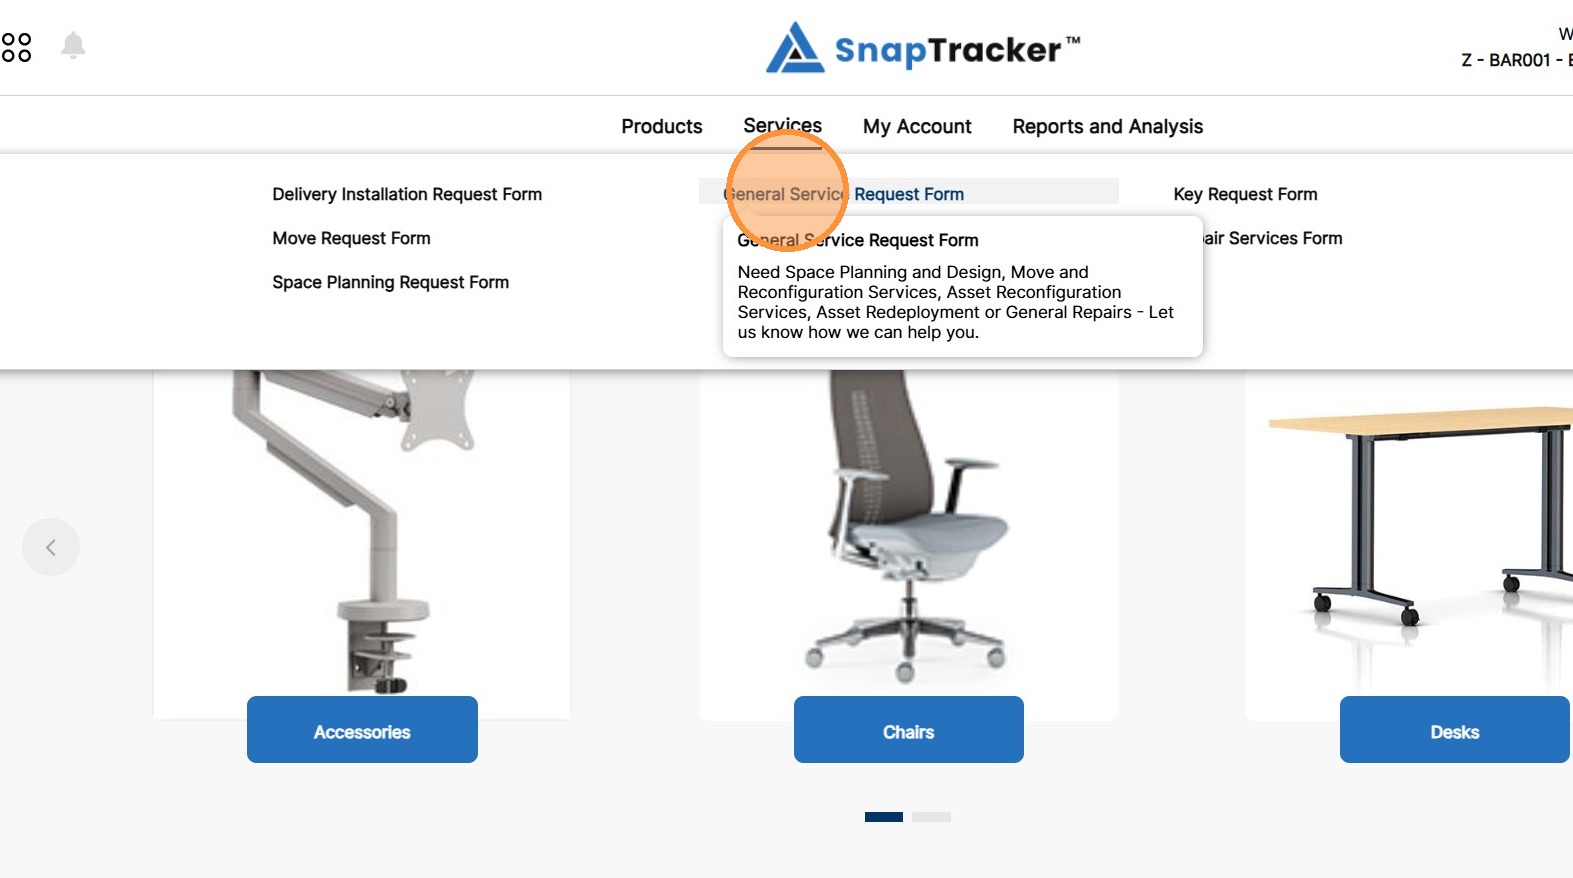
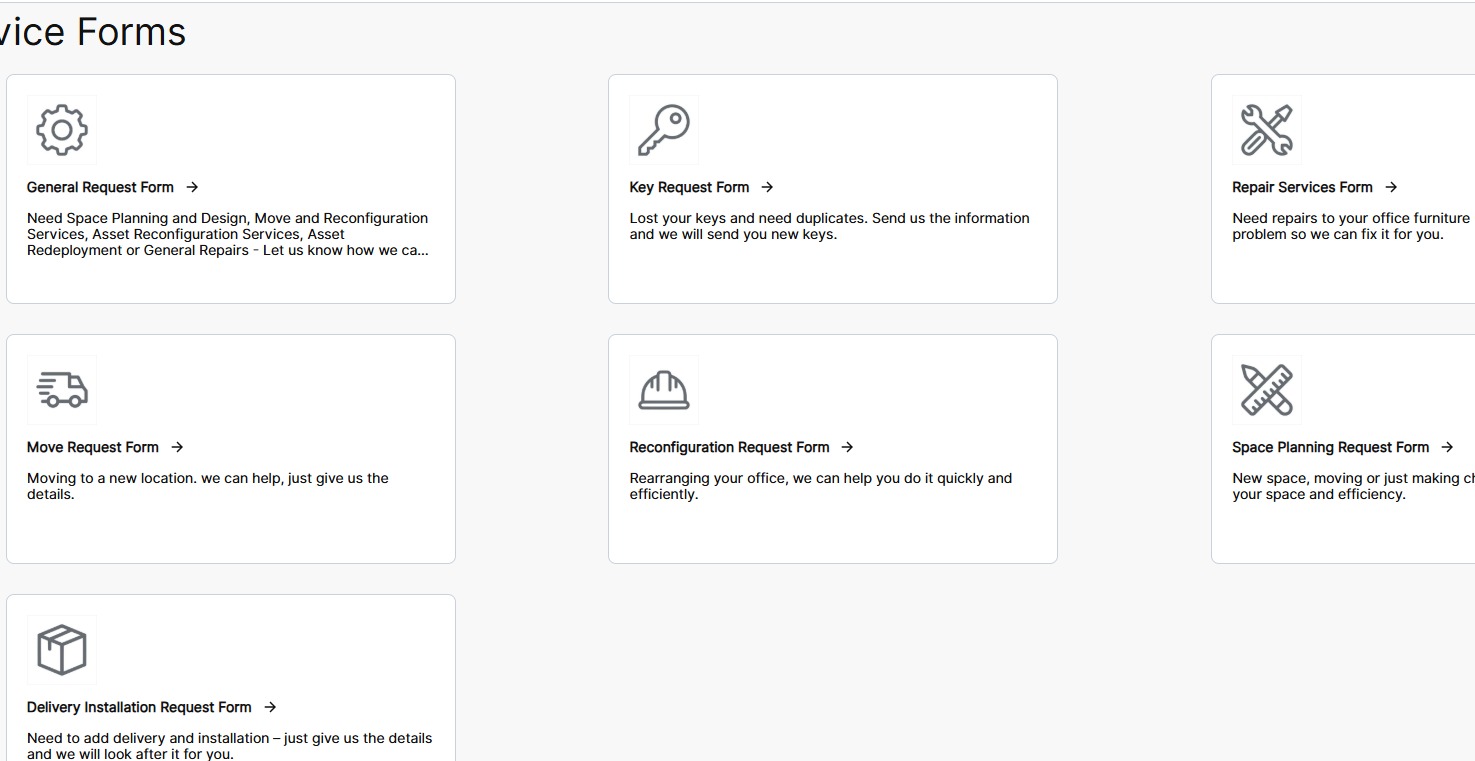
There are seven default service forms.
The selected Service Form Details screen displays.
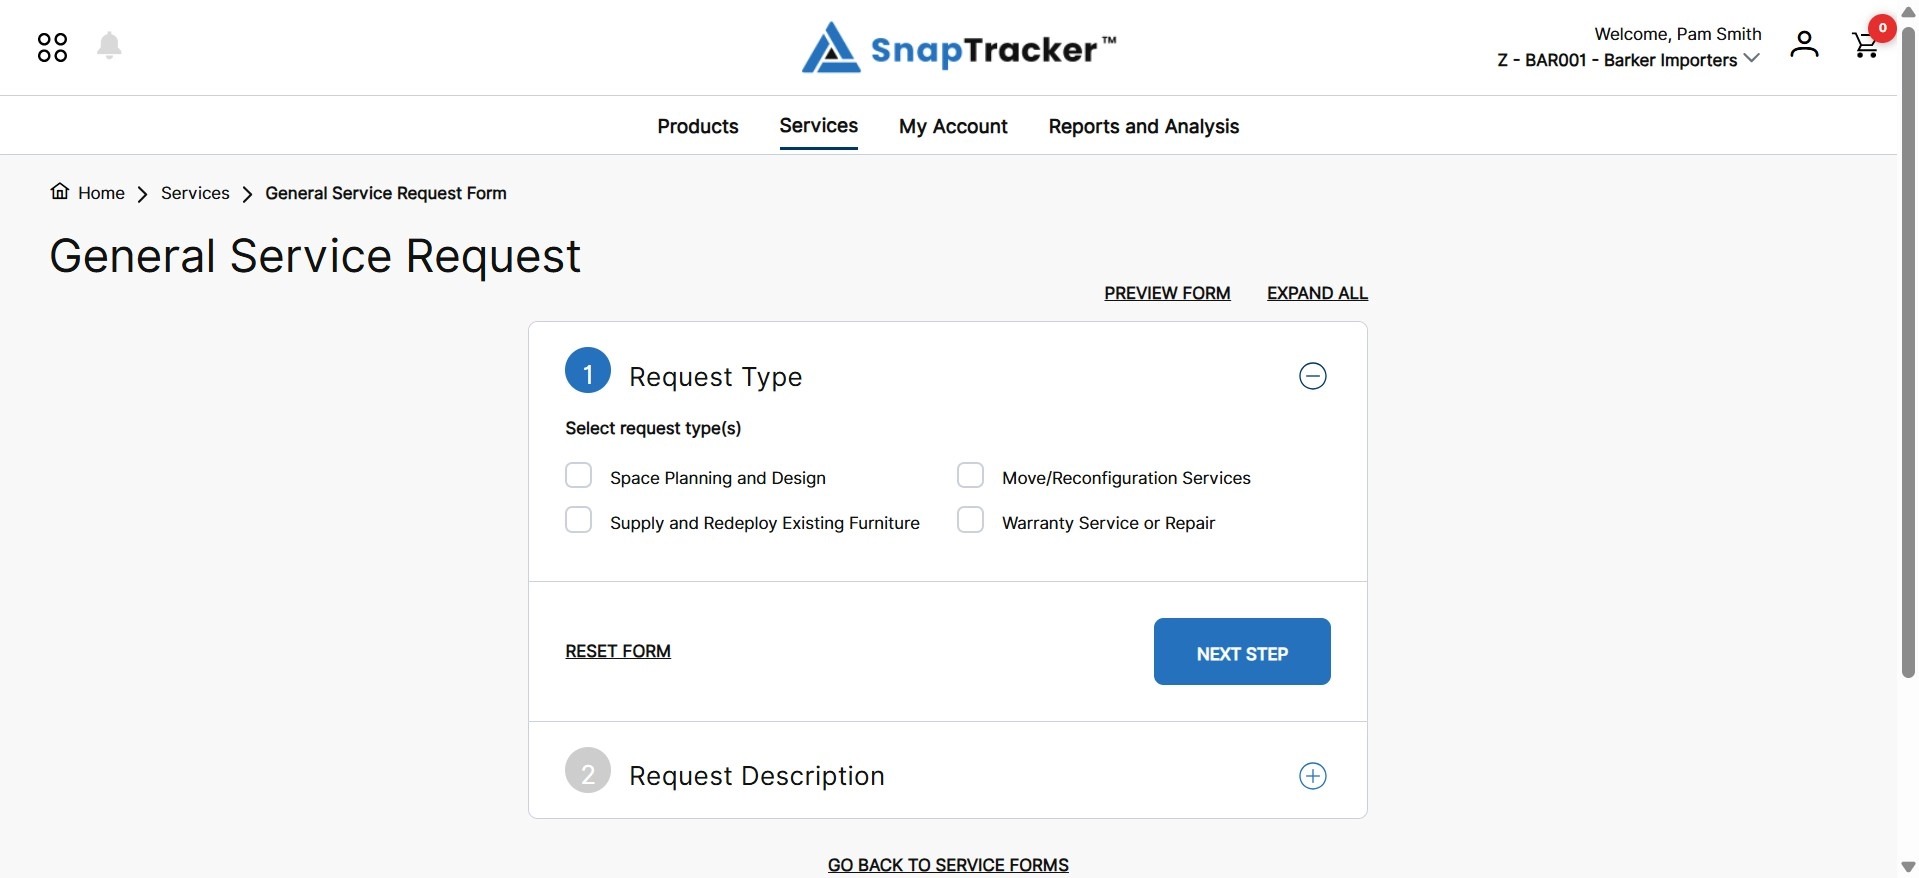
3. To collapse or expand an individual section within the service form, click the -/+ icon, respectively.
Alternatively, click Expand All or Collapse All to expand or collapse all sections at once, respectively.
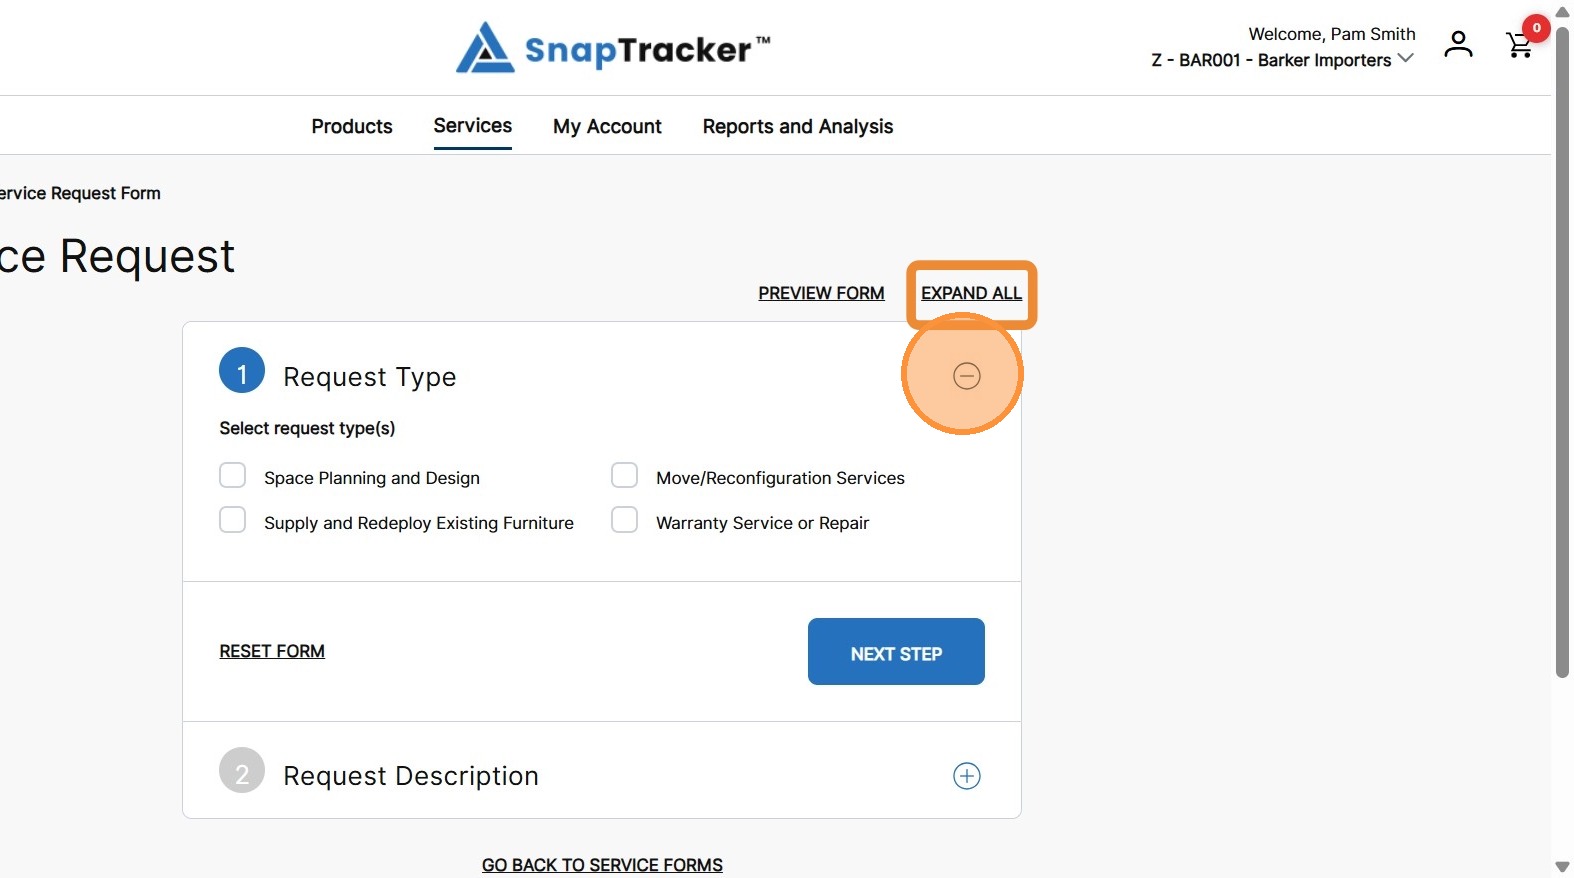
All sections in the Service Form display.
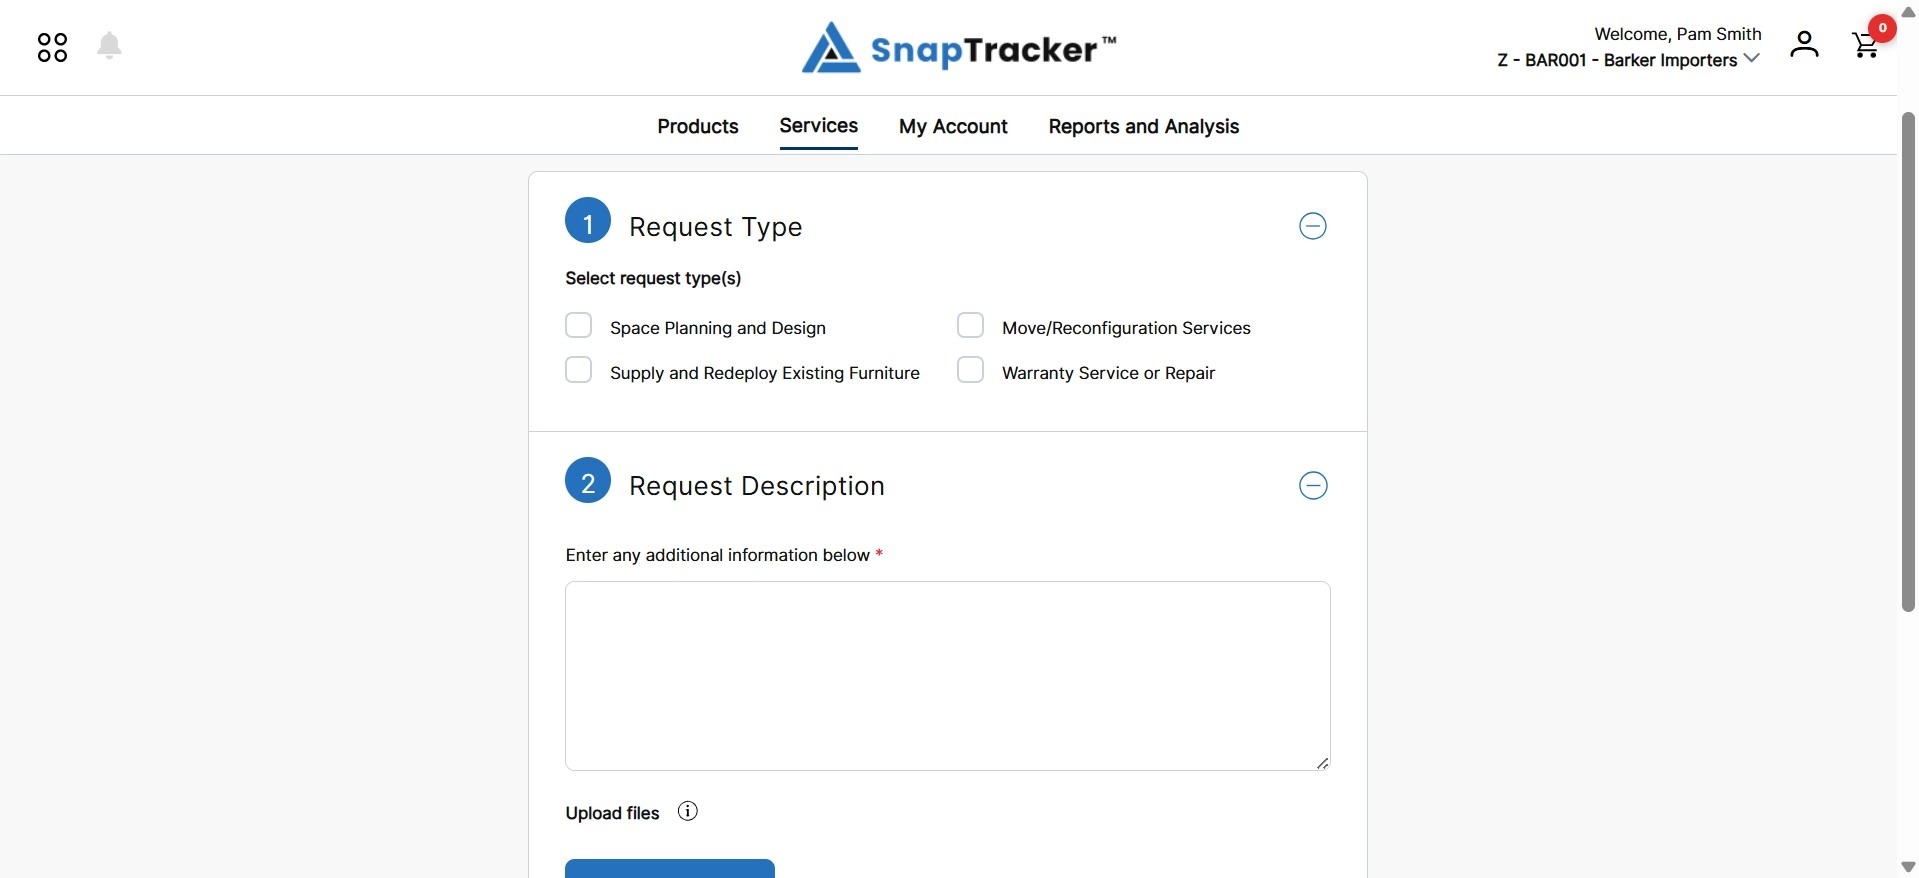
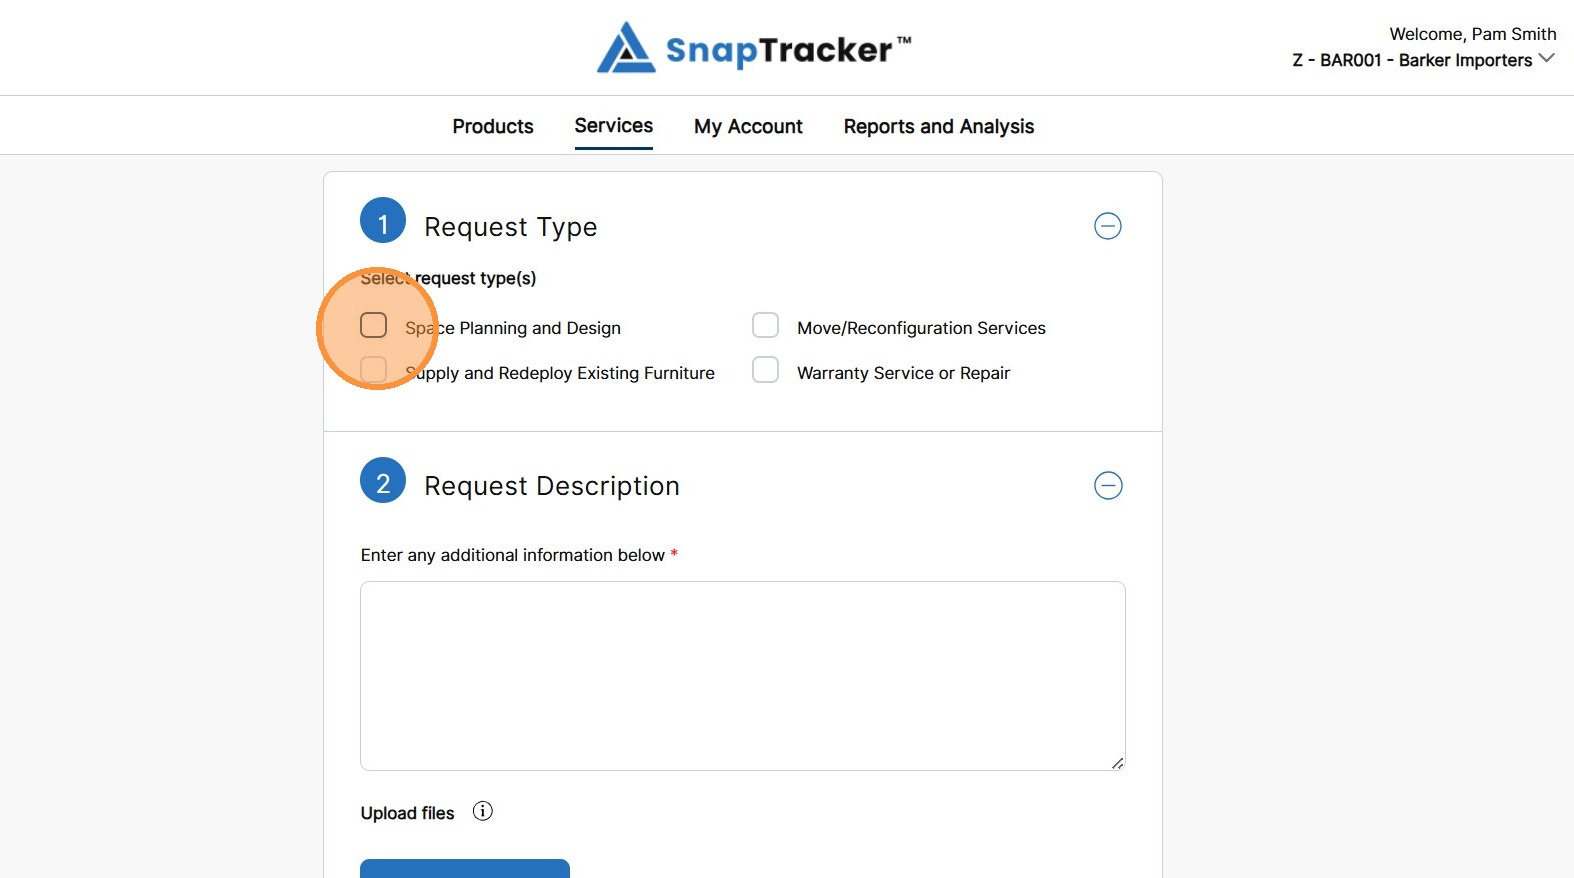
4. To populate any section requiring a selection of options, click the checkbox beside the desired option(s).
5. To populate any custom input sections, click the textbox and enter the desired service request information.
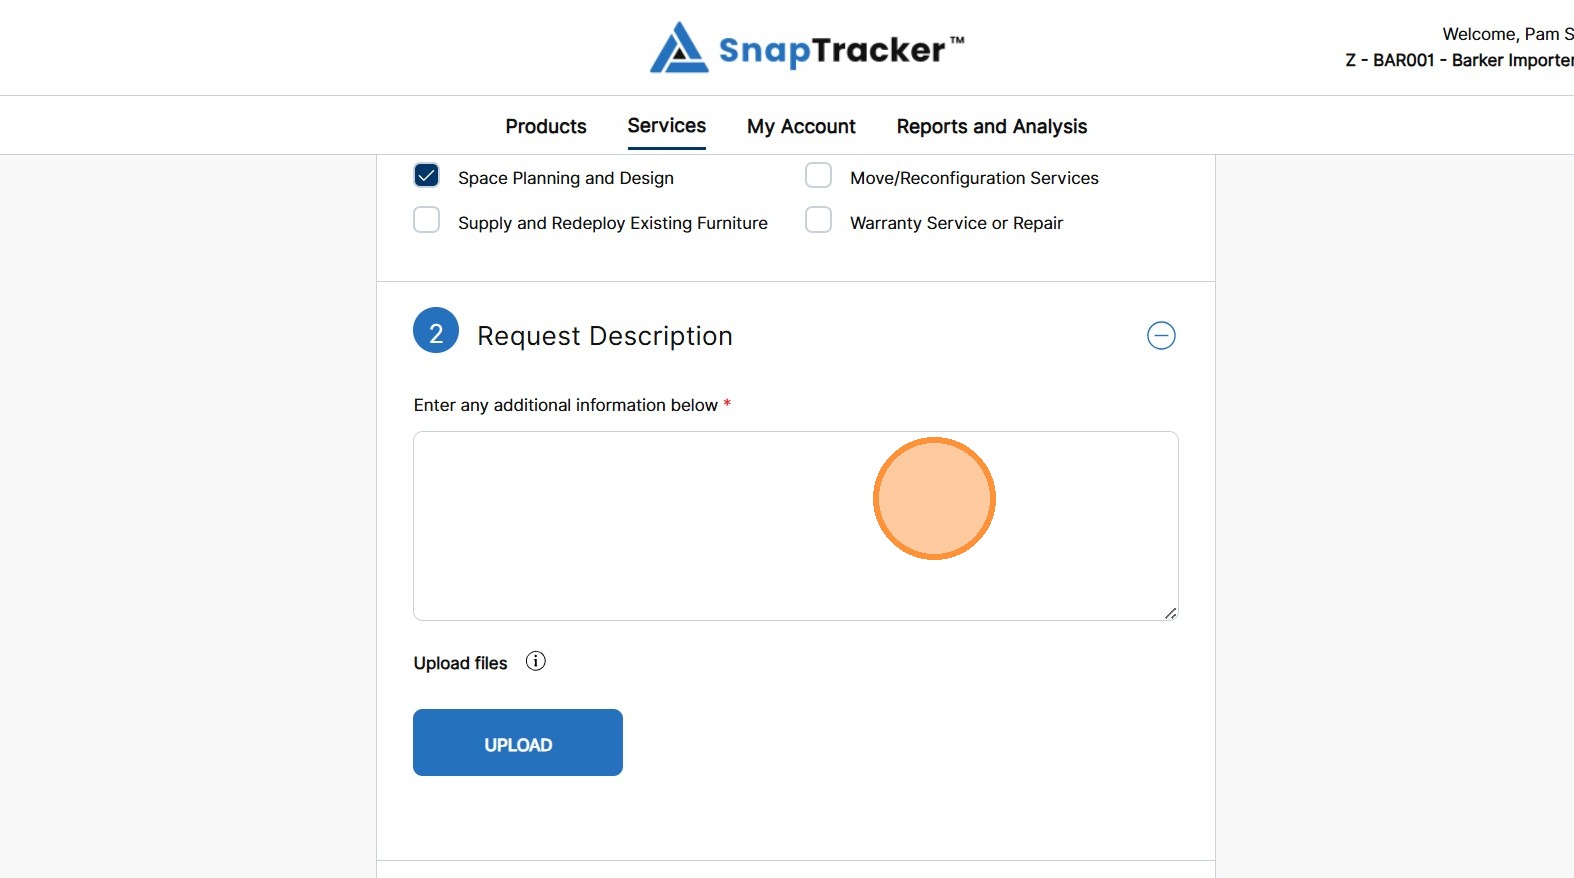
6. To upload any additional files, click Upload.
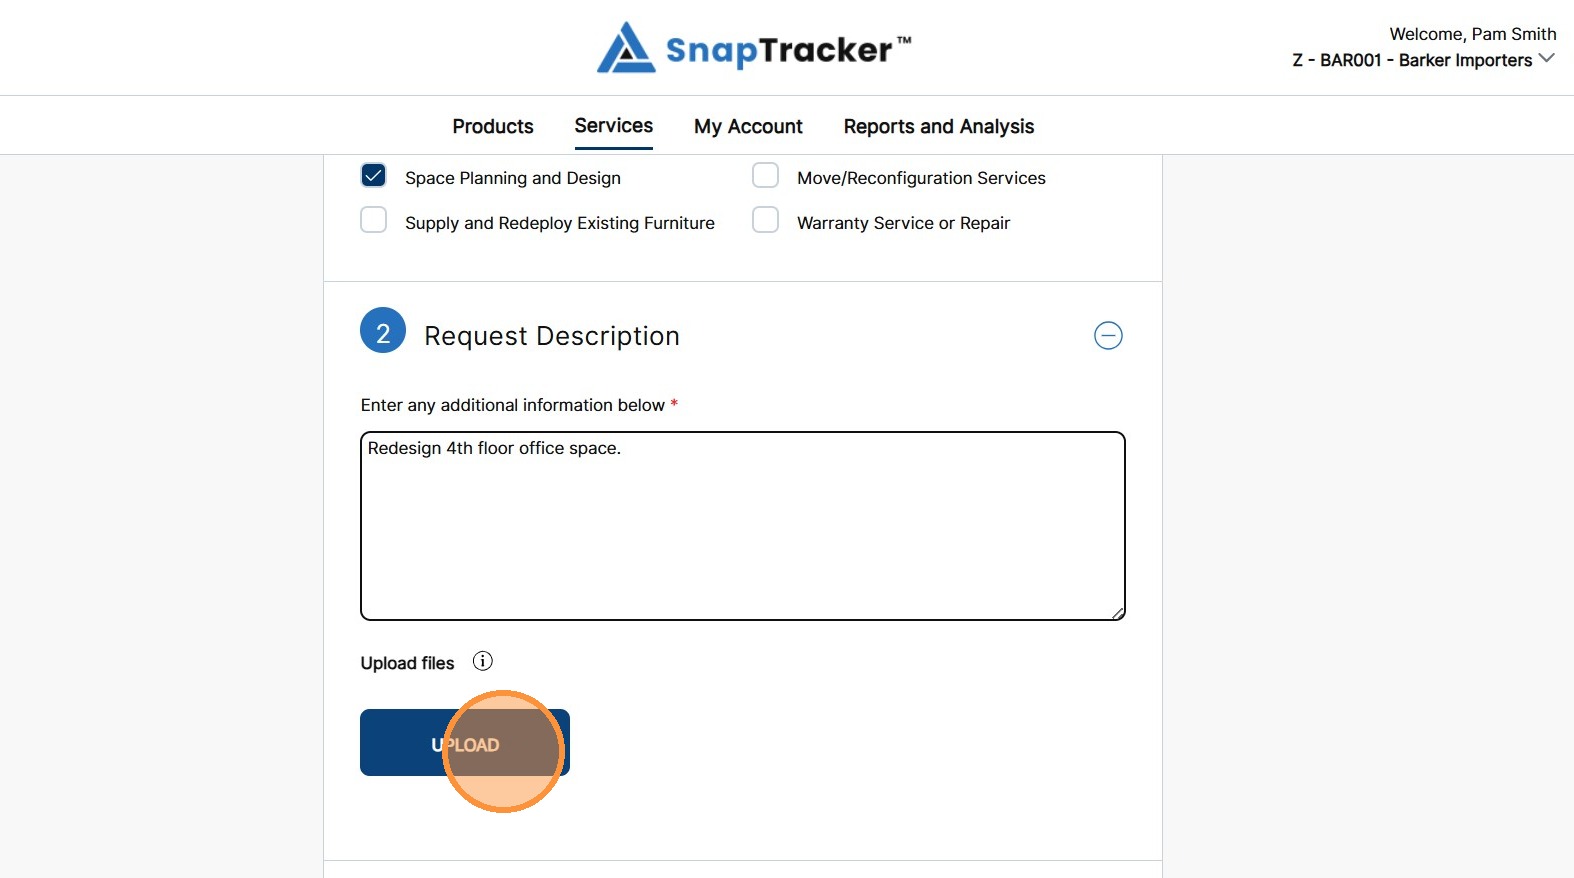
The Upload Attachment pop-up displays.
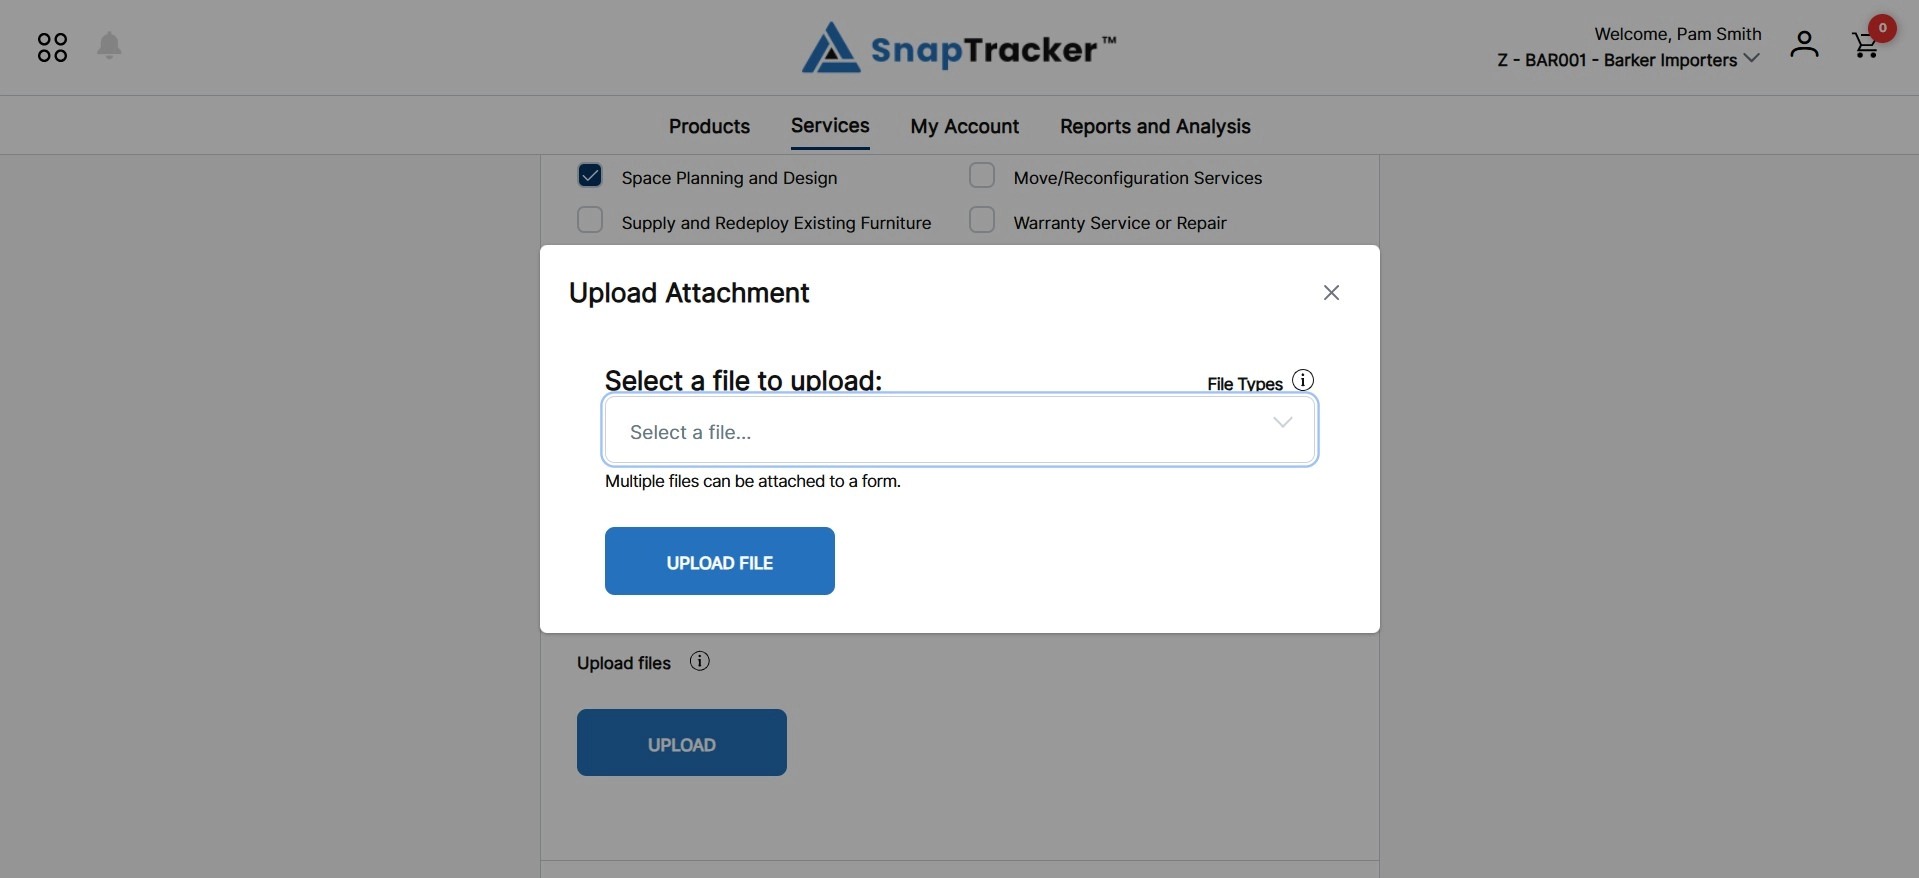
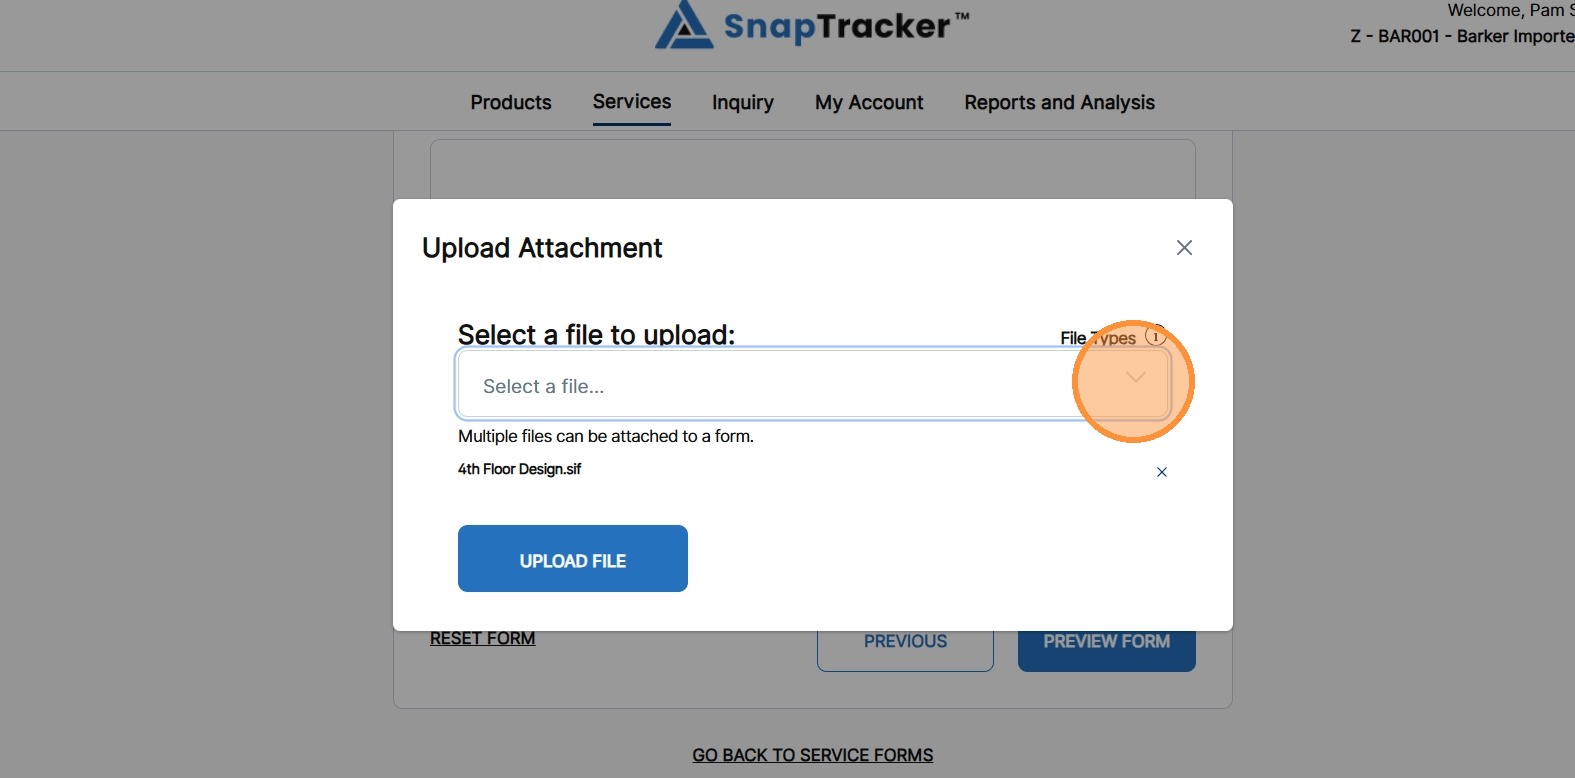
7. Click the dropdown to select a file.
If a correction is required, click the X beside the file and upload another file.
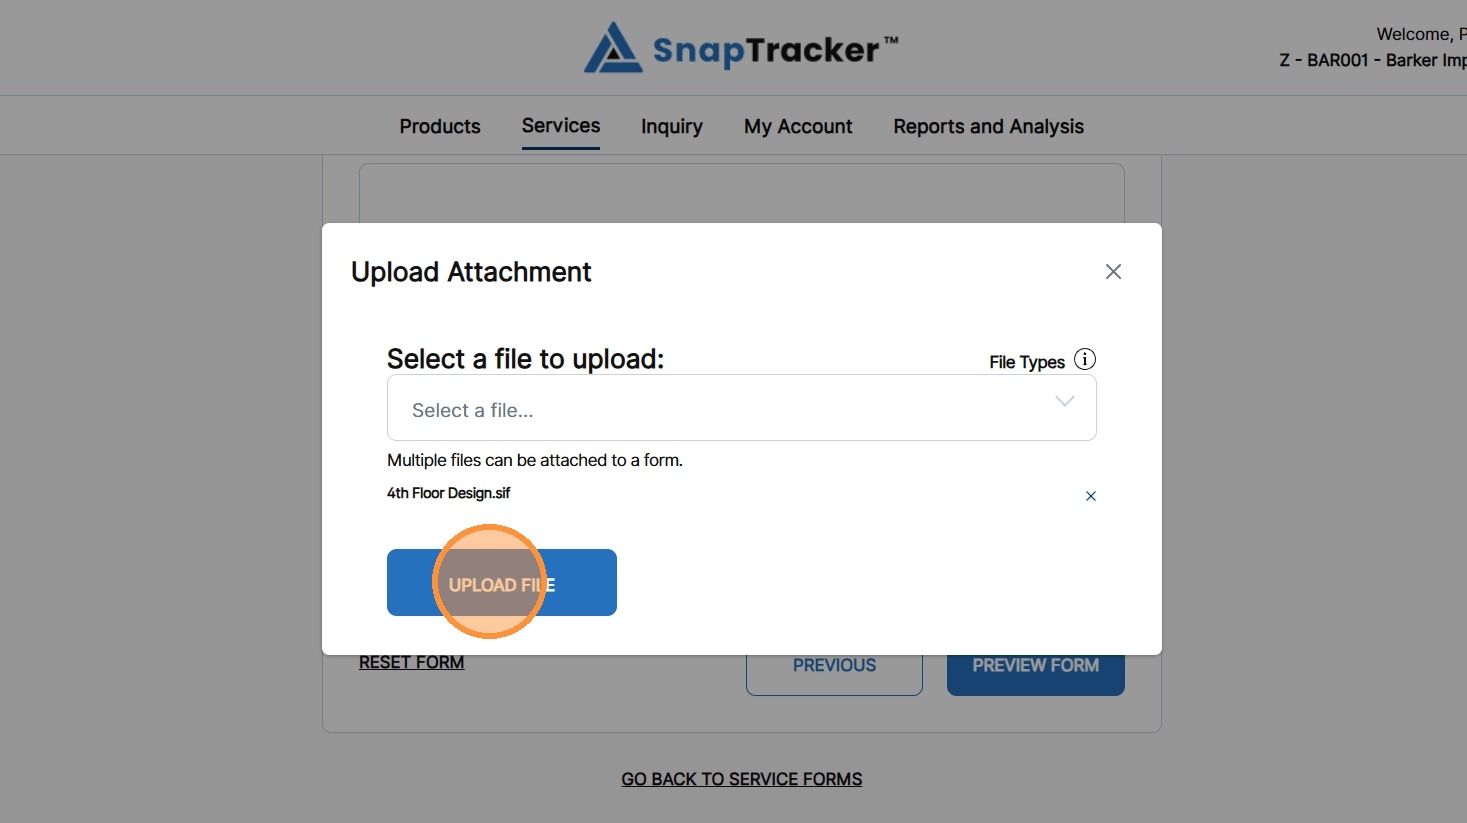
8. Once the file is confirmed, click Upload File.
Observe the service form actions at the bottom of the screen:
- Reset Form – Reset all fields in the form to empty.
- Previous – Return to the previous section in the service form.
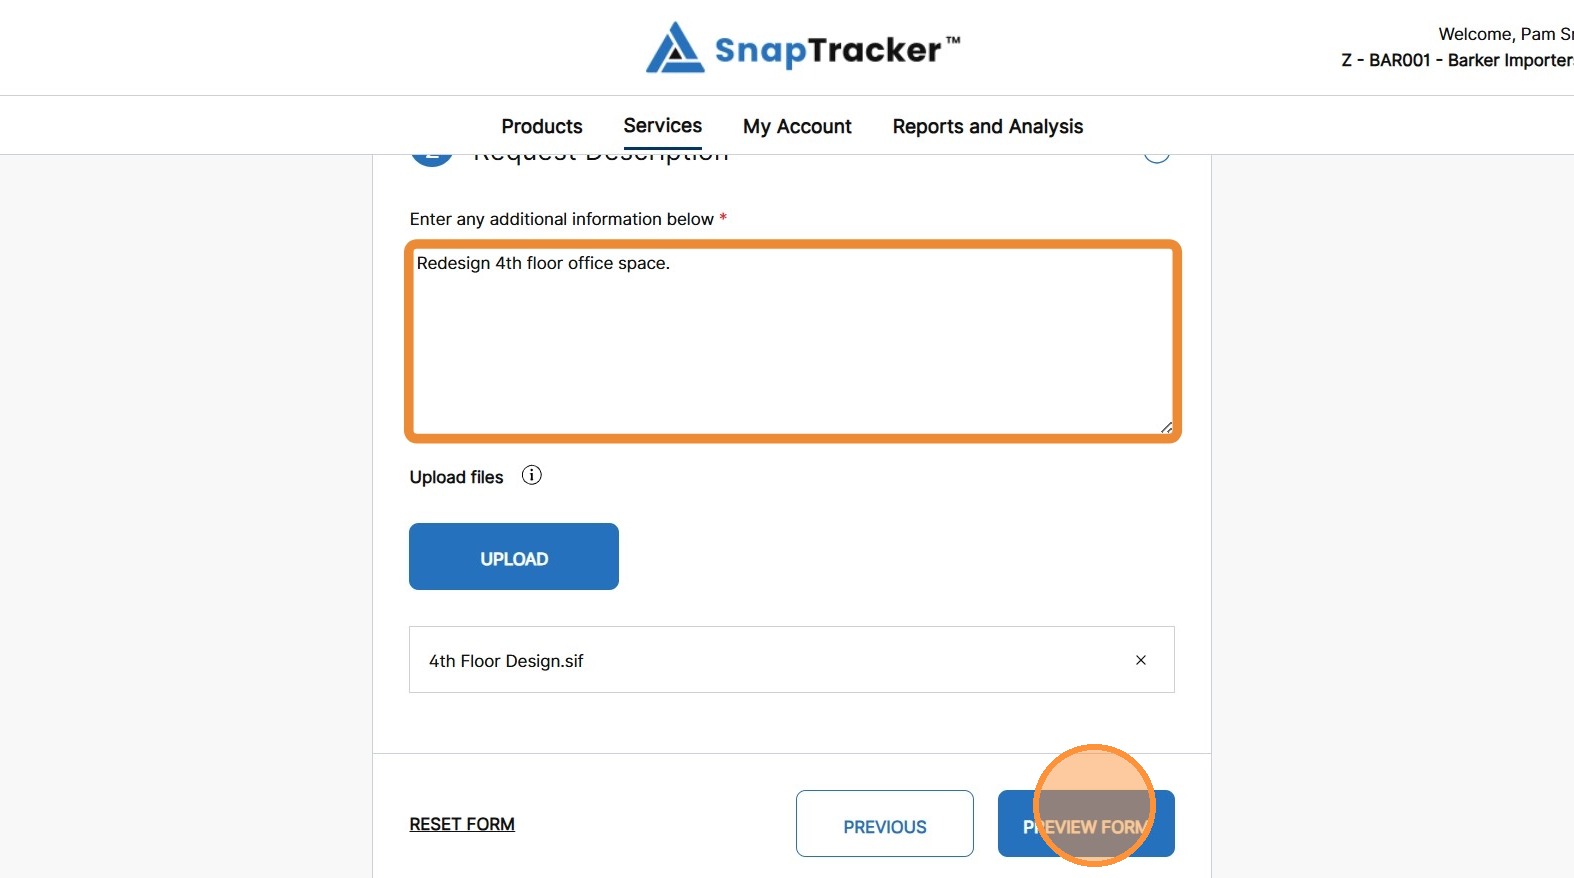
- Preview Form – Preview the final service request before submission.
- Go Back to Service Forms – Return to the full Service Forms menu.
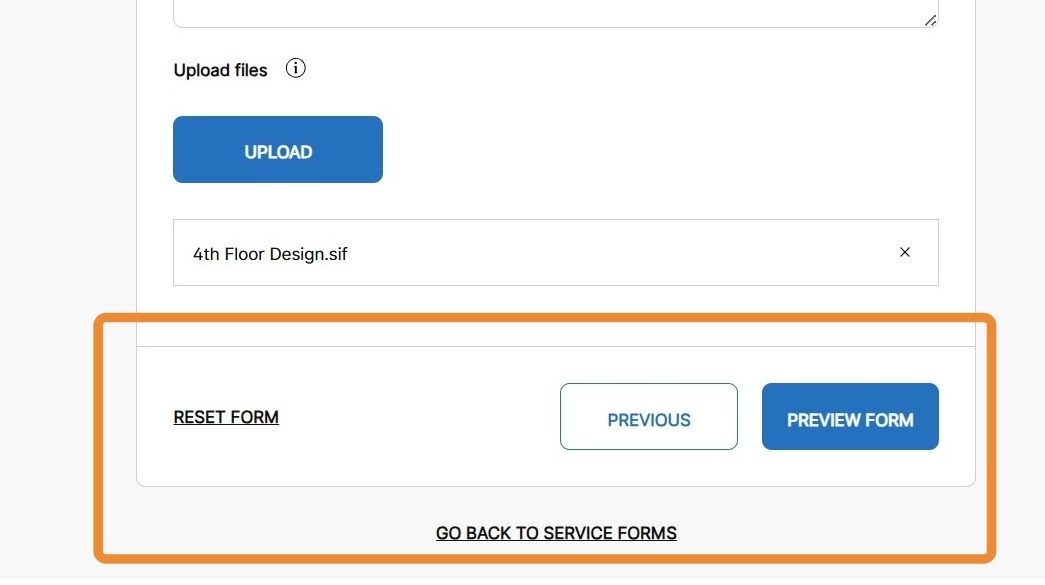
9. To finalize the Service Form, click Preview Form.
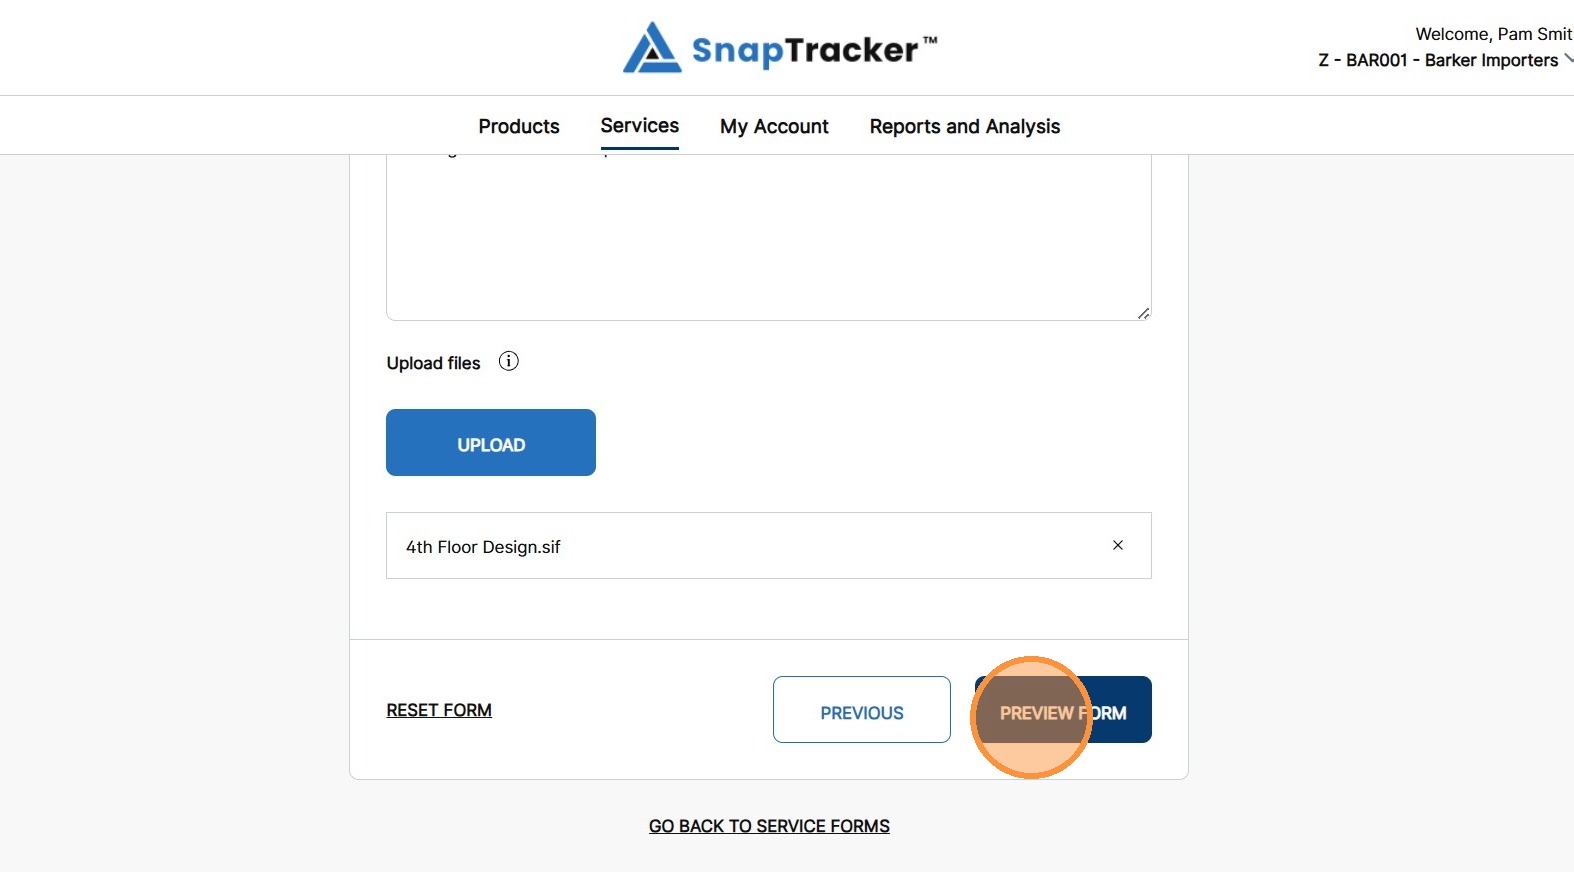
The Service Request Preview screen displays.
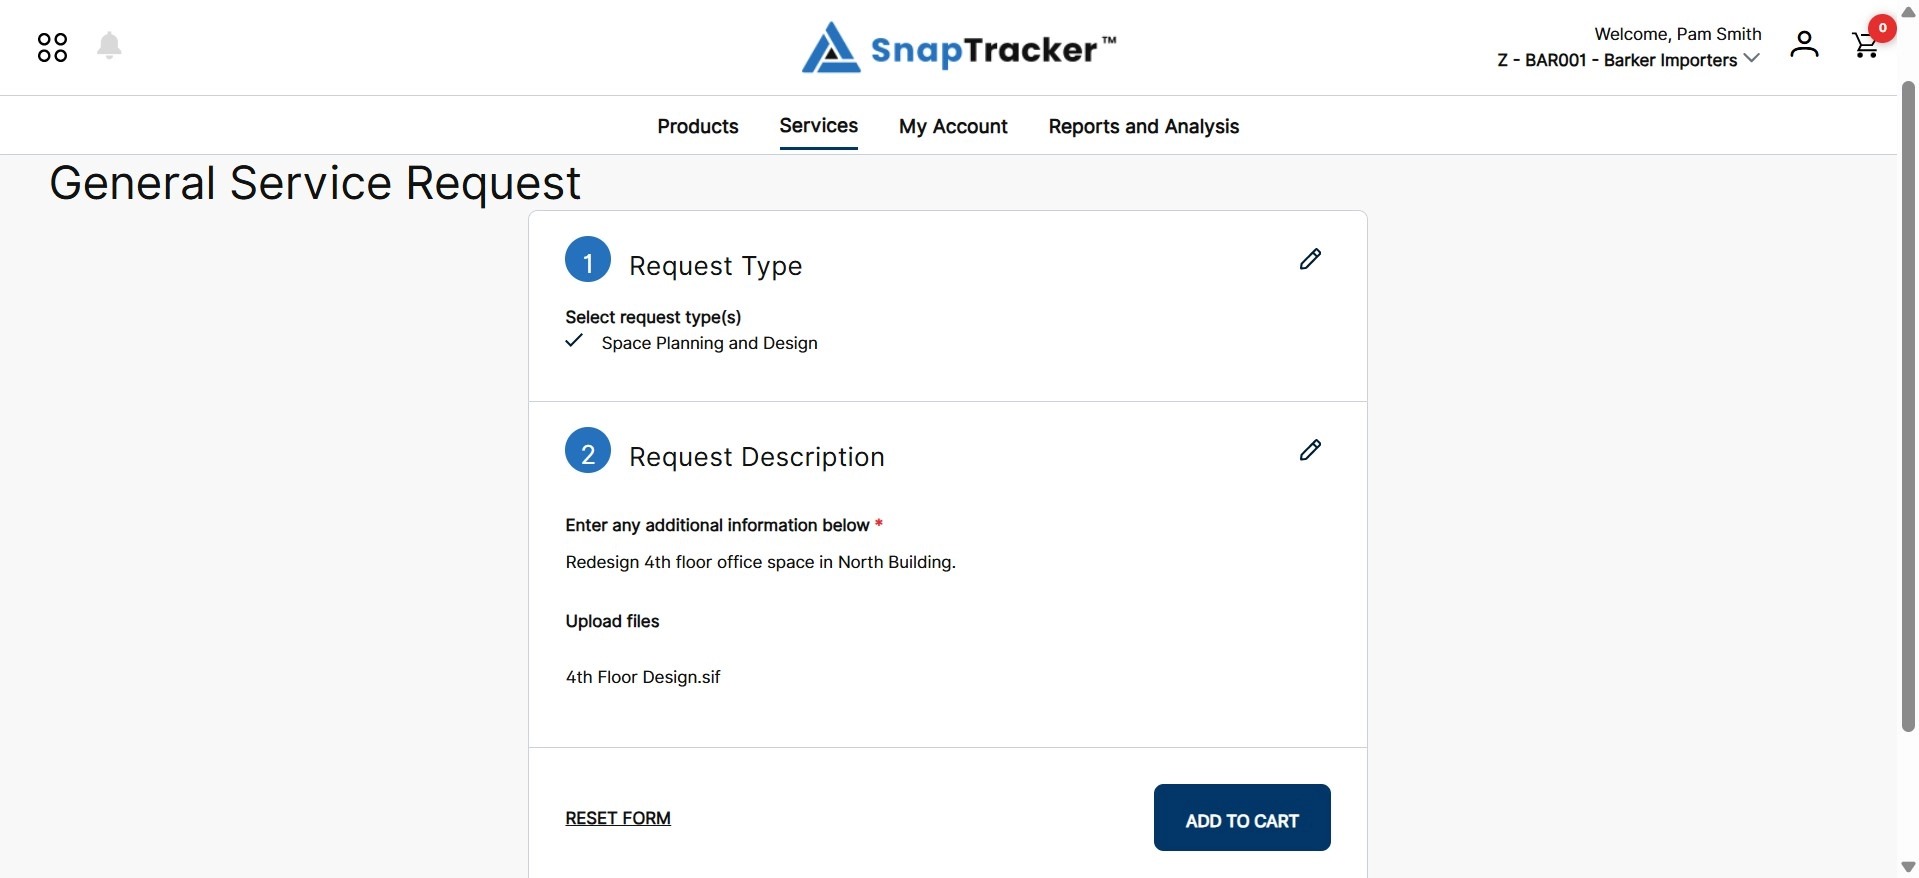
10. To edit a section, click the Edit Details icon beside it.
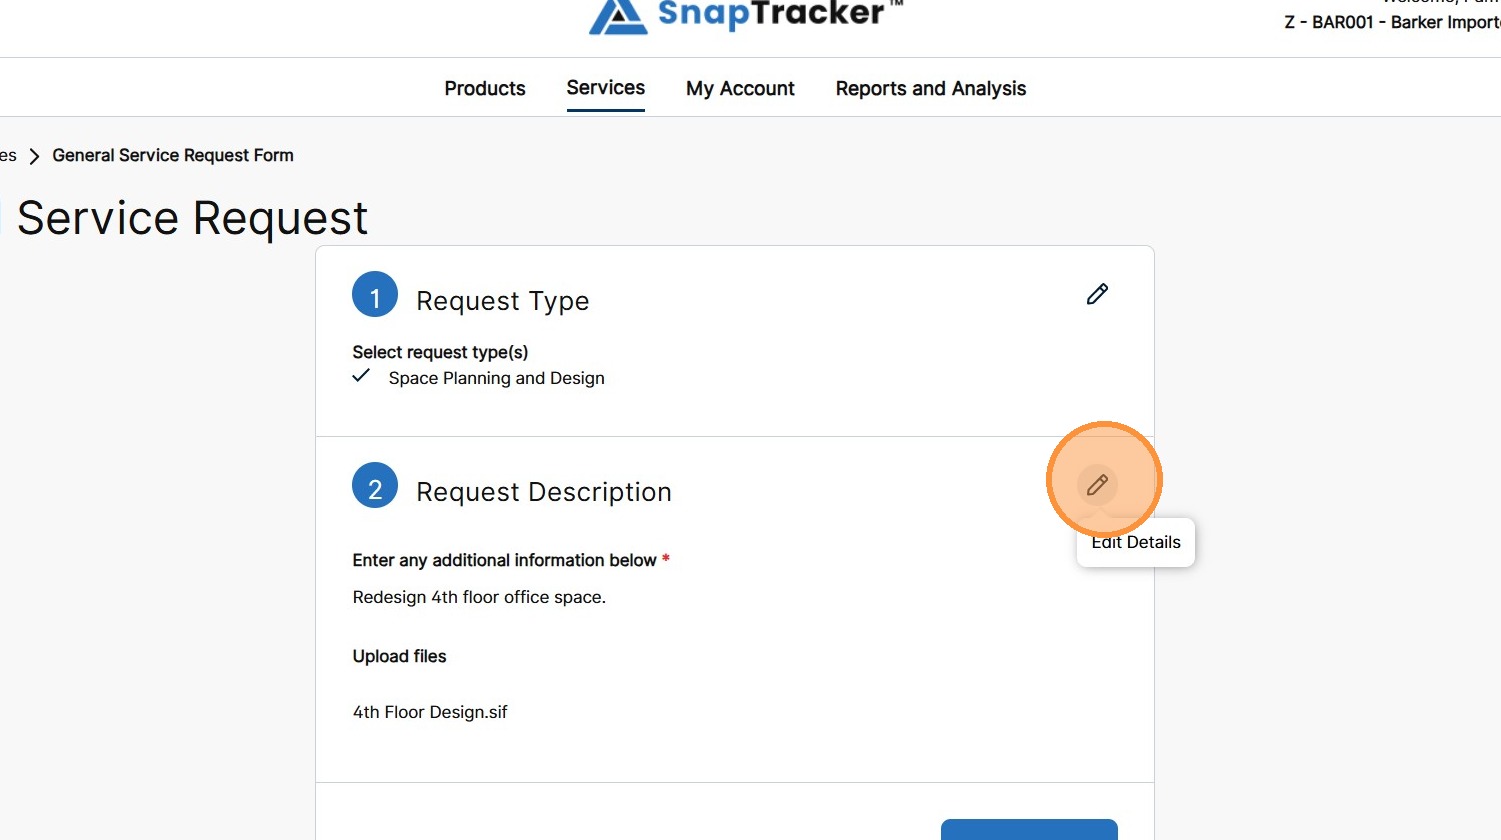
11. Edit the section as desired, and click Preview Form again.
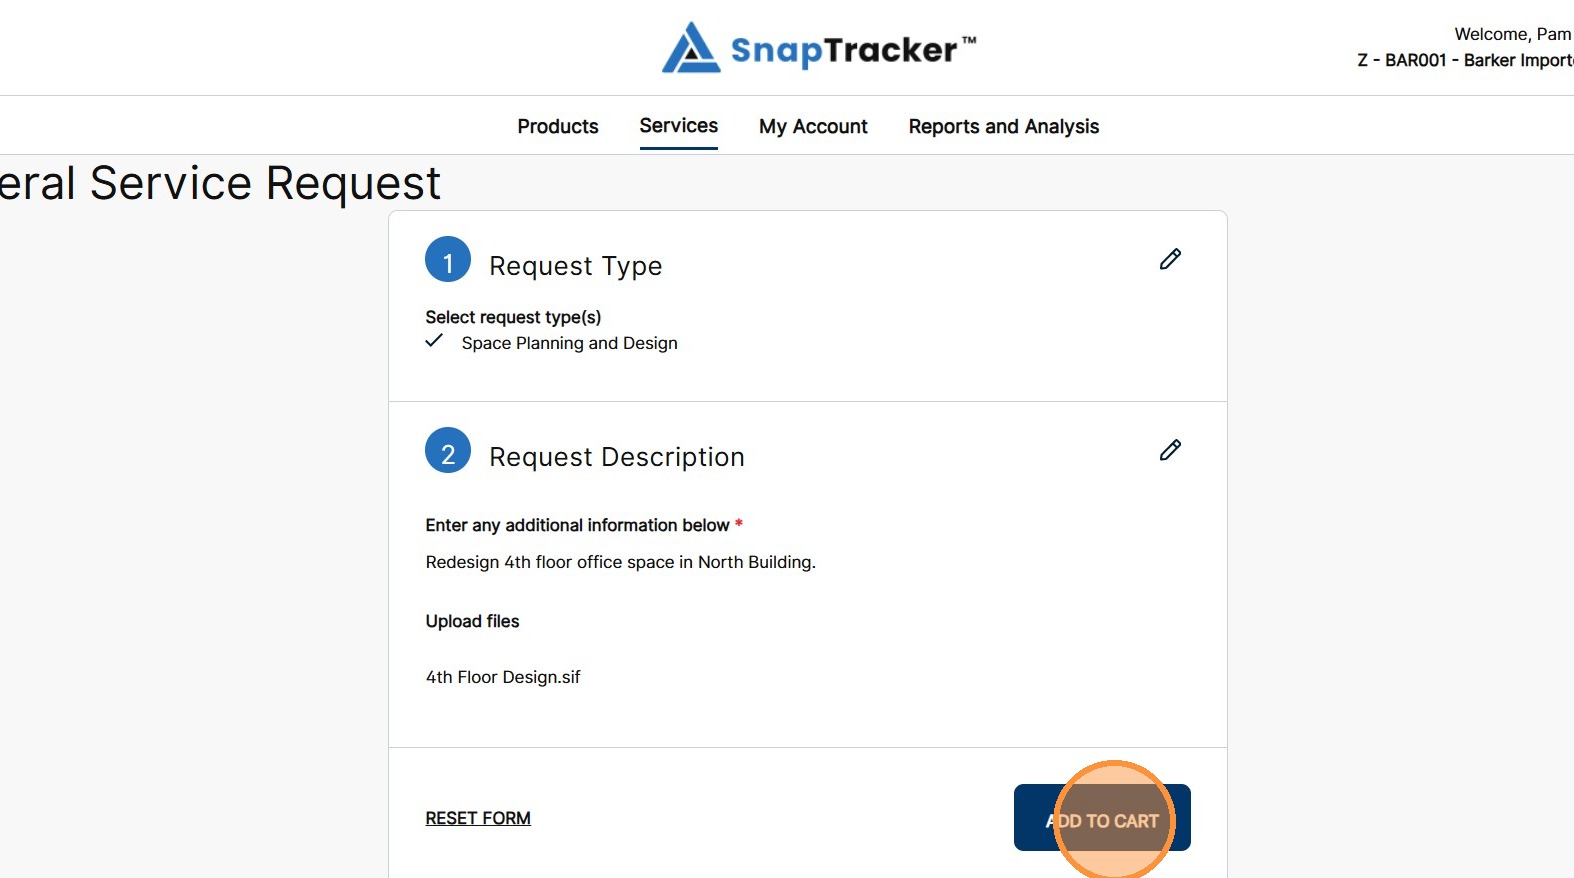
12. Once the form is completed with all information, click Add to Cart.
Note: When requesting a service, the request can be added to an existing cart, or a new cart can be created. If there are carts already created, the service form is added to the active cart by default.
If you add a service form and do not have a cart created, the Create New Cart pop-up screen displays for you to create a cart. Once the cart is created, the service form is added to the cart.
Note: A cart can contain multiple service requests at one time, but only one instance of each service form can be added to a cart. For example, you can add a General Service Request and a Delivery and Installation request to the same cart. You cannot add two General Service Requests to the same cart.
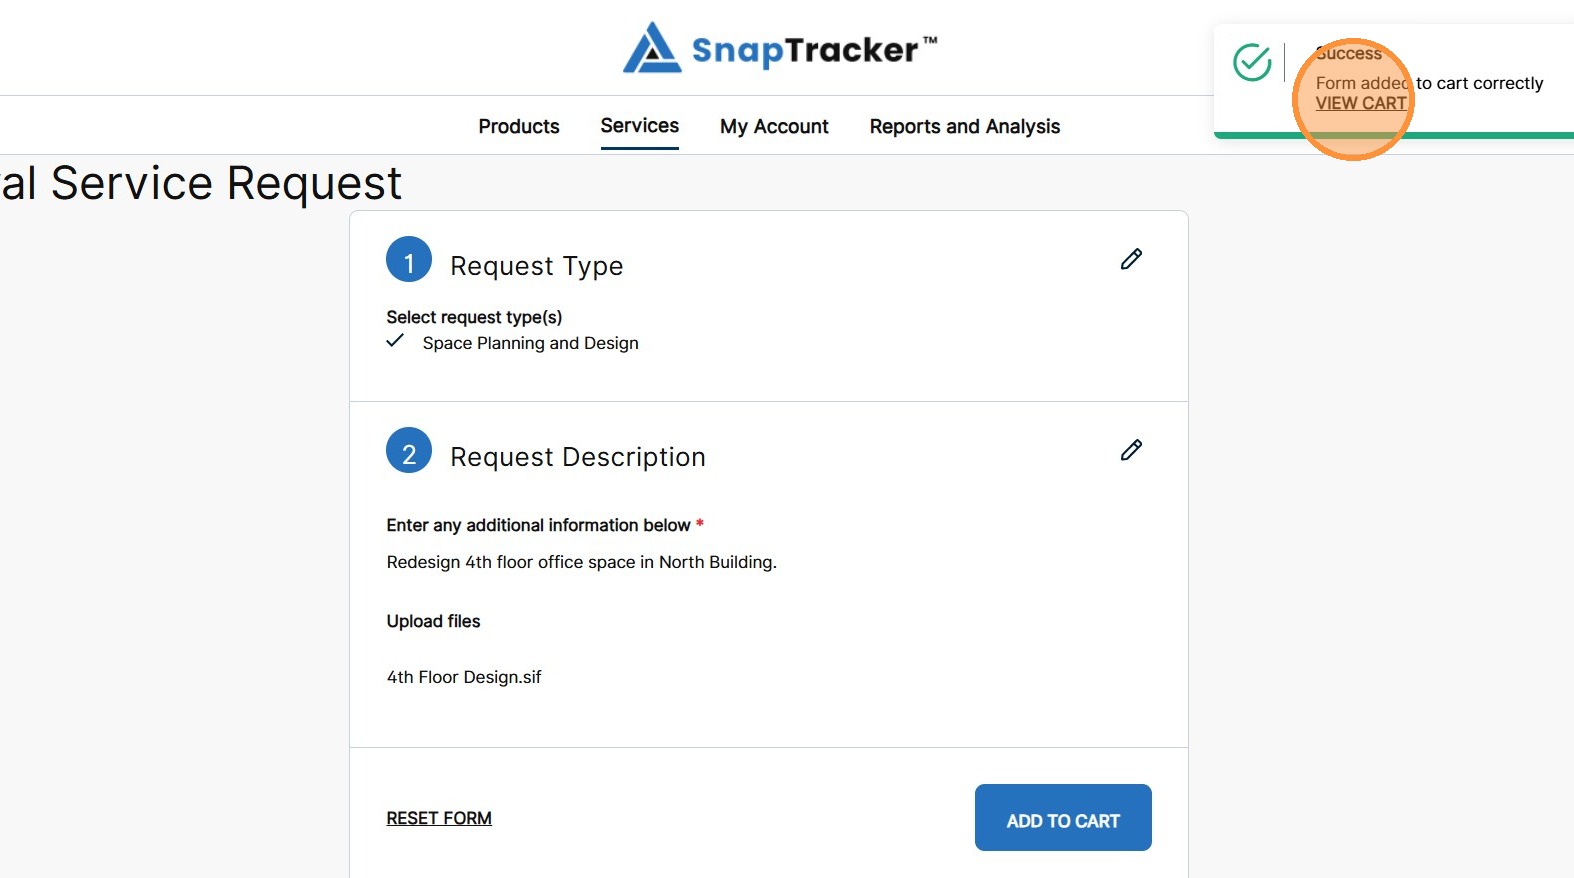
13. A success notification displays.
To view your cart, click View Cart in the notification.
The Cart Details screen displays with the Service Form.
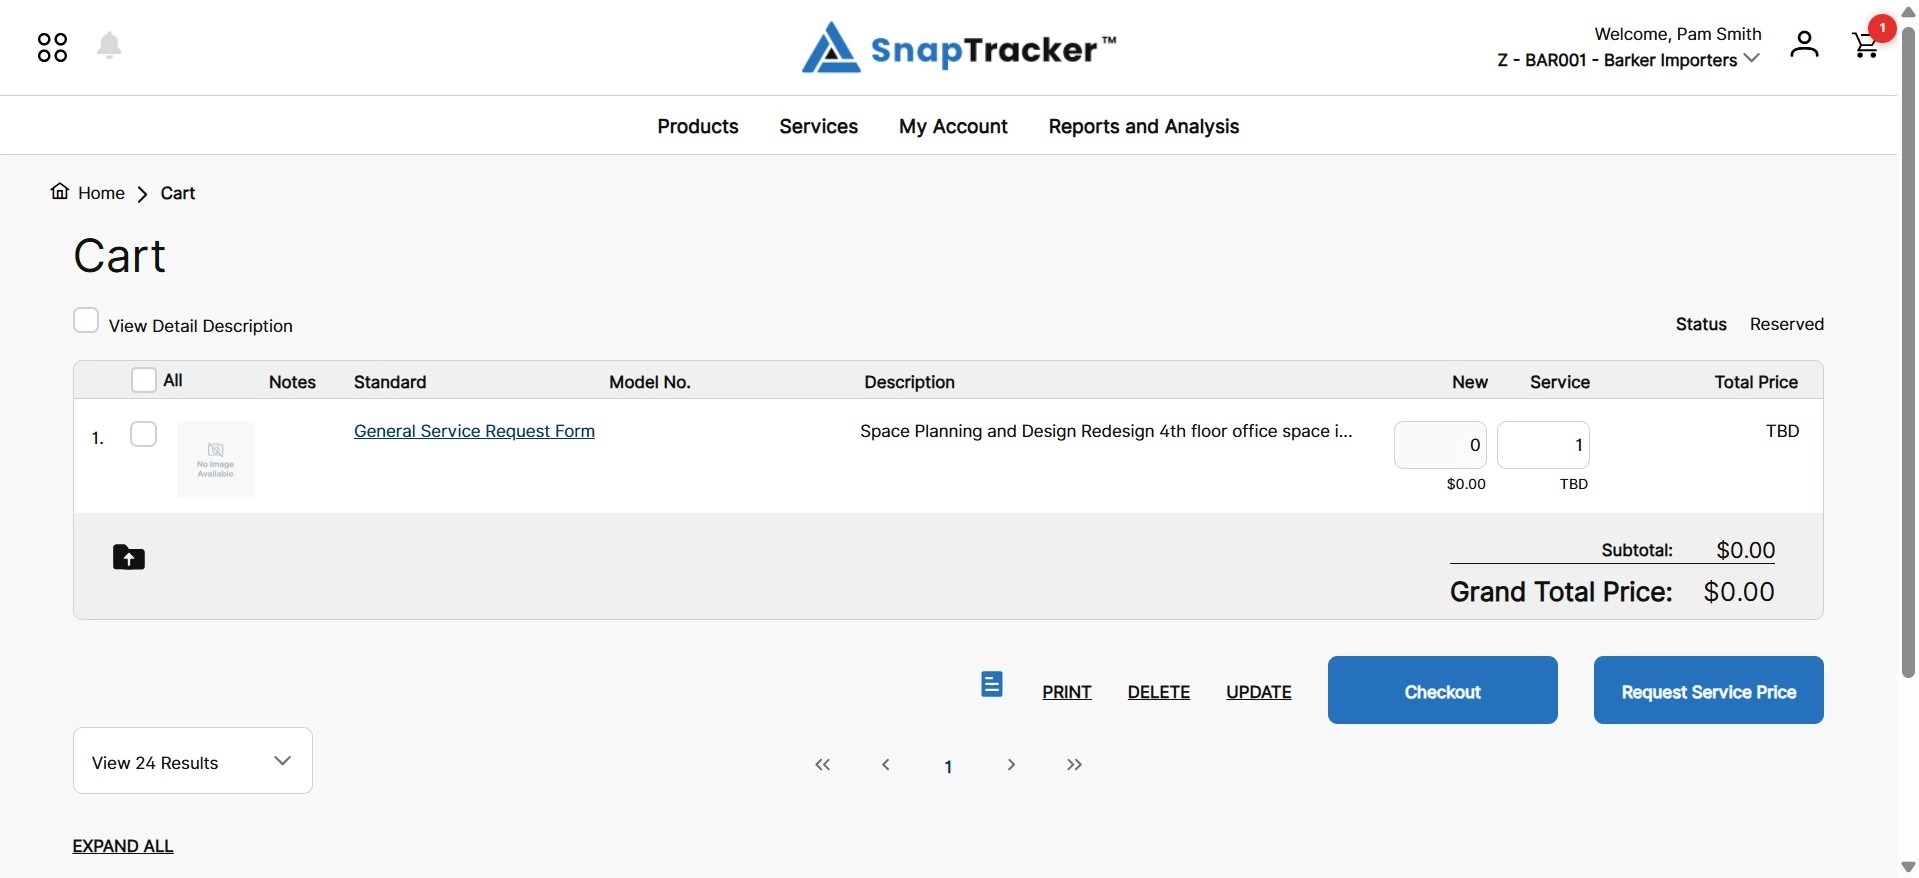
14. To view the Service Form details from the cart, click the hyperlinked service.
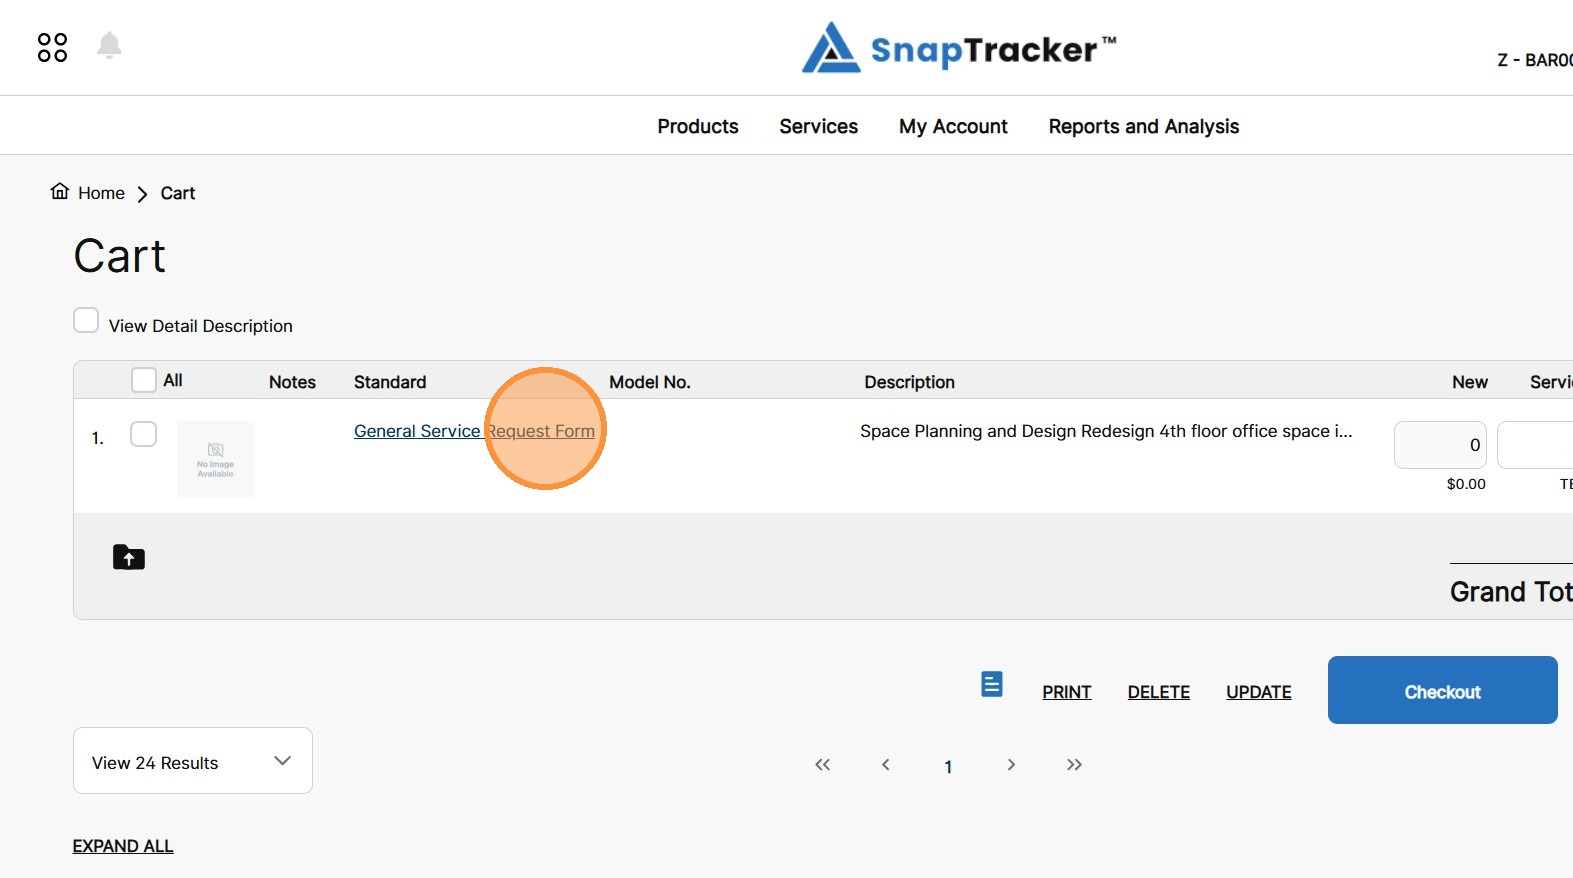
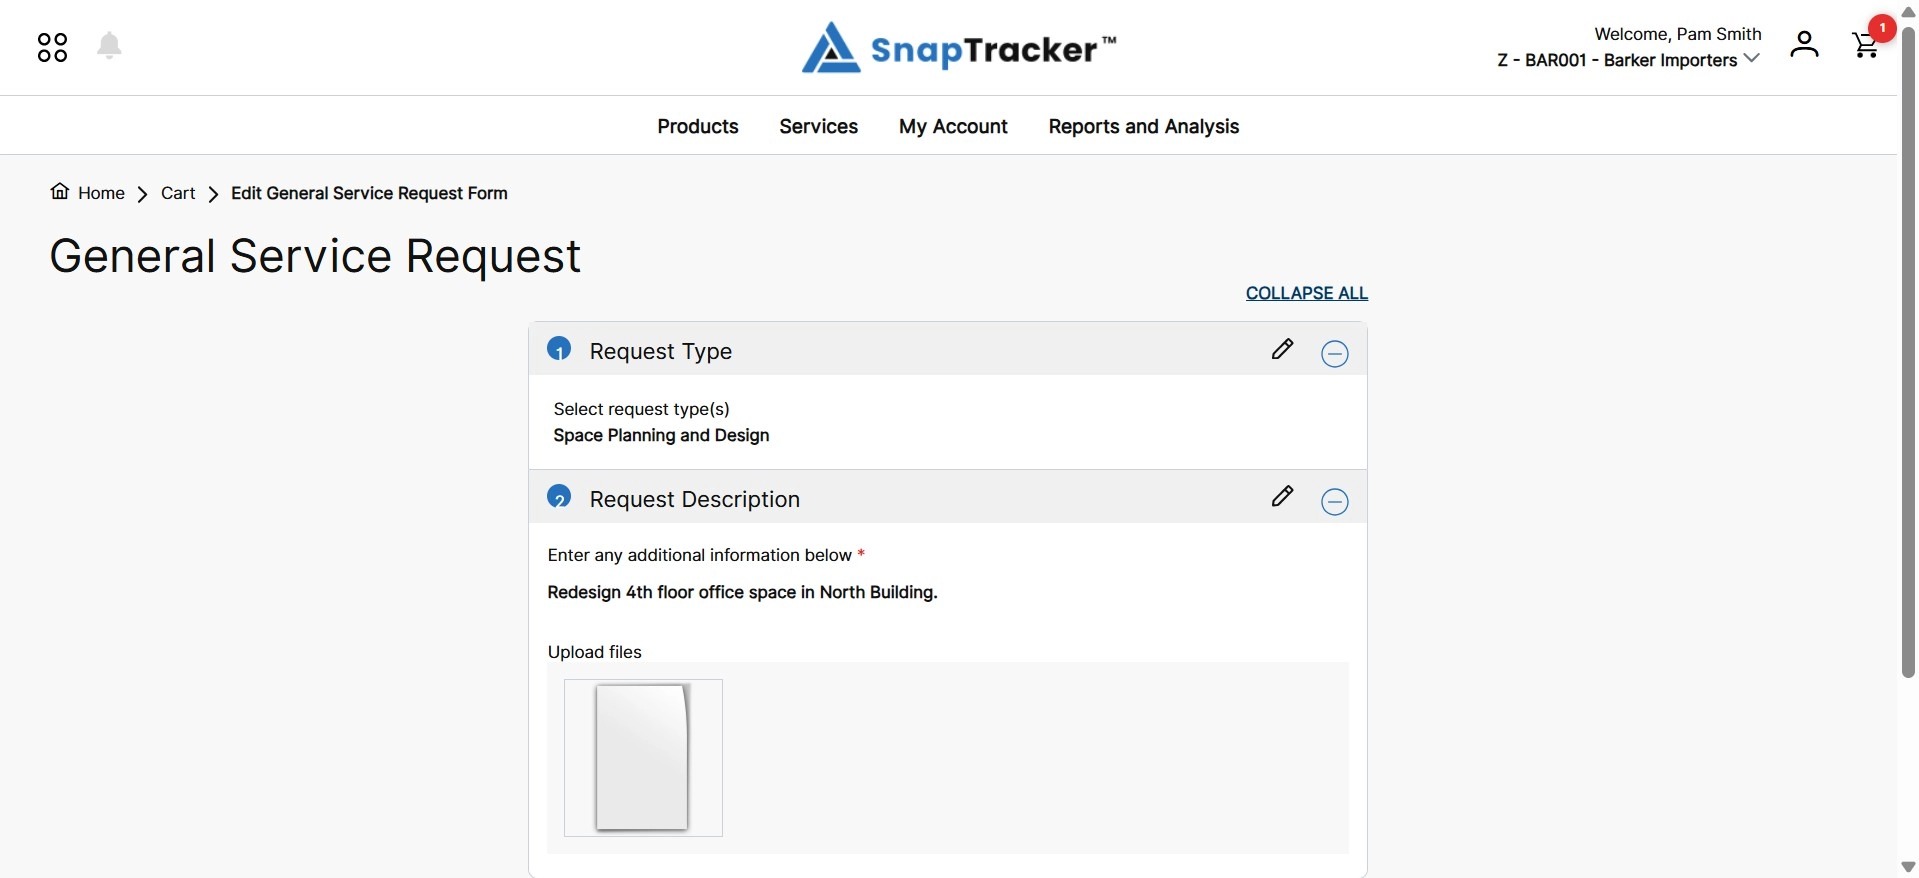
The Service Form Details screen displays.
Note: You can edit the details of a Service Form in the cart by clicking the Edit Details icon in the Details screen.
15. To checkout the cart, click Checkout.
The Checkout screen displays.
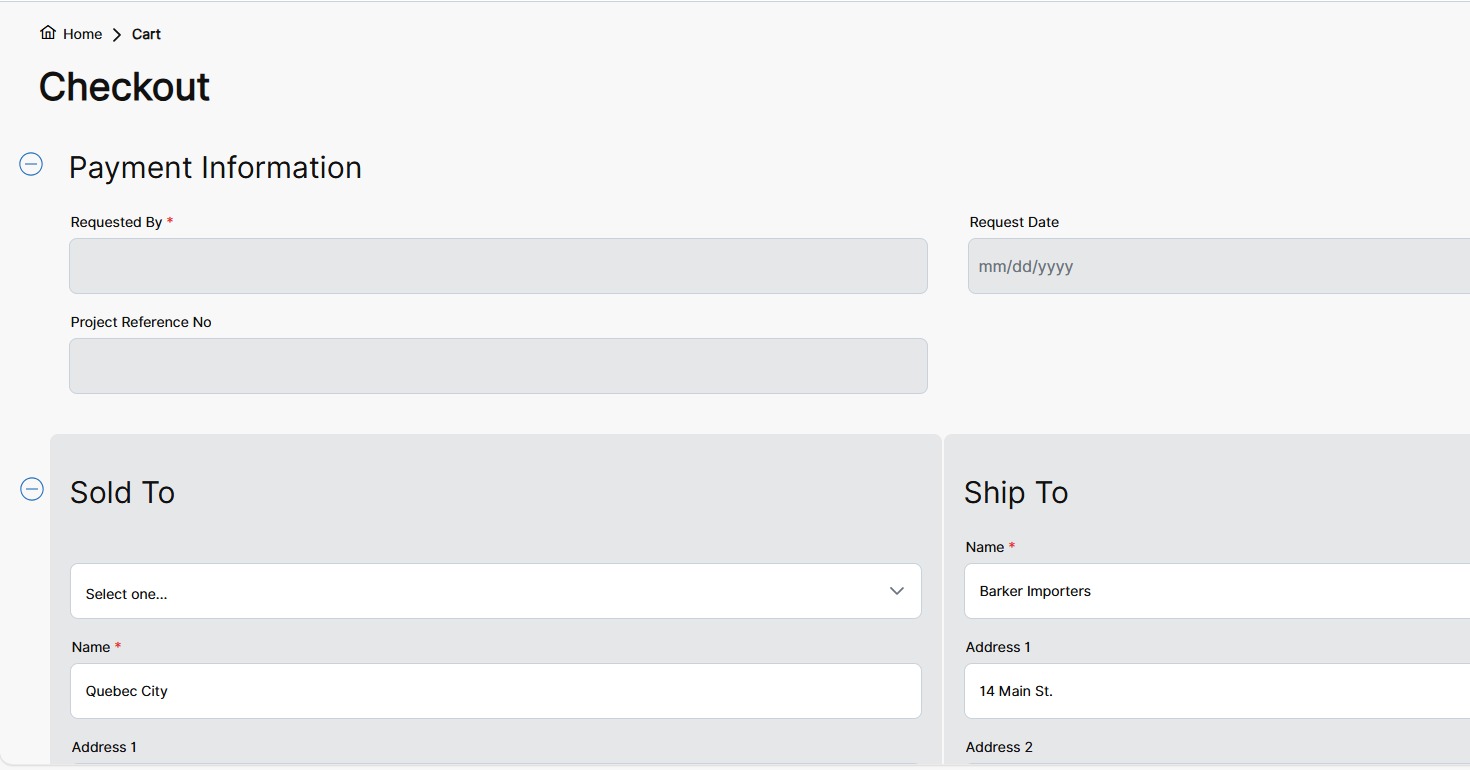
16. Complete the Checkout screen, scroll to the bottom of the screen and click Order.
The order is checked out. Order emails are sent to you and to the service provider.