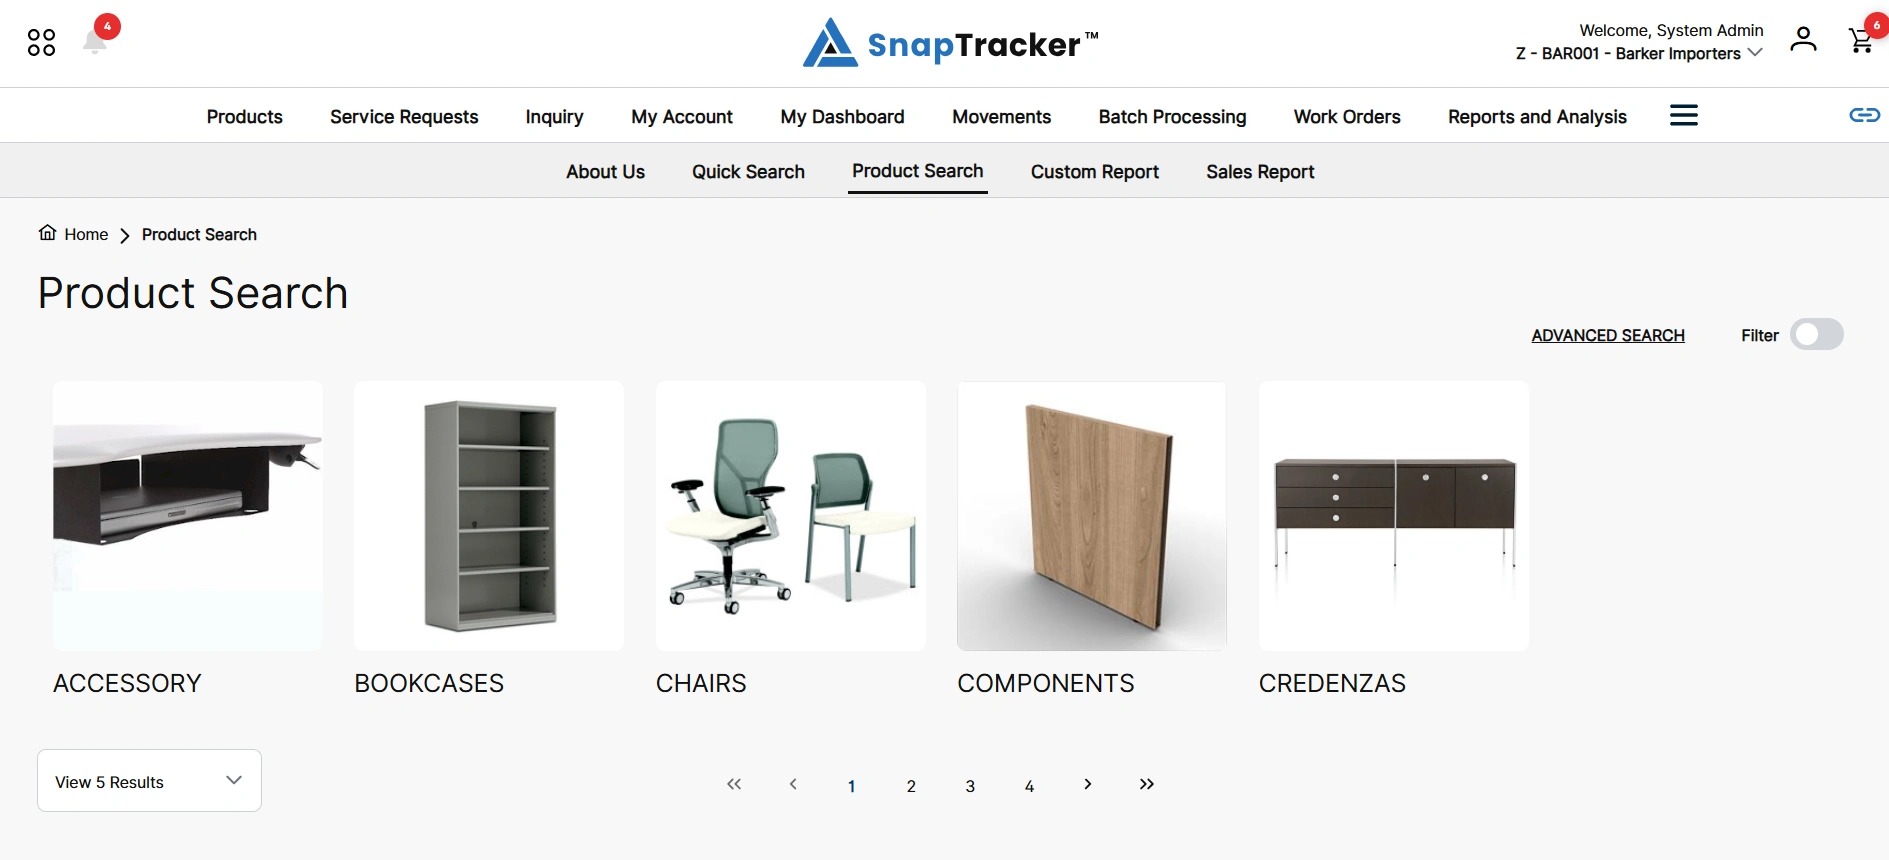
How to Create a Quick Link – SnapTracker Screen
Additional menus, also called Quick Links, can be added right below the main menu bar for easy access to popular SnapTracker screens. They can be set up to match a User’s personal workflow. They are controlled by User Access permissions.
You can create Quick Links for any screen in SnapTracker or for external websites.
Before starting, make sure:
- You are logged in to SnapTracker.
- You have access to create Custom Menus.
This post outlines how to create a Quick Link to a native, SnapTracker screen for a User.
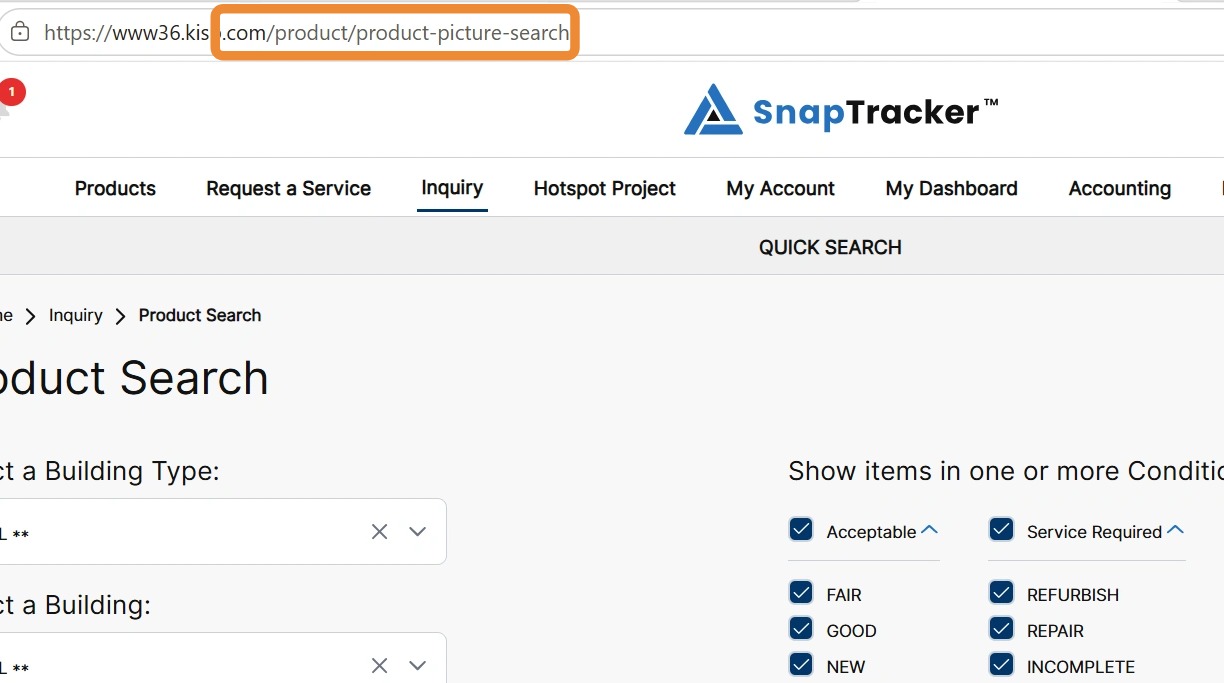
Before creating your link, go to the screen you want to link to and copy the part of the address after .com so you have it when you create the link.
For example, if you want to link to the Product Search screen, go to that screen and copy /product/product-picture-search.
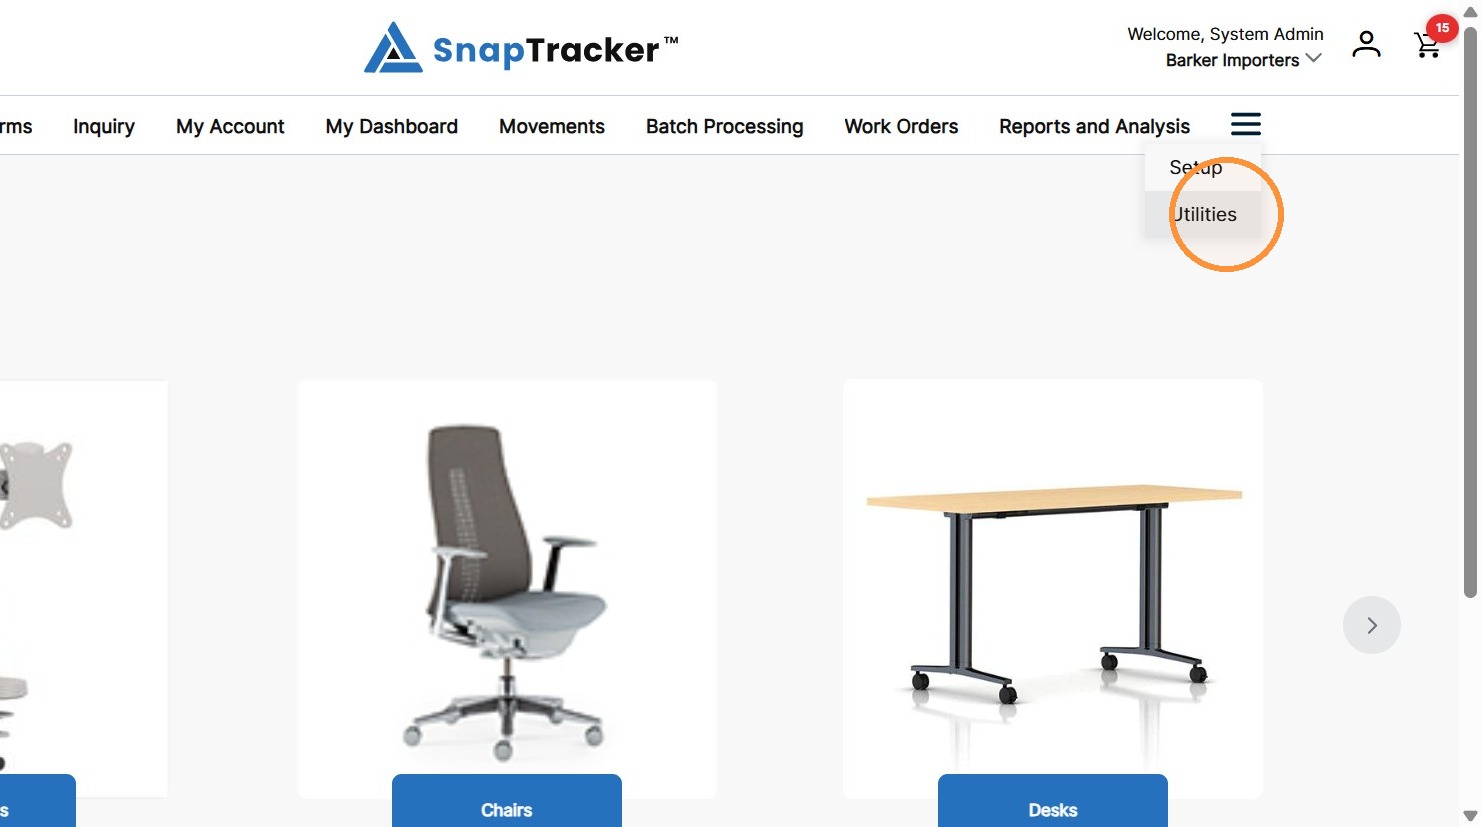
1. In the header, click Utilities.
2. Click the arrow beside User Setup, then click Custom Menu.
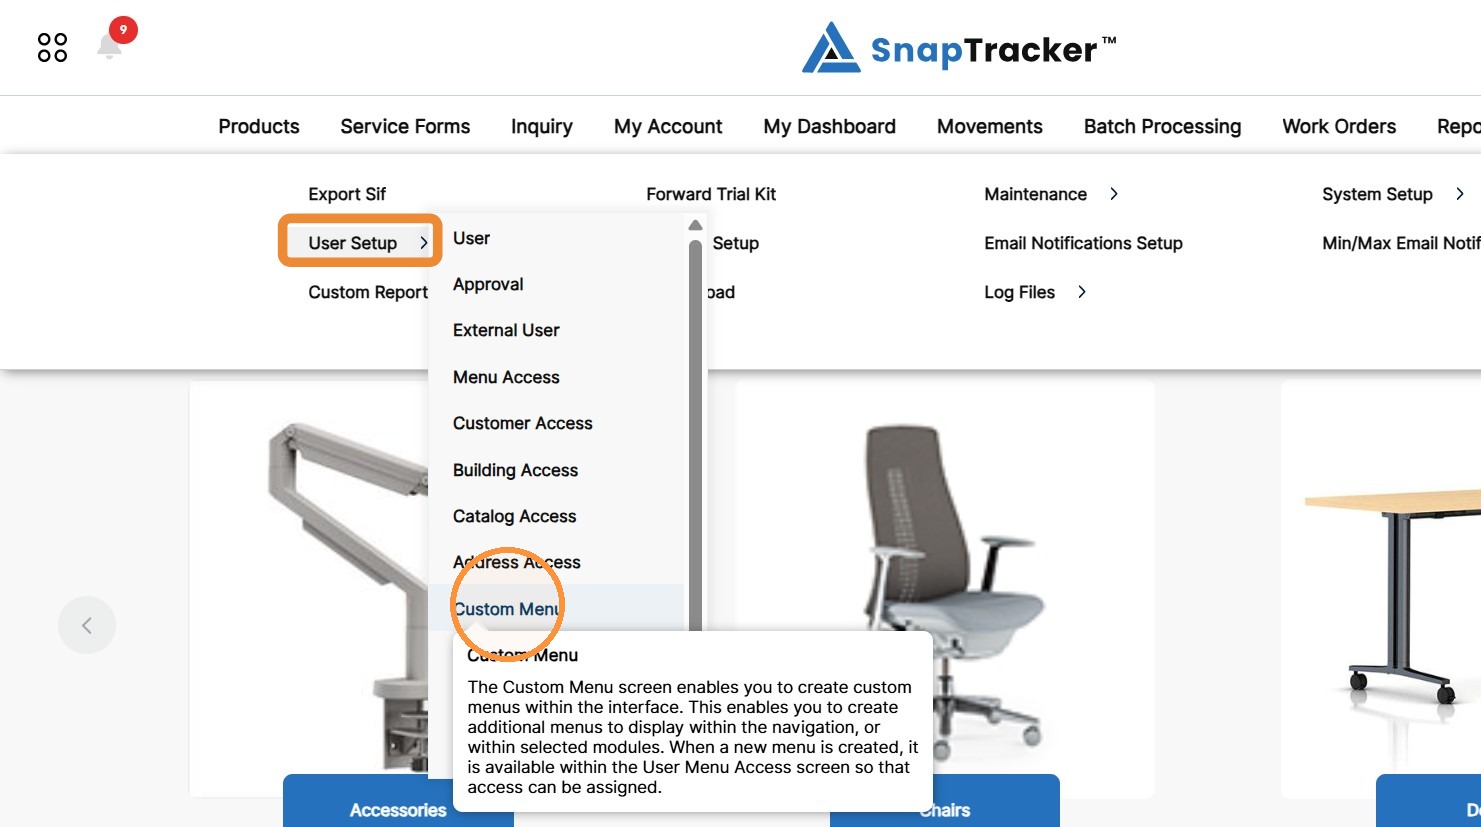
Another way to access the Custom Menu screen is to click Utilities>User Setup.
The different User Setup screens display. From here select Custom Menu.
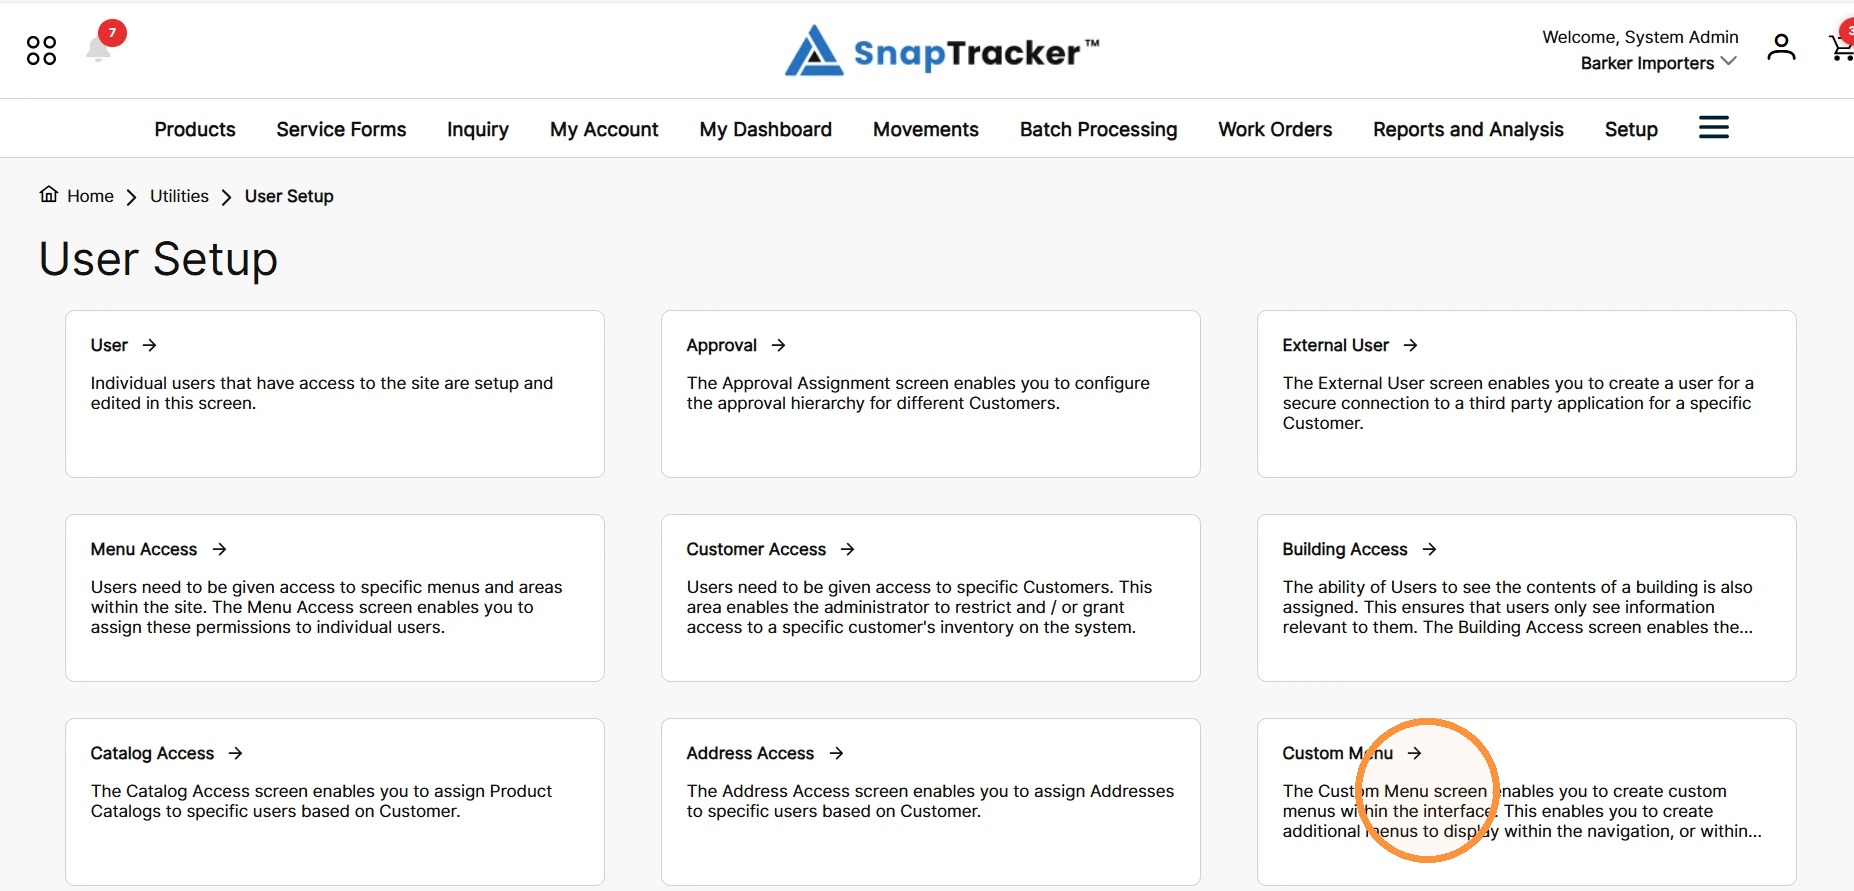
The Custom Menu screen displays.
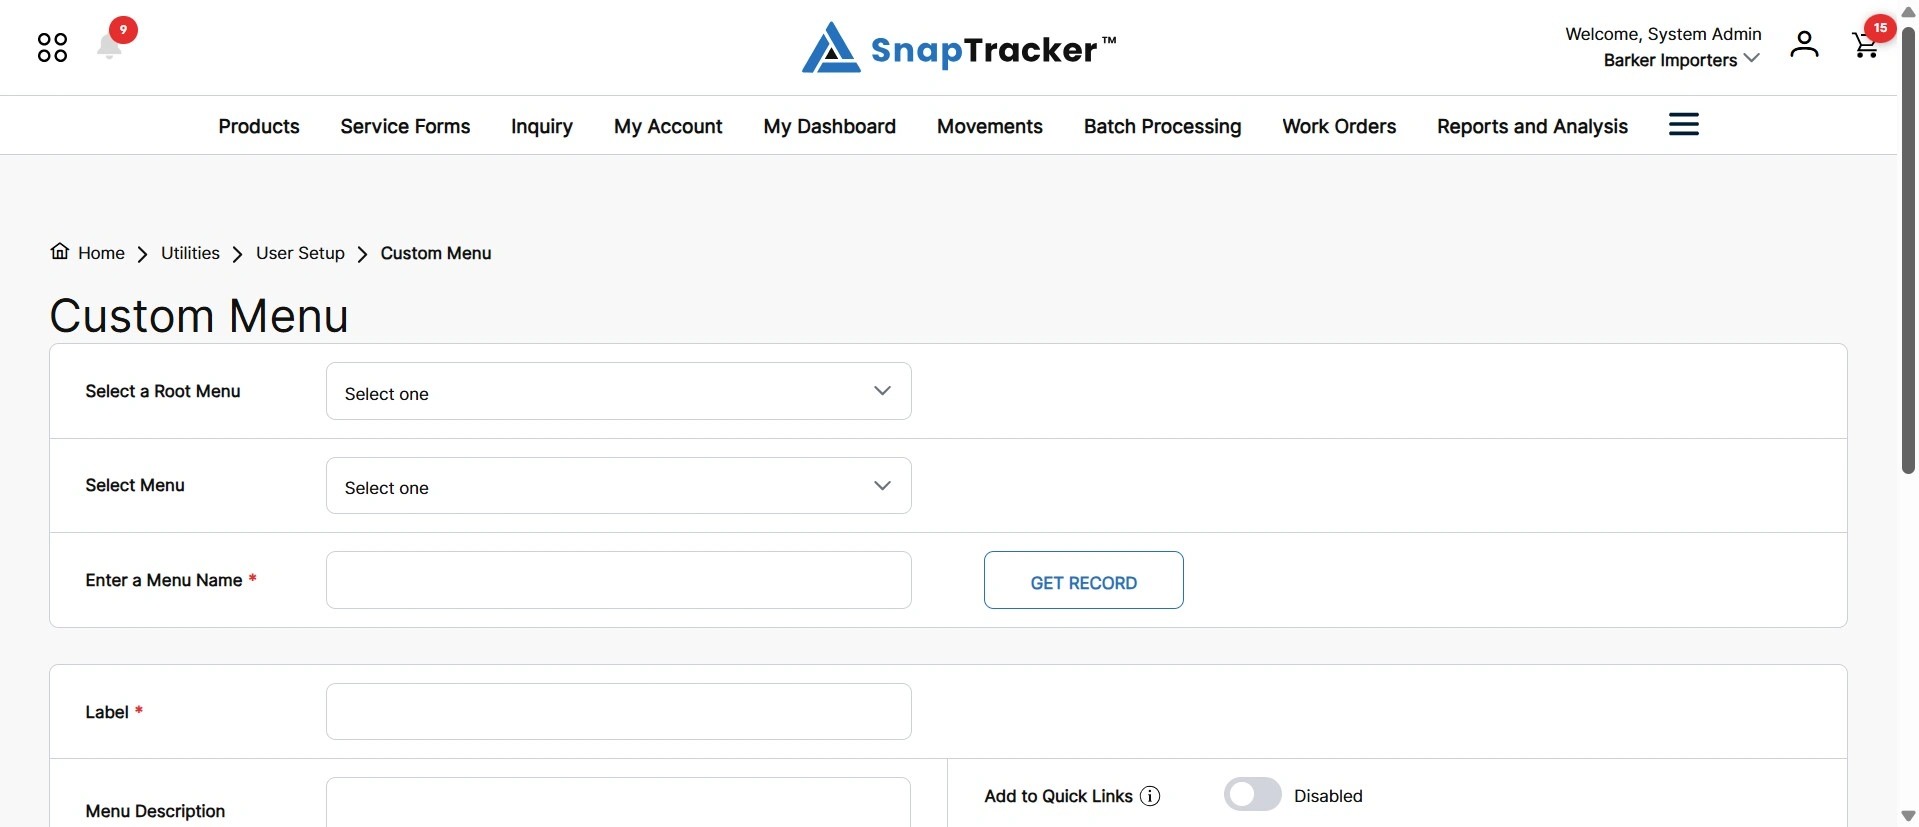
3. To create a Quick Link to an existing SnapTracker screen, you must create a custom menu.
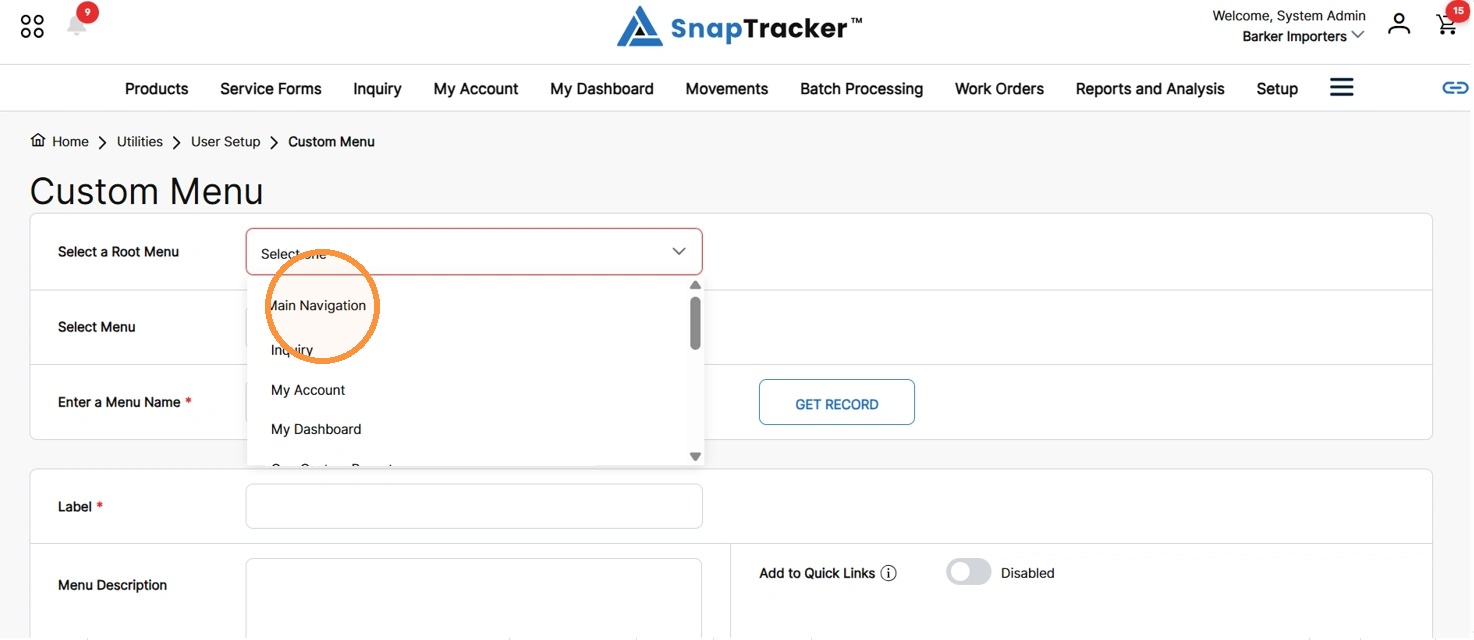
From the Select a Root Menu dropdown, select the desired Menu where you’d like to add the custom menu.
Note: To add the link to the secondary menu, select Main Navigation.
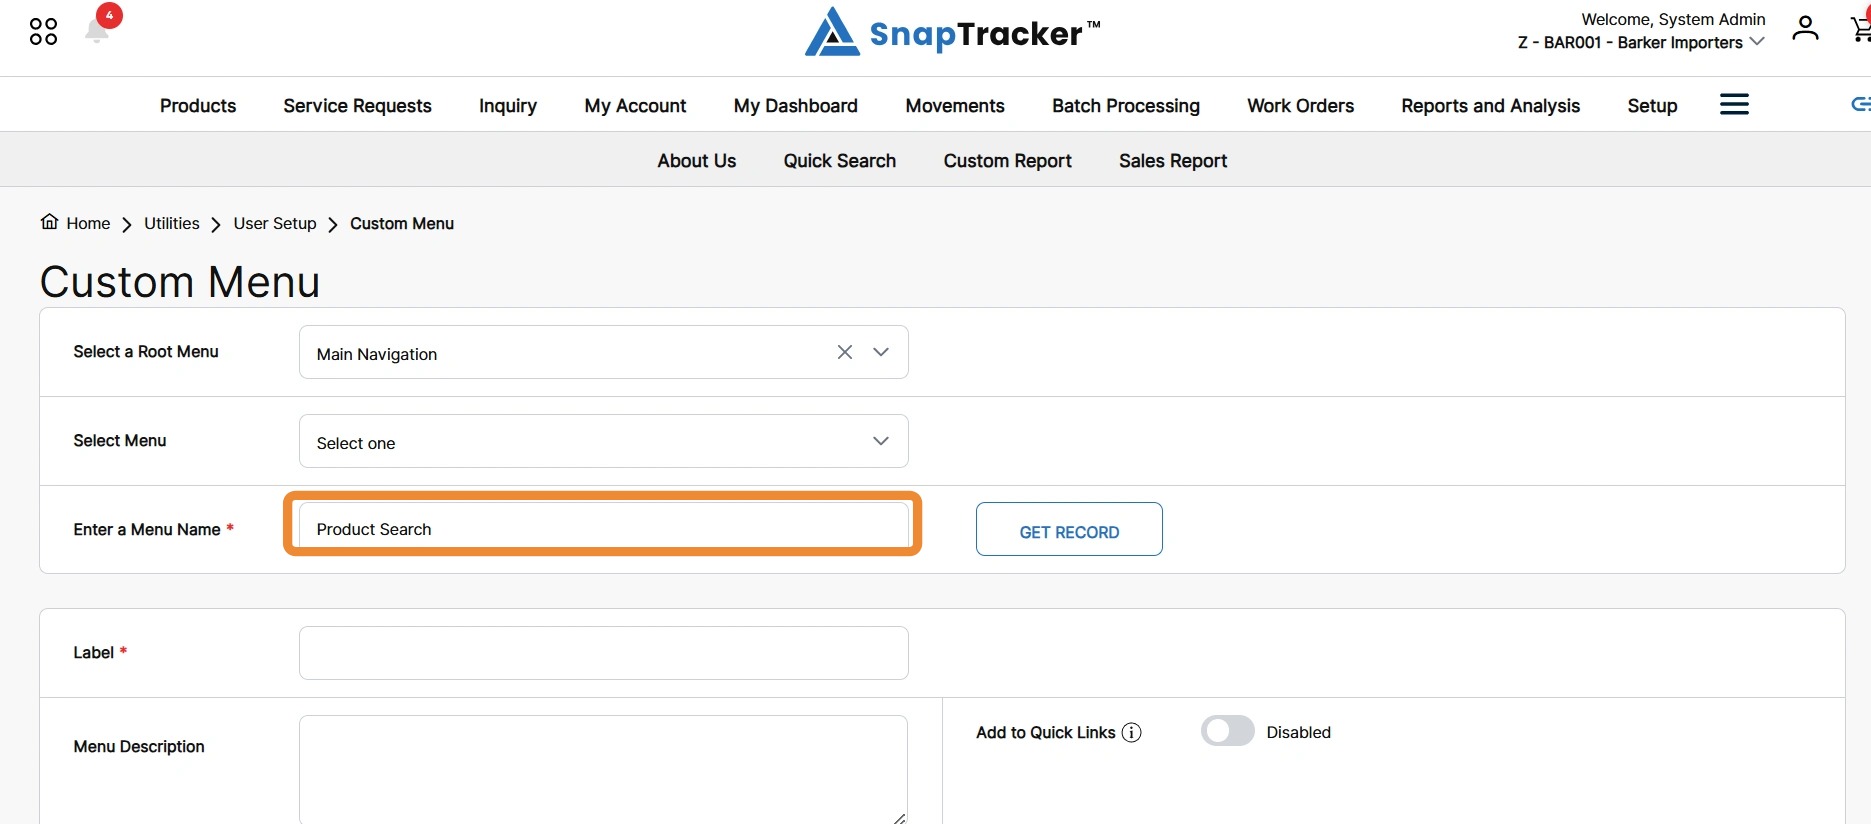
4. In the Enter a Menu Name field, enter the desired Custom Menu name.
5. In the Label field, enter the desired display name on the Quick Links menu.
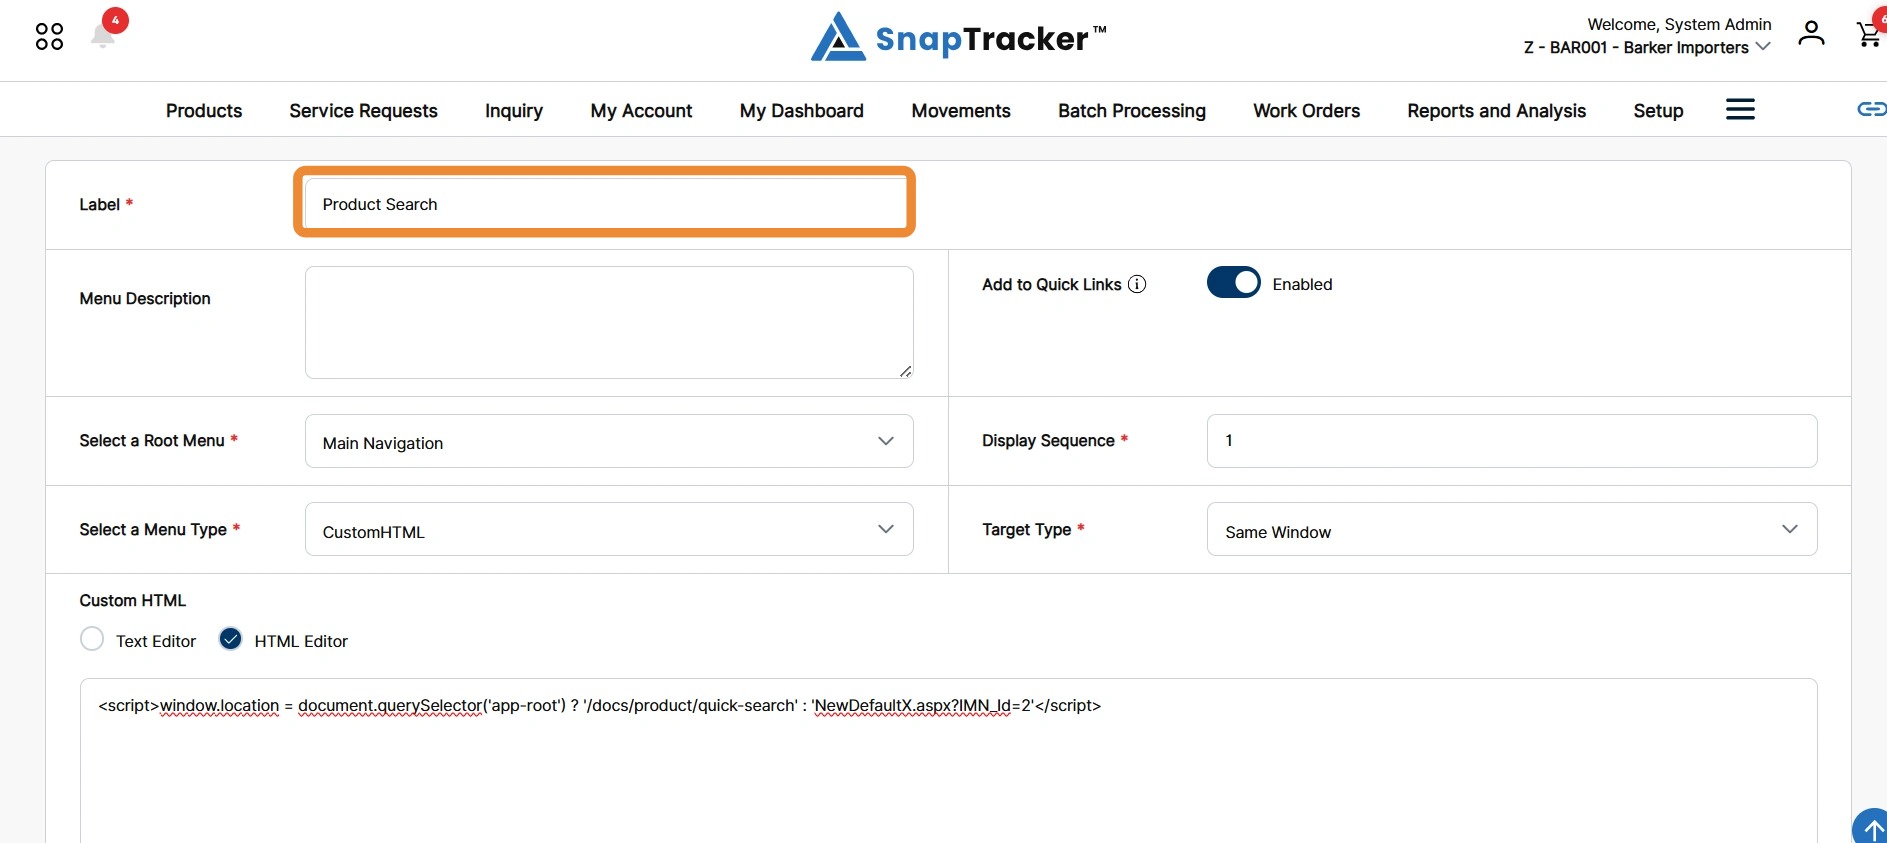
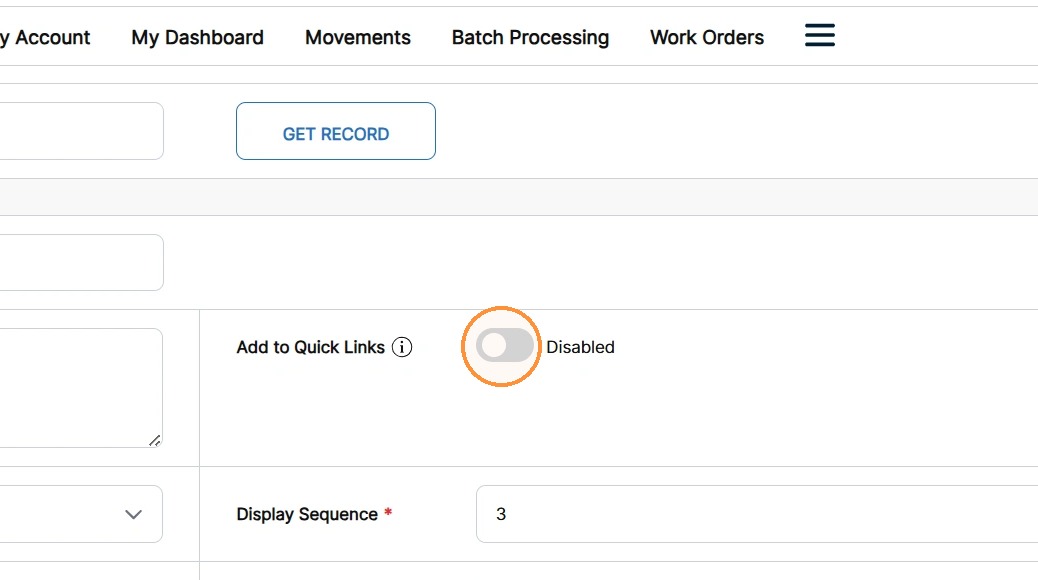
6. In the Add to Quick Links field, click to toggle On and enable the Quick Link.
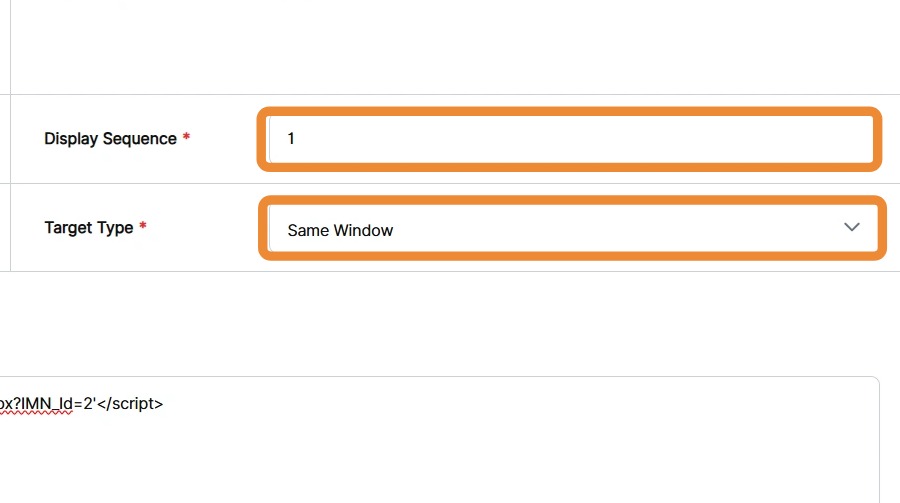
7. In the Display Sequence field, enter a sequence number to control the order of the menus.
From the Target Type drop down selection box, select whether the Quick Link opens in the same window, a new tab or a pop-up window.
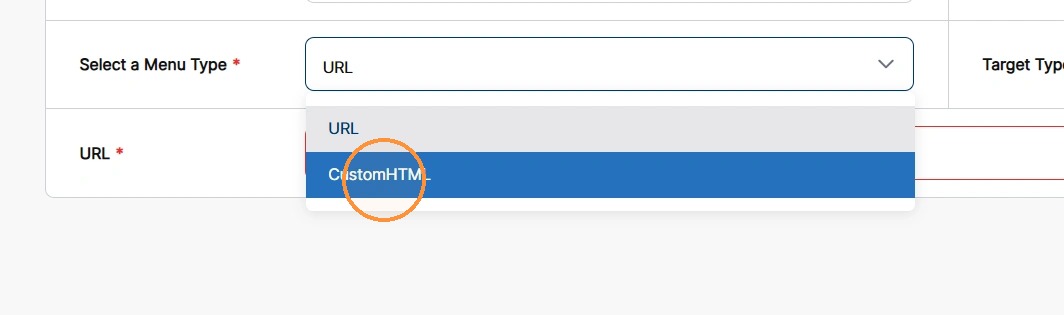
8. From the Select a Menu Type drop down, select CustomHTML.
Note: The other option is URL. If selected, enter the complete web address for a site.
The Custom HTML section displays.
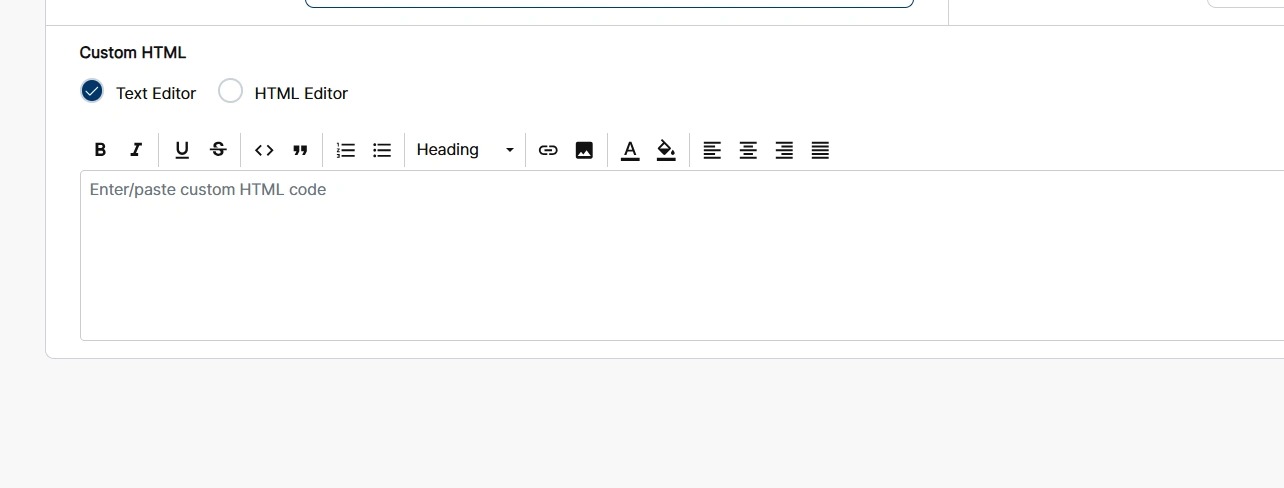
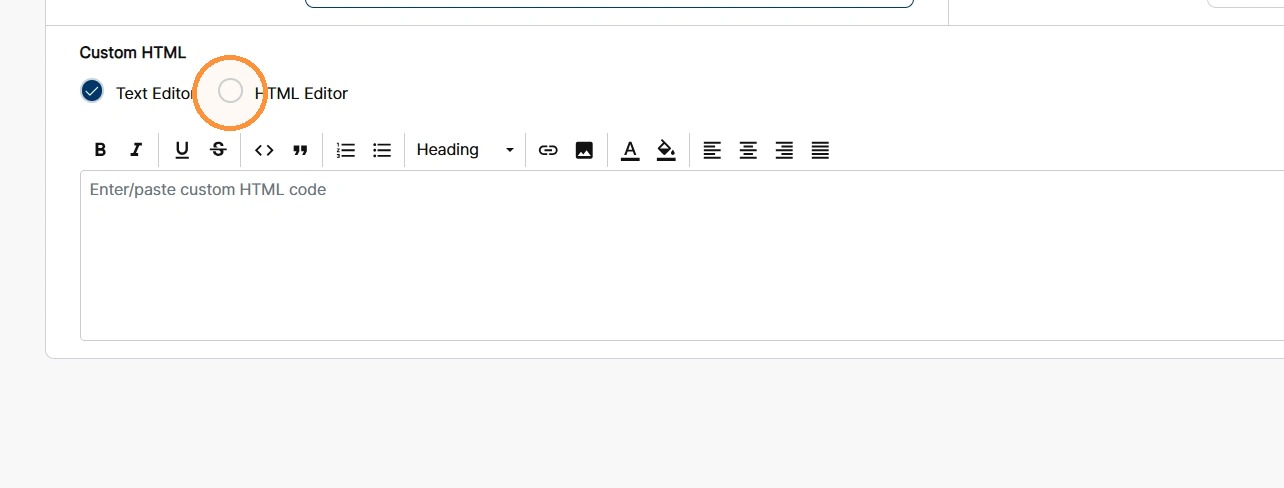
9. Select the HTML Editor option.
Note: When creating a Quick Link, you must use the HTML Editor.
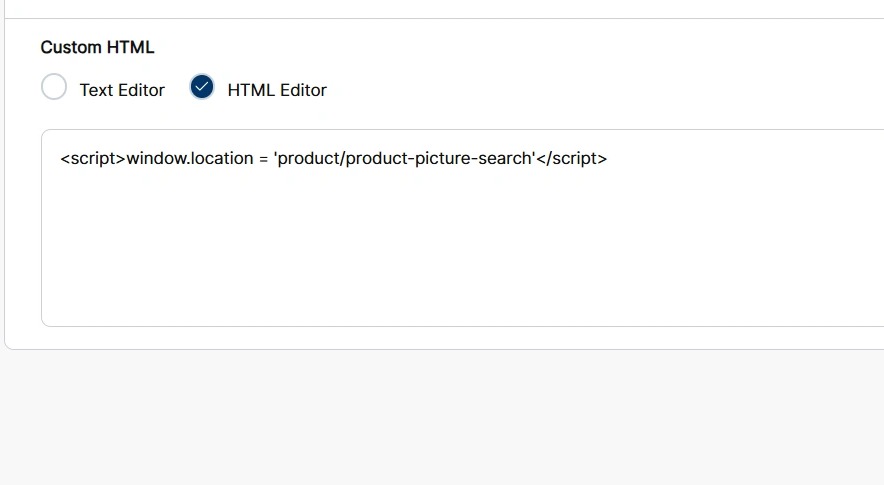
10. In the text input, enter HTML code to direct a User to the correct screen.
Note: This is where you copy the information you copied from the screen you want to link to. You need to add additional HTML code for the link to redirect correctly.
For example, if the link is for the Product Search screen, the code is:
<script>window.location = ‘product/product-picture-search'</script>.
11. Click Create.
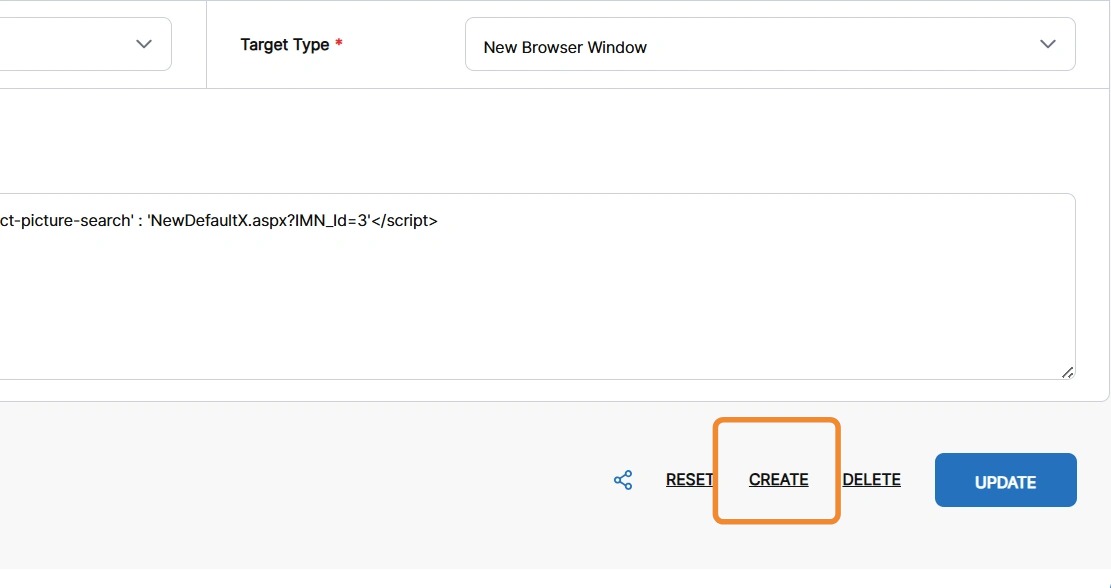
The Quick Link is created and displays in the secondary menu, below the Main Menus.
Note: Users need to be assigned access to the link before they can see it. For more information on assigning menu access, refer to “How to Set Up User’s Menu Access”.
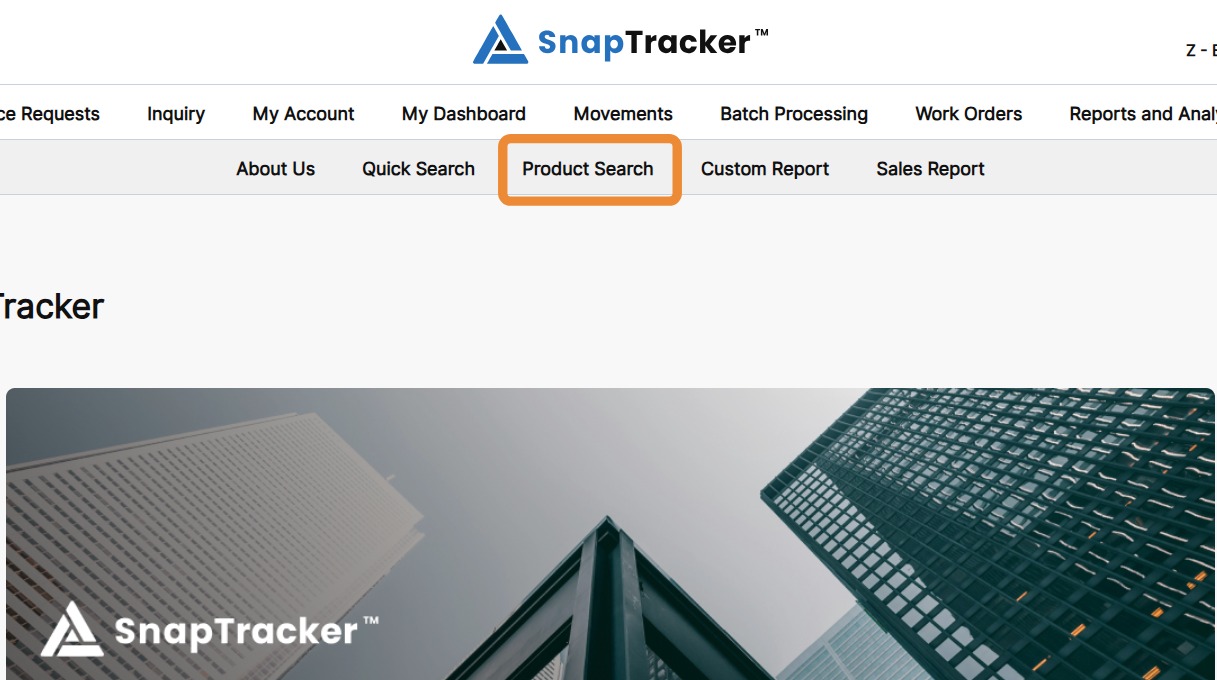
The Quick Link redirects to display the native SnapTracker screen.