How to manually upload batch file to SnapTracker?
Basically there are two version of Snaptracker on the PDA:
Regular Version – build that automatically uploads the sif file on the customer’s Snaptracker site.
SIF version – build that generates a sif file (batch file) that needs to be uploaded on the snaptracker site manually.
With the SIF version, you would still do your transaction as you normally would on the PDA. The only difference is how you upload the batch file to the SnapTracker site.
How to upload a batch for the SIF version:
1.Once you’ve finished your transactions on your PDA, dock the PDA.
2. Go to the Snaptracker Main screen on your PDA > tap on “Upload” >” tap on “Generate File”
3. Once the PDA generated the SIF file. Make a note of the SIF file name.
4. Now go back to your computer, open Windows Mobile Device Center , go to File Management and click on “Browse the contents of your device”

5. Open the Main storage of the PDA and go to File path: \ > Go to Program Files > SnapTracker PDA

6. You should find the SIF file inside the SnapTracker PDA folder
7. Copy the SIF file on your computer and upload the file on the SnapTracker site on the PDA Processing > Batch Upload screen.
Snaptracker SIF upload instructions:
- Log on to your SnapTracker.
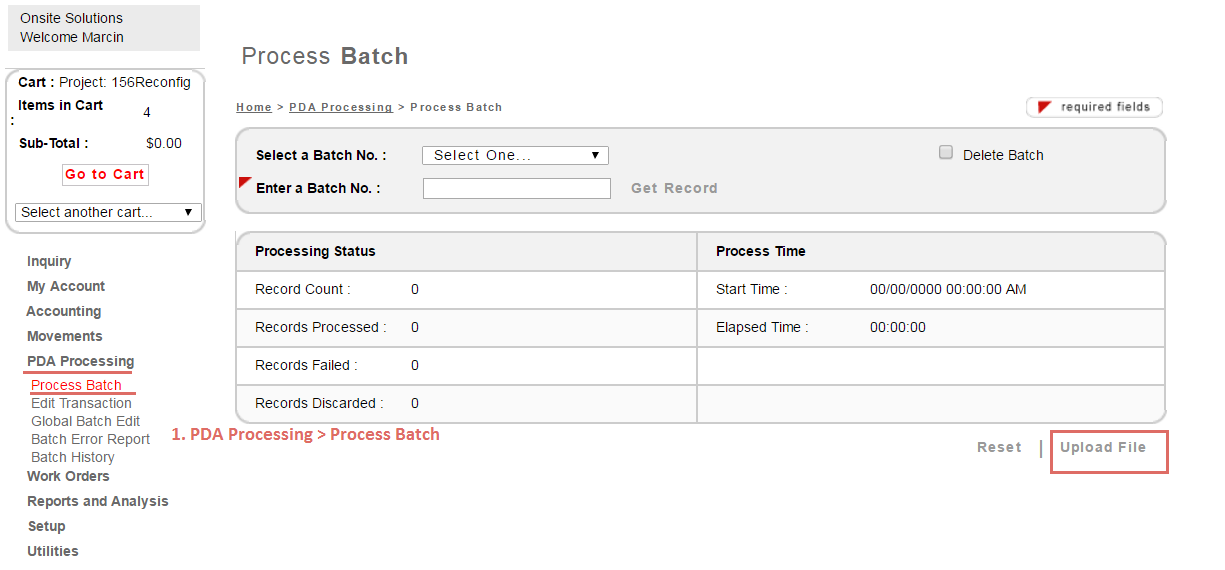
- Click on the PDA Processing link from the navigation menu on the left.
- Click on Process Batch.
- At the bottom of this page, click on Upload File.
- A pop-up window will open, click on the Browse button and navigate to the locating you saved your SIF file.
- Select the SIF file and click on the Open button.
- Once you have added the file, click the Upload File Now

- Click on Process to process the batch.