
How to Search for Custom Reports
SnapTracker has many standard reports in the Reports & Analysis screen and the My Dashboard screen. Additionally, users can create custom reports, based on specific requirements.
You have the ability to upload your own Crystal Reports within the SnapTracker interface. Providing you have SAP Crystal Reports 2013 or 2016, and a connection to your SnapTracker database, you can write your own reports by connecting to the database located in the KiSP data center. Once the reports are complete, you can upload the reports into the interface and control Menu Access by each user.
Before starting, make sure:
- You are logged into SnapTracker.
- You have access to Custom Report Upload.
This post outlines how to navigate and search through your custom reports.
1. In the header section, click Utilities.
Note: Depending on your browser, you may need to click the View menu items icon to see Utilities.
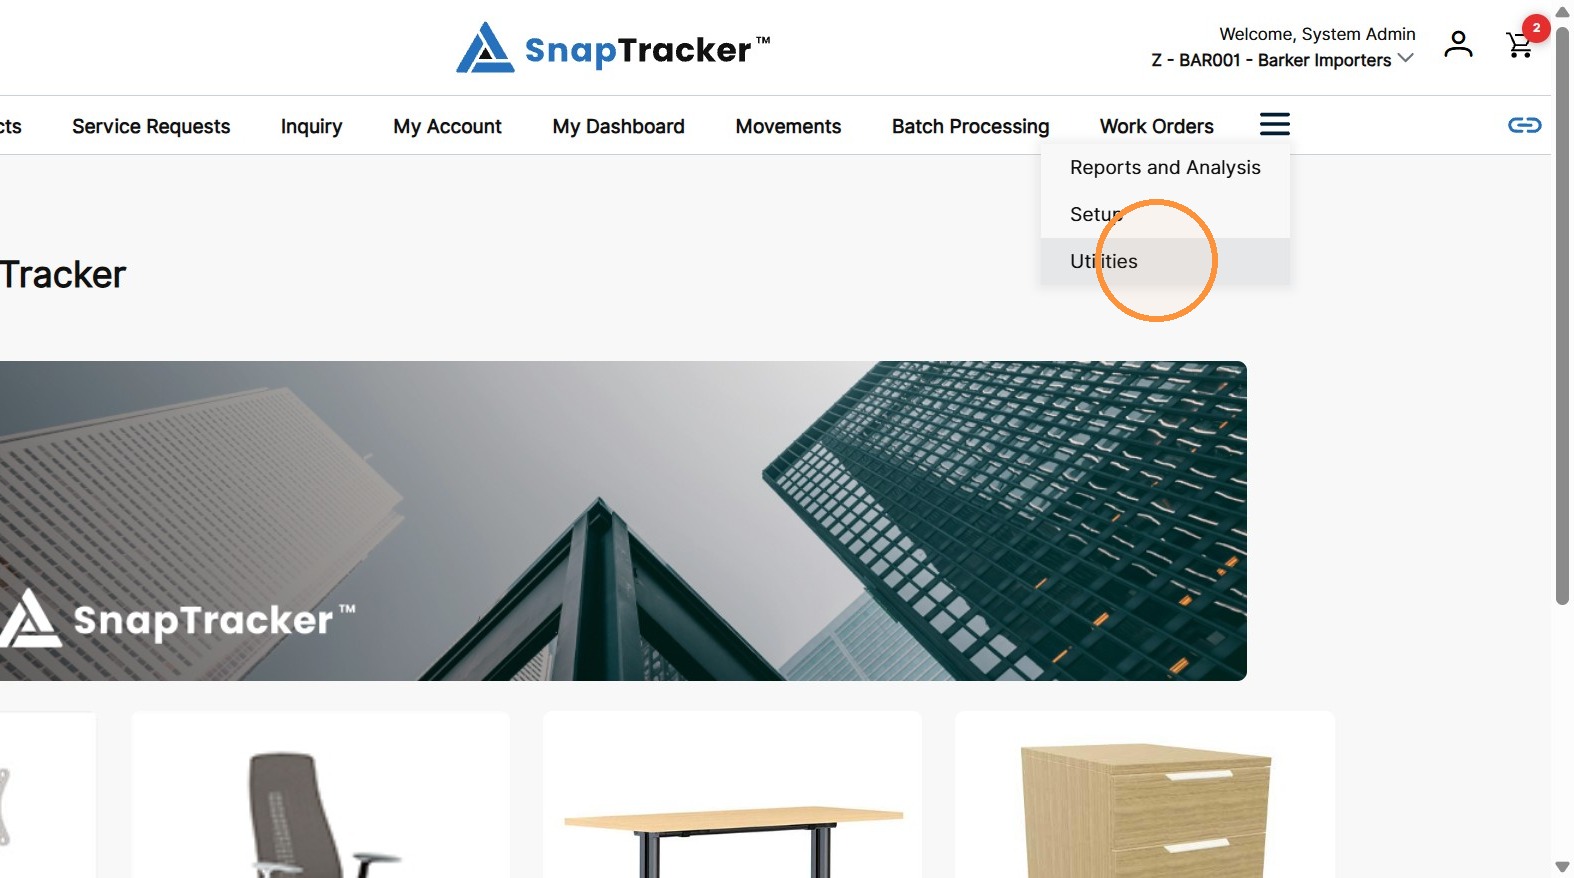
2. Click Custom Report Upload.
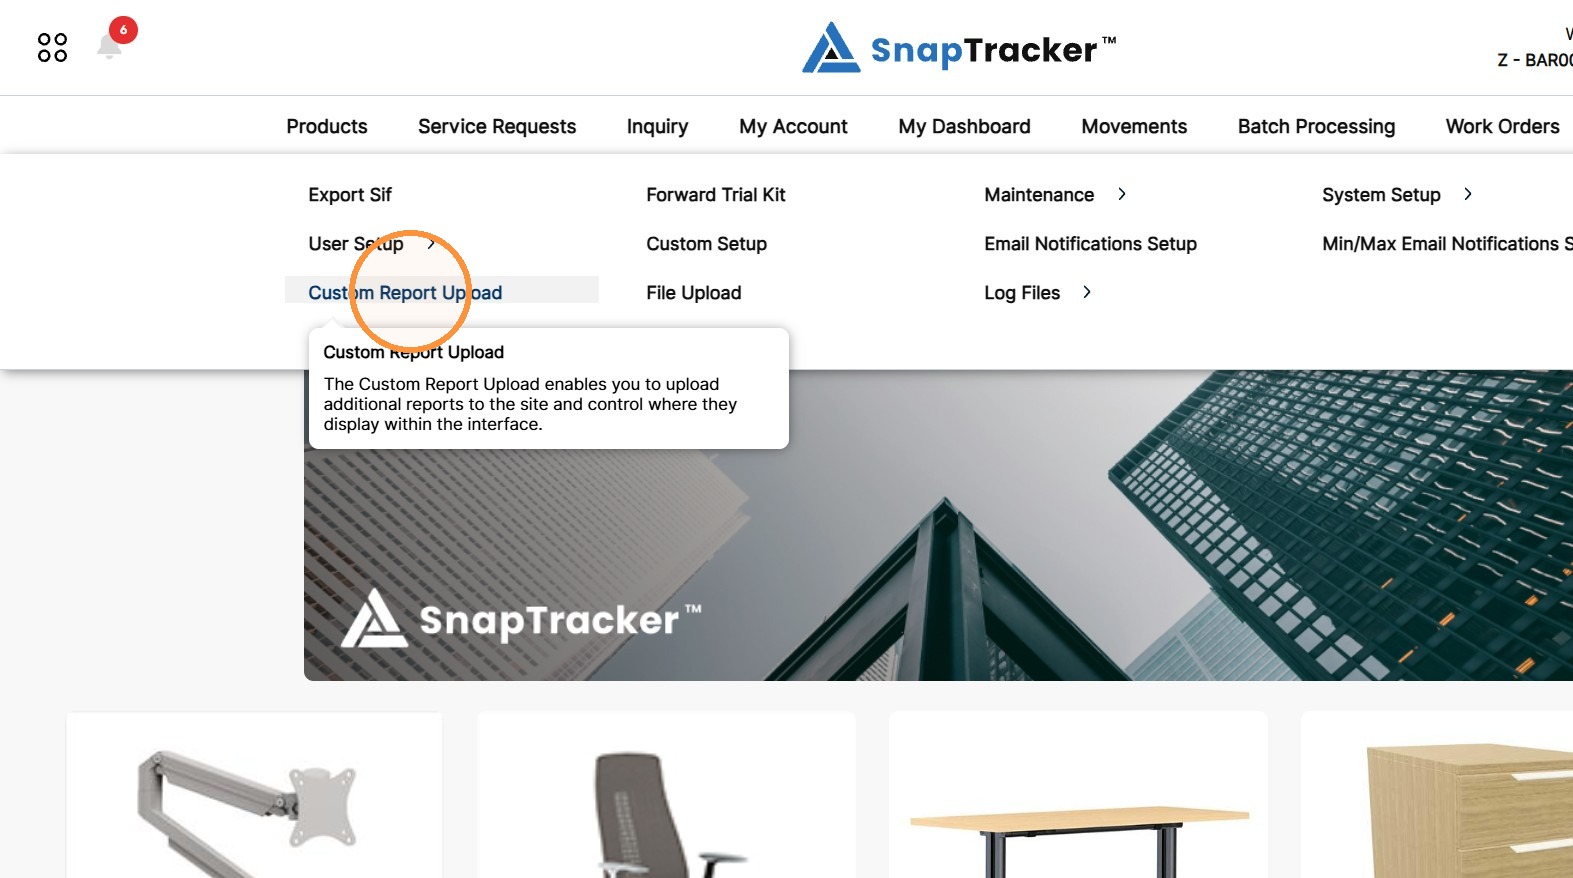
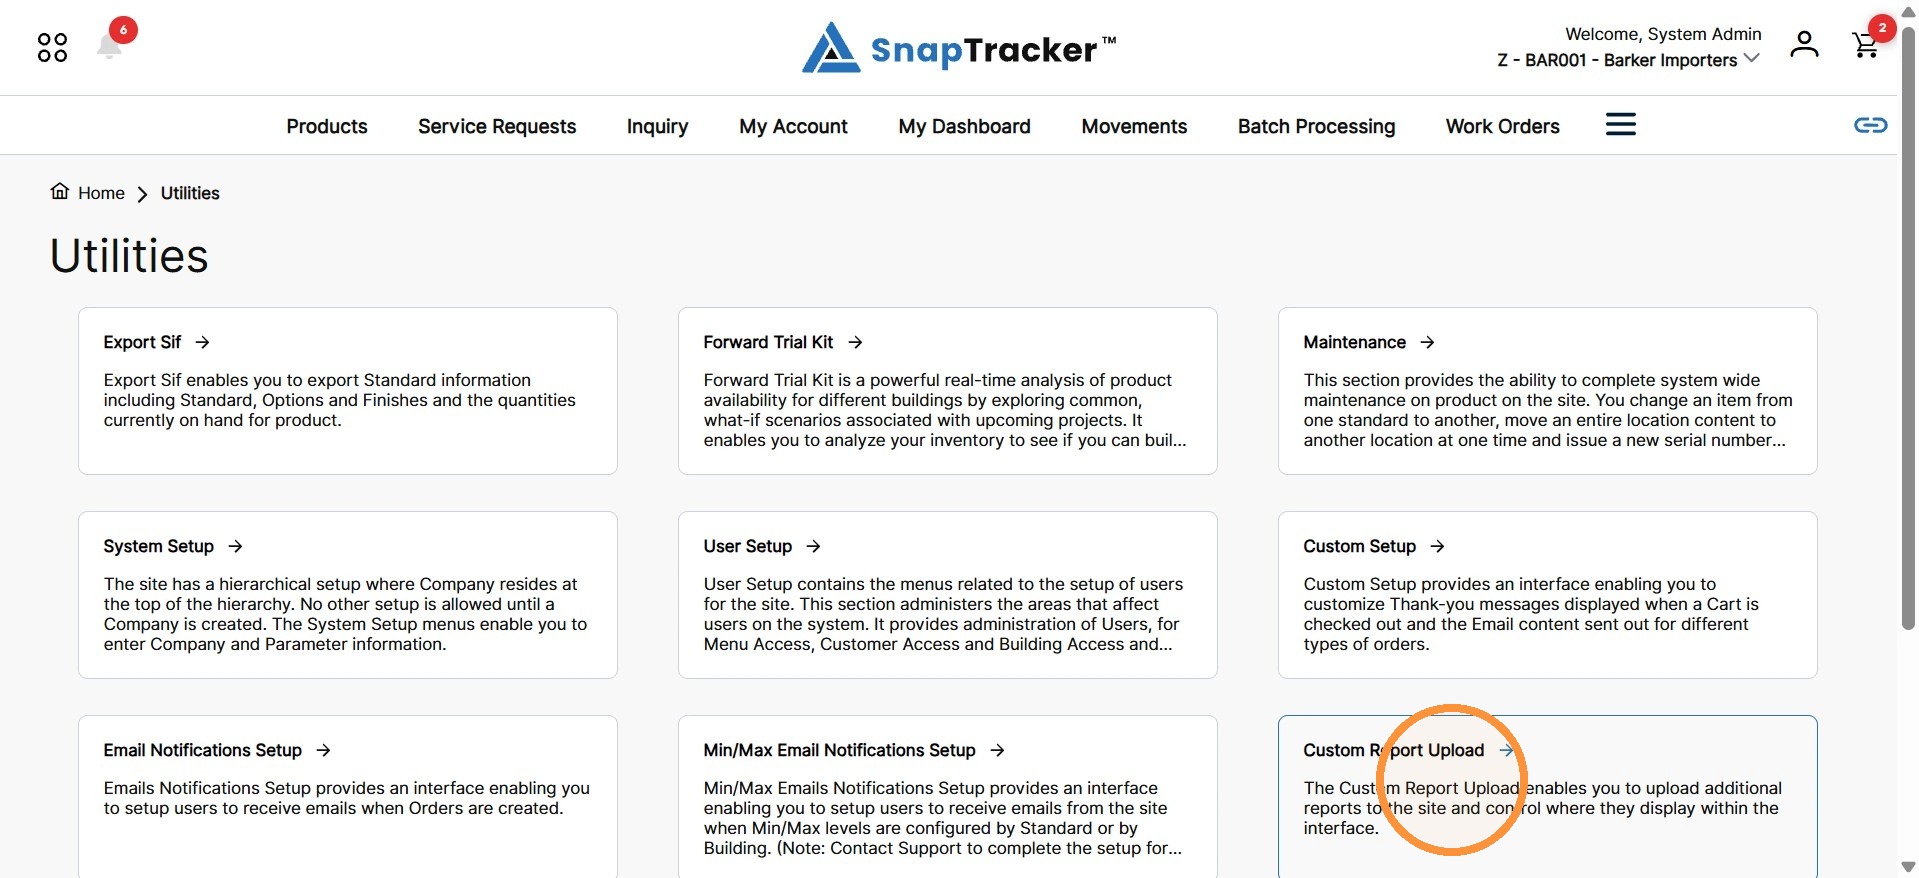
Another way to access the Custom Report Upload screen is to navigate to the Utilities main screen.
From here, select Custom Report Upload.
The Custom Report Upload screen displays.
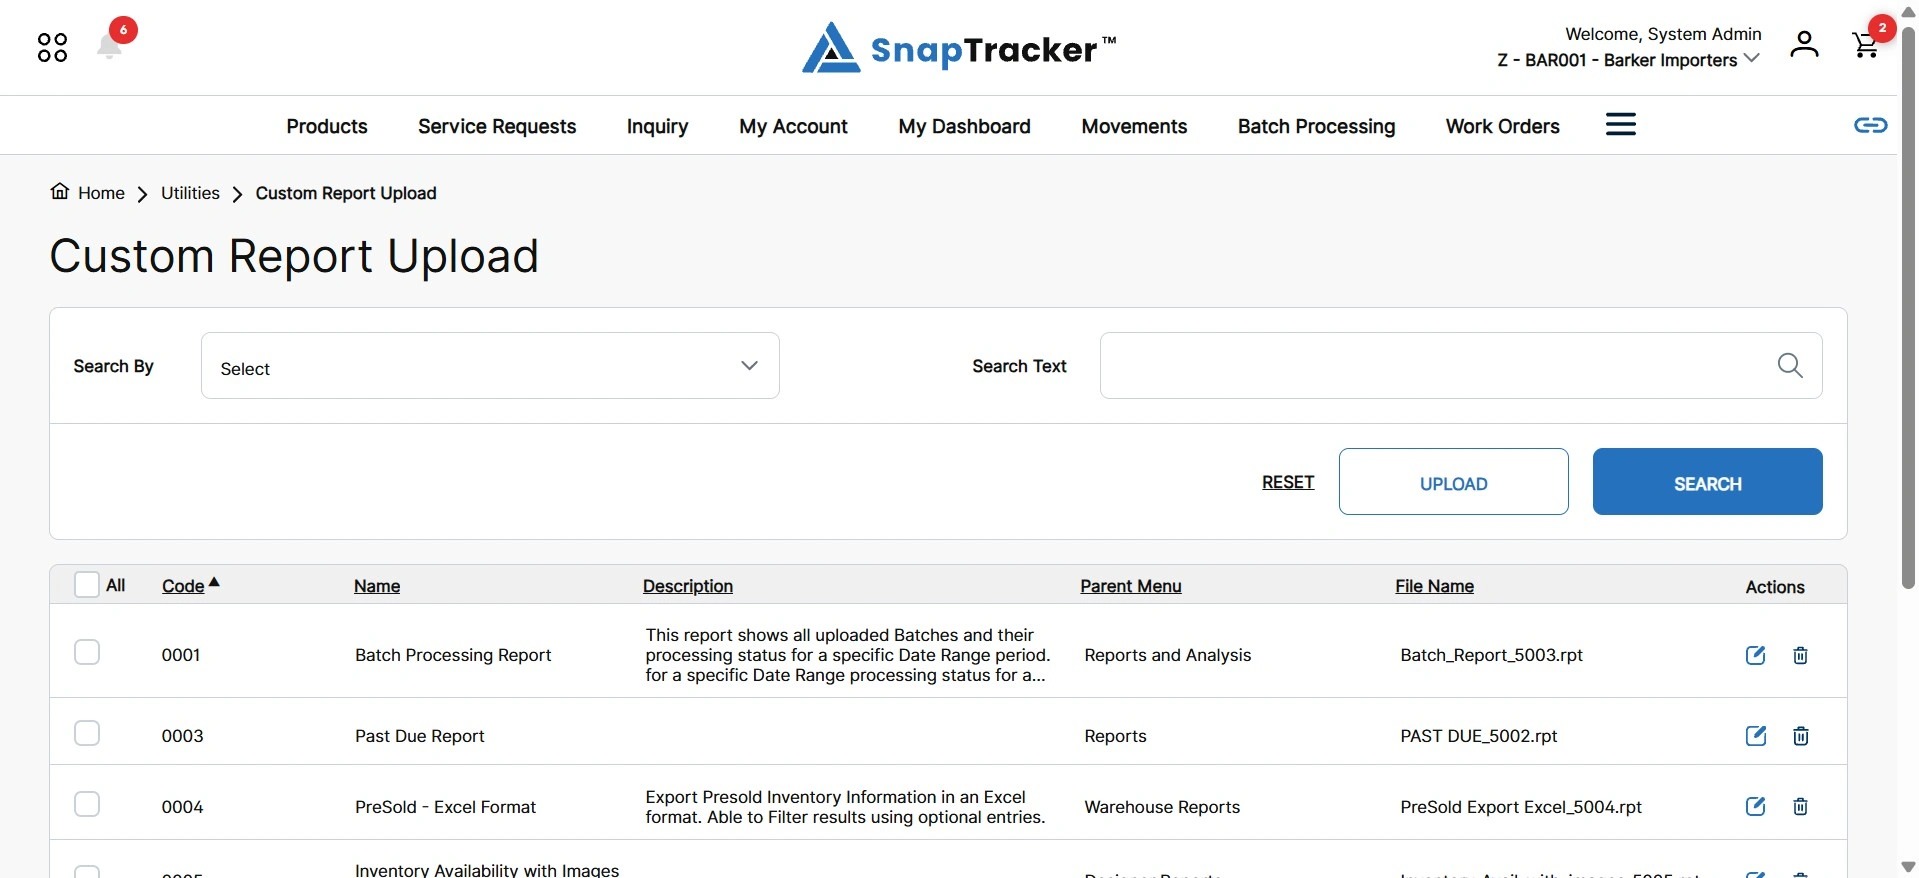
Observe the fields in the results:
- All – Select the checkbox of the desired custom report(s), or select All, to complete a bulk action.
- Code – The code associated to the custom report. Note: This does not have to be a unique field.
- Name – The name of the custom report.
- Description – The description of the custom report.
- Parent Menu – The menu the custom report is assigned to. Note: Custom reports can be assigned to native SnapTracker pages (e.g. Report & Analysis) or custom menus.
- File Name – The uploaded file name for the custom report.
- Actions – Available actions for an existing custom report. The options are Edit or Delete.
3. To sort the results by a particular field, click the hyperlinked column header.
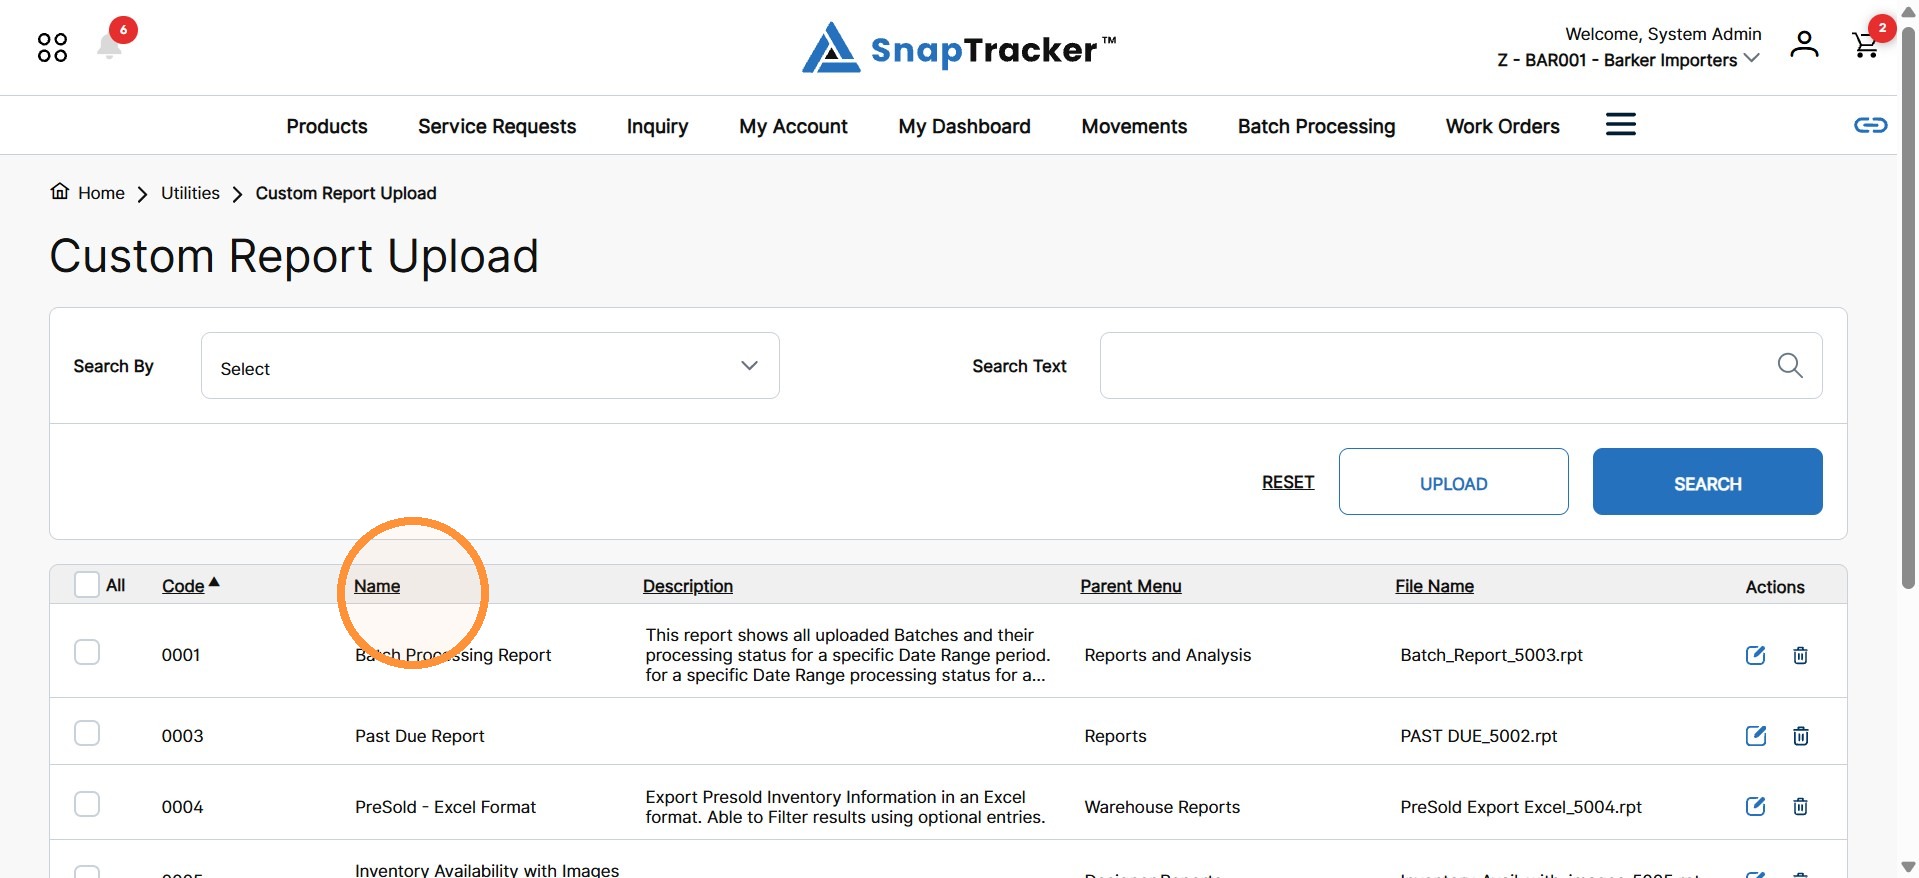
The results change and sort by the selected column, in ascending or descending order as indicated by the respective arrow icon.
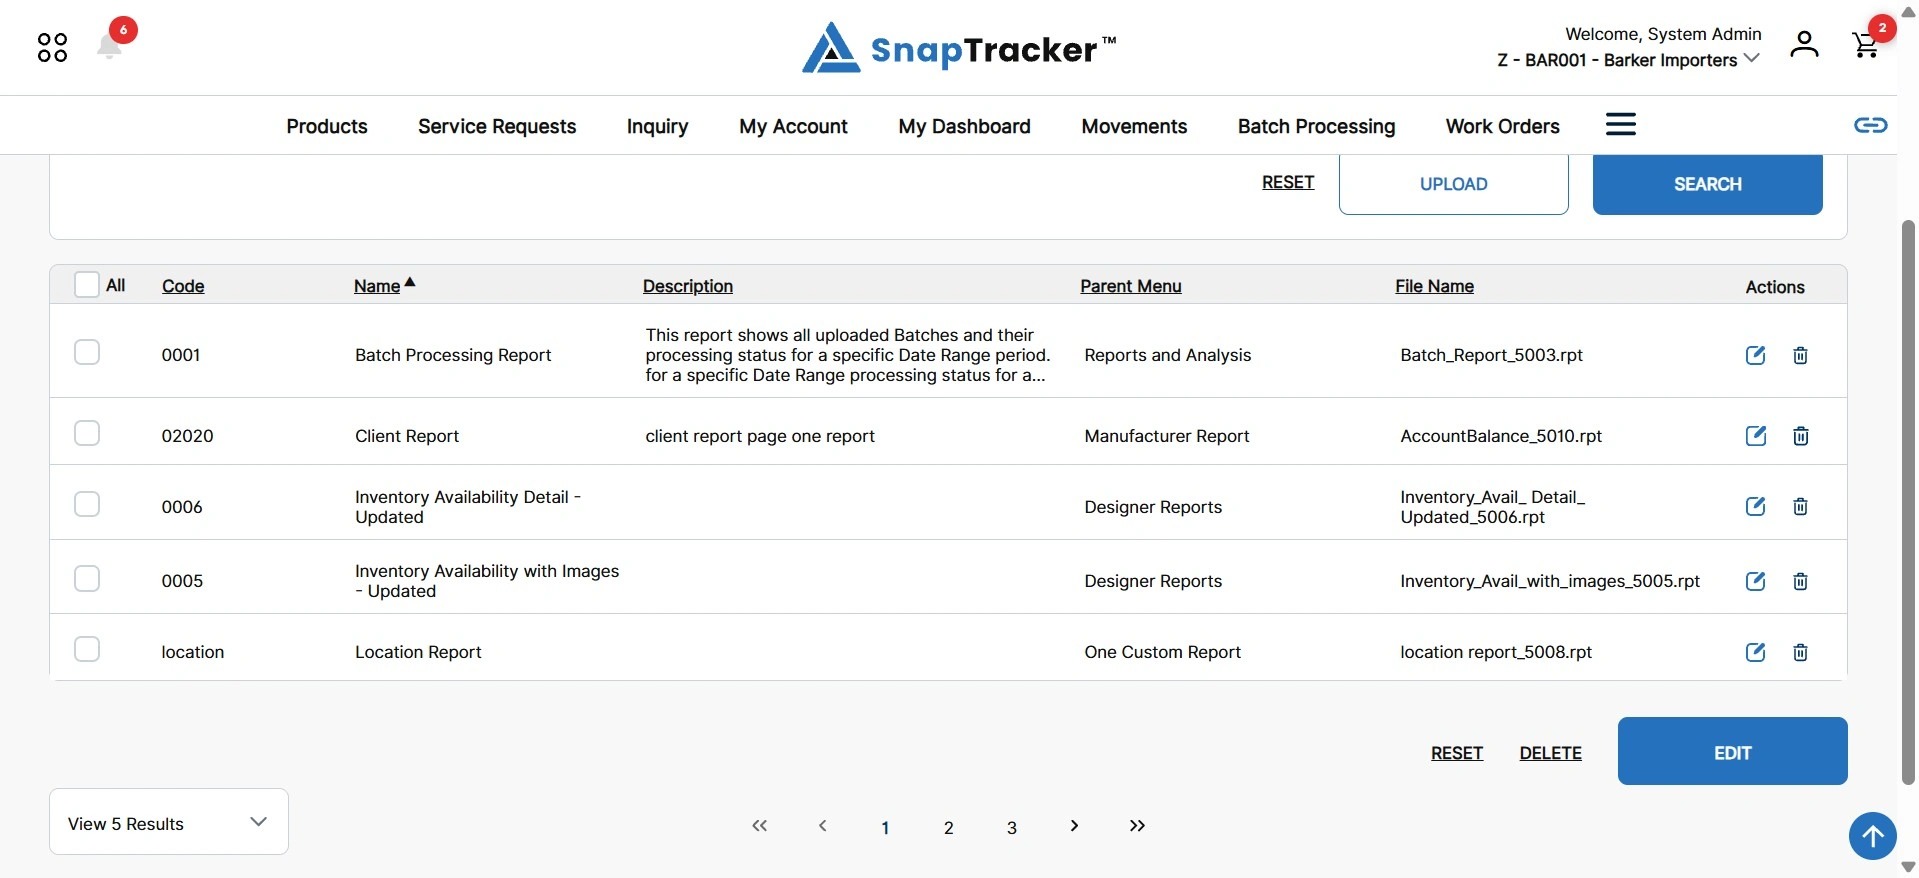
Note: You can adjust the number of custom reports that display by clicking the View Number of Results dropdown to adjust the number of results to view on the page.
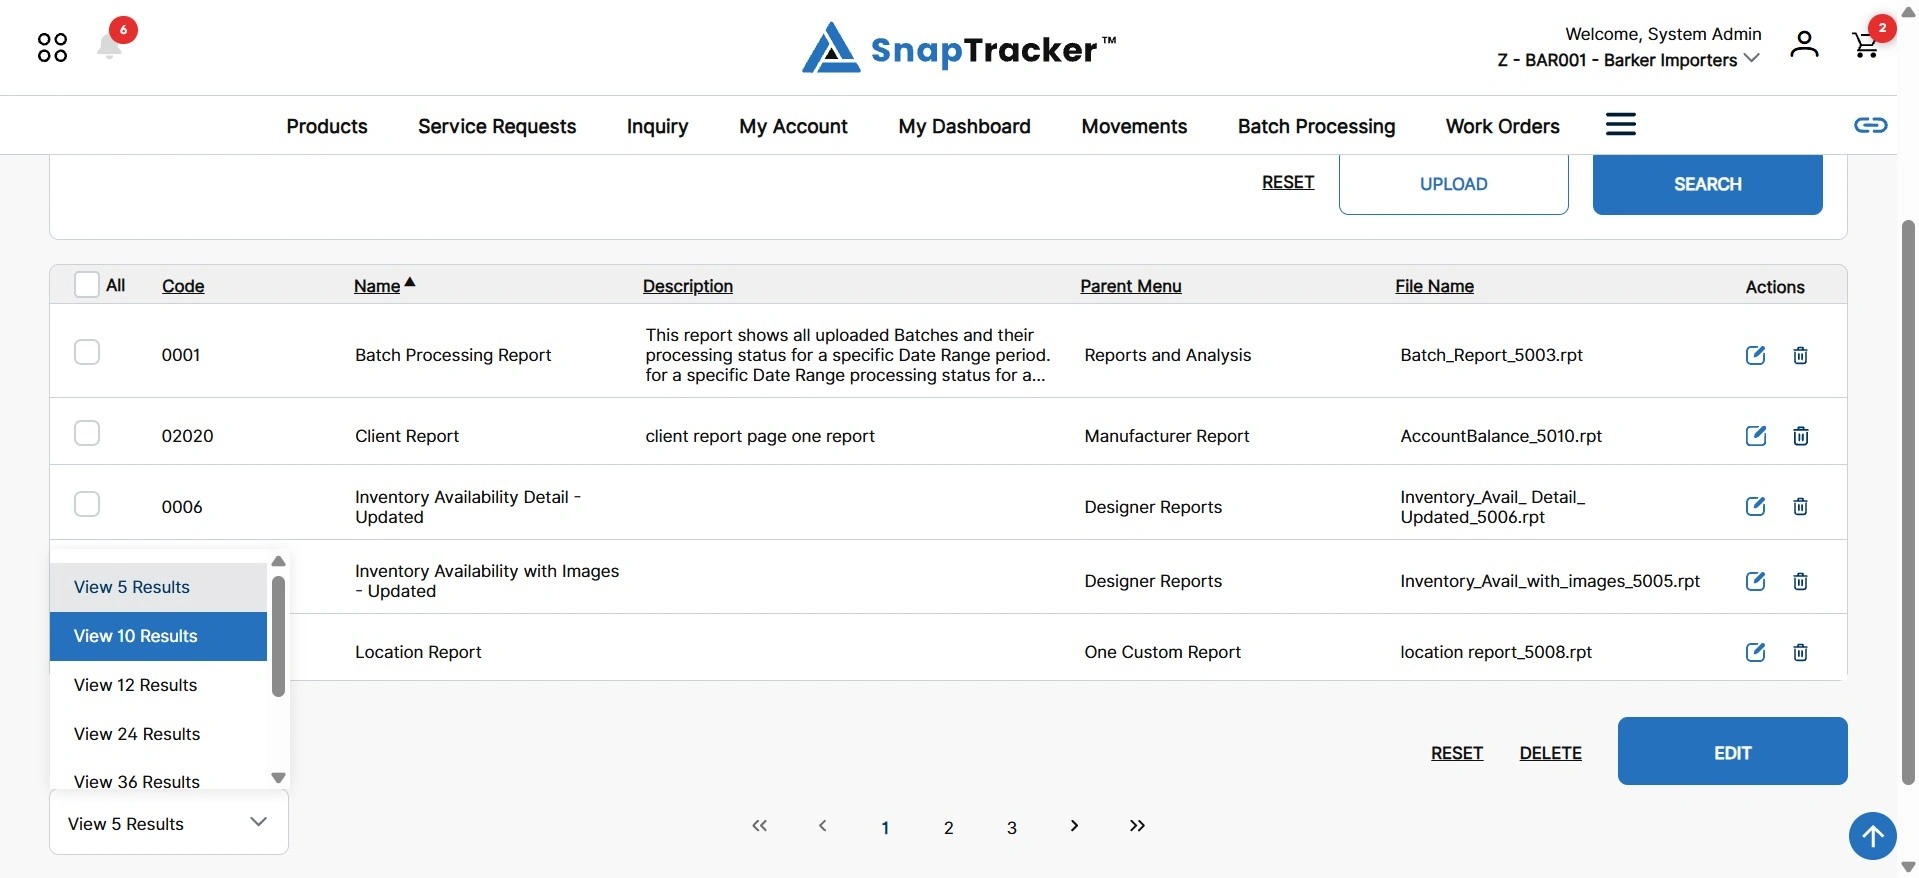
There are fields available to refine the results in your search: Code, Description, File Name, Name, Parent Menu.
Note: These Search By fields correlate with the results columns.
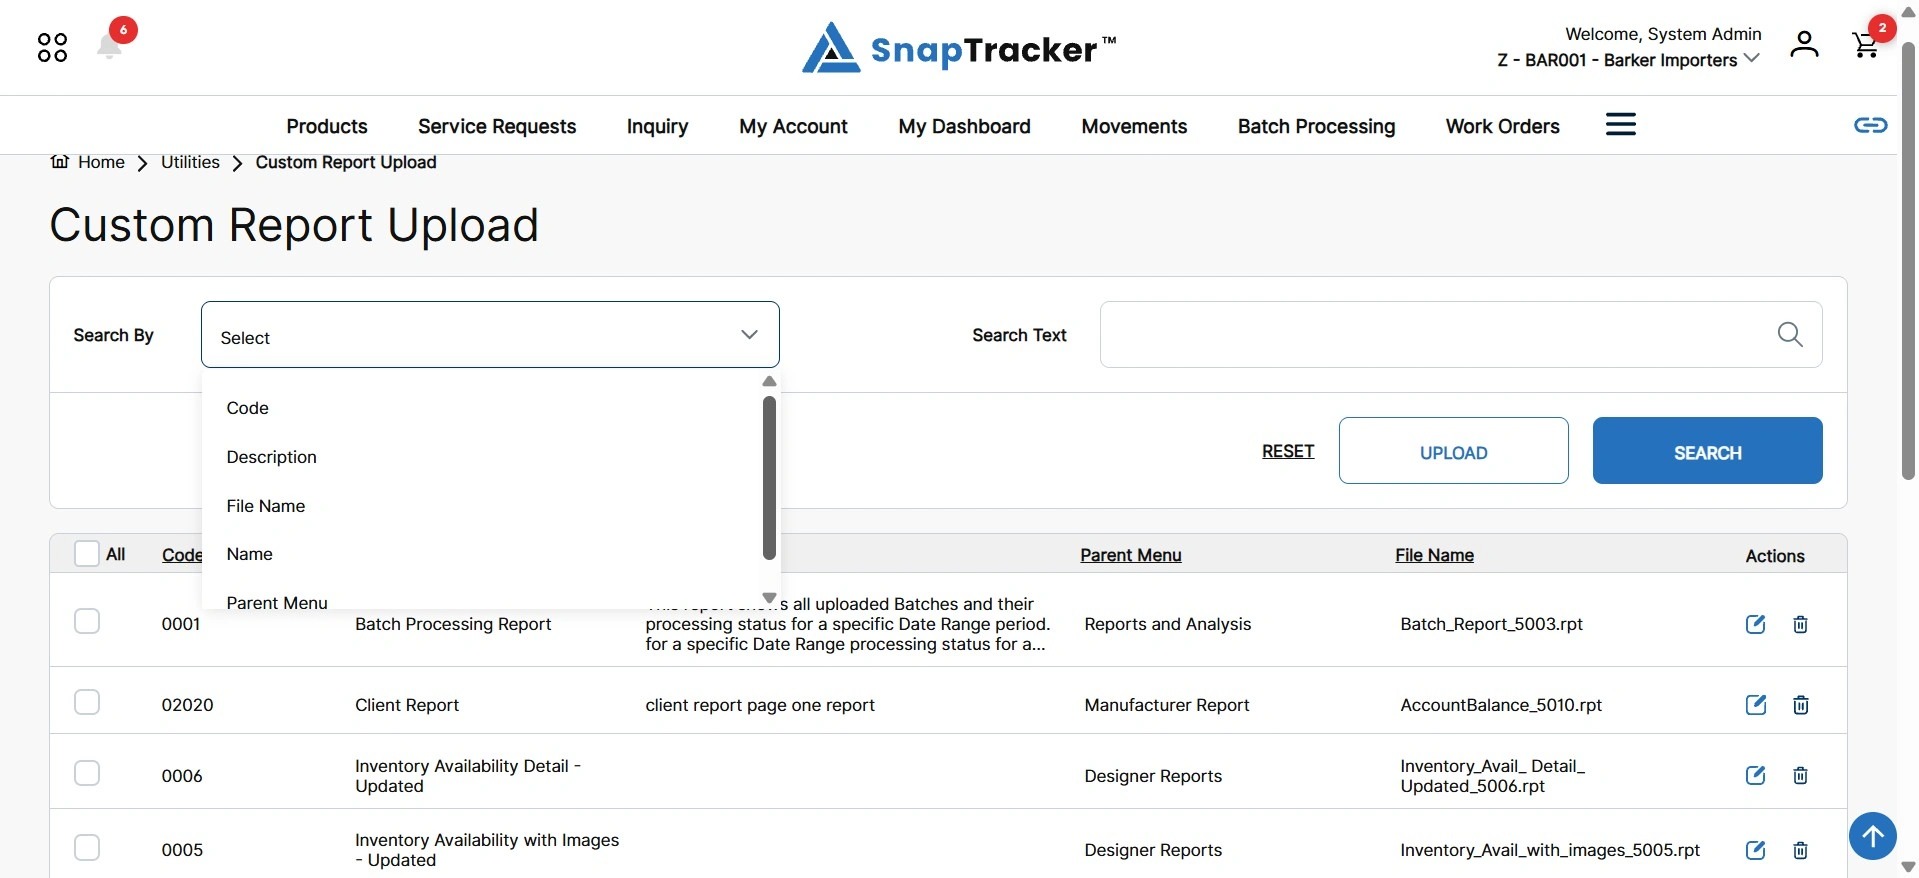
4. To use the Search By field to look for specific information, select an option in the Search By field and in the Search Text box, enter the desired search input.
Click Search.
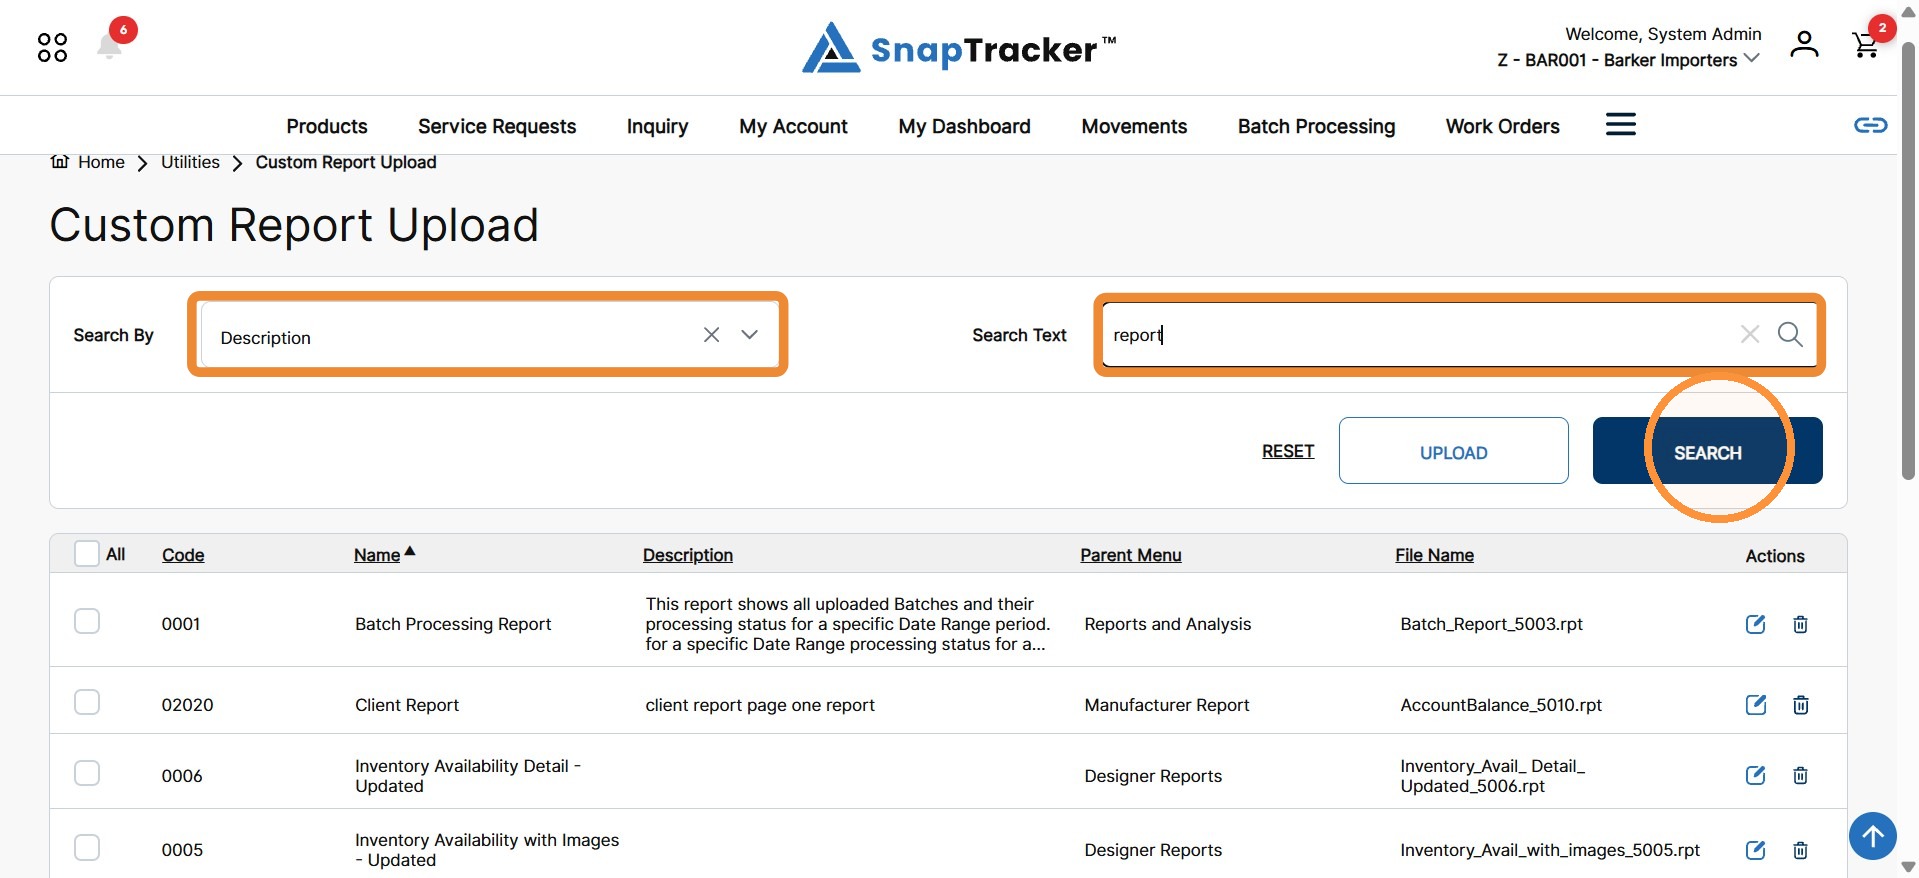
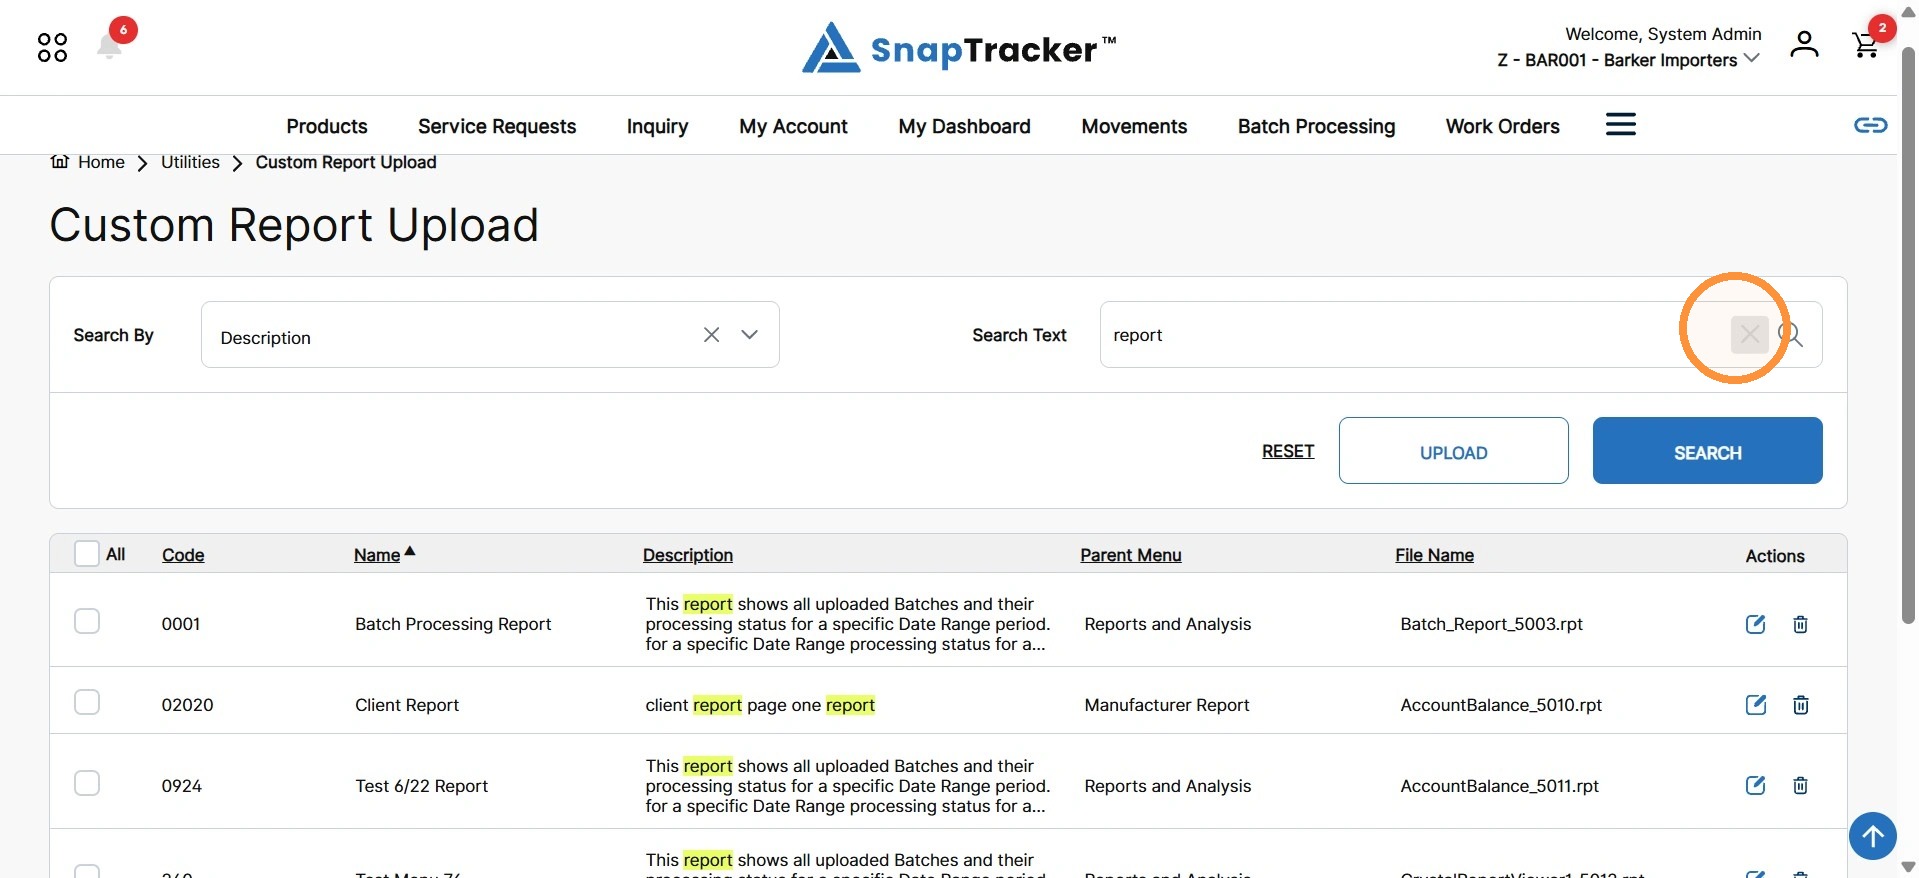
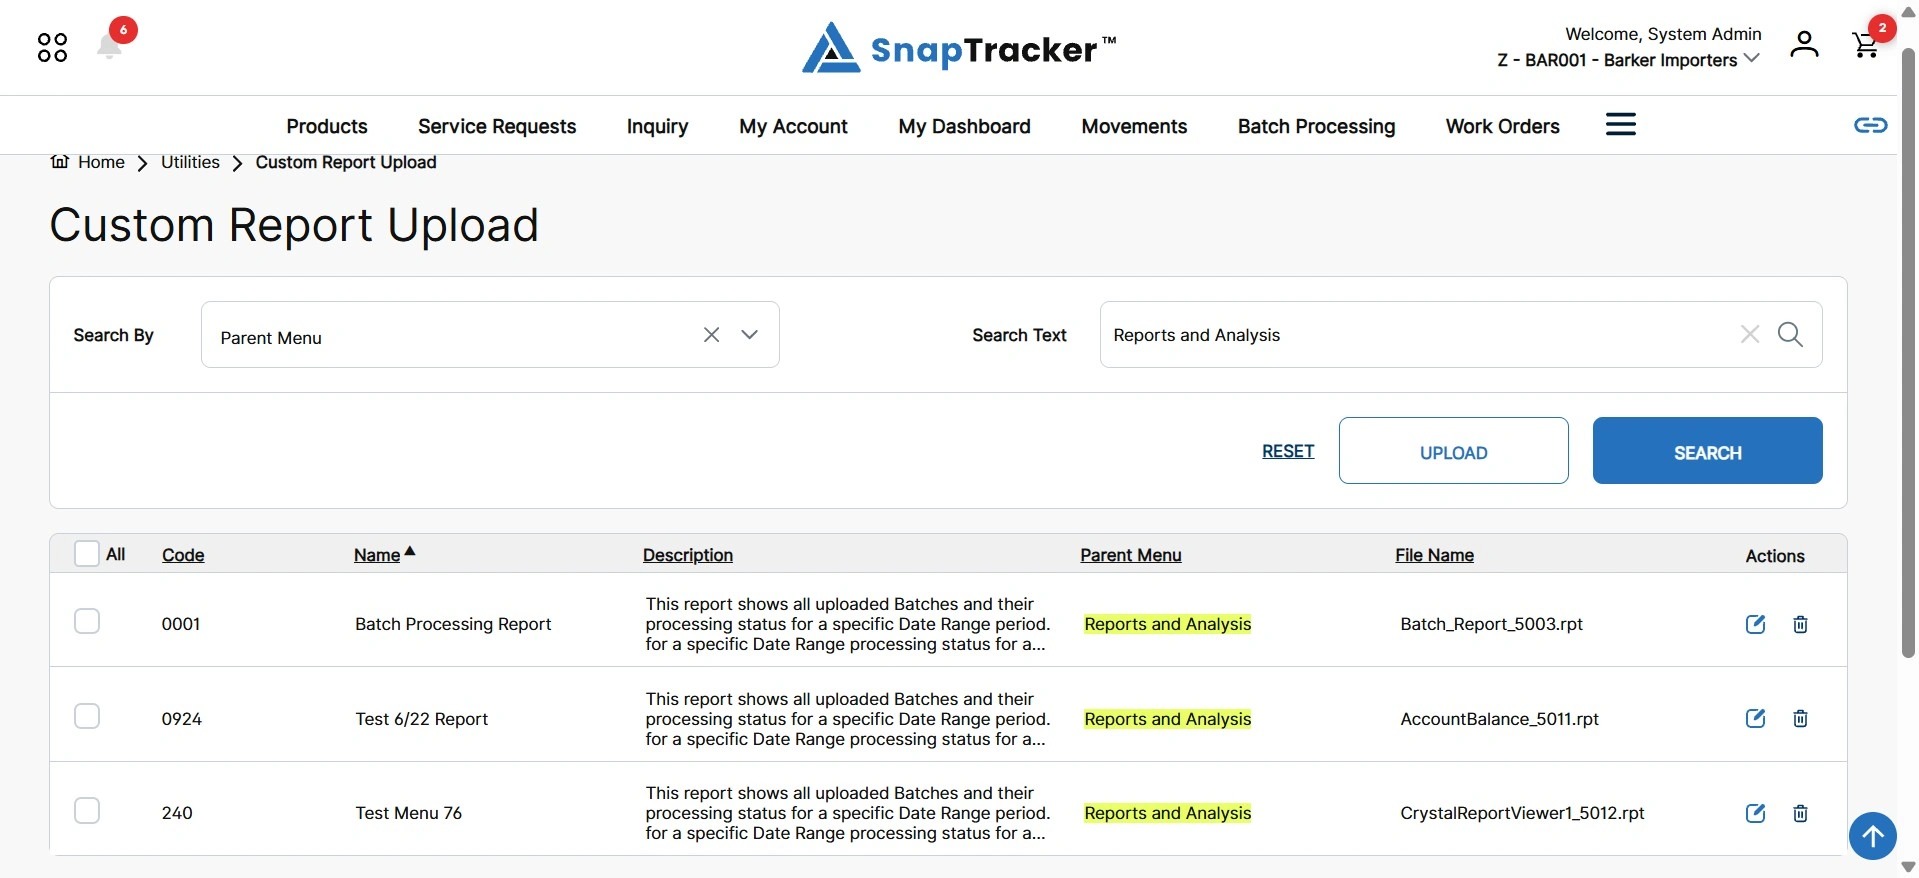
The updated results display, with your search term highlighted in the matching results.
Note: Click X to clear the input field.
5. To conduct a search for by Parent Menu, select Parent Menu in the Search By dropdown, and in the Search Text box, enter a desired Parent Menu.
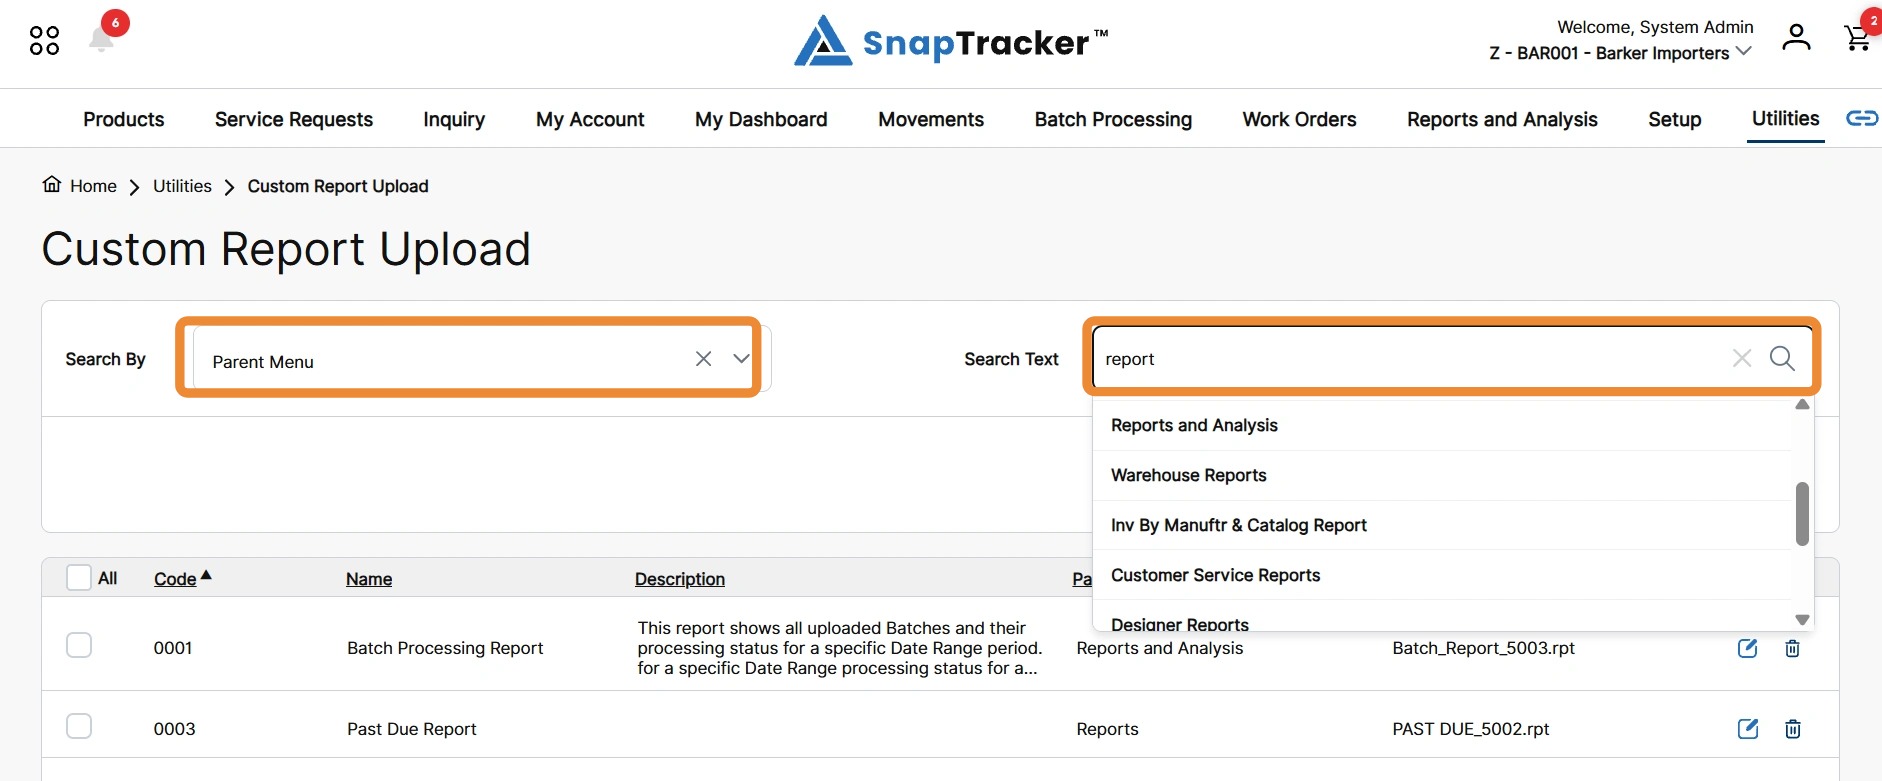
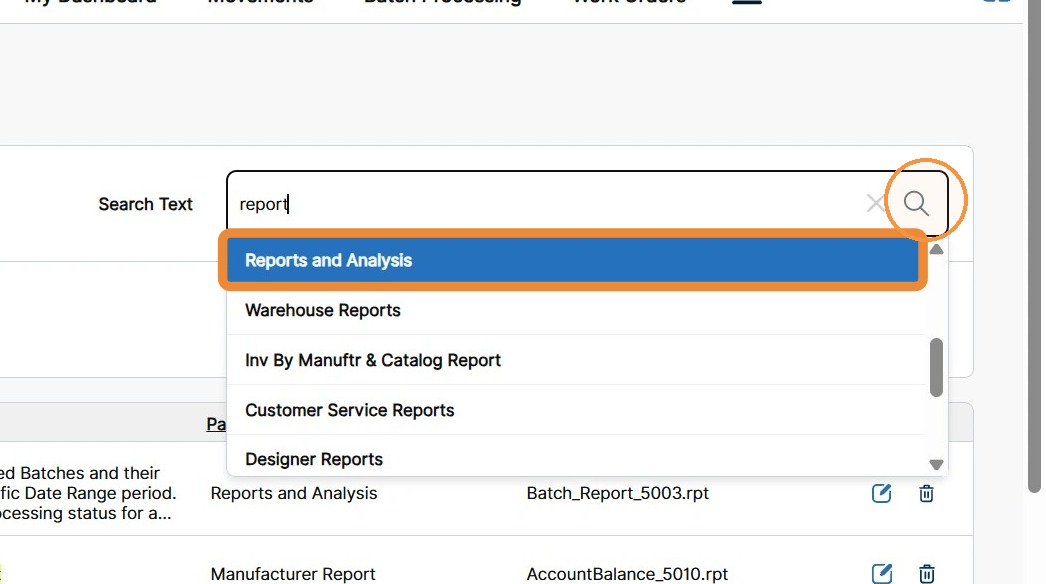
An auto-populated suggestions list displays of matching menus in your SnapTracker site.
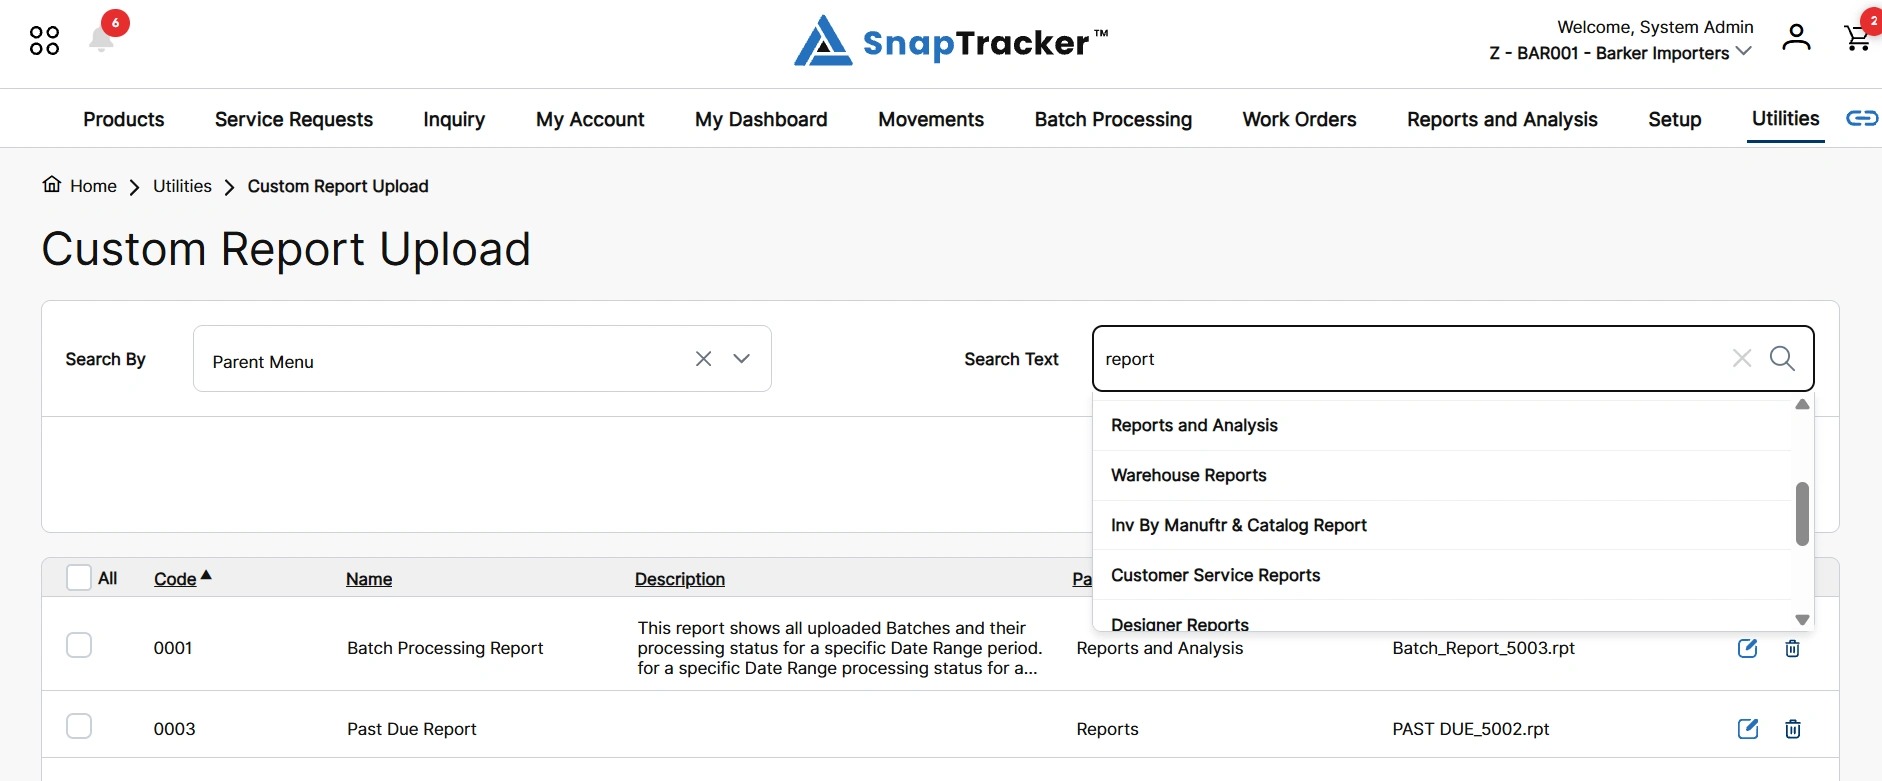
6. Click the desired menu suggestion, or click the search icon to return results for all related menus.
The updated results display, with your search term highlighted in the Parent Menu column.
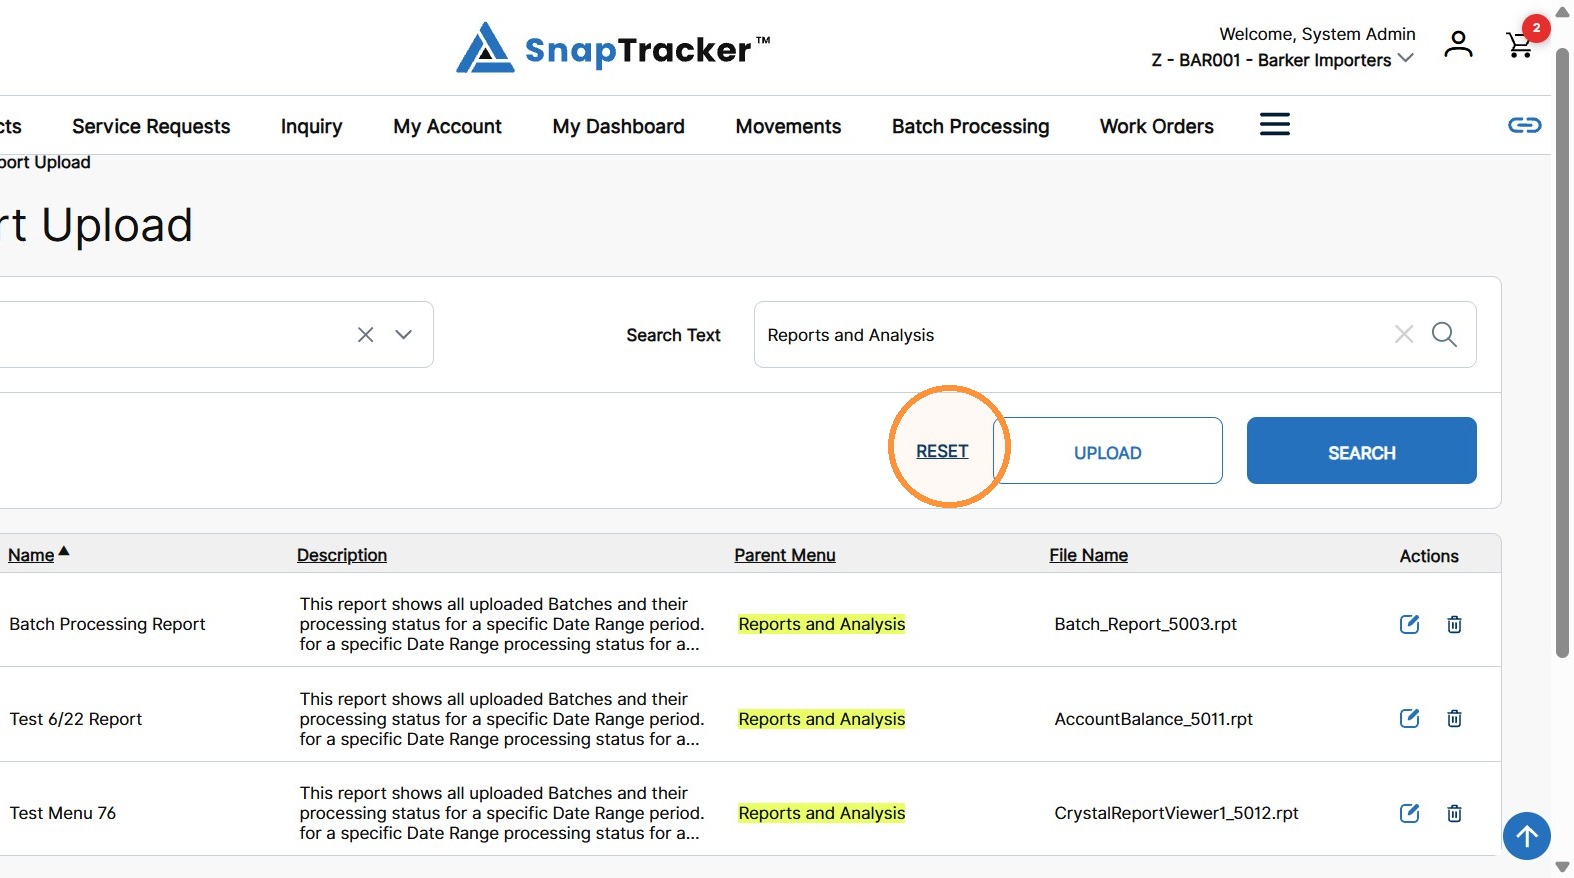
7. To reset all search inputs, click Reset.
For more information on how to create, edit, and delete a Custom Report, see “How to Create, Edit, and Delete Custom Reports.”