How to Set Up a User for Shopping
The Shopping feature in SnapTracker enables Users to browse products online, create Carts and initiate the order fulfillment process. For Users to be able to create carts, both the User and the Customer must have Shopping enabled.
Before starting, make sure:
- You are logged in to SnapTracker.
- You are a System Administrator or Administrator.
- You have Menu Access to the User screen.
- At least one User is created to assign shopping to.
This post will outline the steps required to set up a User for shopping.
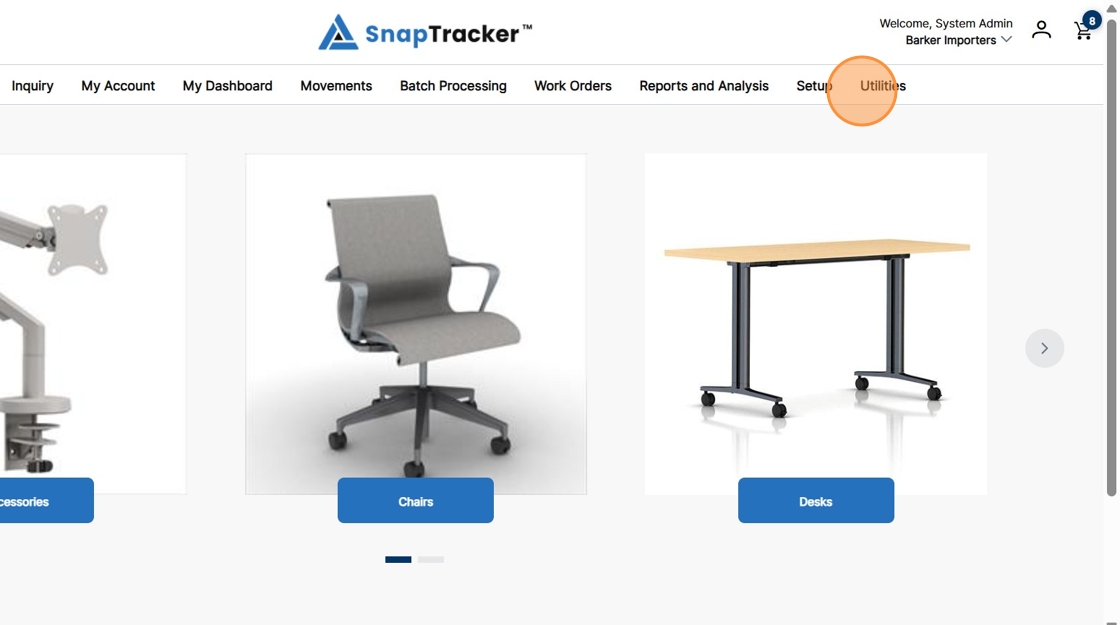
1. In the header section, click Utilities.
2. Click the arrow beside User Setup, then click User.
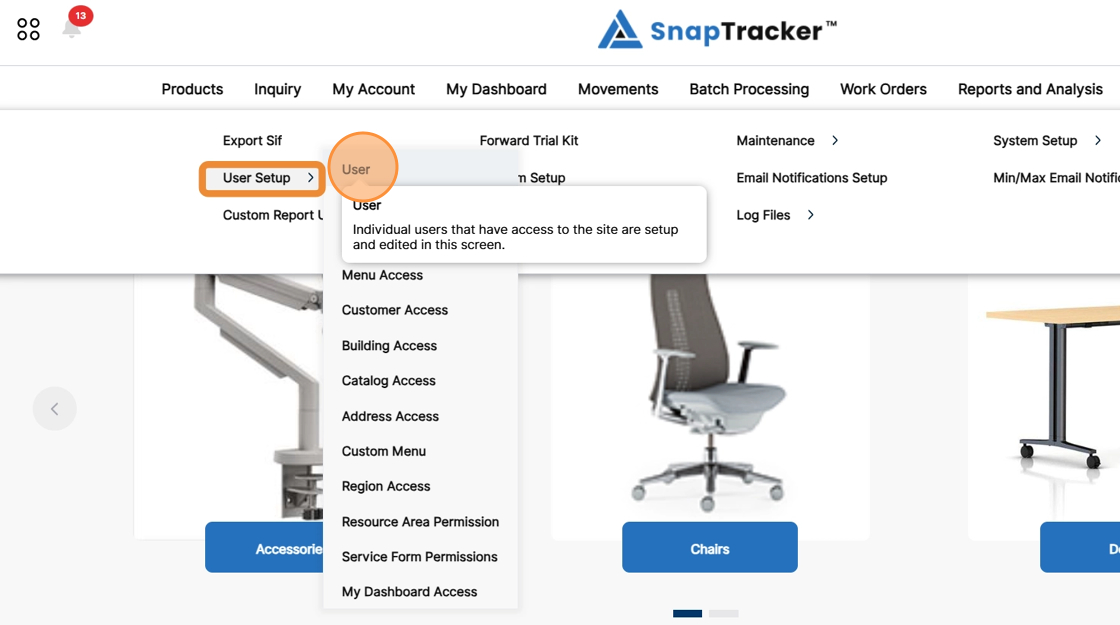
Another way to access the User screen is to click Utilities>User Setup.
The different User Setup screens display. From here select User.
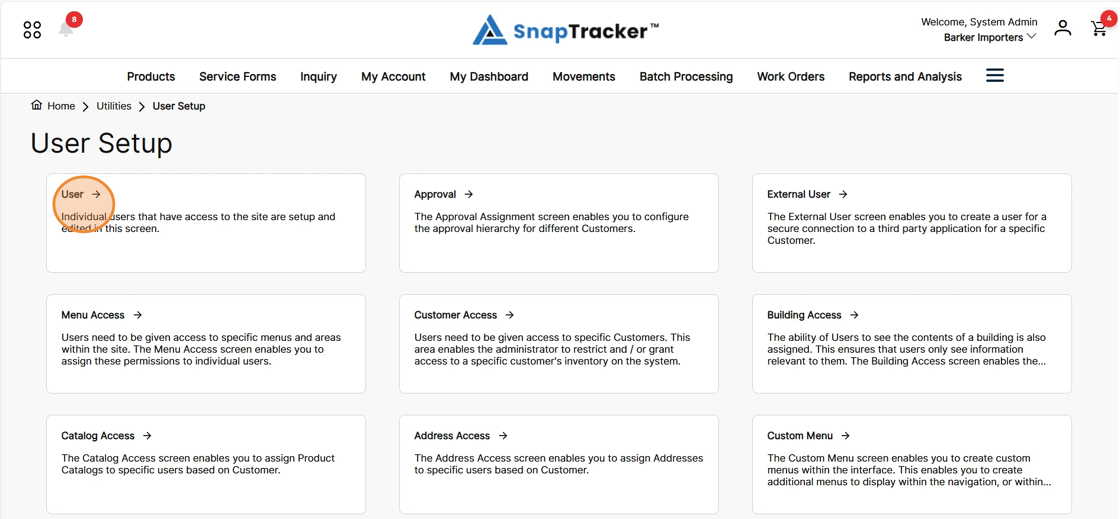
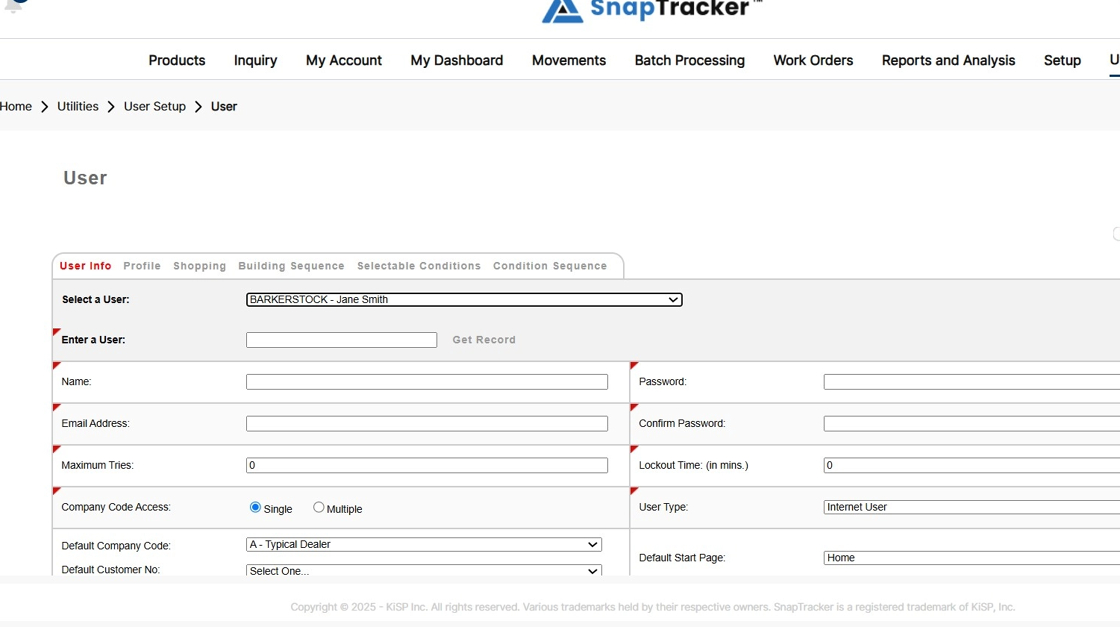
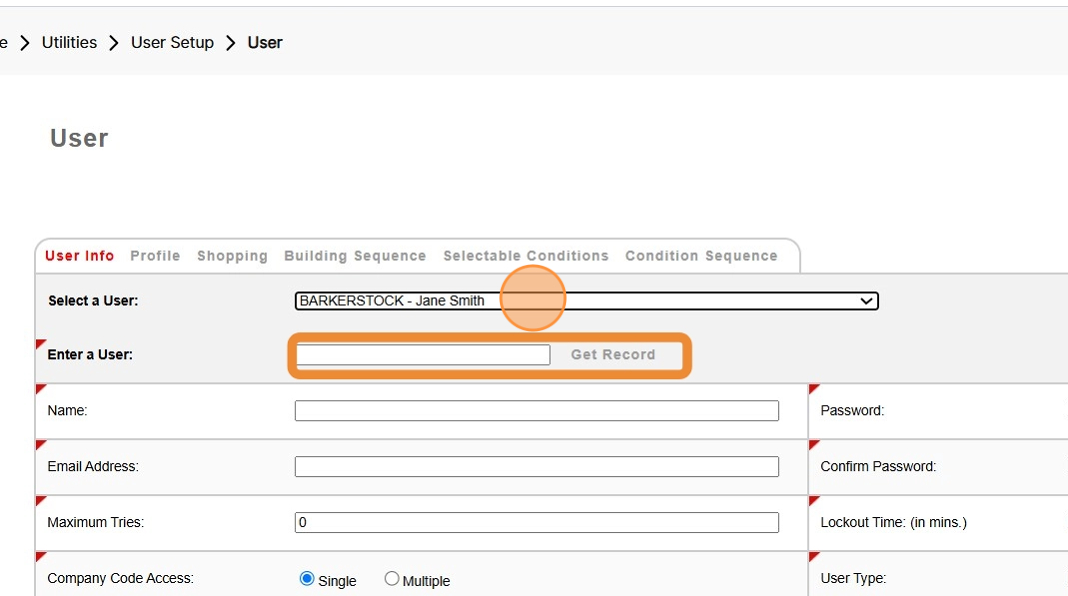
The User screen displays.
Note: This screen is undergoing redesign in the new SnapTracker interface. As such, this screen currently displays the existing Legacy design until complete.
Note: You can click the Shopping tab and select a User in the User Shopping screen instead of in the User screen.
3. From the Select a User dropdown, select a User.
Alternatively, in the Enter a User field enter a user and click Get Record.
4. Click the Shopping tab.
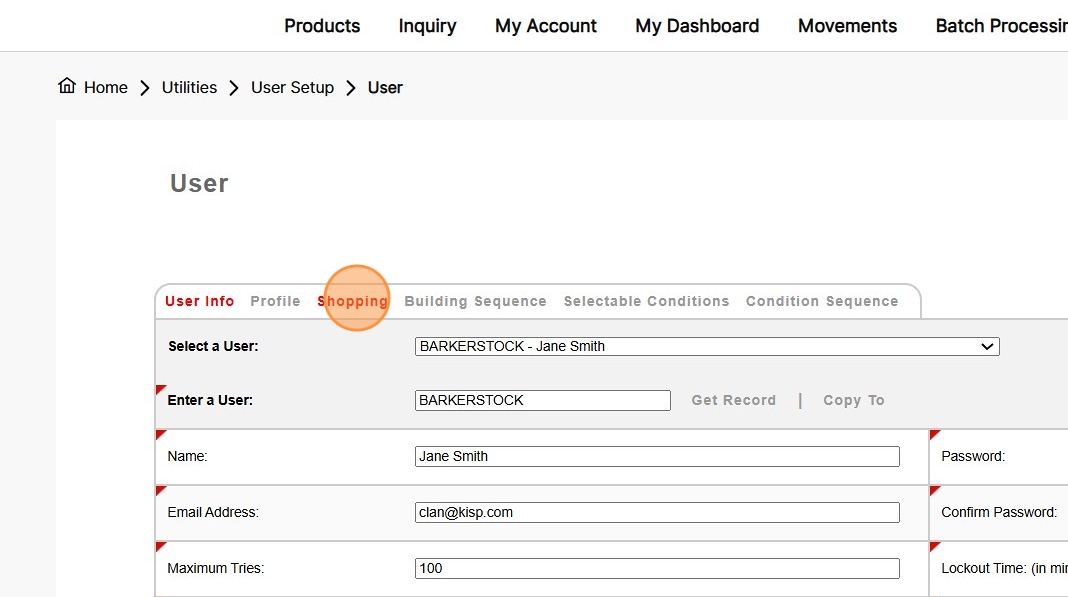
The User Shopping screen displays.
Note: If you did not select a User in the User screen, you can select a User from the Select a User dropdown.
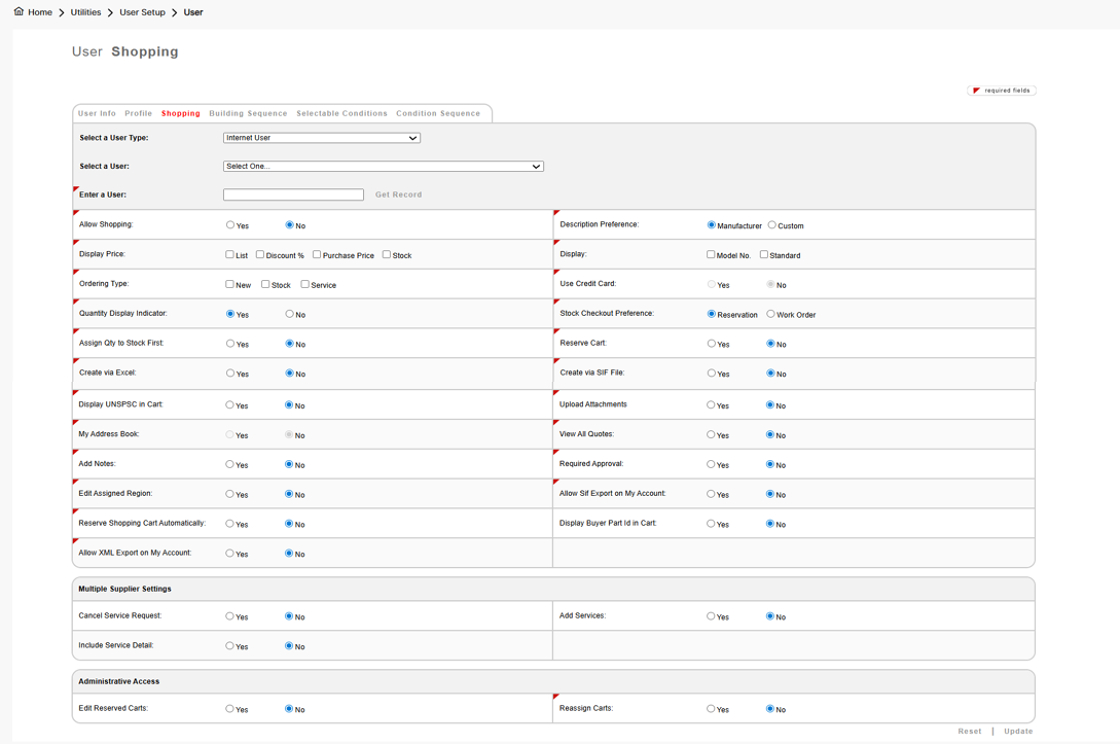
Observe the User Shopping options:
- Allow Shopping – Indicate whether Carts are enabled for the User.
- Description Preference – If the User is familiar with the Manufacturer’s description and prefers it, select Manufacturer. Otherwise, select Custom for a more customer-friendly product description. Note: Custom descriptions need to be created for product. If there is no Custom description for an item the Manufacturer description displays.
- Display Price – Depending on which Price(s) a User should see when browsing, select List / Discount / Purchase and/or Stock Price.
- Display – Indicate whether Model No. and/or Standard is shown. (At least one must be selected).
- Order Type – Select the type of product the User can order.
- Quantity Display Indicator – If the User is ordering Stock product, do you want them to see the quantities on hand? Select Yes or No.
- Stock Checkout Preference – Determine if a Cart that contains stock product becomes a Reservation or Work Order when it is checked out.
- Assign Qty to Stock First – If the User is ordering Stock product, determine whether the user should pull product from Stock first. Select Yes or No.
- Reserve Cart – Determine whether the user can manually reserve a cart by selecting Yes or No. Note: When enabled, a Reserve Cart button displays in the Cart screen.
- Create via Excel – Determine whether or not the User can create a Cart by uploading an Excel file. Select Yes or No.
- Create via SIF File – Indicate whether or not the User can add product to a Cart with a SIF File. Select Yes or No.
- Display UNSPSC in Cart – Indicate whether the UNSPSC is displayed in the User’s Cart. Note: This is for procurement implementations only.
- Upload Attachments – Indicate whether or not adding attachments to a Cart is enabled.
- View All Quotes – If Users can view quotes, by default they can only see quotes assigned to them specifically. Select Yes or No to determine if they can view assigned to all Users, not just their own.
- Add Notes – Indicate whether the User can add notes to the Cart, not just to an item.
- Required Approval – Indicate whether Carts created by the User are required to go through the Approval process or not, if applicable. Note: Additional steps are required to configure Approval for a Customer.
- Edit Assigned Region – Indicate whether the User can edit their assigned Region or not, if applicable.
- Allow SIF Export on My Account – Indicate whether the User can export a SIF file for a new order from screens under My Account.
- Reserve Shopping Cart Automatically -Indicate whether or not the Cart is reserved automatically. Note: This feature also needs to be enabled at the Customer level.
- Display Buyer Part ID in Cart – Indicate whether or not the Buyer Part ID is displayed in the User’s Cart. Note: This is for procurement implementations only.
- Allow XML Export in My Account – Indicate whether the User can export an XML file from screens under My Account. Note: This feature also needs to be enabled at the Customer level.
5. In the Allow Shopping field, select Yes.
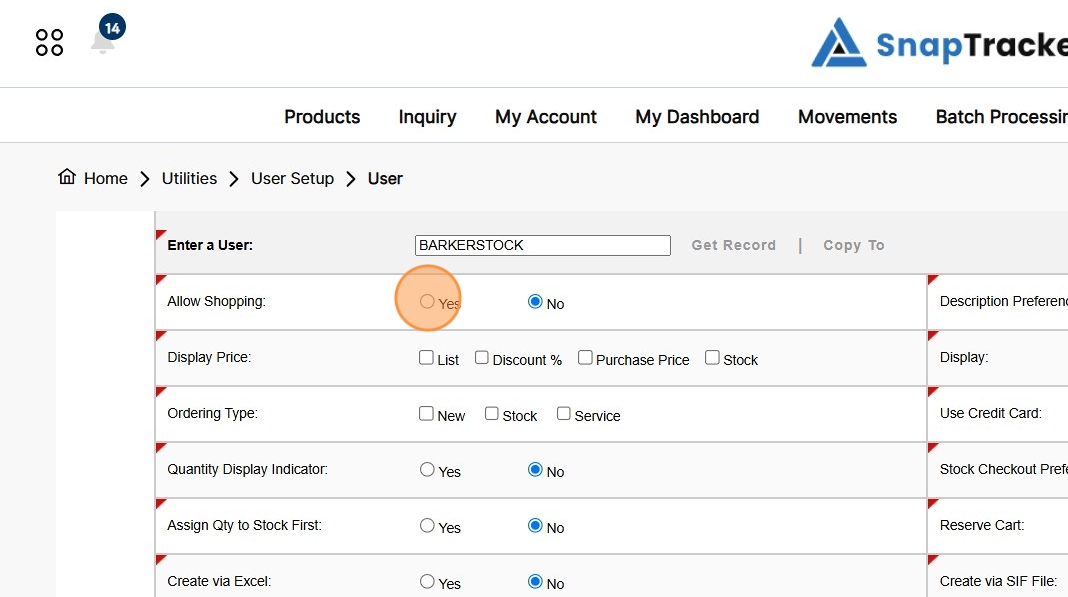
6. Make your selections in the remaining fields and click Update.
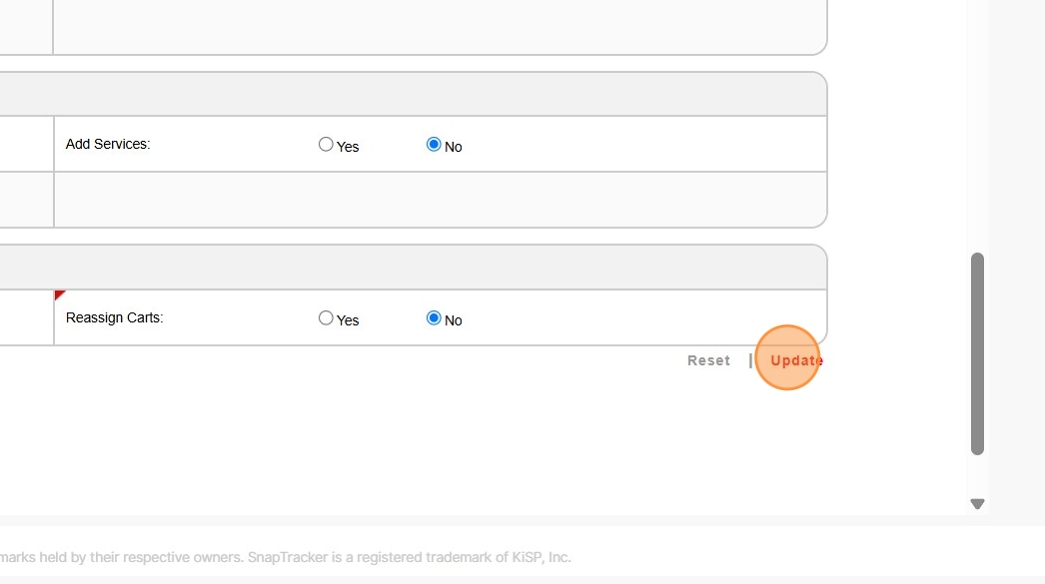
The User is enabled for shopping.
Note: The last section in the screen is for Administrative Access. By default, neither option is enabled for Users. The System Administrator or Administrator may consider enabling the option of Edit Reserve Cart and / or Reassign Carts to some Users depending on the features configured on the site.