How to Specify a Product with Options
Shopping in the Product Catalog inquiry enables you to browse products that are specifically curated for you. Catalogs are designed to show a visual representation of products and the different configurations of options available.
See the following articles for more information on using Product Catalog inquiry:
- “How to Use Inquiry – Product Catalogs“.
- “How to Use Search Features in Product Catalogs“.
- “How to Use Advanced Search in Product Catalogs“.
Before starting, make sure:
- You are logged into SnapTracker.
- You have access to at least one catalog with one option page created.
This post outlines the process of selecting product from a single page (also known as an Option Page) that has similar product grouped together within a Product Catalog navigation or level.
There are multiple ways to access a Product Catalog in SnapTracker:
- By clicking Products from the main menu.
- By clicking Inquiry from the main menu, and selecting Product Catalogs.
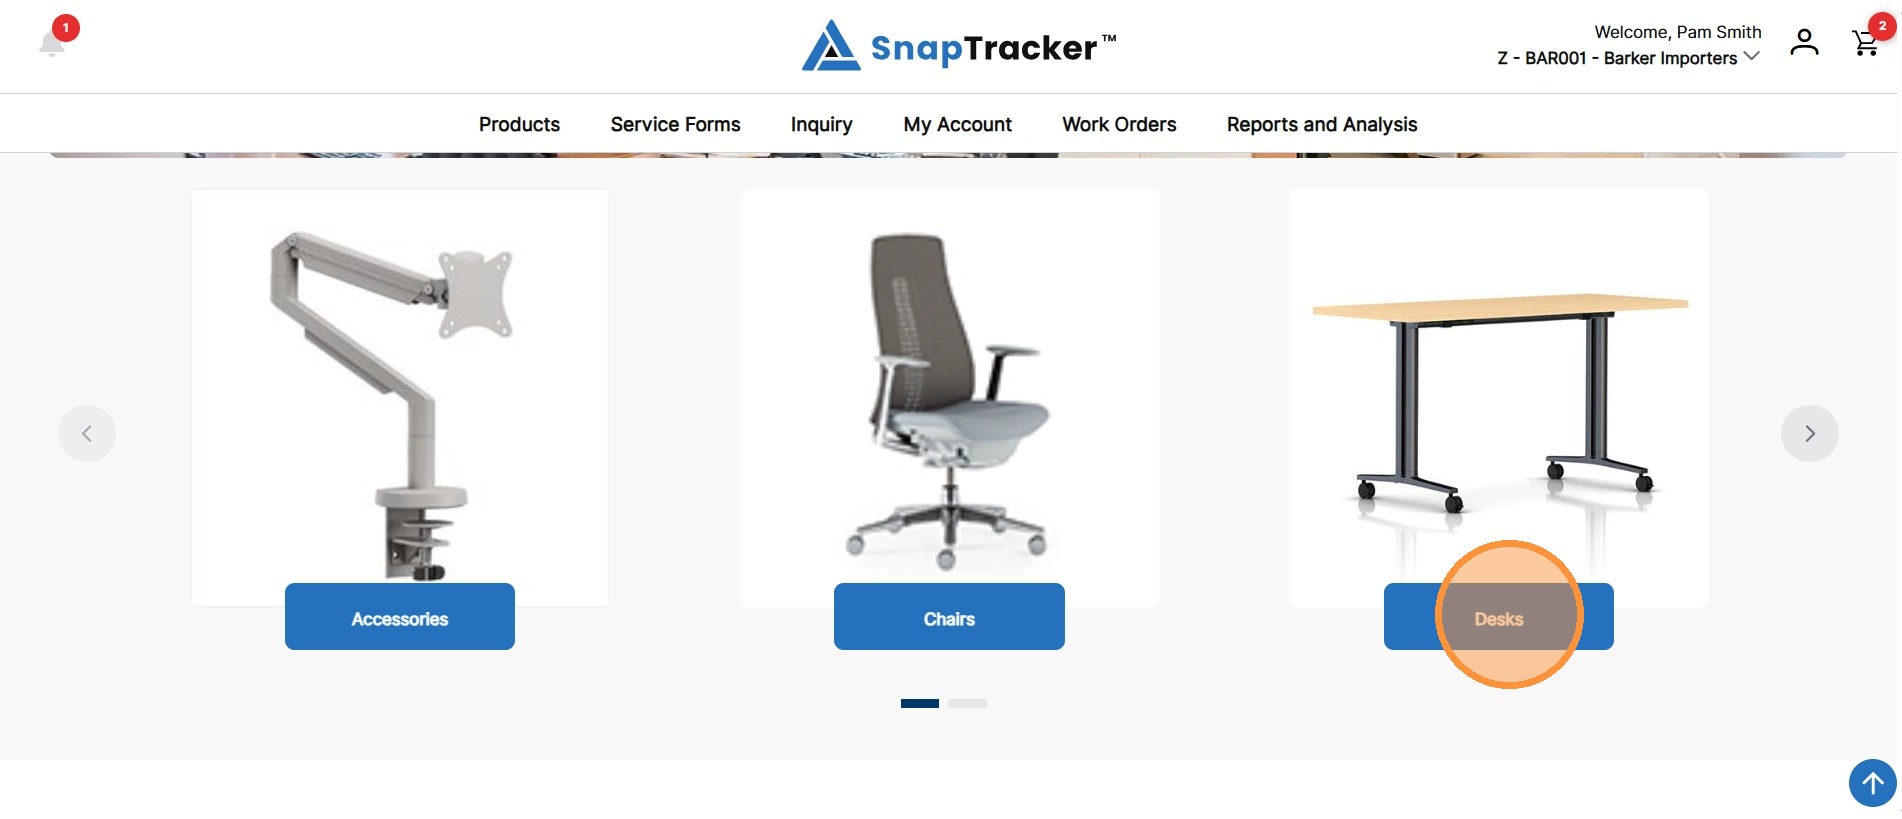
- Directly from the Home screen, in the product catalog carousel.
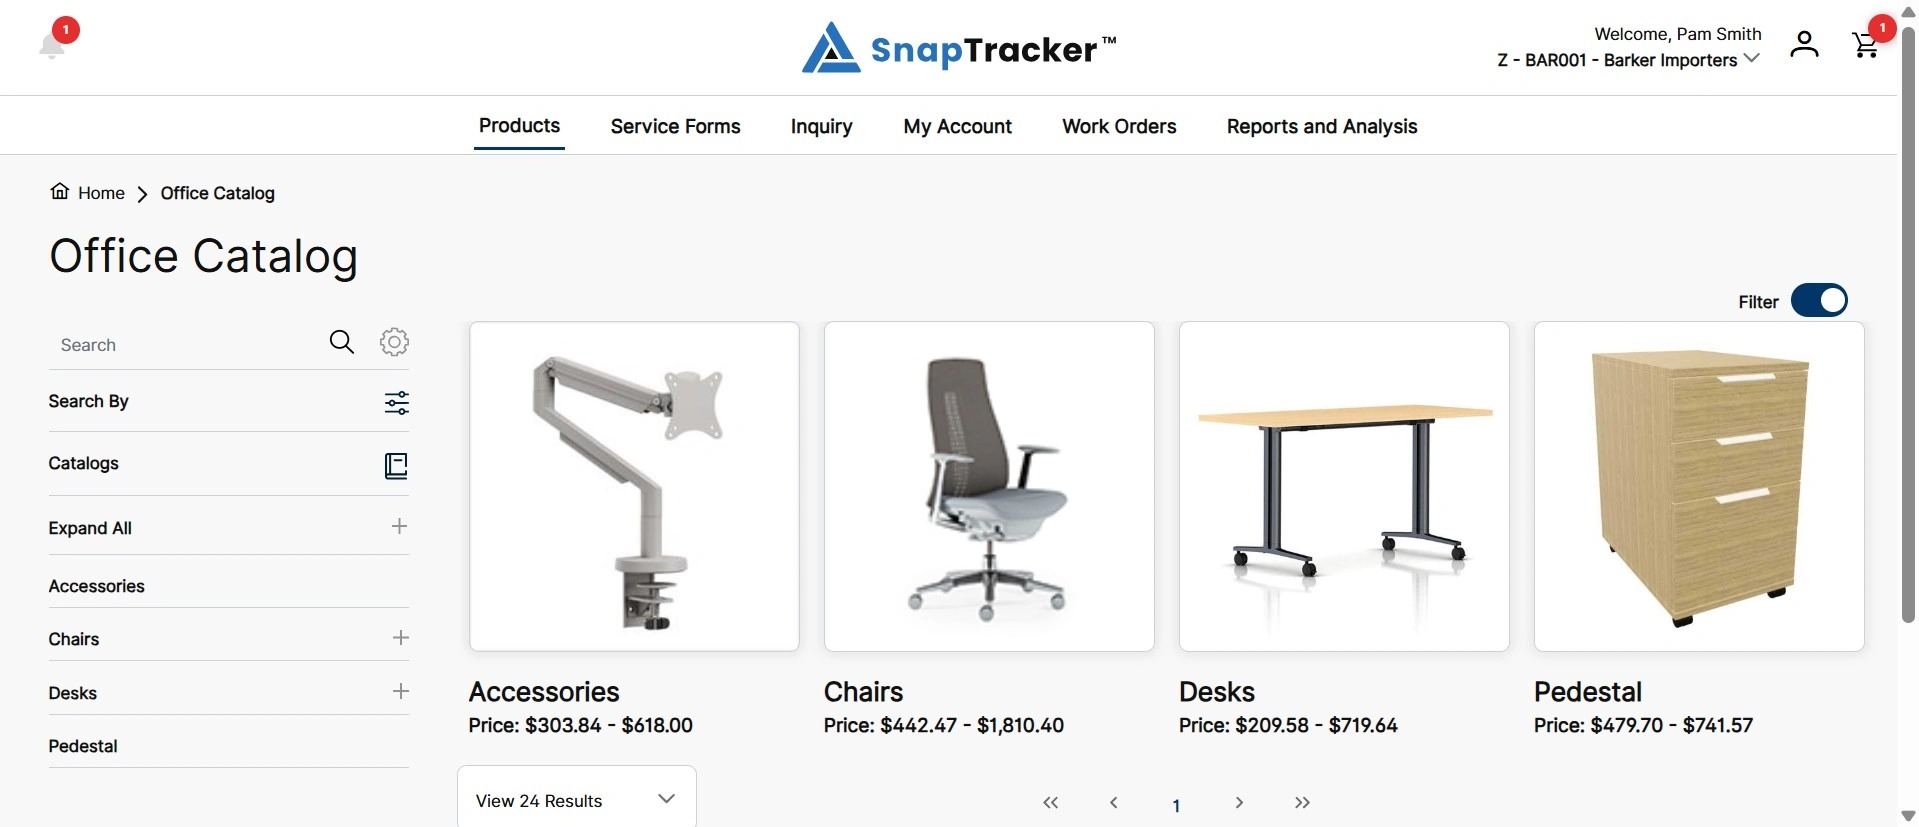
1. In the header section, click Products.
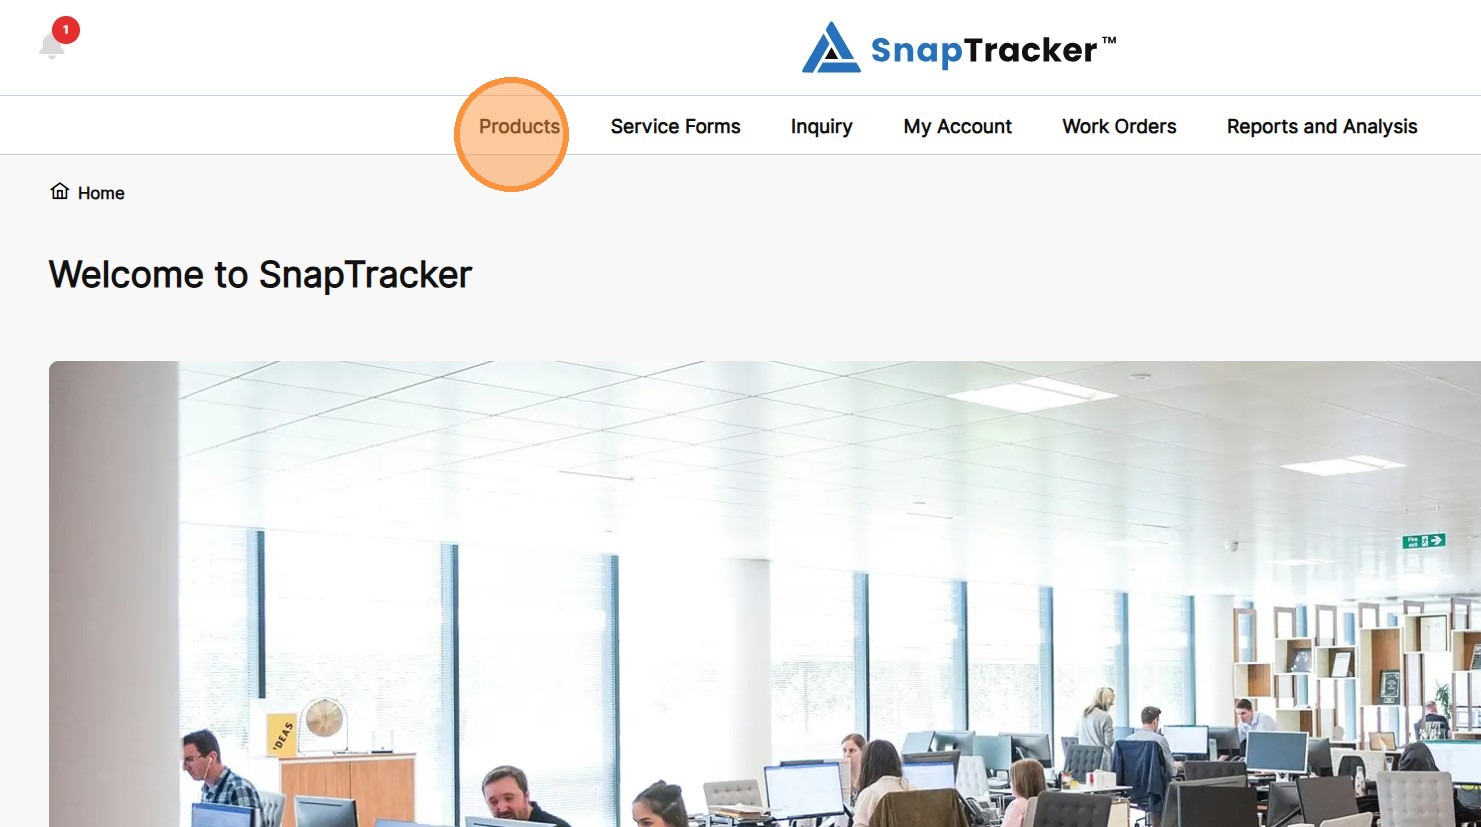
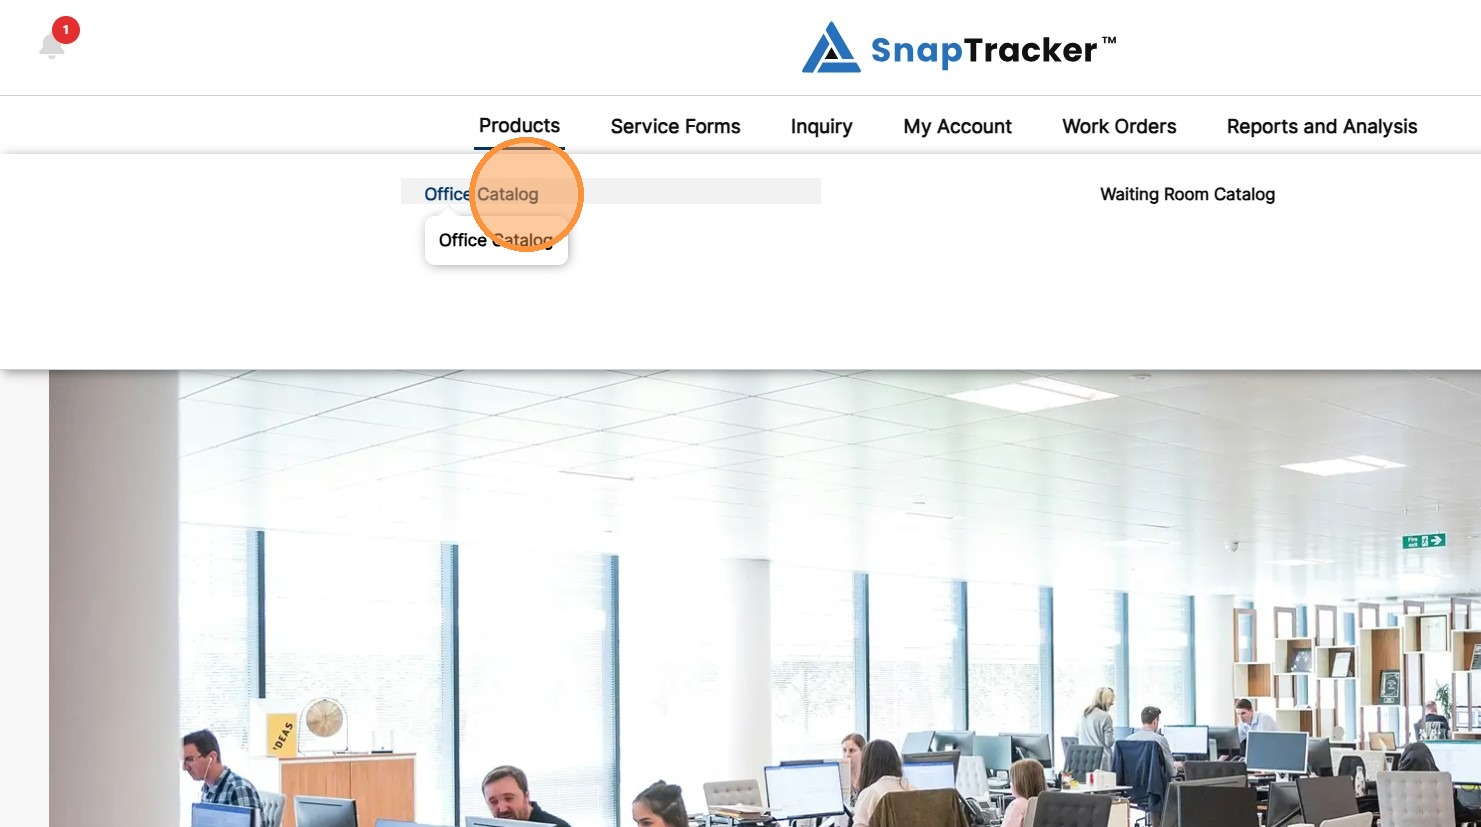
2. Click the desired catalog name.
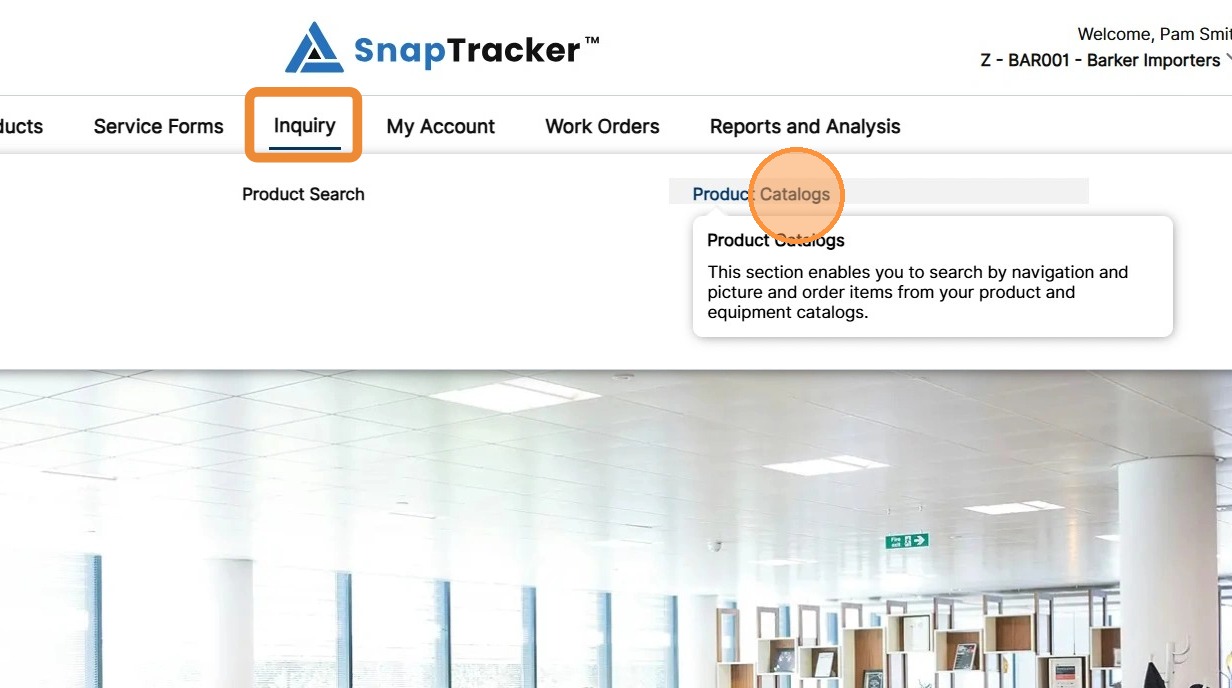
Another way to access the Product Catalogs screen is to click Inquiry>Product Catalogs.
Alternatively, if the product catalog carousel is available on your home screen showing the desired catalog you want to browse, click the desired catalog category.
Note: The carousel only shows the first catalog you have access to.
The Product Catalog screen displays, showing the first catalog you have access to.
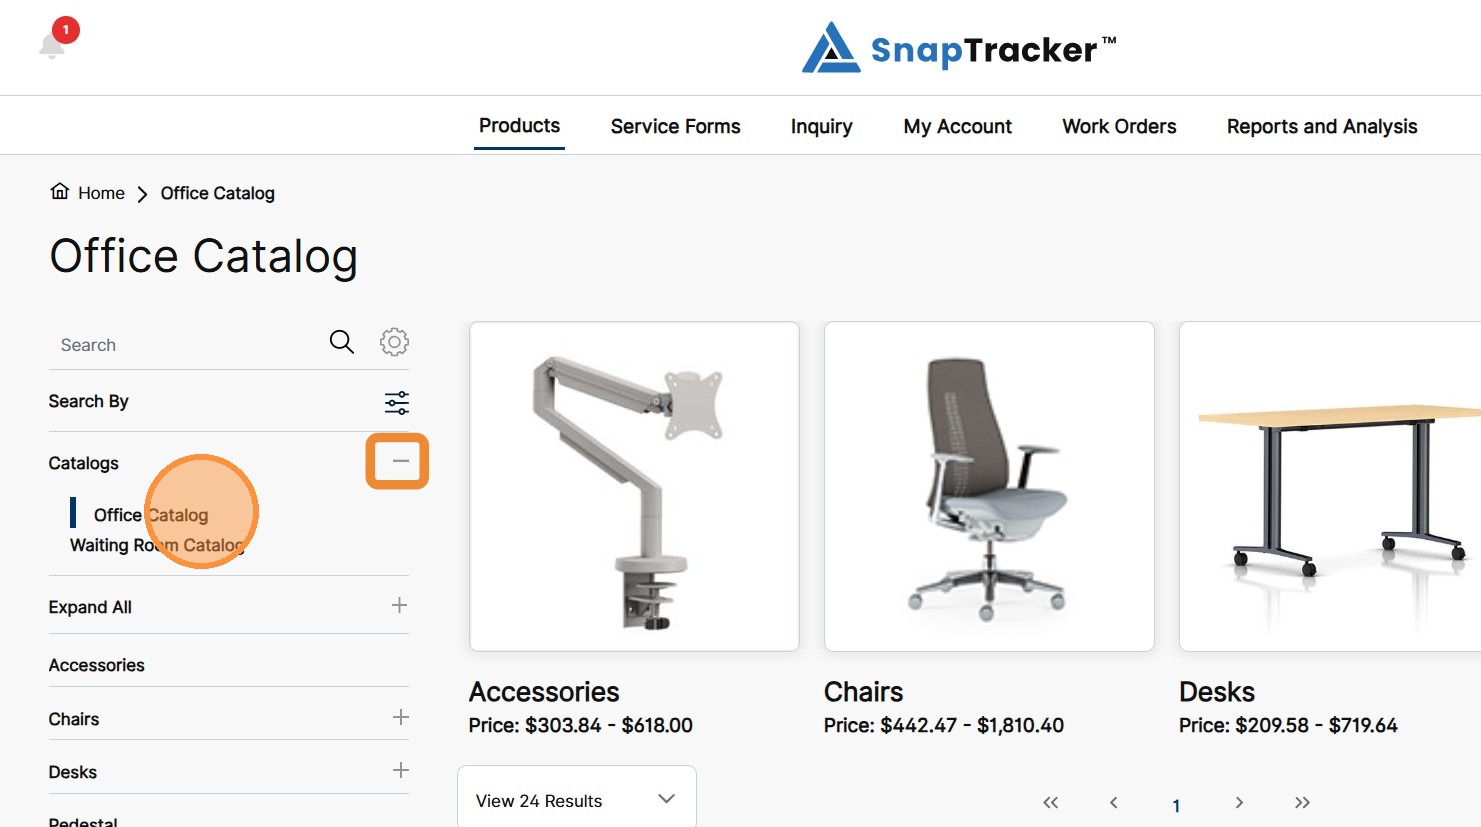
3. If not already displaying the desired catalog, from the left navigation, expand the catalogs list and select the desired catalog.
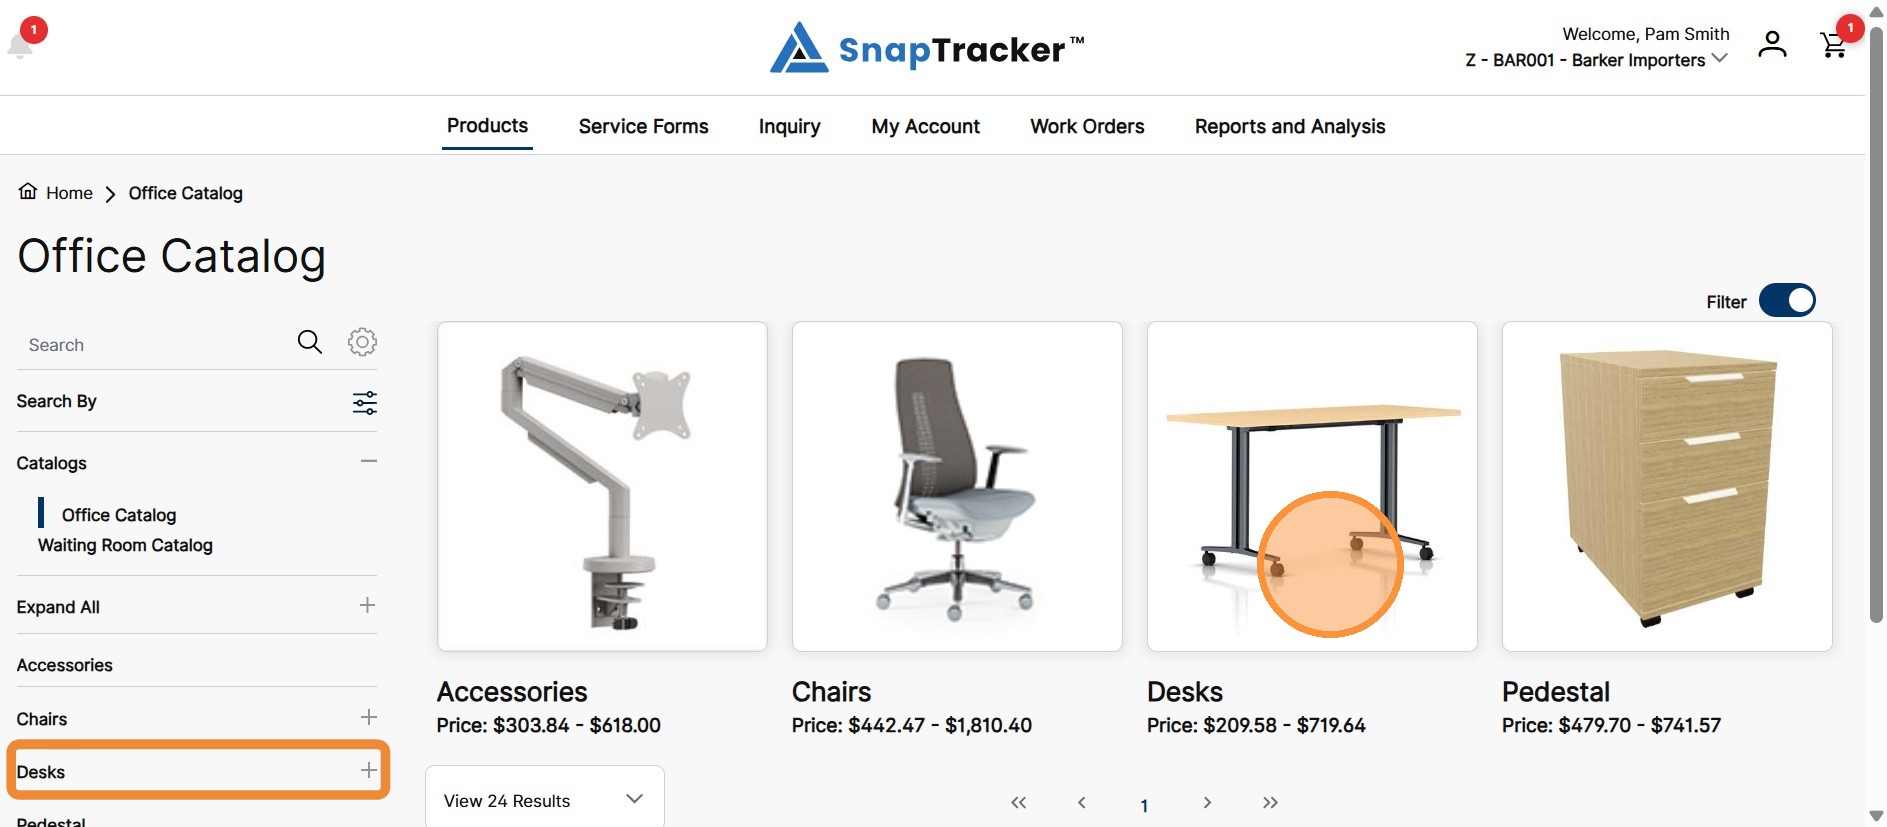
The catalogs can be organized into different levels or categories. For example, Chairs may have sub-categories where they are divided for different uses such as Task, Guest and Lounge.
4. To view the details of a specific catalog category, click the Category image, or from the left navigation, click the link in the table of contents .
5. The subsequent categories or Standards in the next level displays.
Click the Category image in the next level, or click the link in the table of contents from the left navigation.
Note: There may be more than one level within the category.
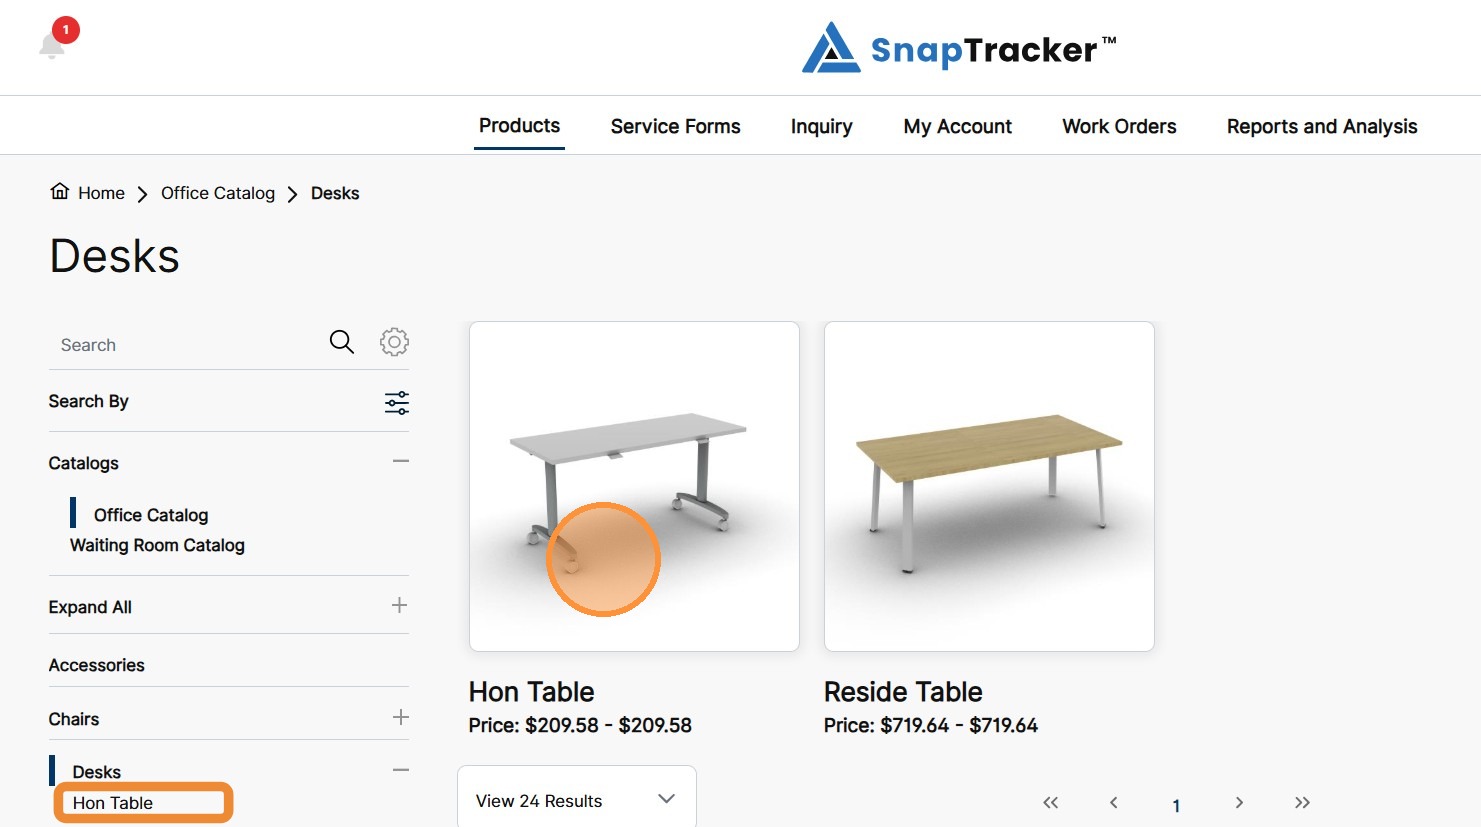
When you get to the lowest level, the selected product’s option page displays.
By default, the option groups display a visual view, focusing on the swatch images. All option groups requiring user selection are expanded.
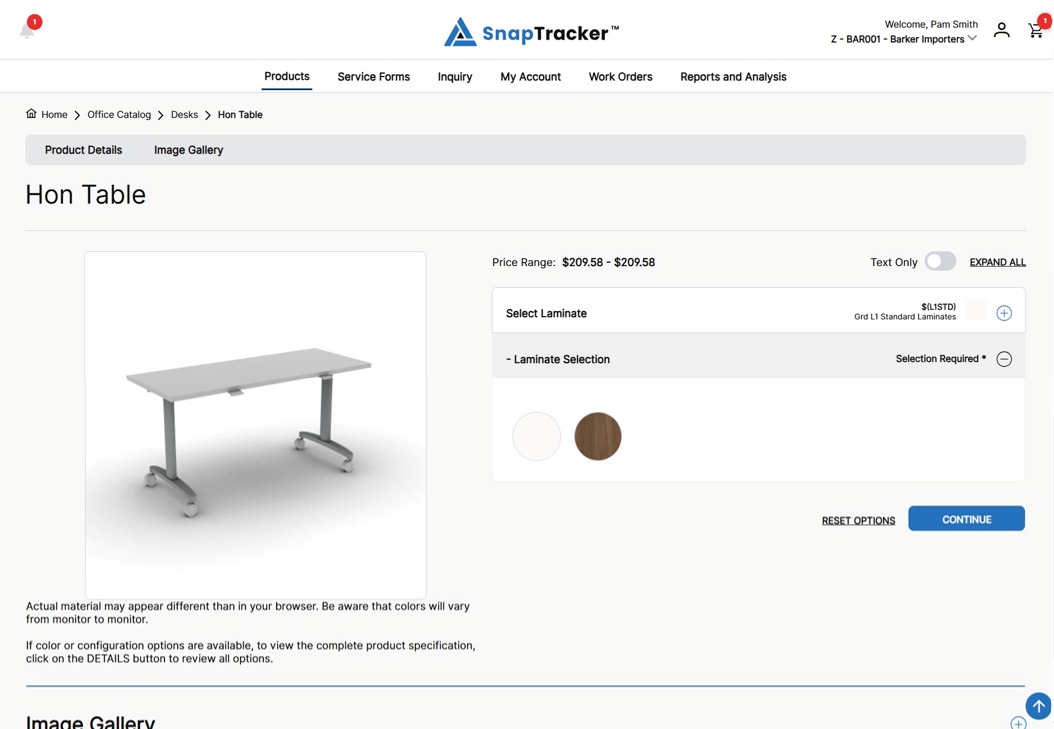
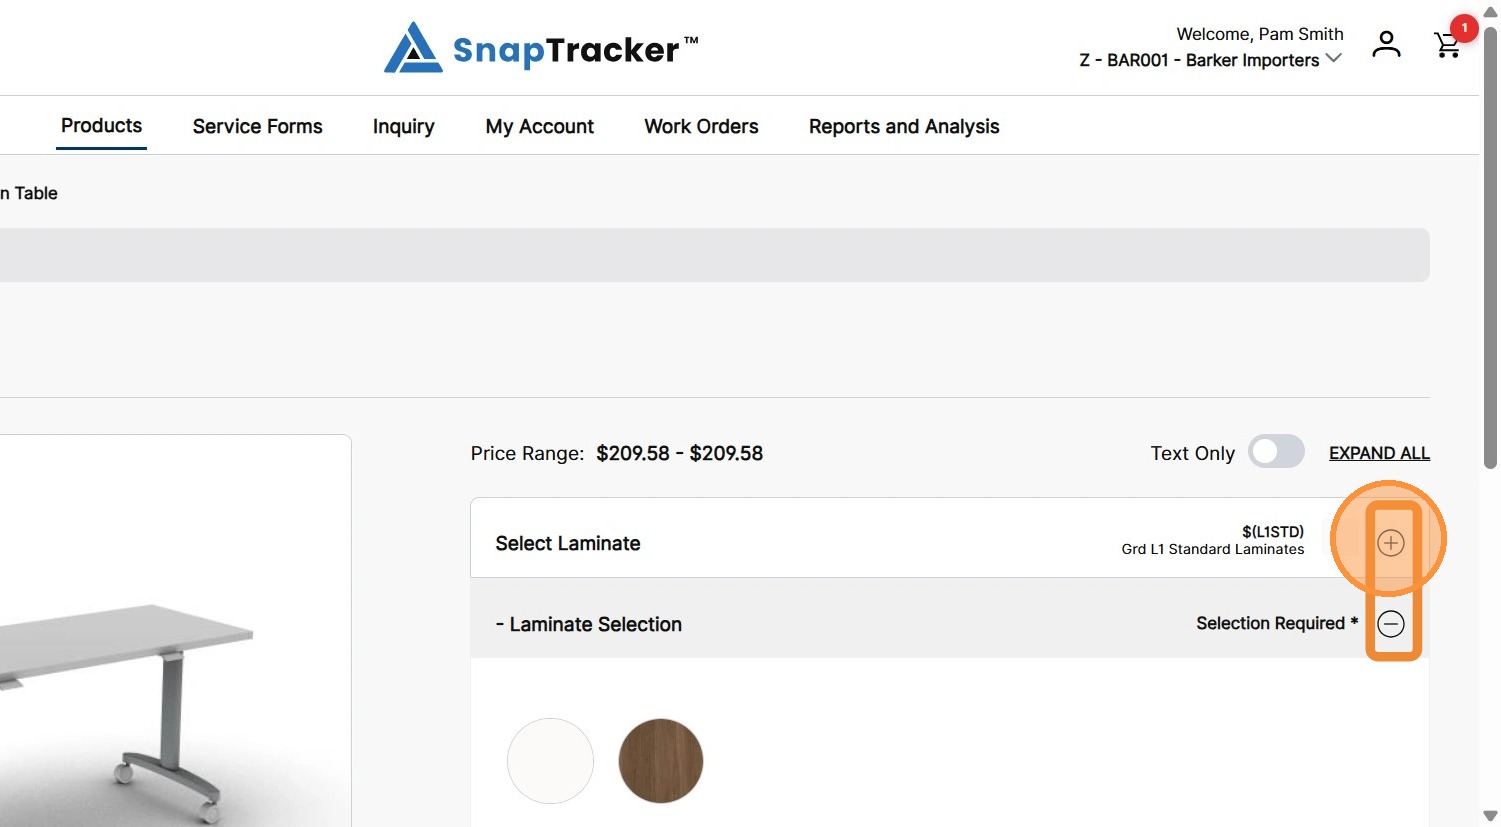
6. To expand or collapse an individual option group, click the + icon or – icon, respectively.
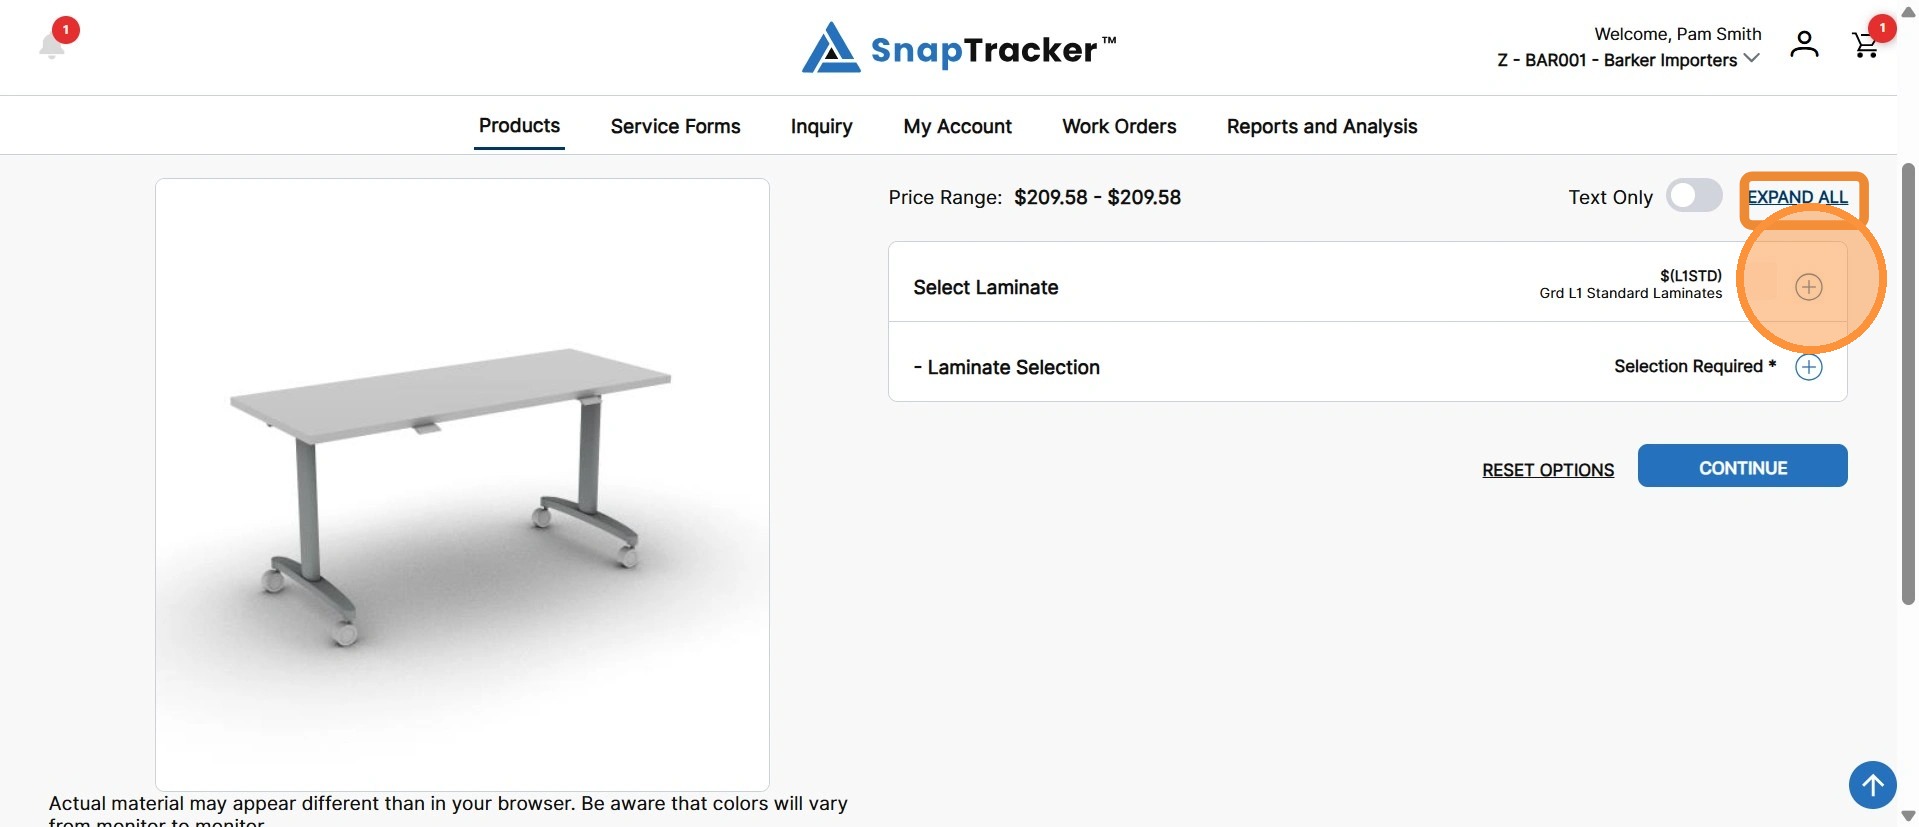
7. To expand or collapse all option groups on the page, click Expand All or Collapse All, respectively.
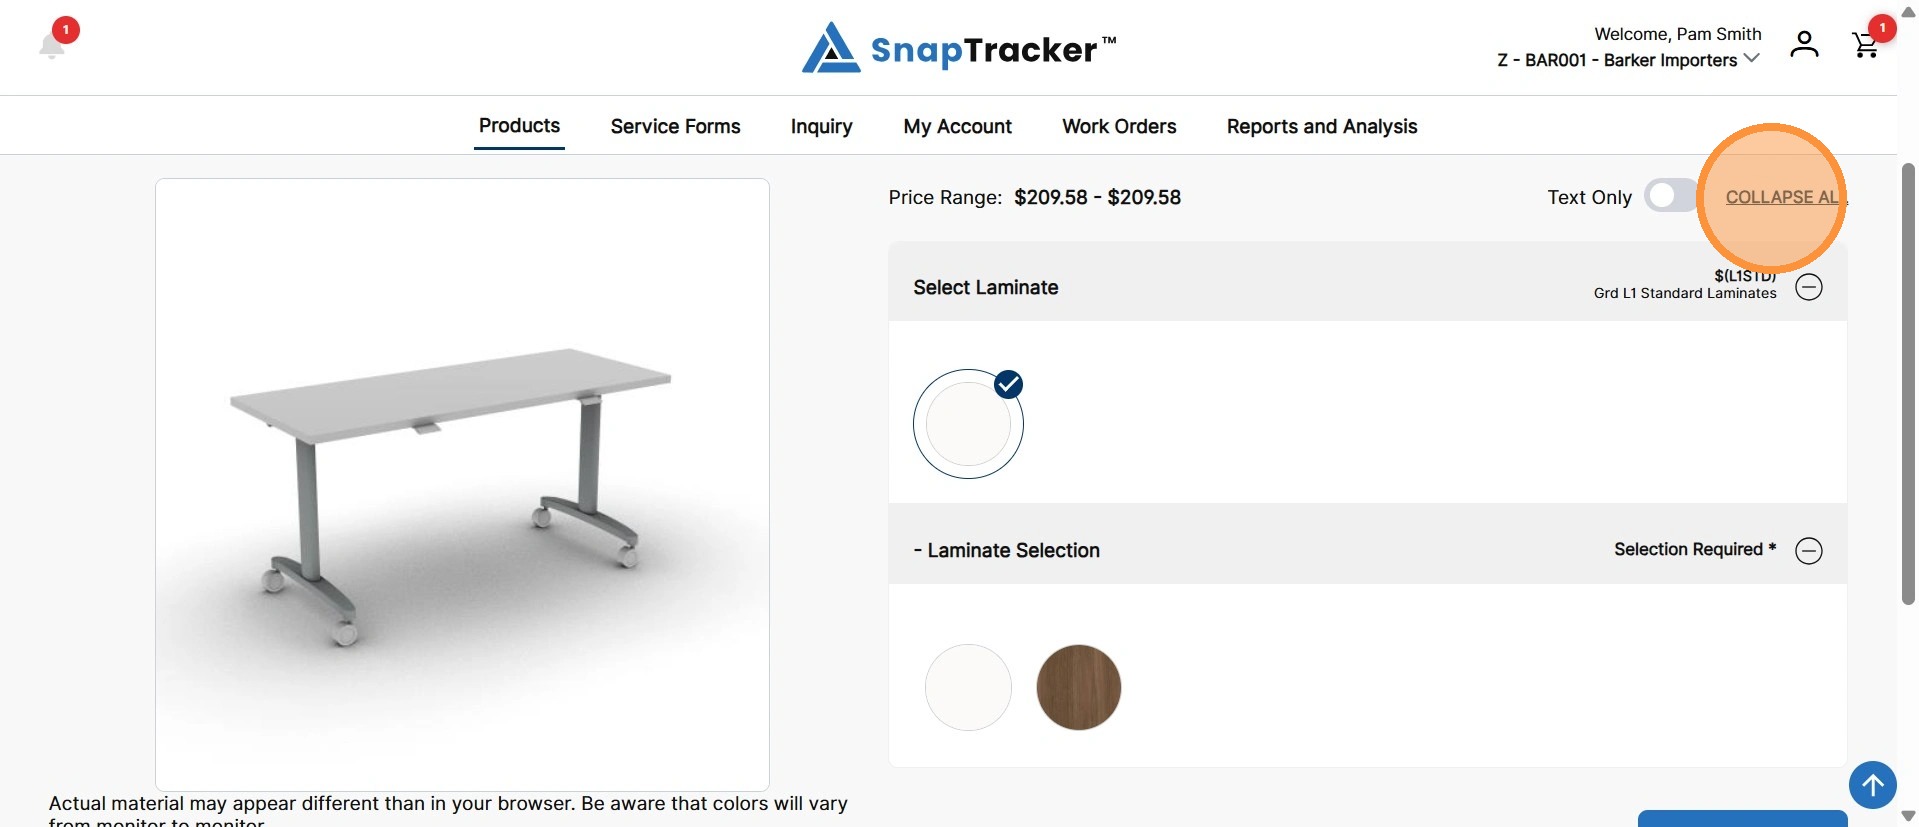
All option groups collapse.
Click Expand All or individual option groups to expand.
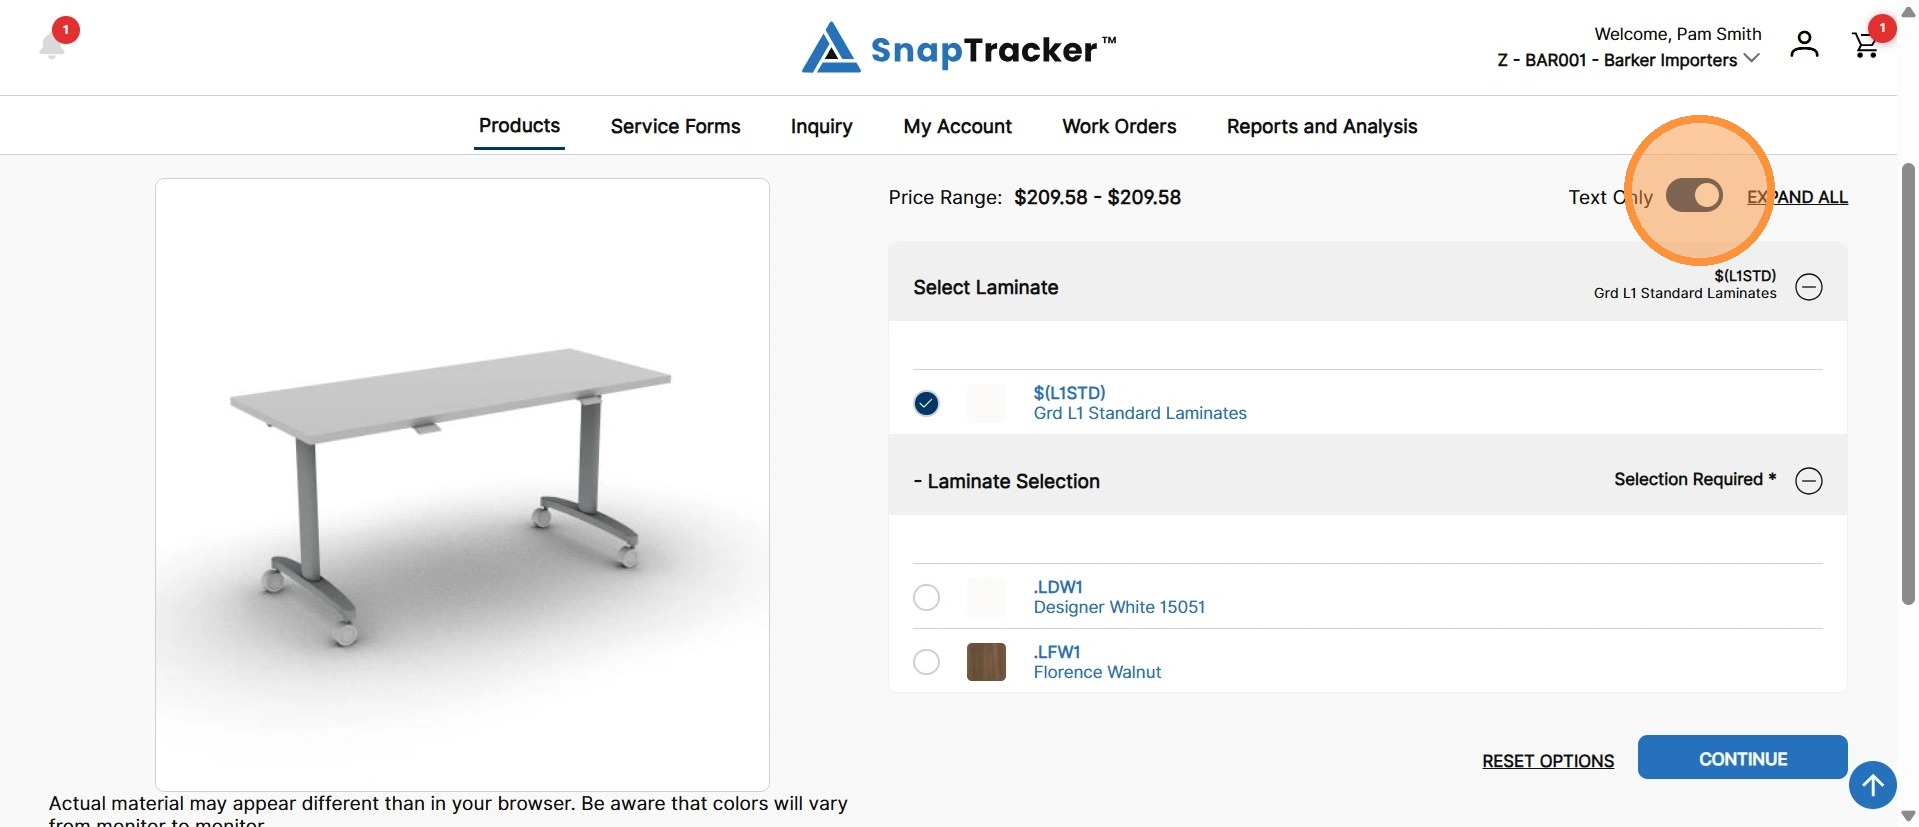
8. To view the options in a text based view, click to enable the Text Only toggle.
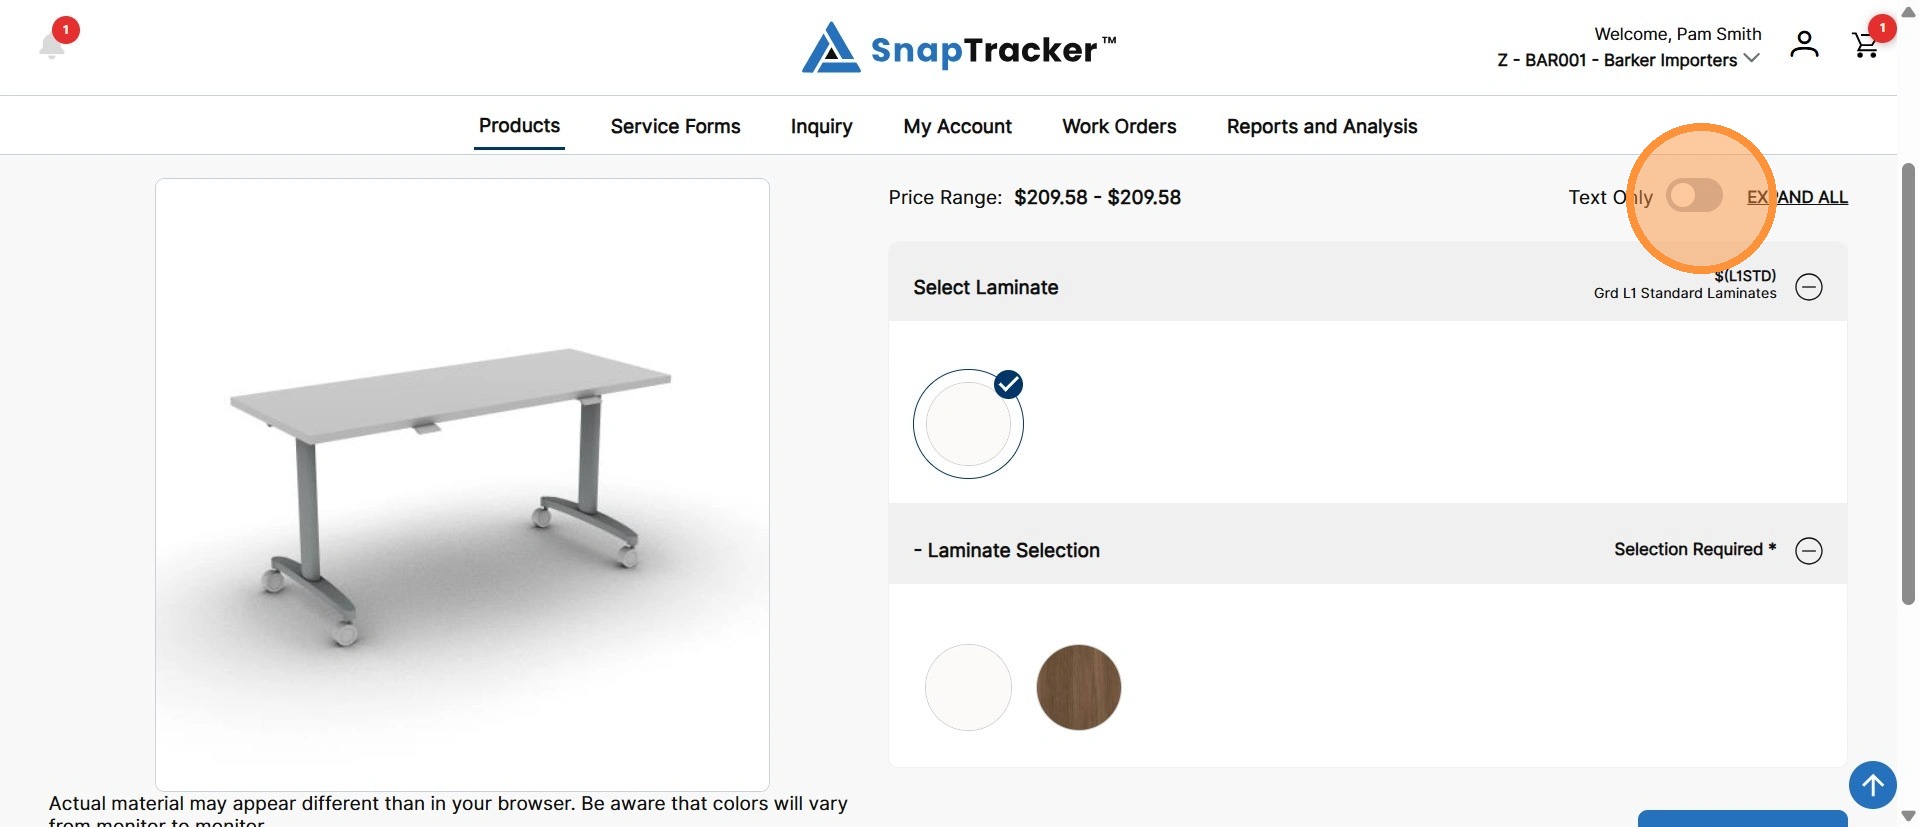
The options update, with the text information displayed on screen and a smaller swatch image.
Click the Text Only toggle to disable this view.
9. In the option group(s) requiring selection, select the desired option.
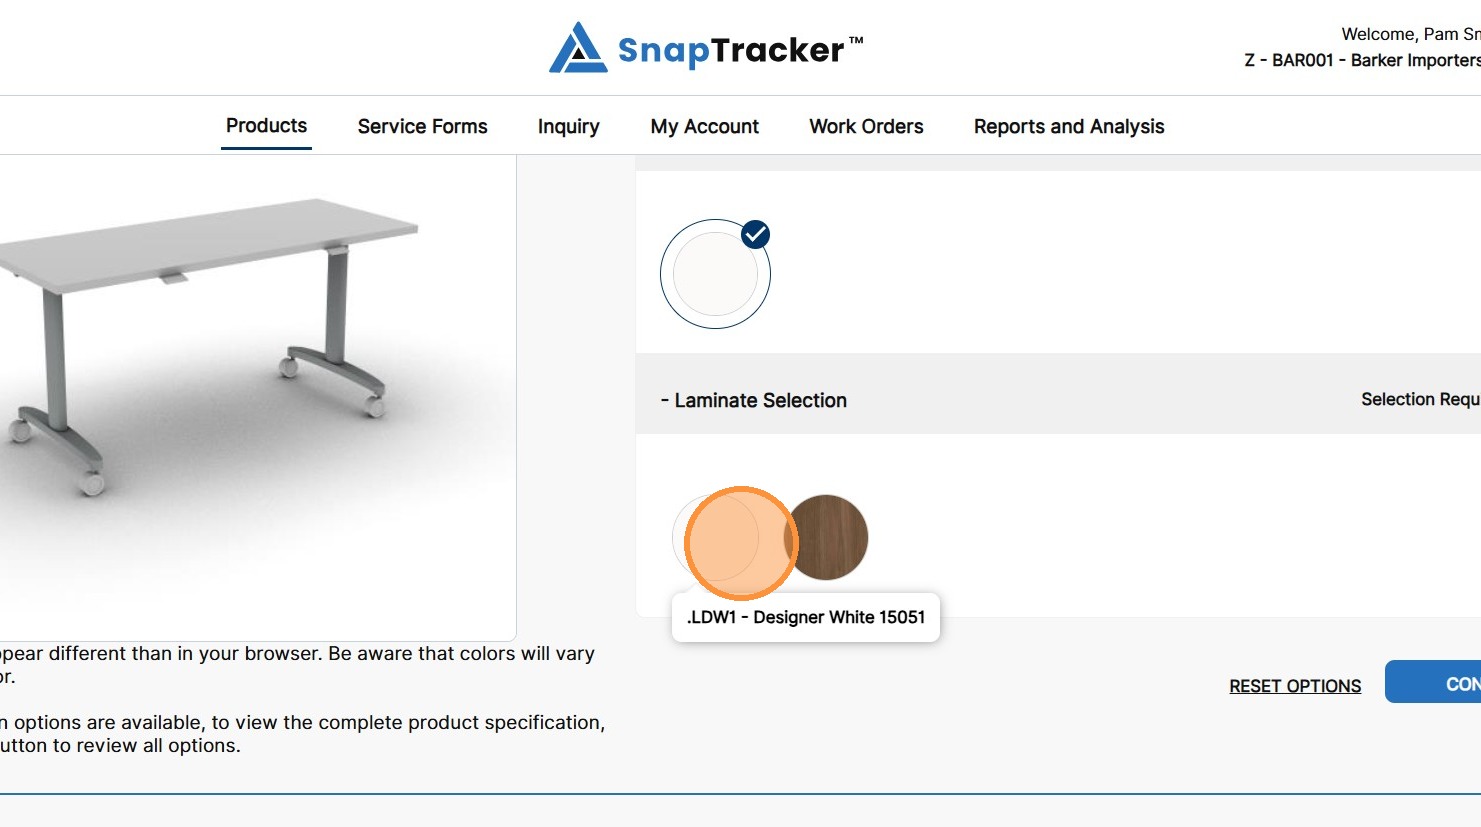
The option groups collapse, displaying the selected option in the collapsed view.
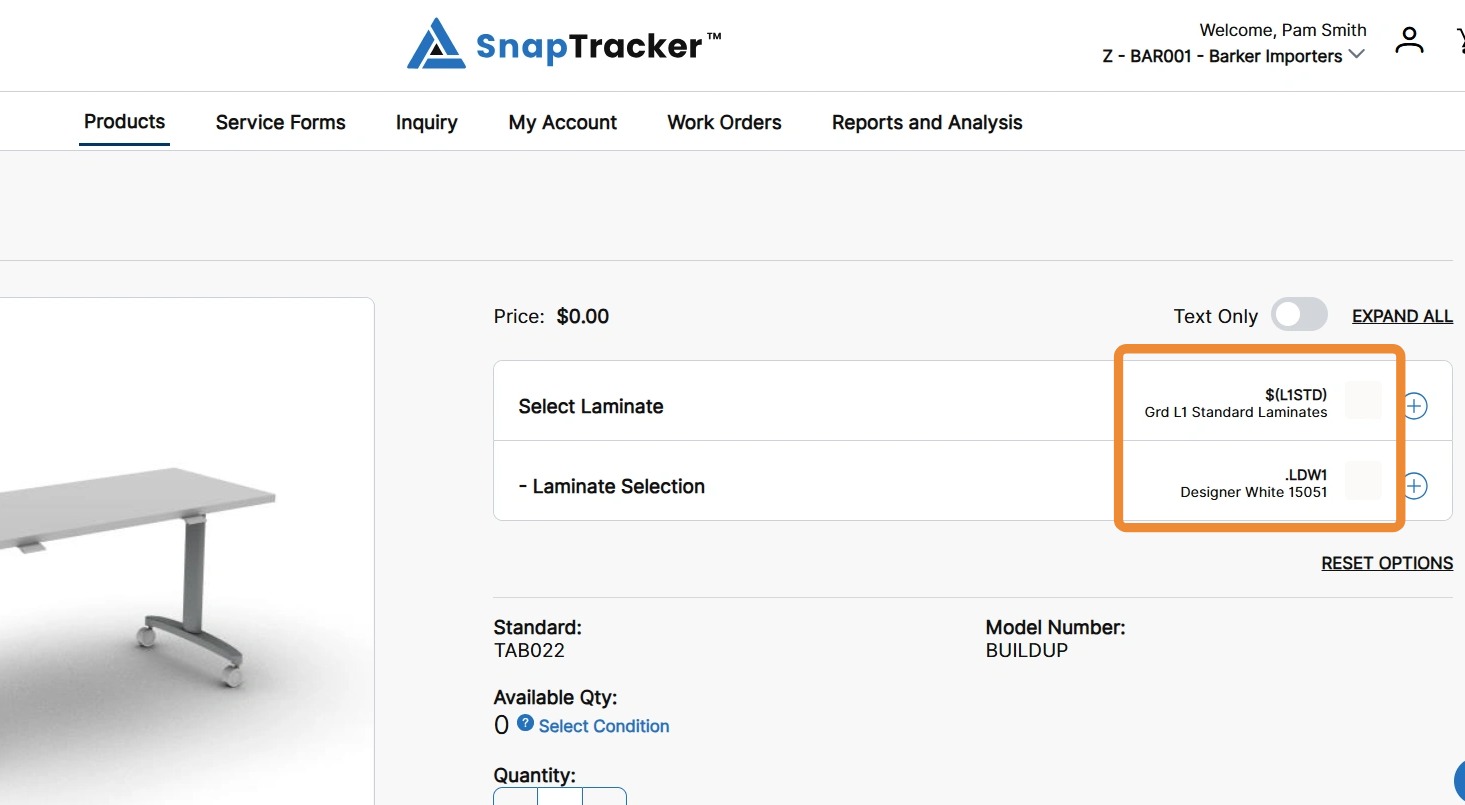
10. To reset your selections and select all again, click Reset Options.
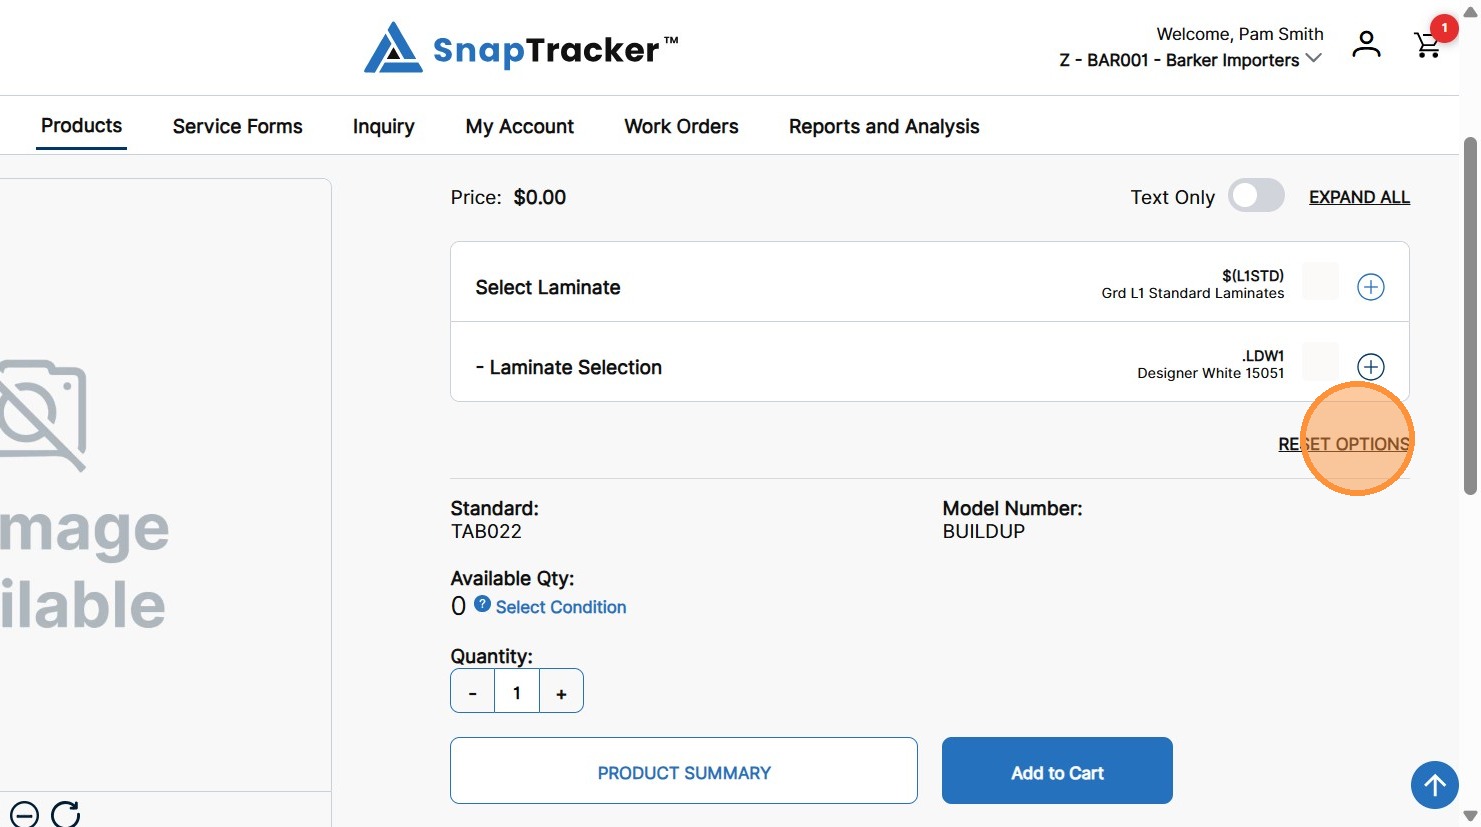
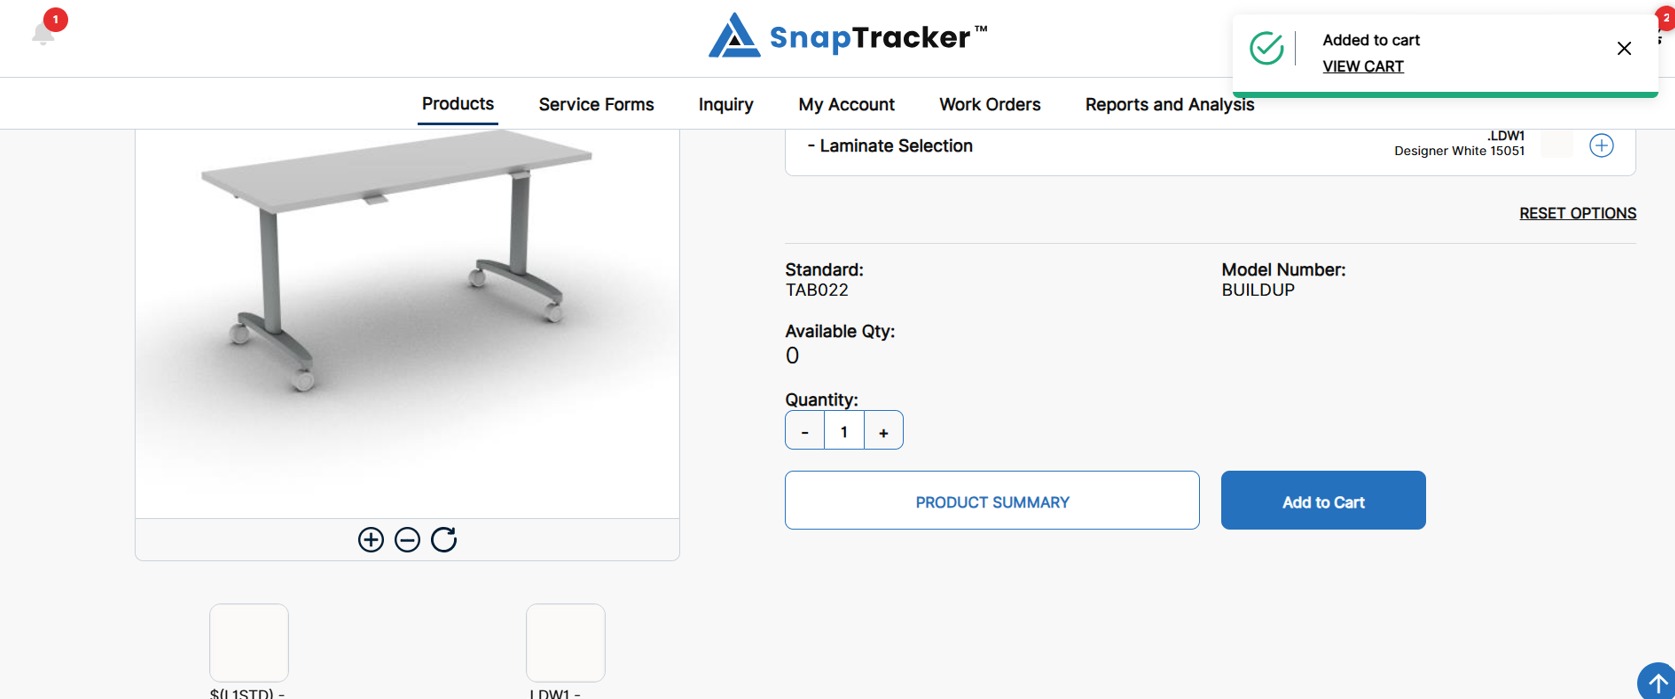
11. Once the option page selections are finalized, a single Standard and/or Model Number displays.
To add the the product to the cart, adjust the Quantity as required and click Add to Cart.
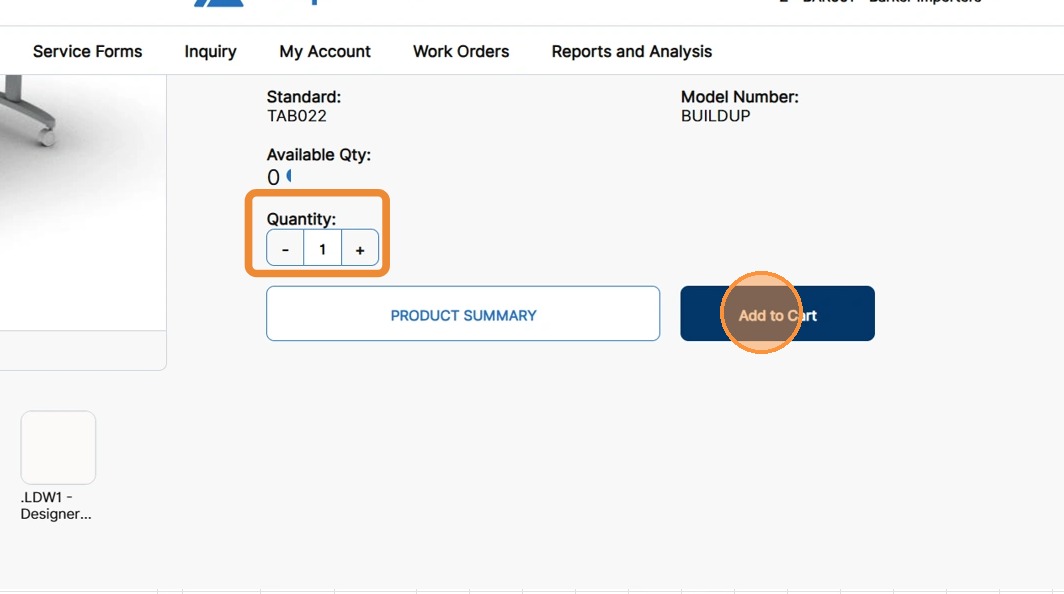
A success message displays, showing the specified product has been added to your cart.