
How to Search for a Location
Once Building and Location Types are created, the final step in setting up Buildings is creating Locations. These are the physical locations where product may be installed or stored (depending on the Building Type). When this final step is complete, the Buildings are available for product to be received in for any Customers created in the SnapTracker database.
All the physical locations in a Building where product may be either installed or stored are found in the Location screen.
The Location screen enables you to manage the Locations across your SnapTracker site. Locations are set up once and accessible to all Customers on the site. The Location screen enables you to conduct a search through all existing Locations, based on the specified Building, to view details and last update dates. You may create, edit, or delete a Location as desired. Note: A Location can only be deleted when it is empty.
Before starting, make sure:
- You are logged into SnapTracker.
- You have access to the Setup – Location screen.
This post outlines how to conduct a search for Locations on your SnapTracker site.
1. In the header section, click Setup.
Note: Depending on your browser, you may need to click the View menu items icon to see Setup.
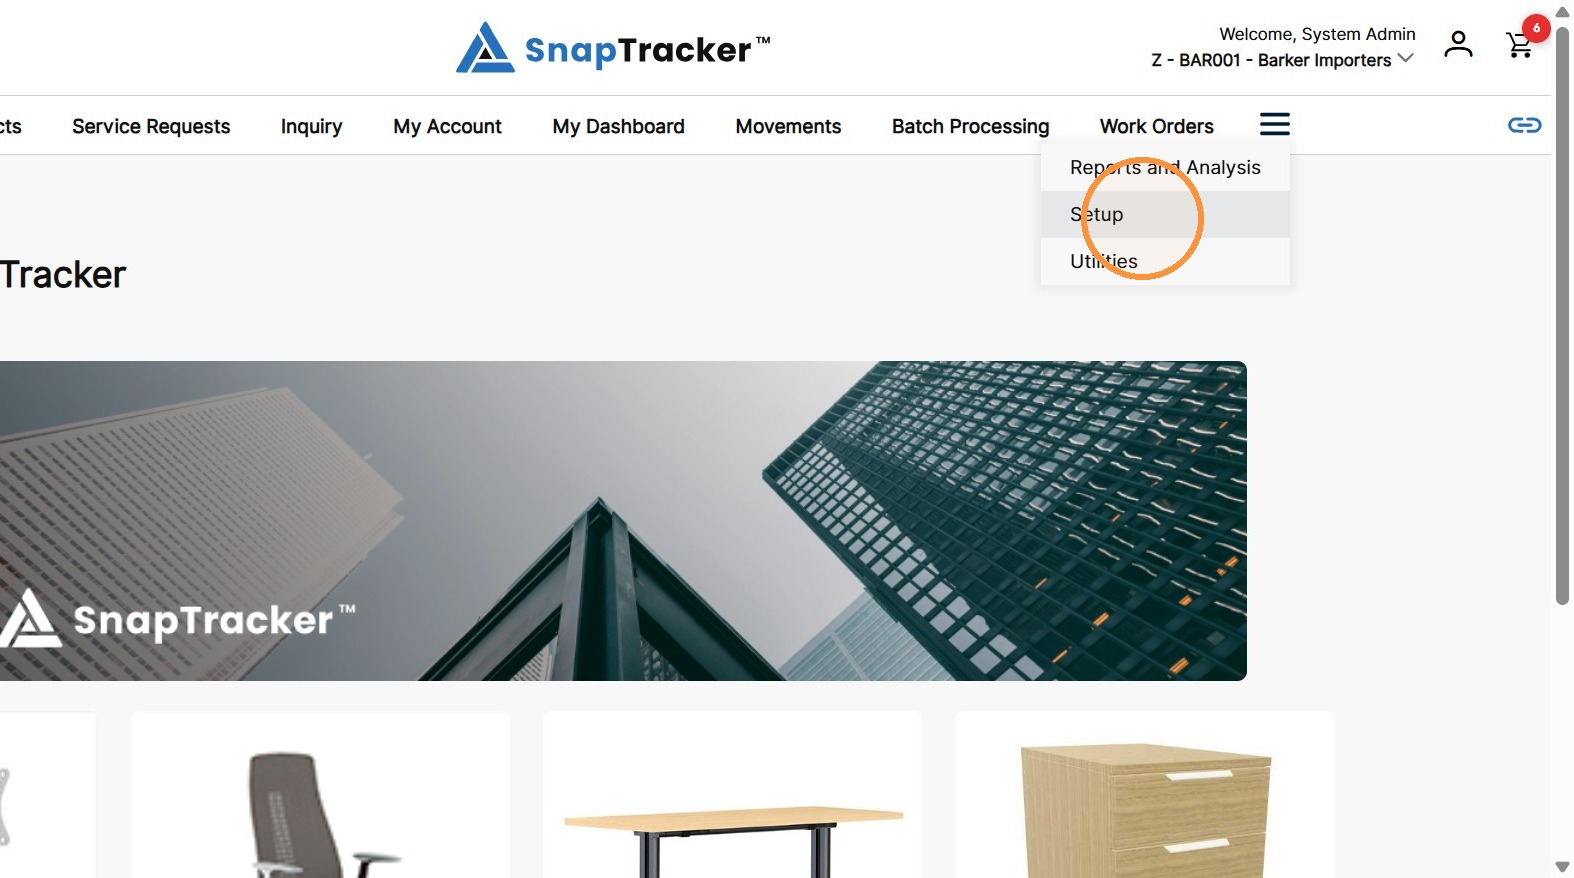
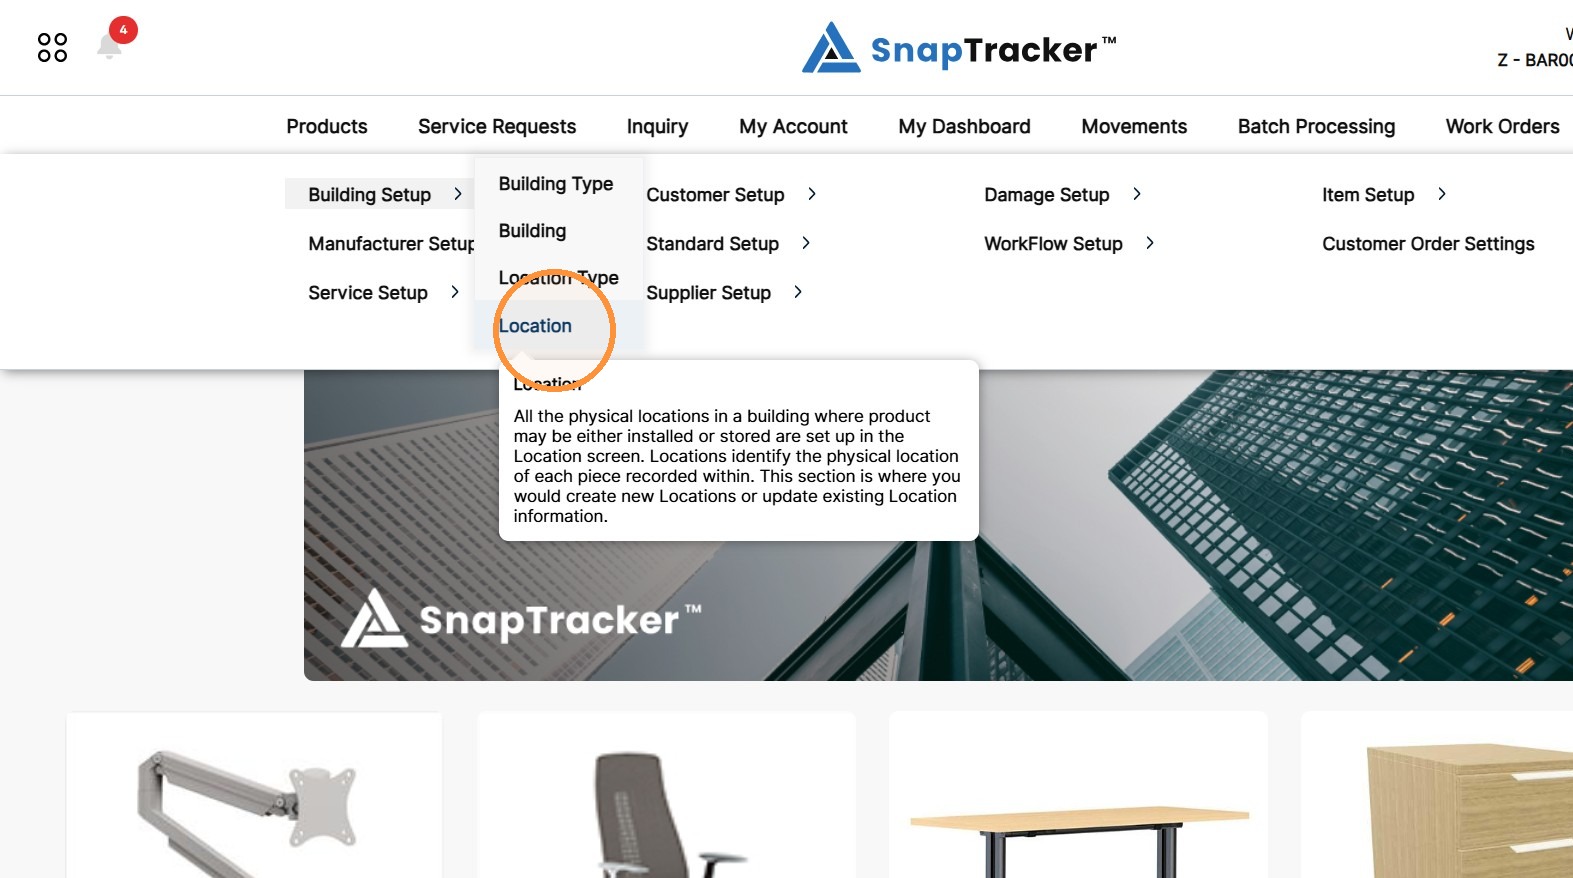
2. Click the arrow beside Building Setup, then click Location.
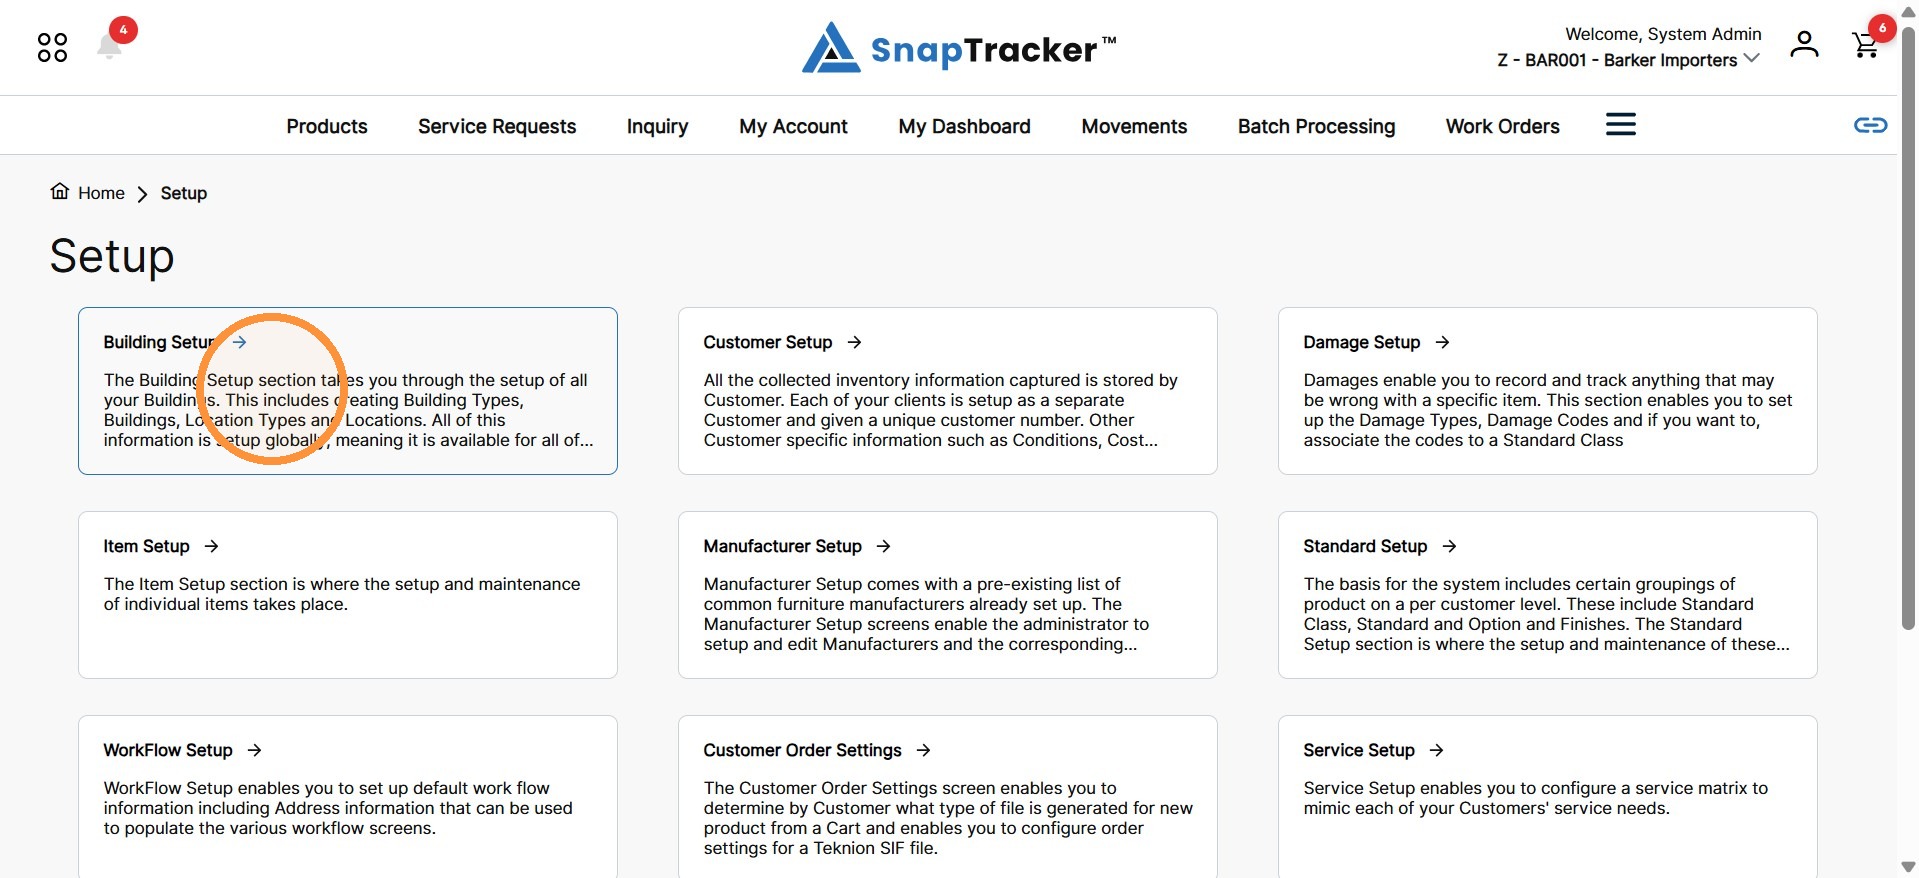
Another way to access the Location screen is to navigate to the Setup main screen.
From here, select Building Setup.
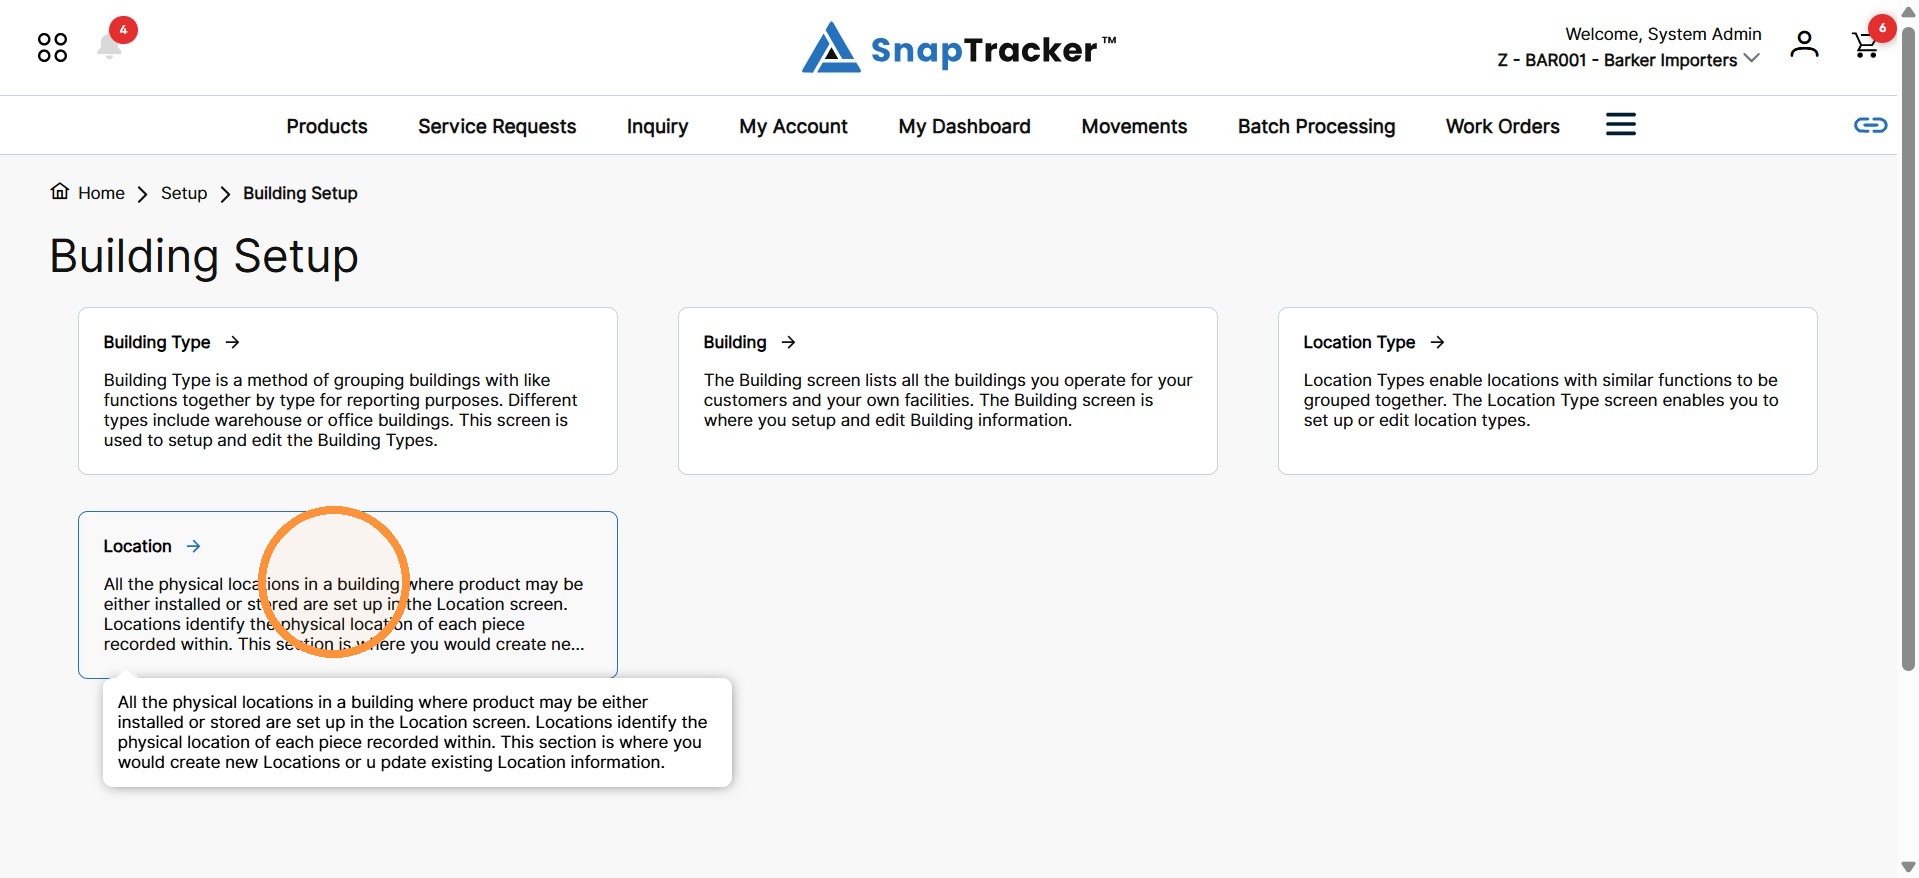
The Building Setup screen displays.
From here, select Location.
The Location screen displays.
Note: By default, no results display.
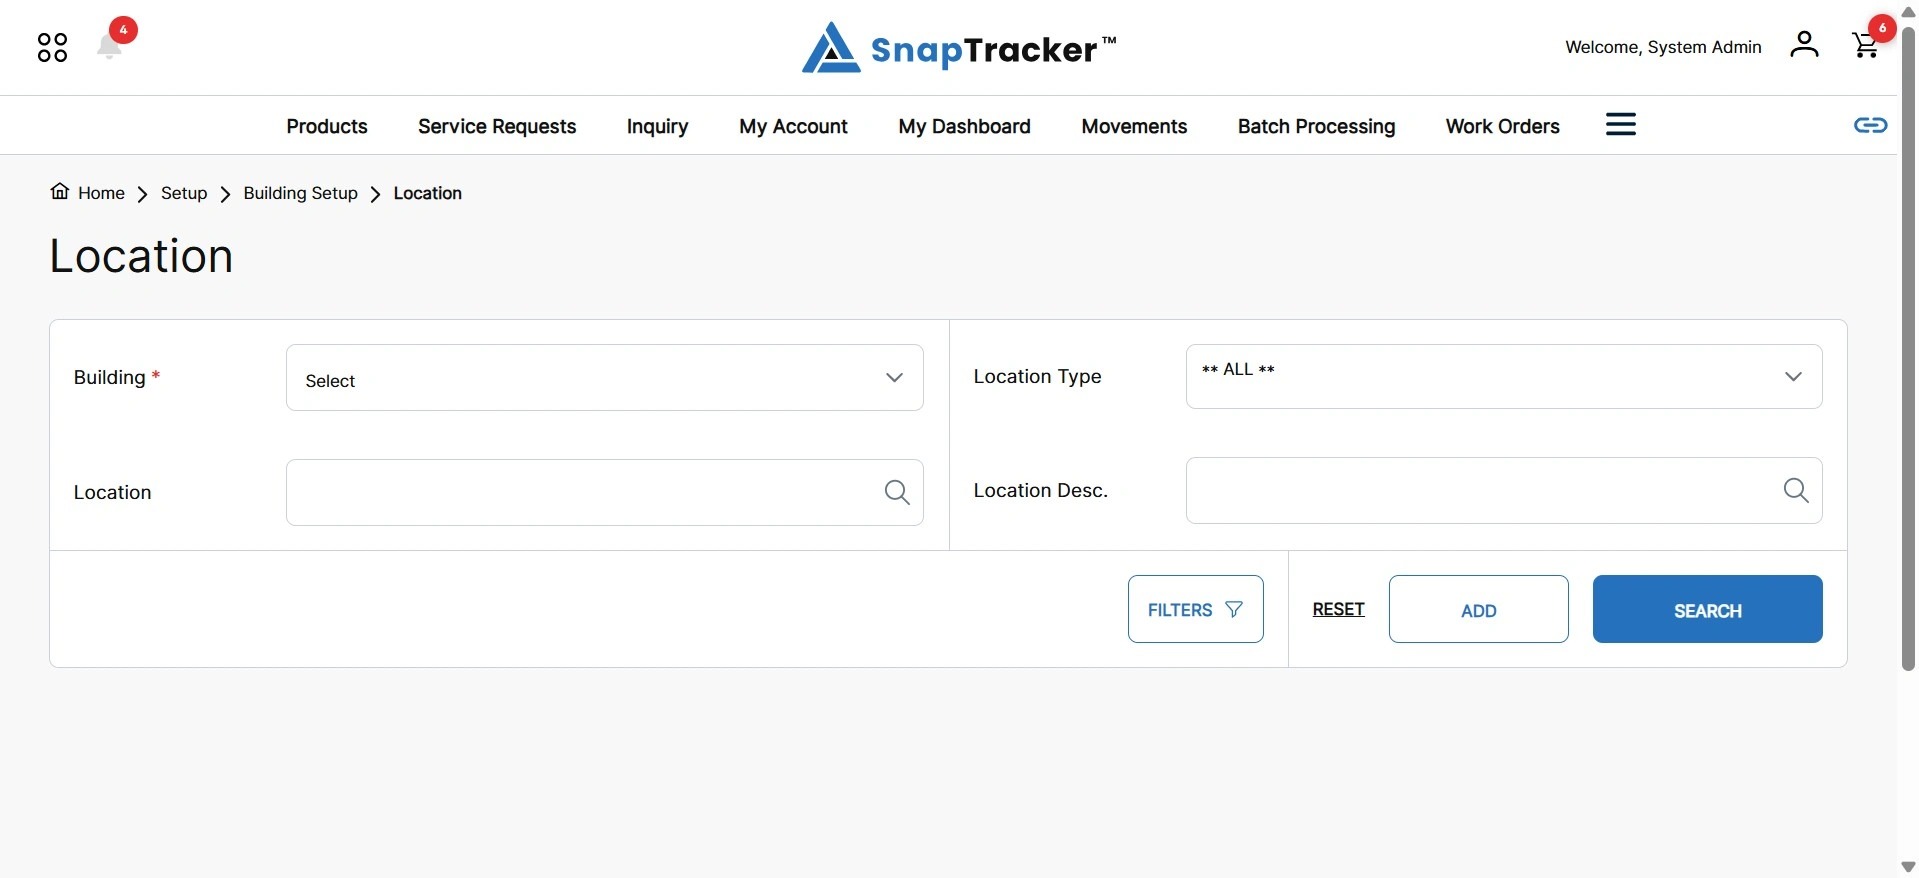
To conduct a search for Locations, you can search by:
- Building.
- Location Type.
- Location.
- Location Description.
Note: The Building field is required to return any Location results.
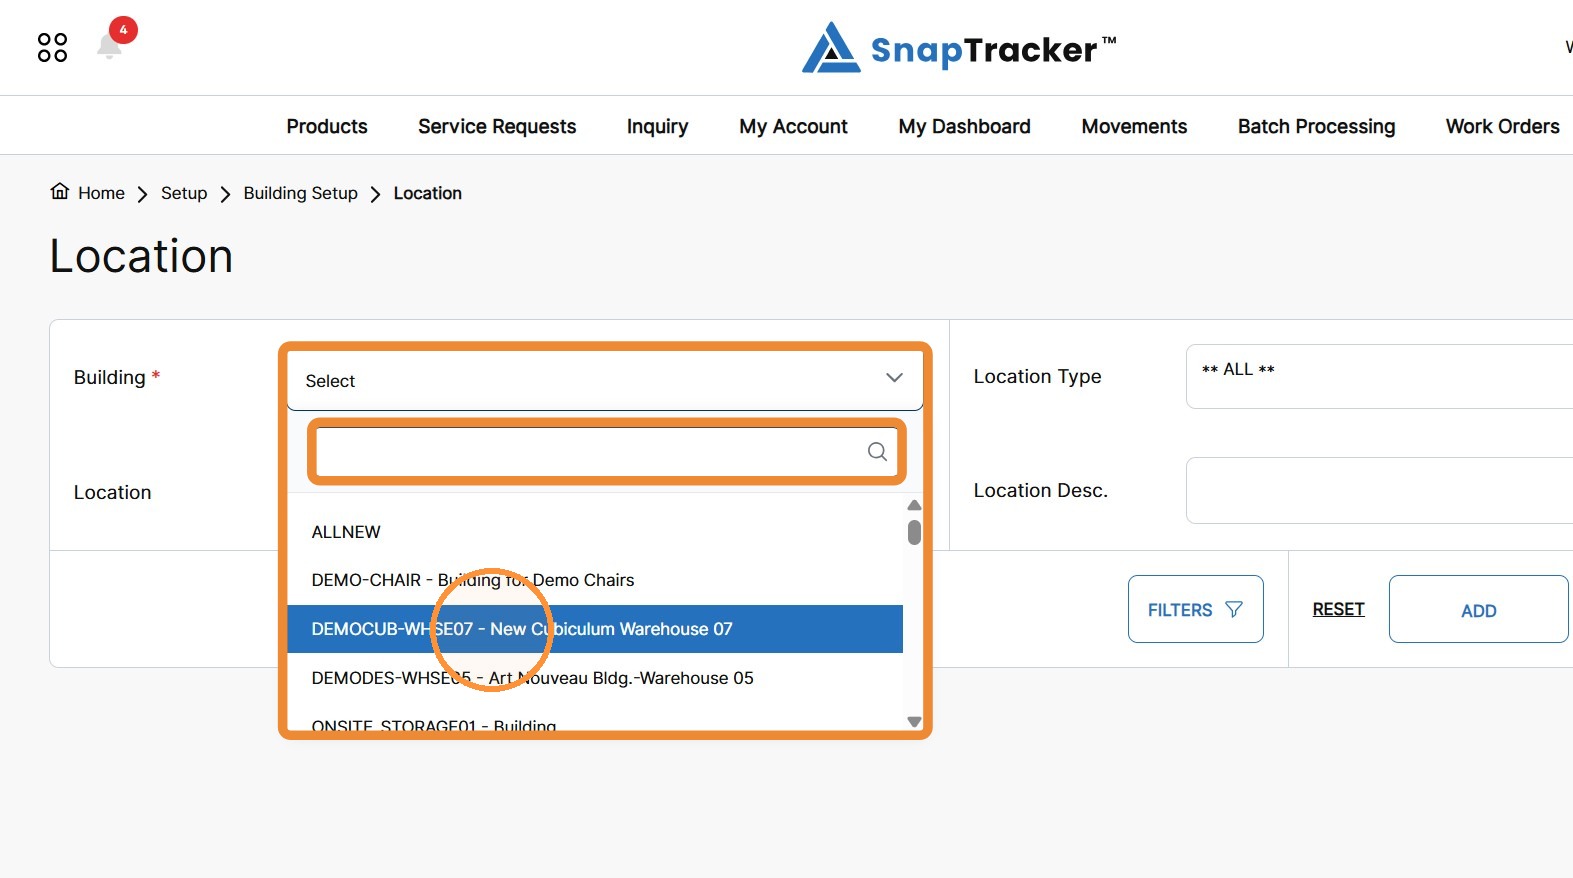
3. To conduct a search by Building, click the Building dropdown and select the desired Building .
Alternatively, you can enter the desired Building in the search input to quickly find the matching Building.
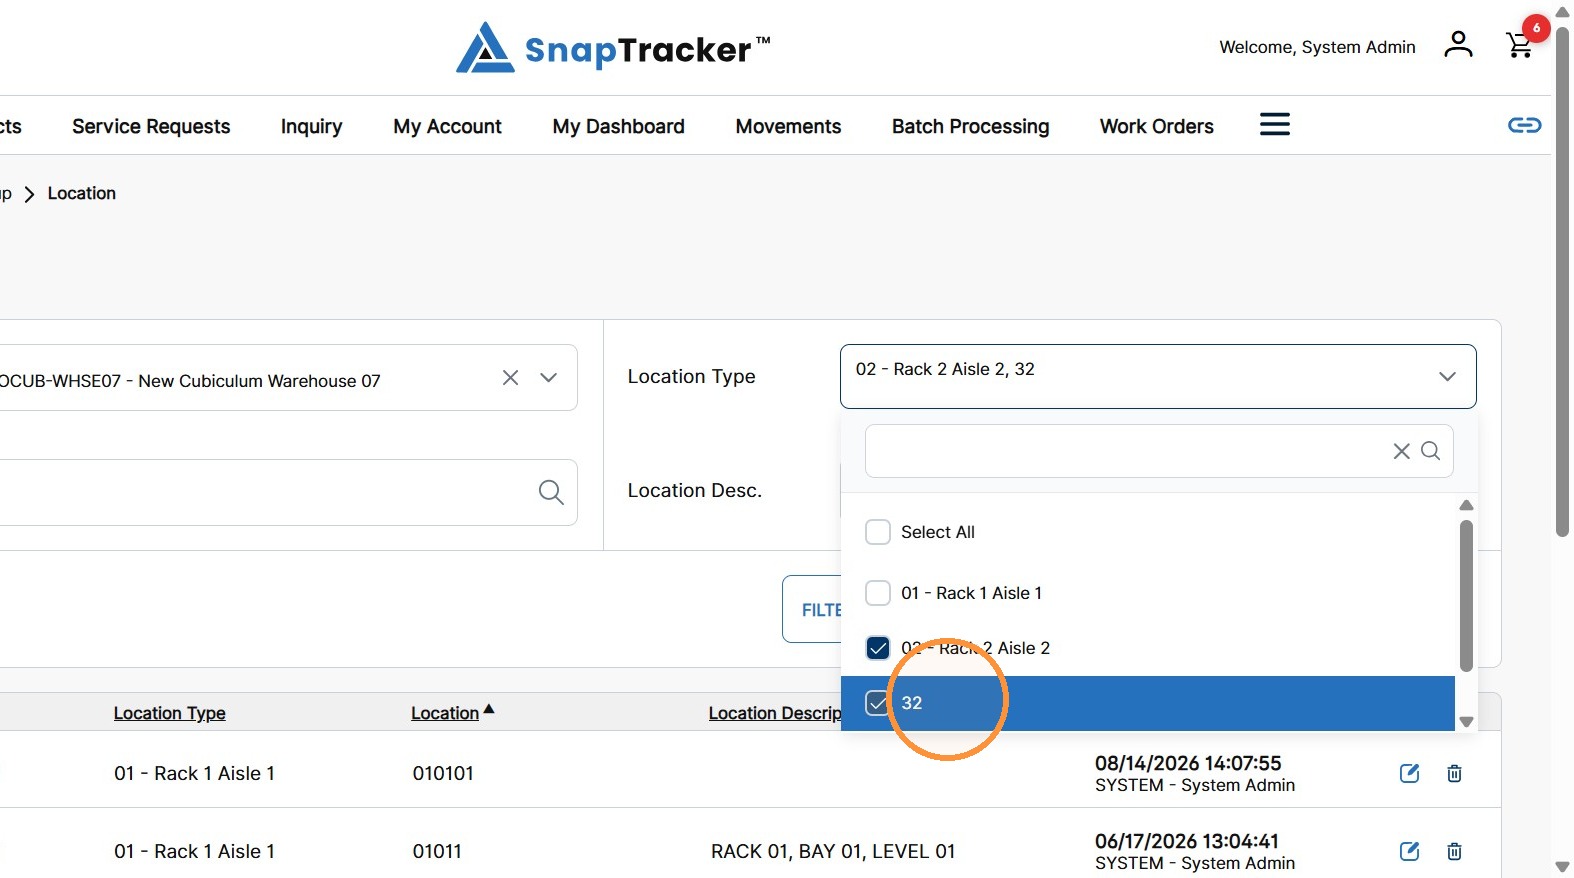
4. To conduct a search by Location Type, click the Location Type dropdown and select the desired Location Type(s).
Note: The Location Types reflect the selected Building. You can also select multiple Location Types.
5. To conduct a search by Location or Location Description, in the Location or Location Description field, respectively, enter the desired value.
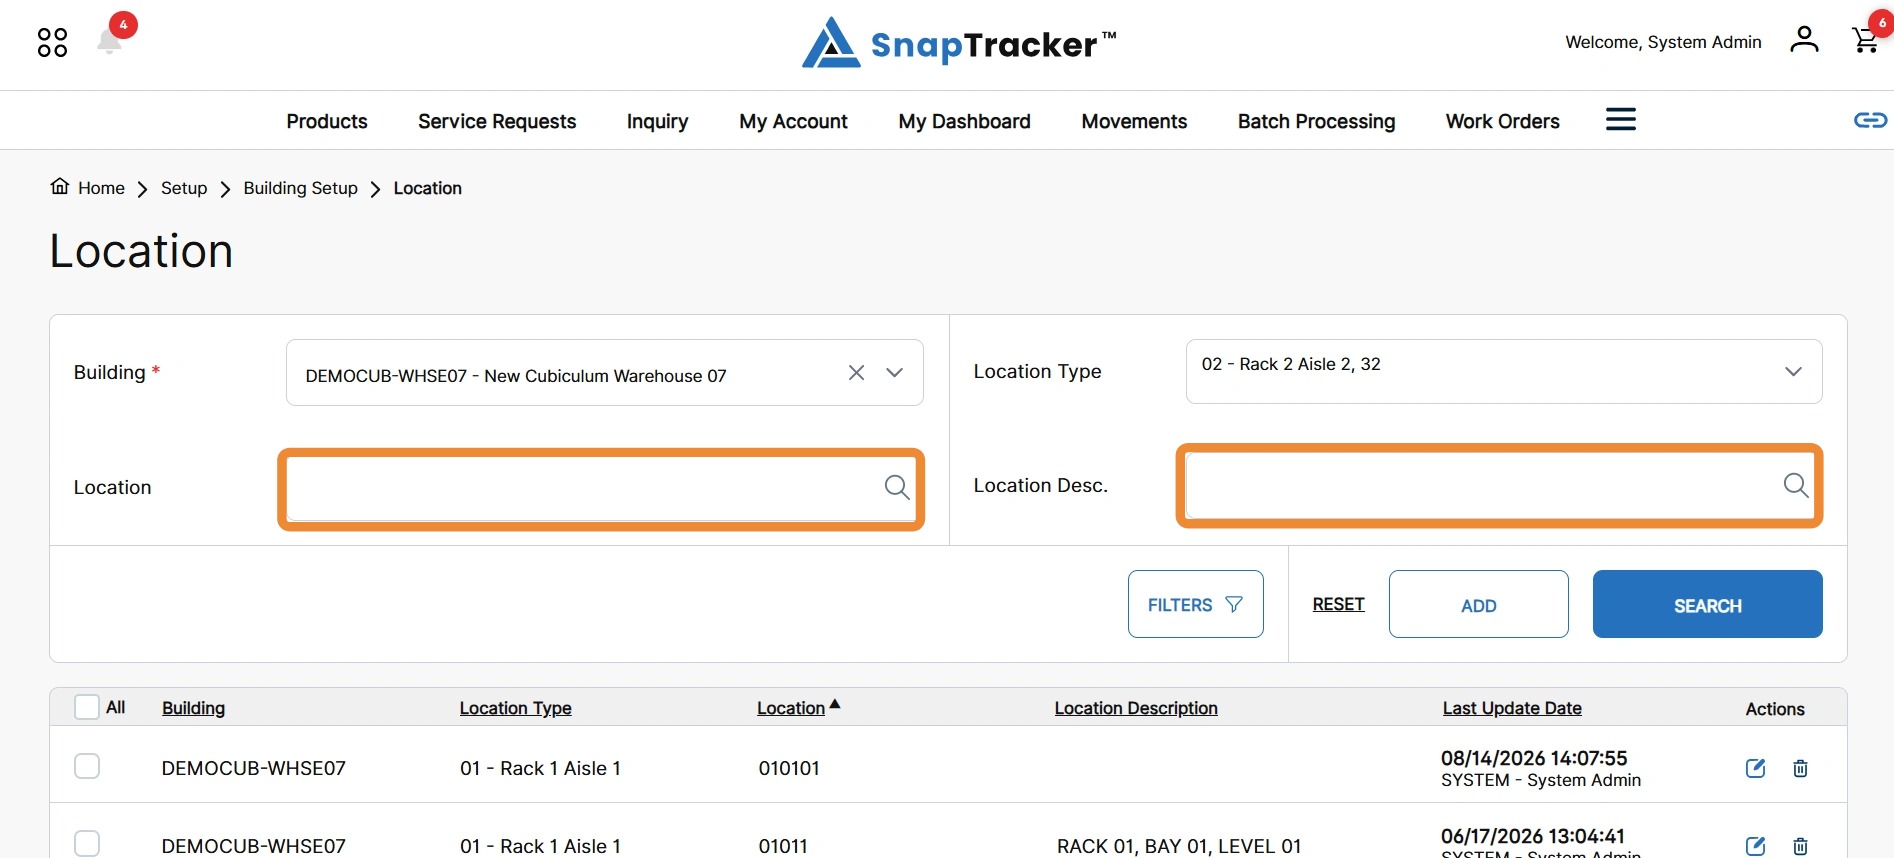
For the Location field, an auto-populated suggestions list displays.
Note: To quickly clear the input field, click X.
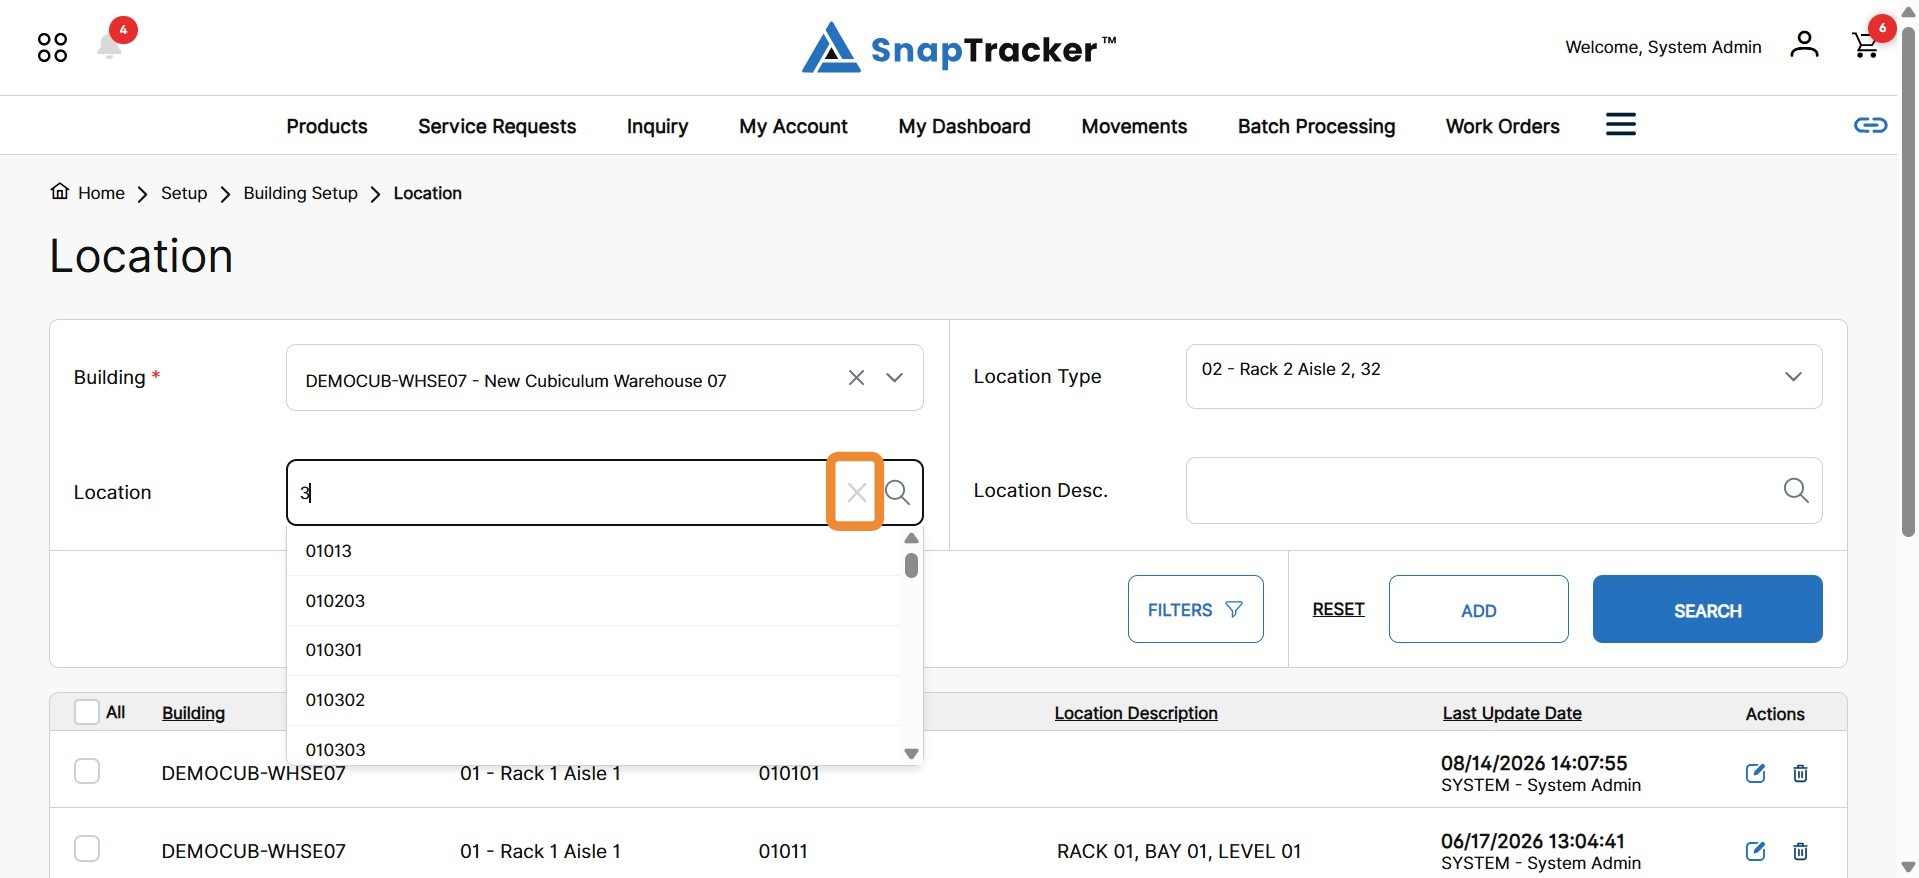
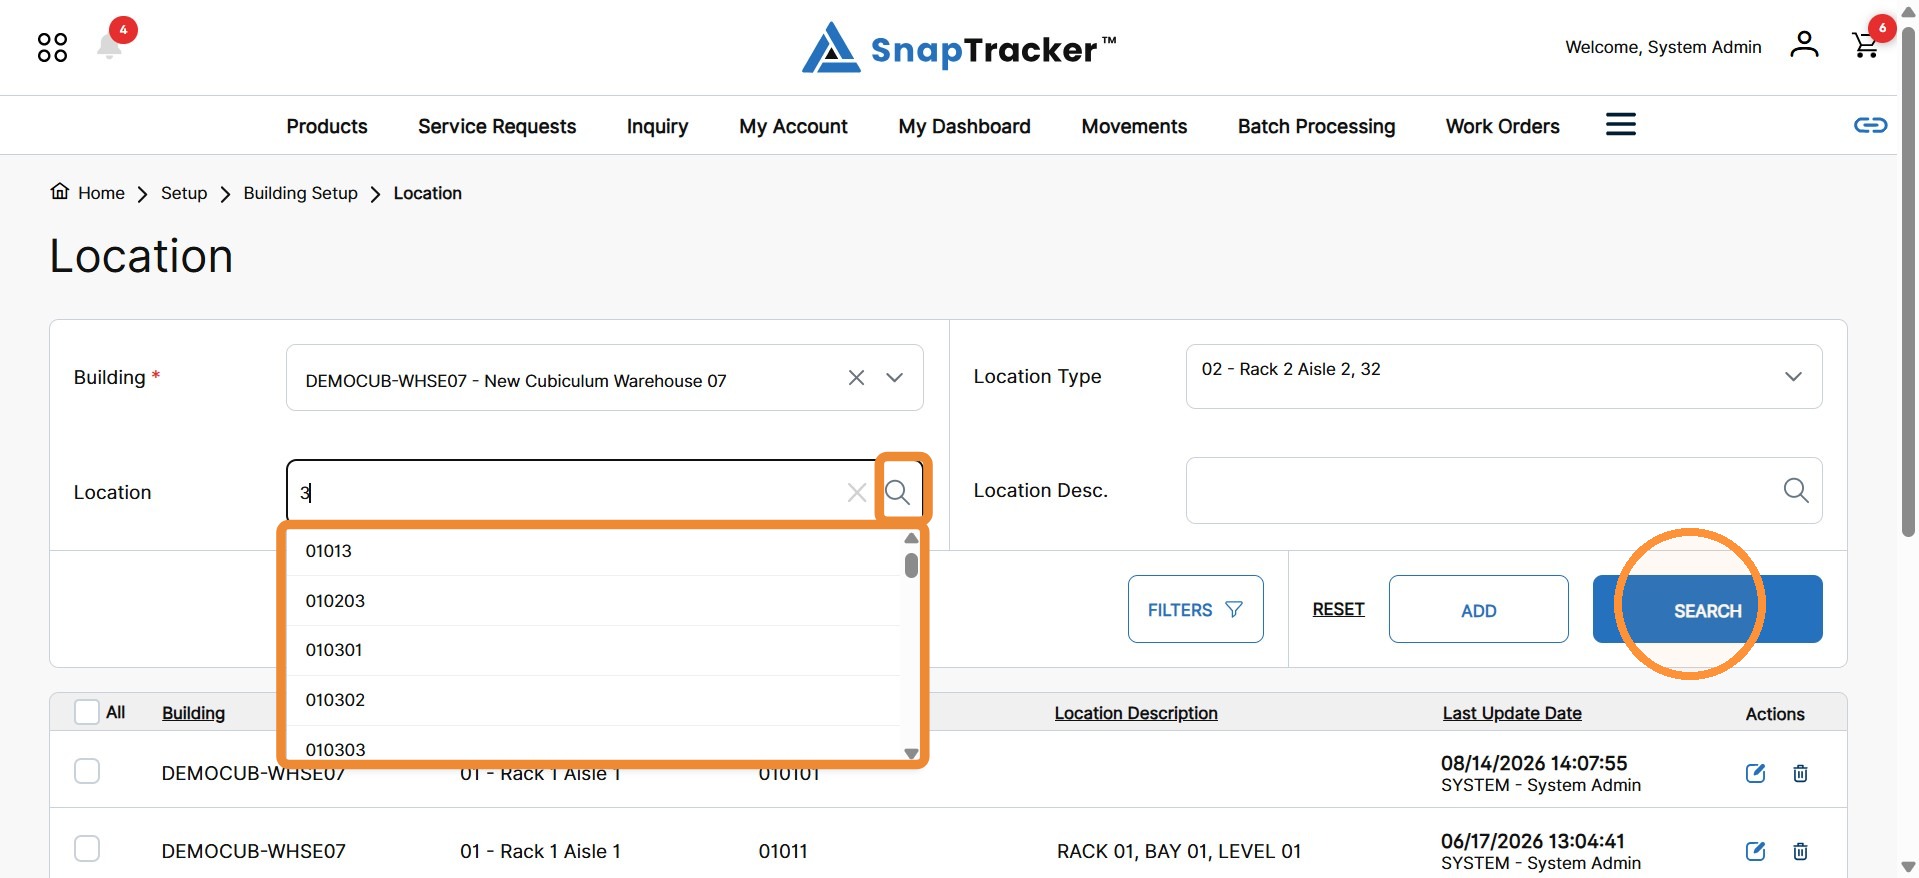
6. Click a specific suggested Location, or click Search.
Note: You may also click the magnifying icon in the search field to conduct the search.
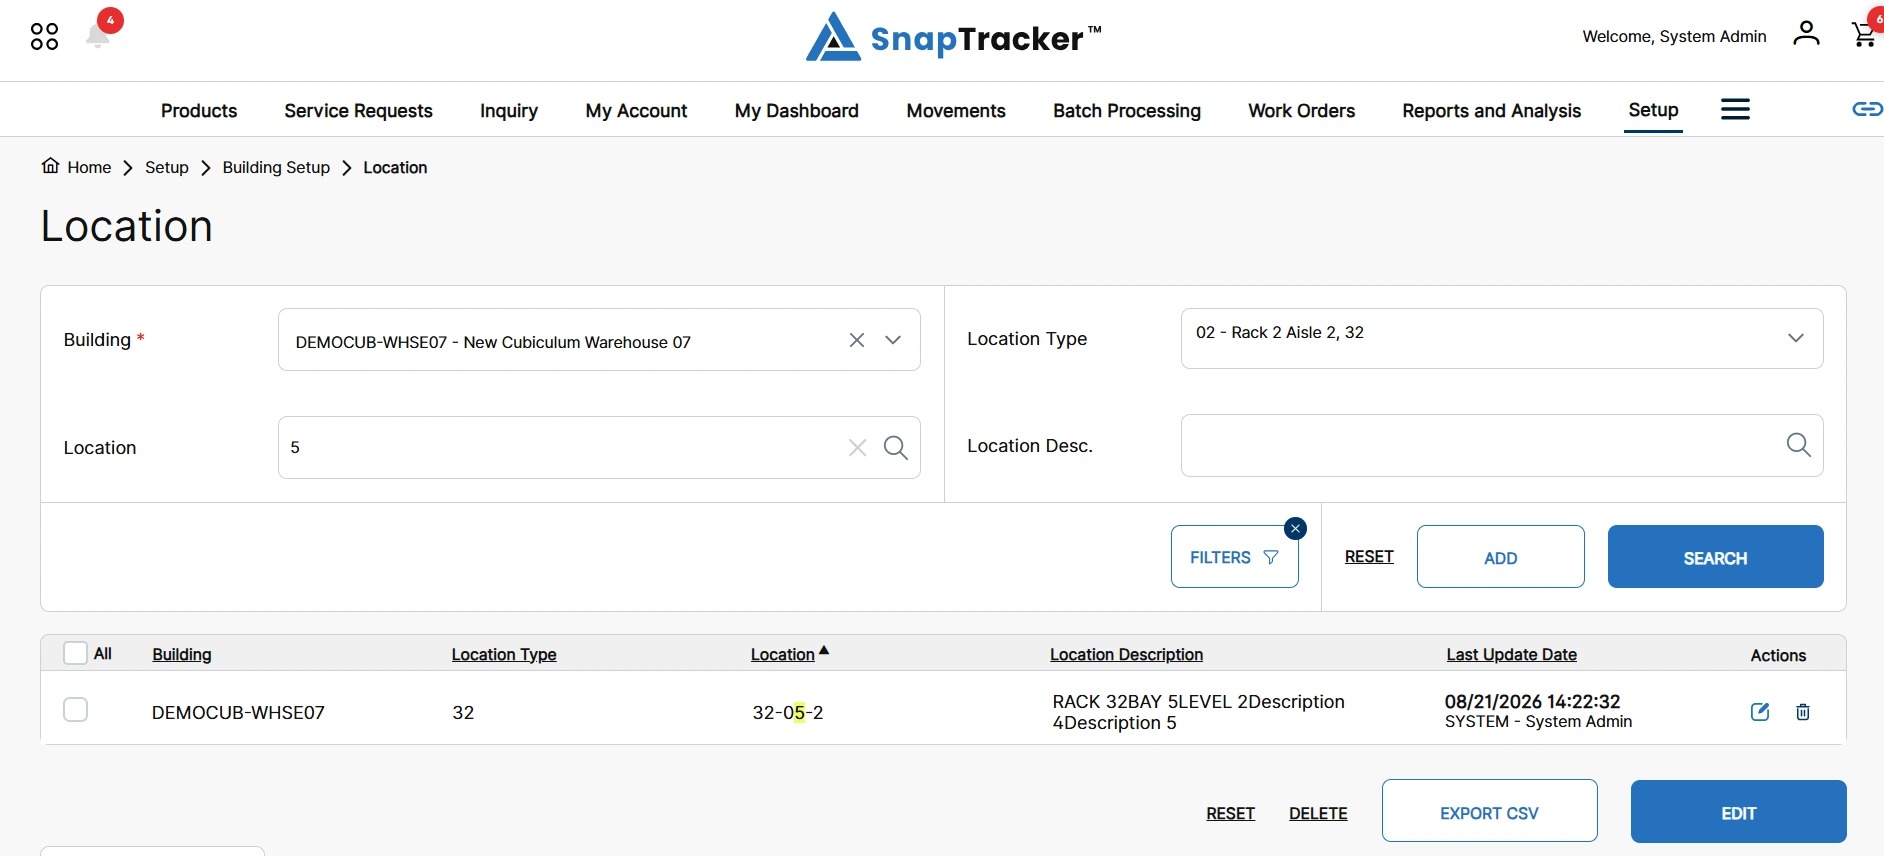
The updated results display, with your search term highlighted in the matching results.
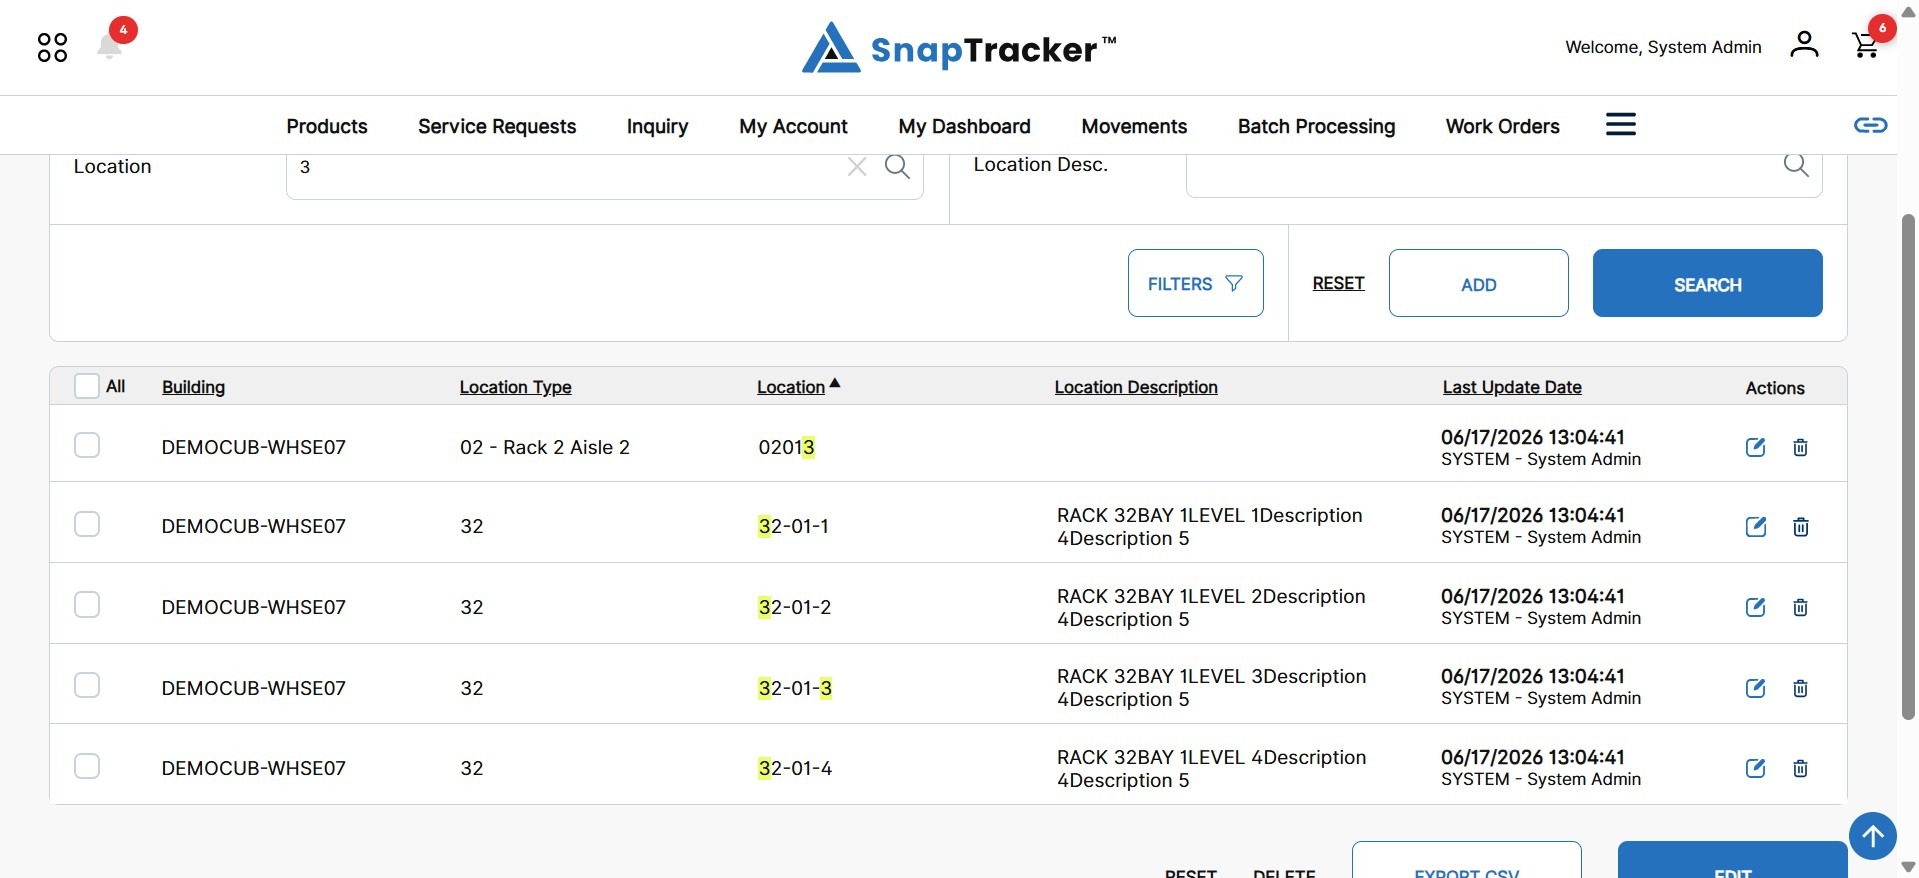
Observe the fields in the results:
- All – Select the checkbox of the desired Location(s), or select All, to complete a bulk action.
- Building – The Building ID.
- Location Type – The Location Type associated with the Location.
- Location – The Location ID.
- Location Description – The description of the Location.
- Last Update Date – The last date any changes were made to the Location and the User that completed the update.
- Actions – Available actions for an existing Location. The options are Edit or Delete.
Note: The fields that display for each Location are not all fields tracked. More details can be seen in Add/Edit for a Location.
7. To sort the results by a particular field, click the hyperlinked column header.
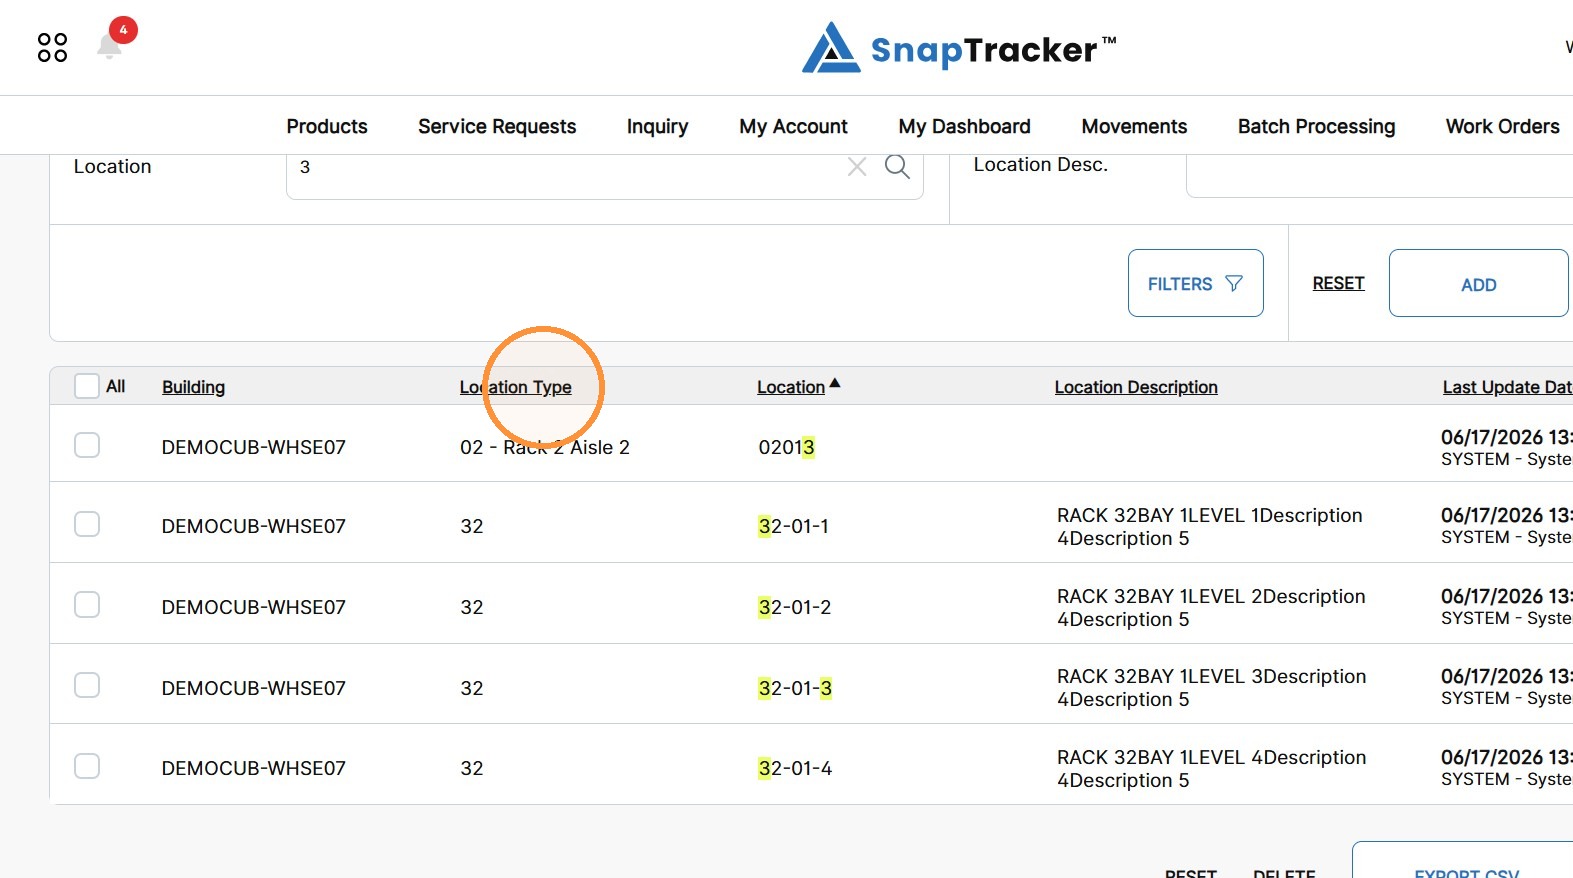
The results update and sort by the selected column, in ascending or descending order as indicated by the respective arrow icon.
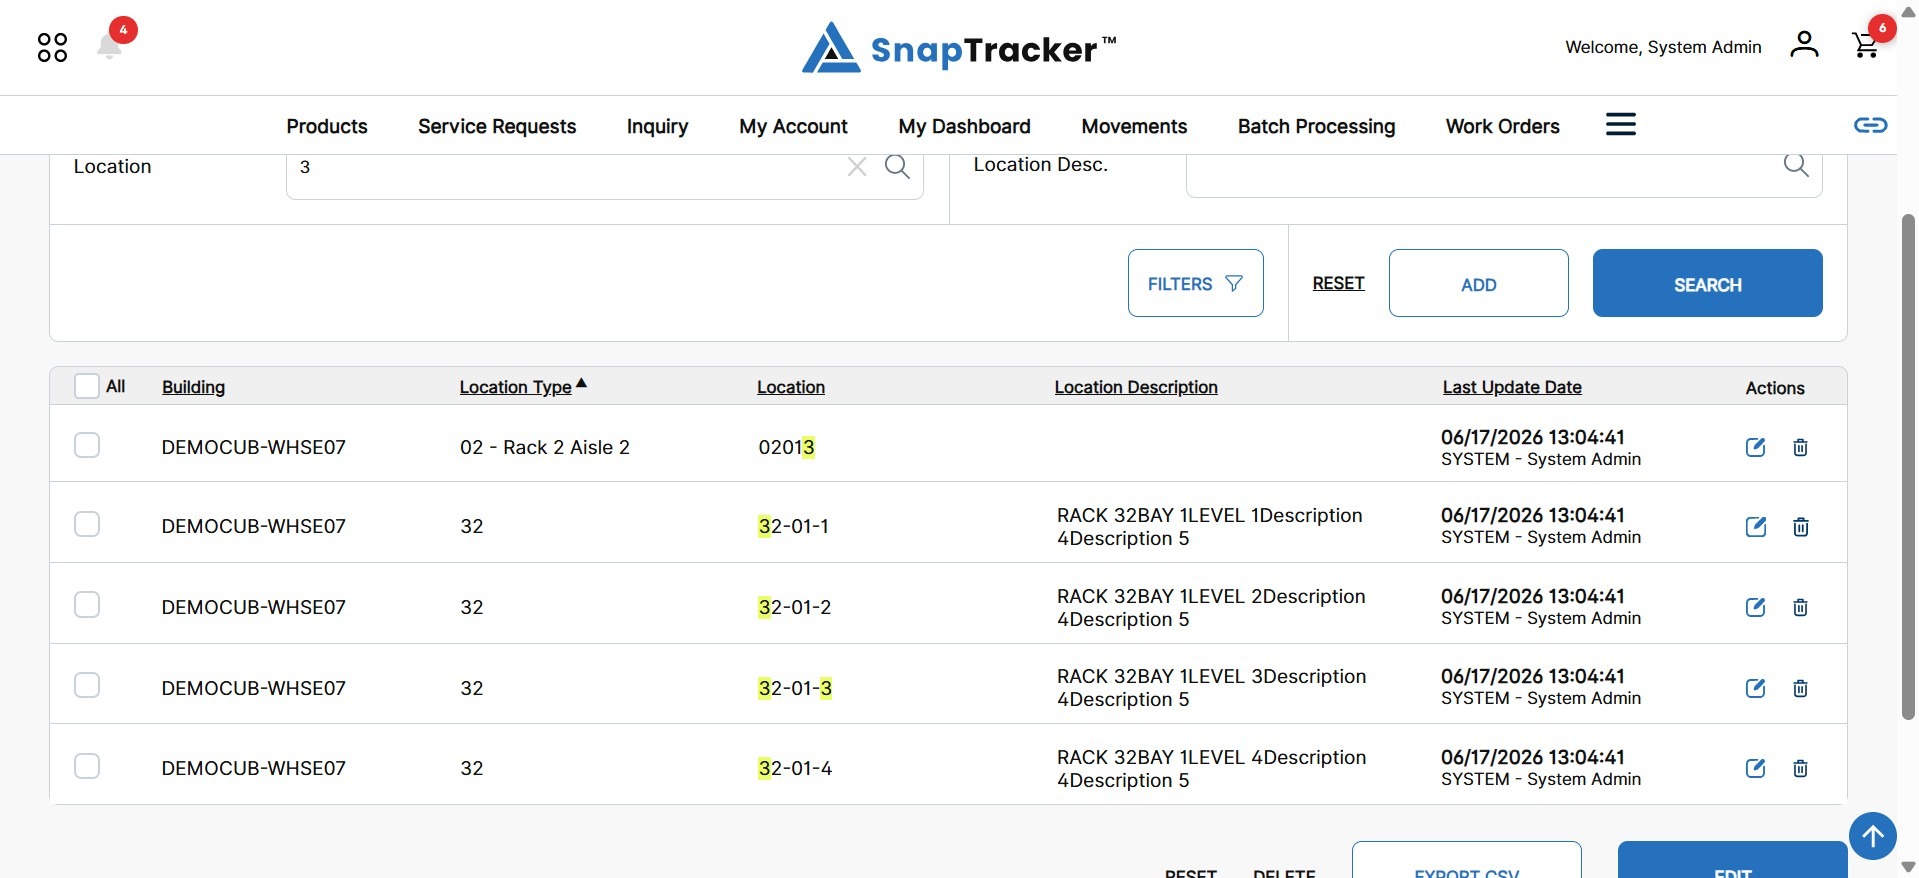
8. To apply additional filters, click the Filters button.
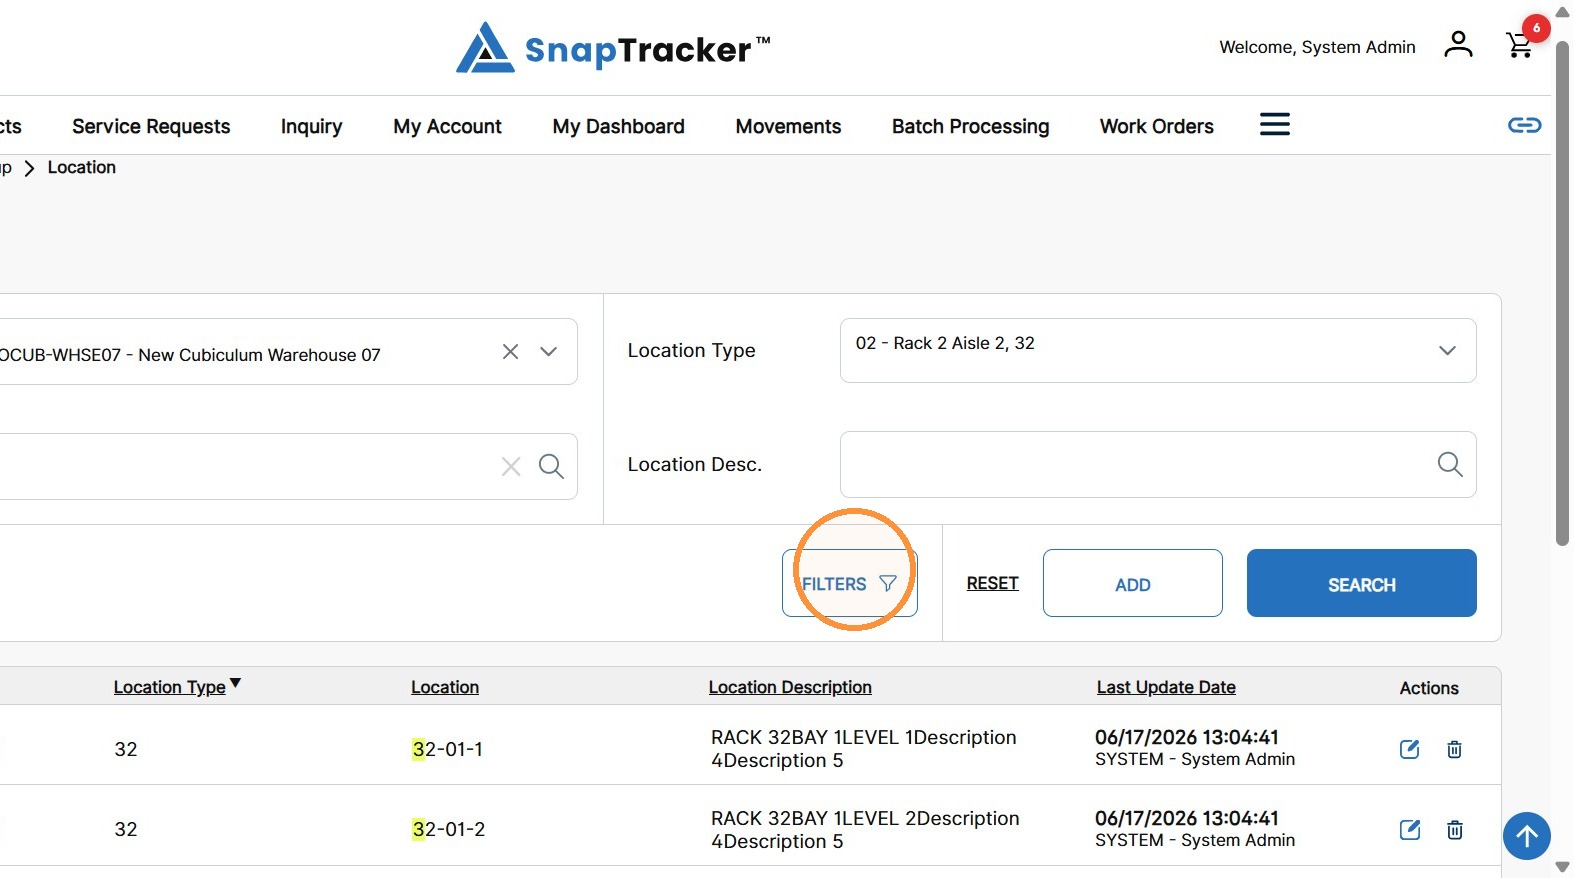
The Filters side panel displays.
Note: The image below is split in 3 in order to show all options.
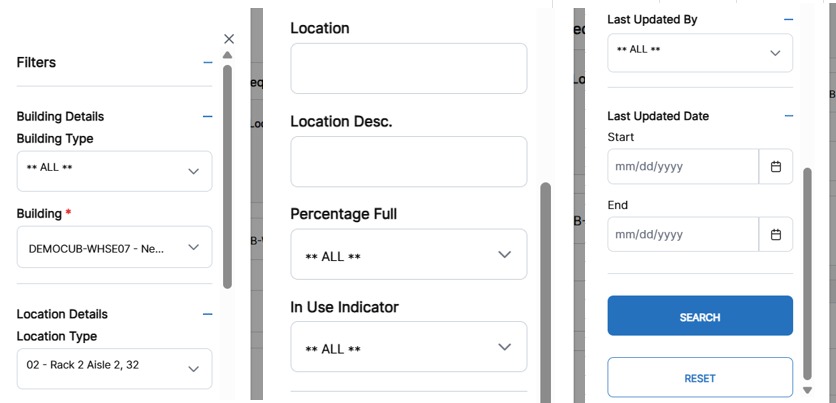
Observe the filter options, which are split into 3 sections:
Building Details:
- Building Type – Select the Building Type the desired Building is associated with.
- Building – The Building the desired Location is created in. Note: The Building dropdown updates based on the Building Type selection.
Location Details:
- Location Type – Select the Location Type the desired Location is associated with. Note: The Location Type dropdown updates based on the Building selection.
- Location – Enter the desired Location.
- Location Description – Ener the desired Location Description.
- Percentage Full – Select ALL, or a specific percentage full to filter the search.
- In Use Indicator – Select the status of ALL, Yes, or No options for the In Use Indicator.
Last Update:
- Last Update By – Select one, multiple, or all Users who have made the last update on a Location.
- Last Update Date – Select the date range for Location’s Last Update Dates.
9. Populate the desired filters and click Search.
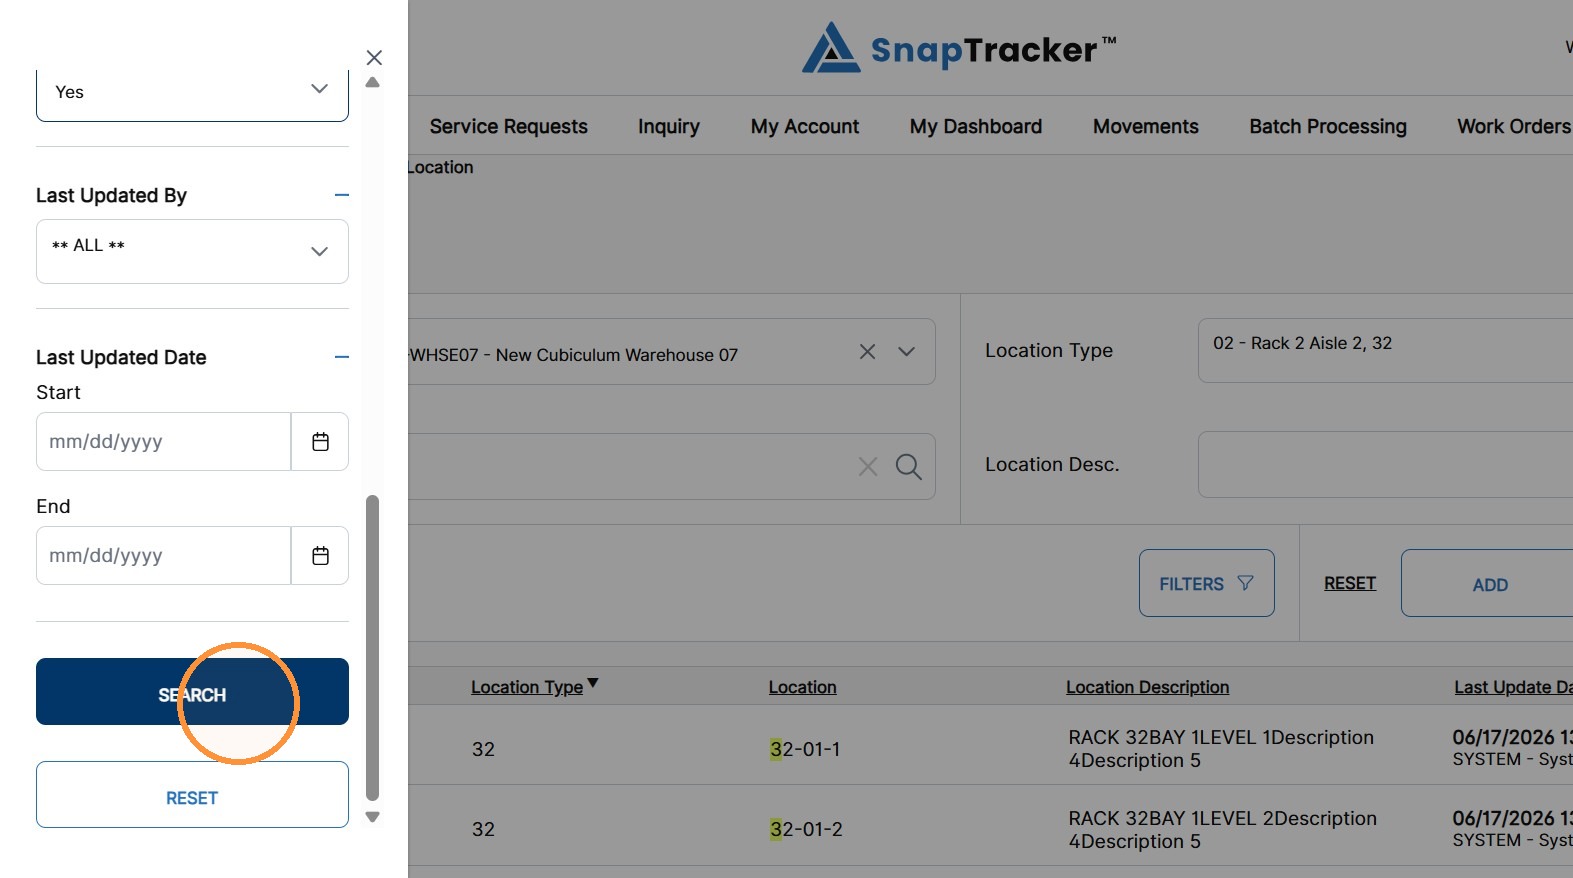
The filtered results display.
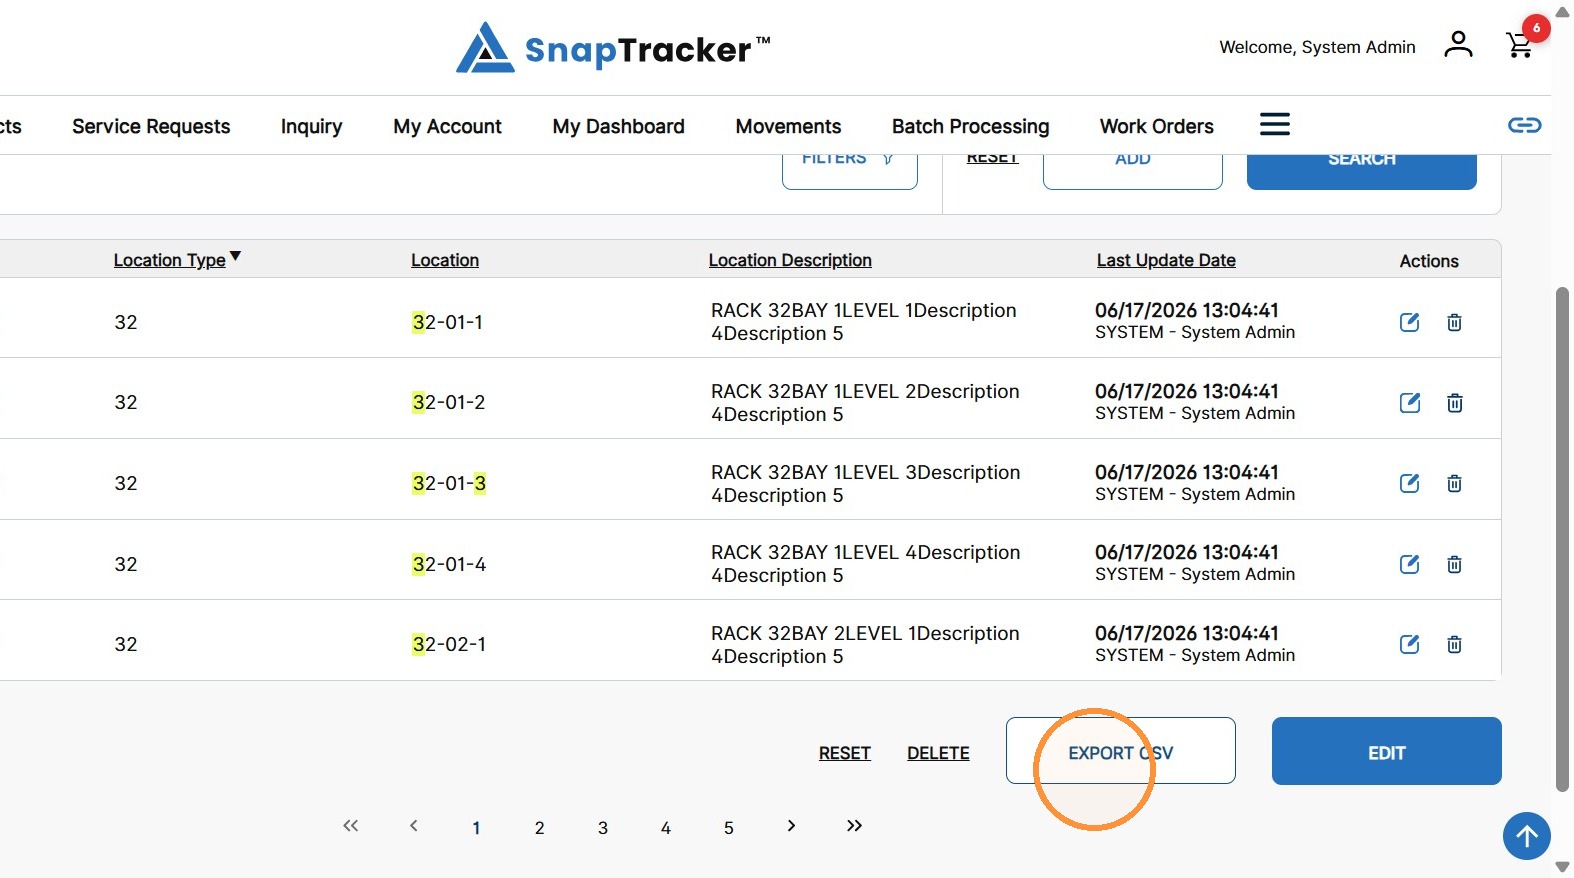
10. To export the Location results, click EXPORT CSV.
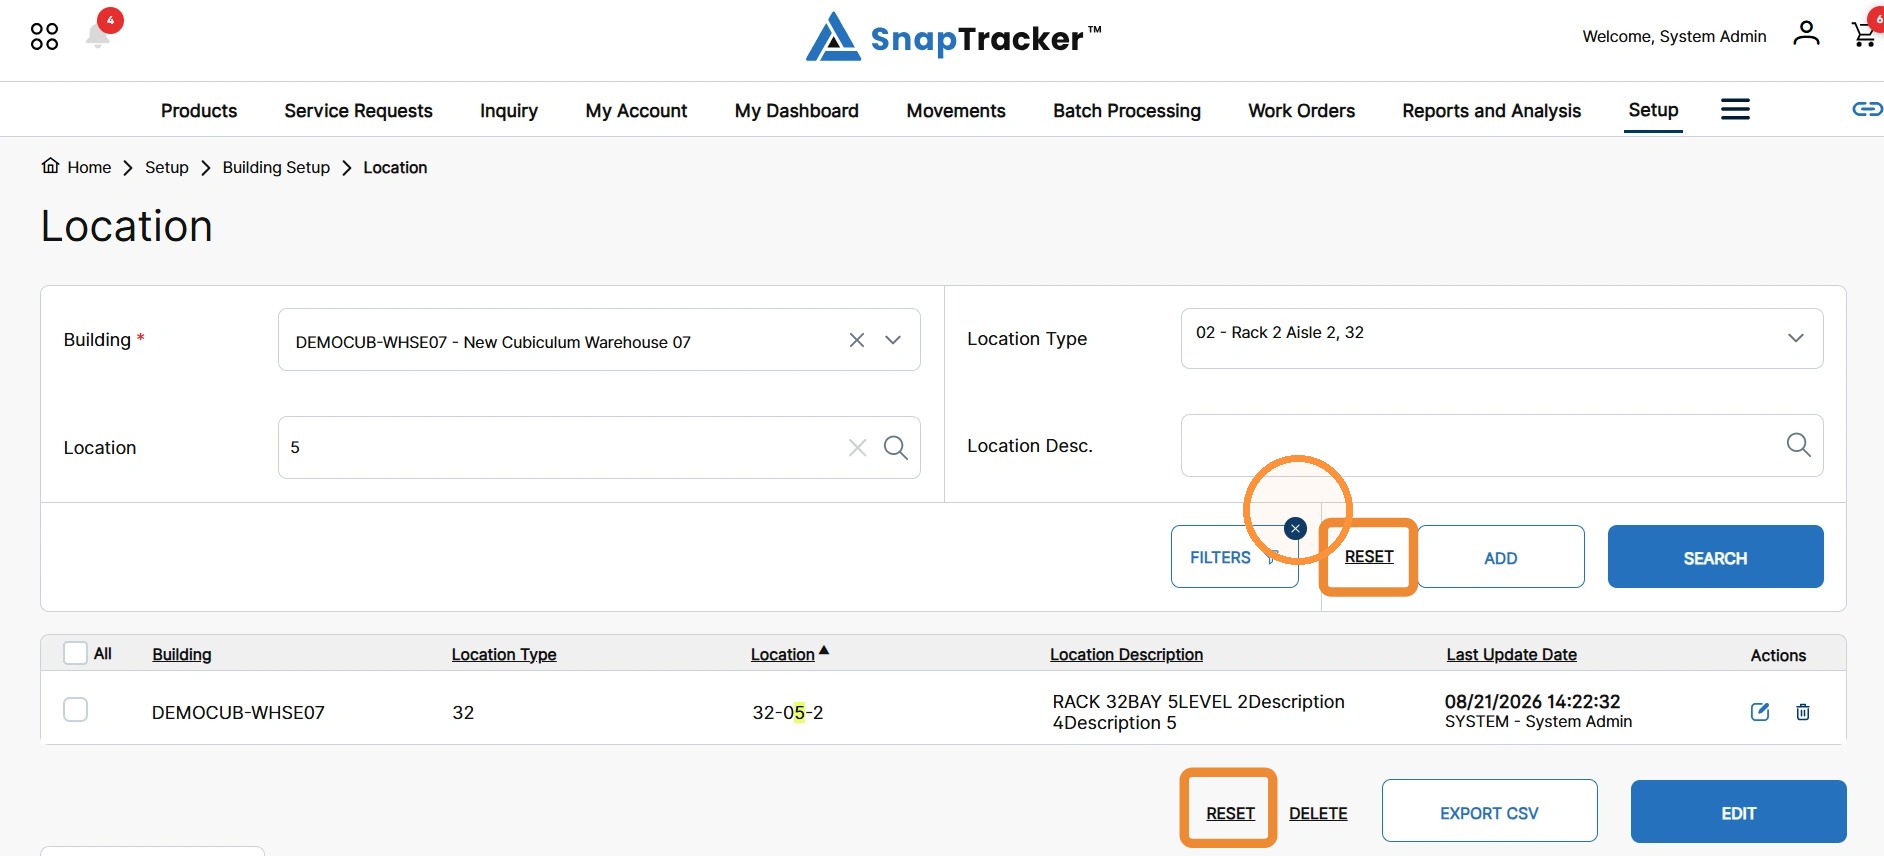
11. To reset all Filters and search criteria, click the X icon on the Filters button or Reset.
Note: All filter options and search fields on the main screen are reset at once, as the main screen options are also reflected in the filter.
For more information on how to add, edit, and delete a Location, see “How to Create, Edit, and Delete Locations“.
For information on the bulk creation and editing of Locations see “How to Use File Upload“.