
How to View All Carts
In SnapTracker, users can have multiple carts across different customers. The All Carts screen gives you a complete, centralized view of every cart on the site.
Before starting, make sure:
- You are logged into SnapTracker.
- You have shopping enabled.
- You have access to a minimum of one customer with shopping enabled.
- There are carts created by other users.
This post outlines the process of accessing and viewing all carts in your SnapTracker site, across multiple users and customers.
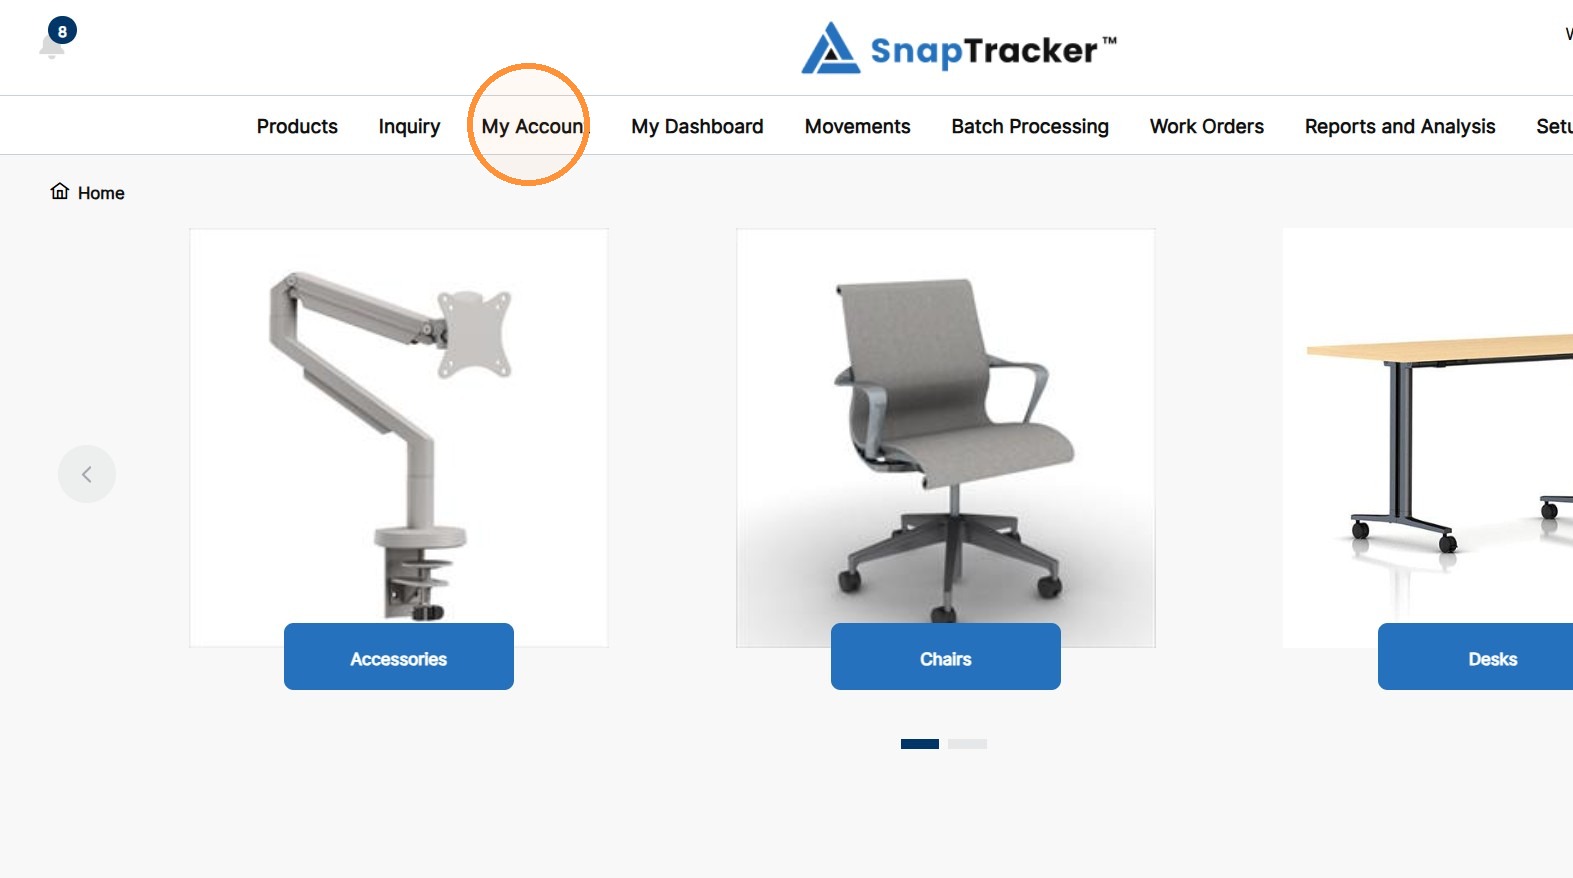
1. In the header section, click My Account.
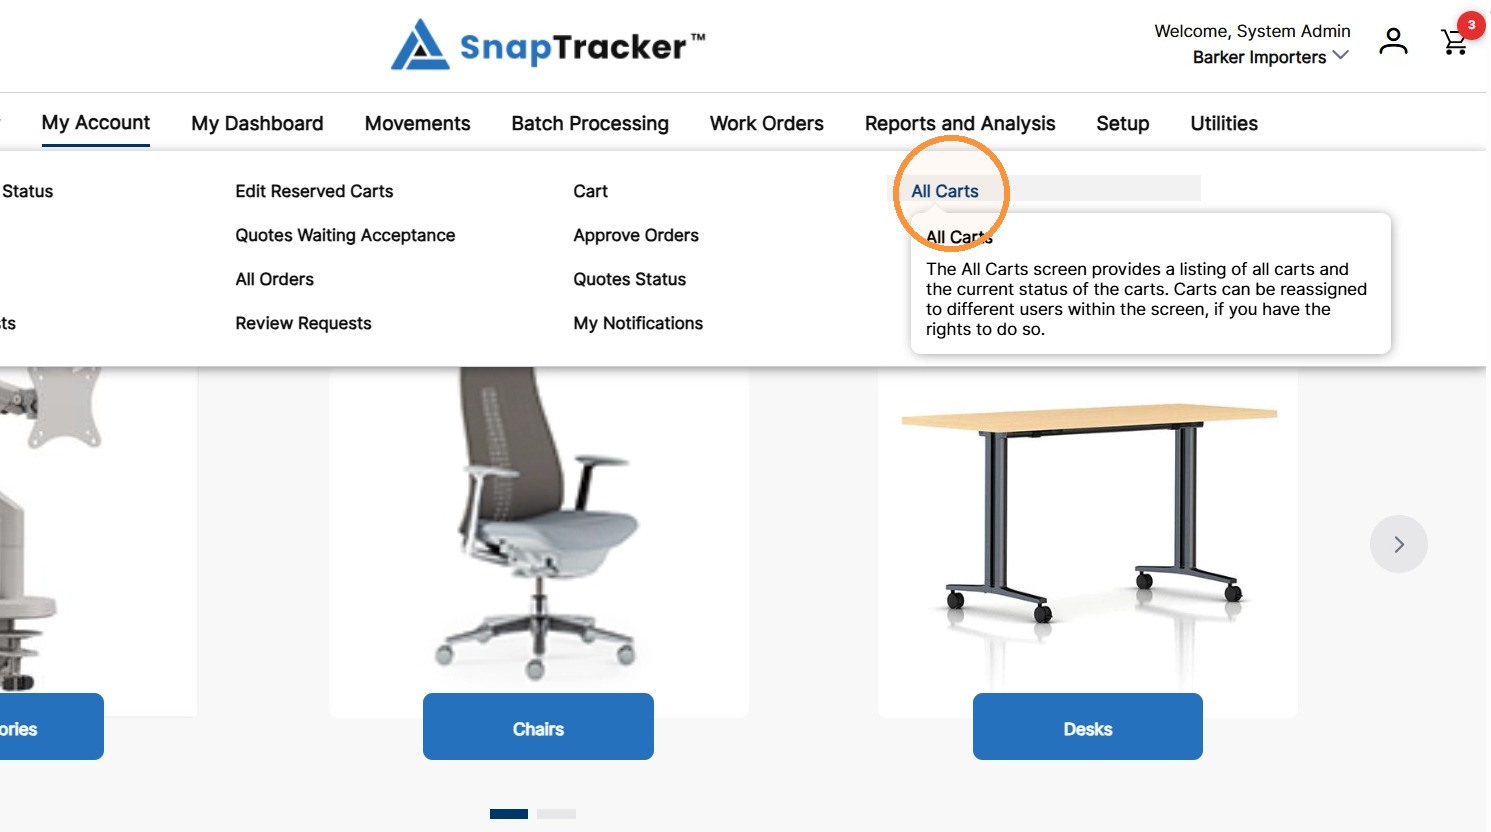
2. Click All Carts.
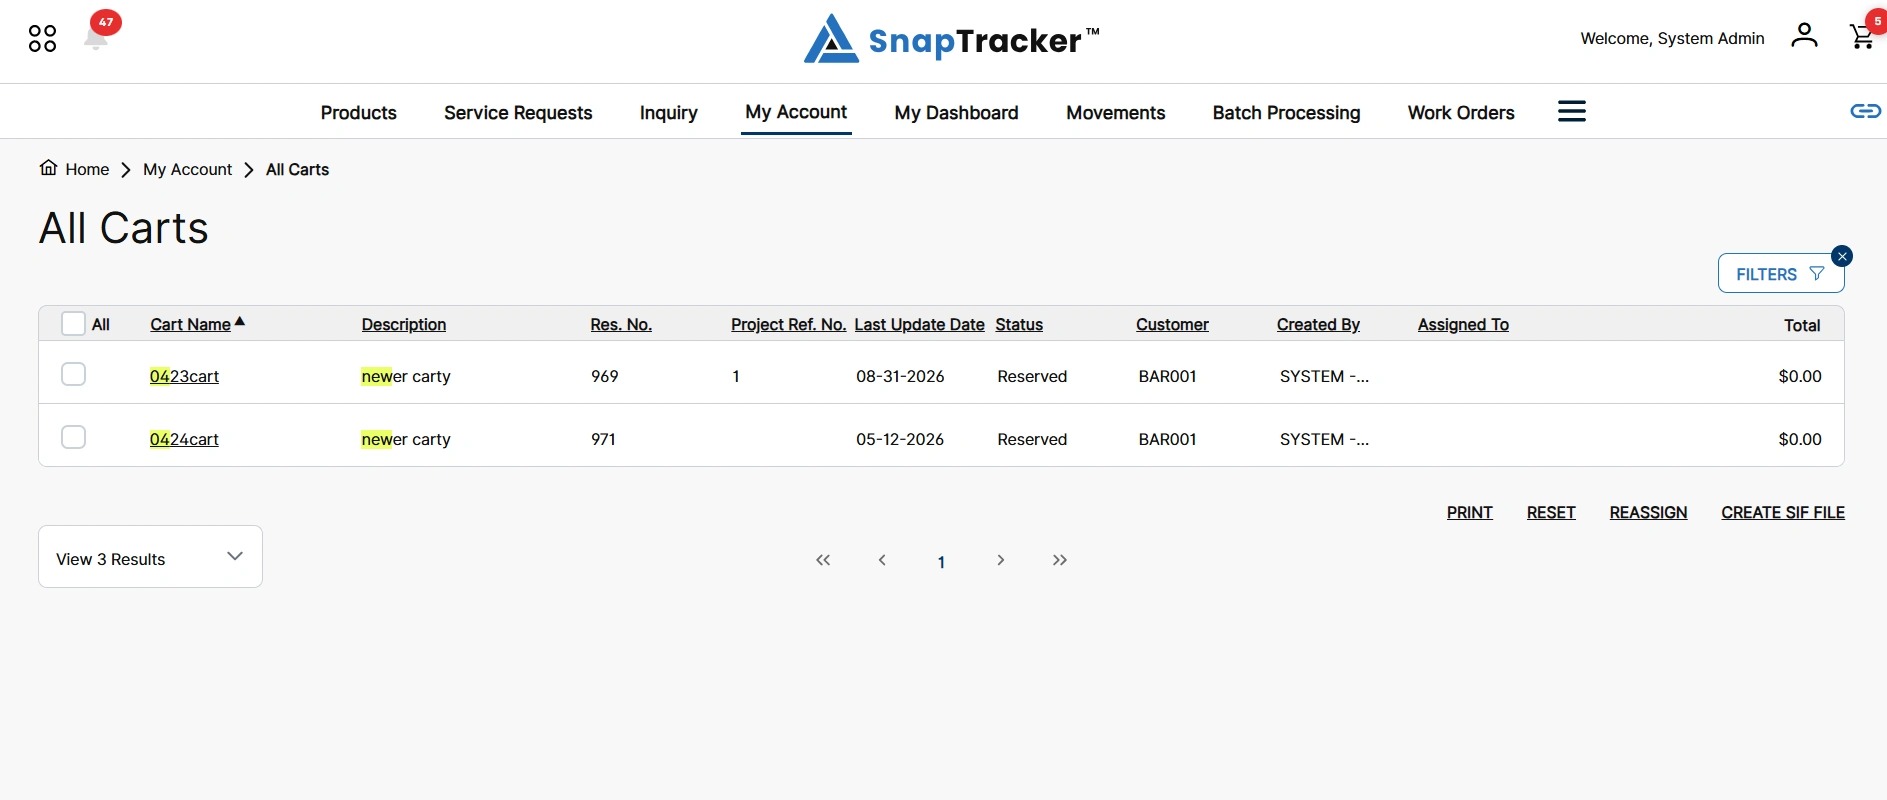
The All Carts screen displays.
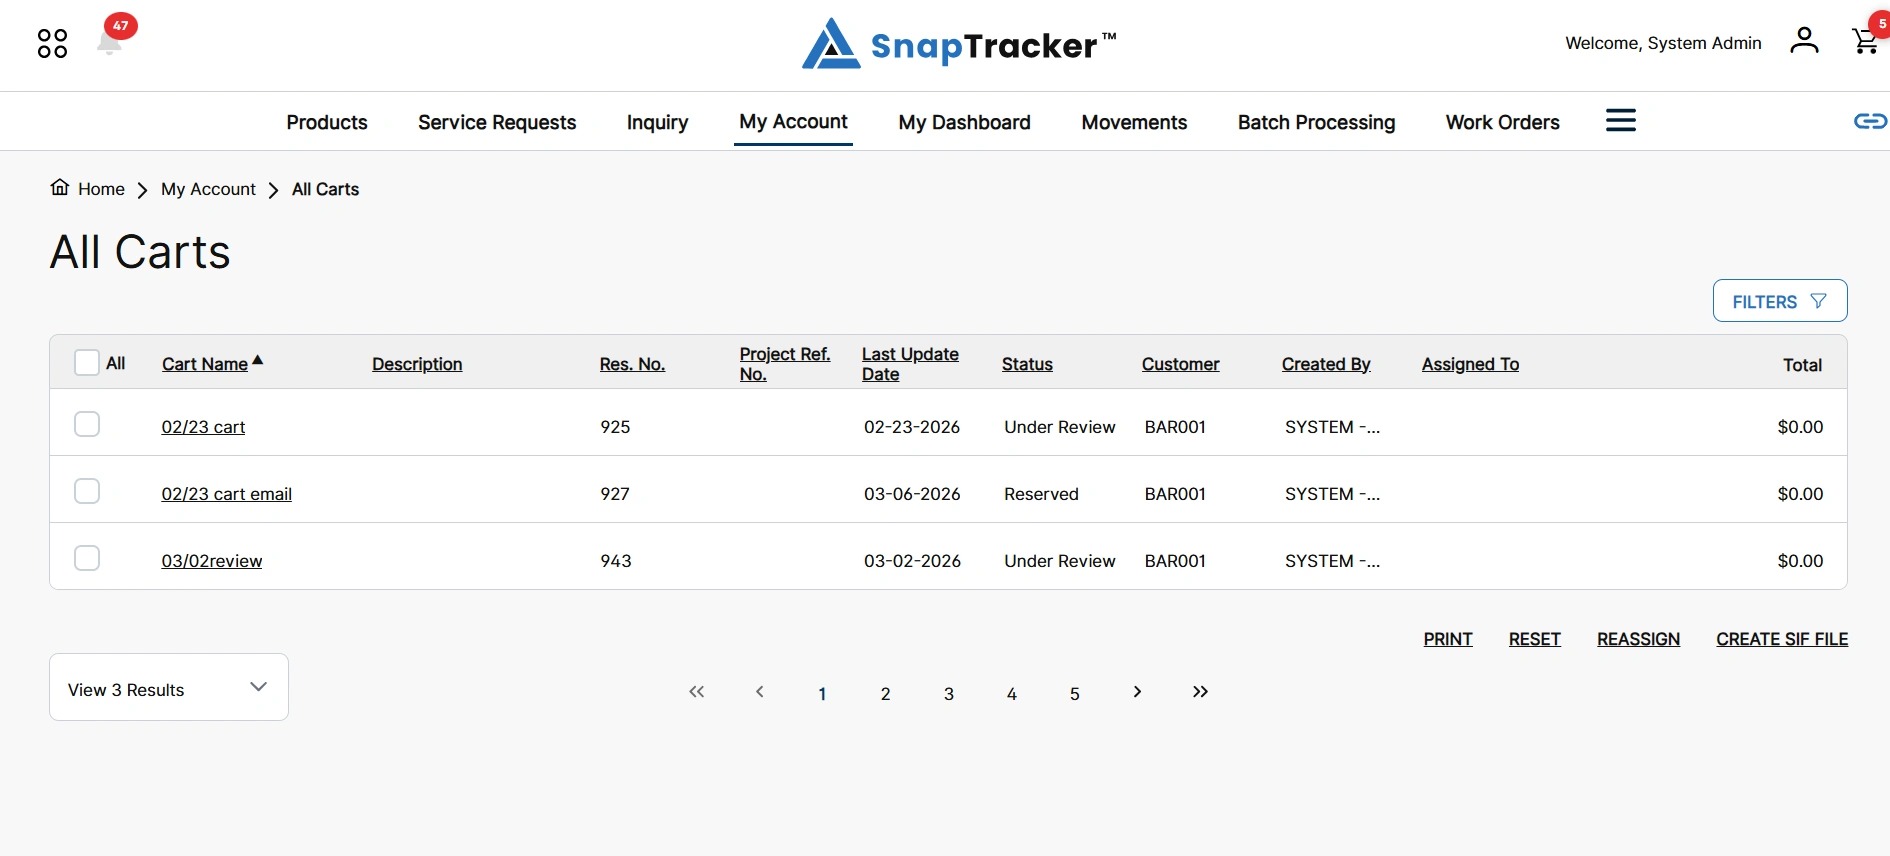
Observe the All Carts screen.
- Cart Name – The cart name.
- Description – The cart description (optional).
- Res. No. – The Reservation number assigned to the cart (if applicable).
- Project Ref. No. – The project reference number associated to the cart in the Checkout screen (optional).
- Last Update Date – The date the cart was last updated.
- Status – The cart status.
- Customer – The Customer the cart is created for.
- Created By – The user who created the cart.
- Assigned To – The user the cart is assigned to if it is not the original shopper. The user could be different if the cart has been reassigned to another user or it has been submitted for review or service pricing.
- Total – The grand total for all items and any additional charges in the cart.
Note: By default, the carts displayed in this screen are carts for customers you have access to.
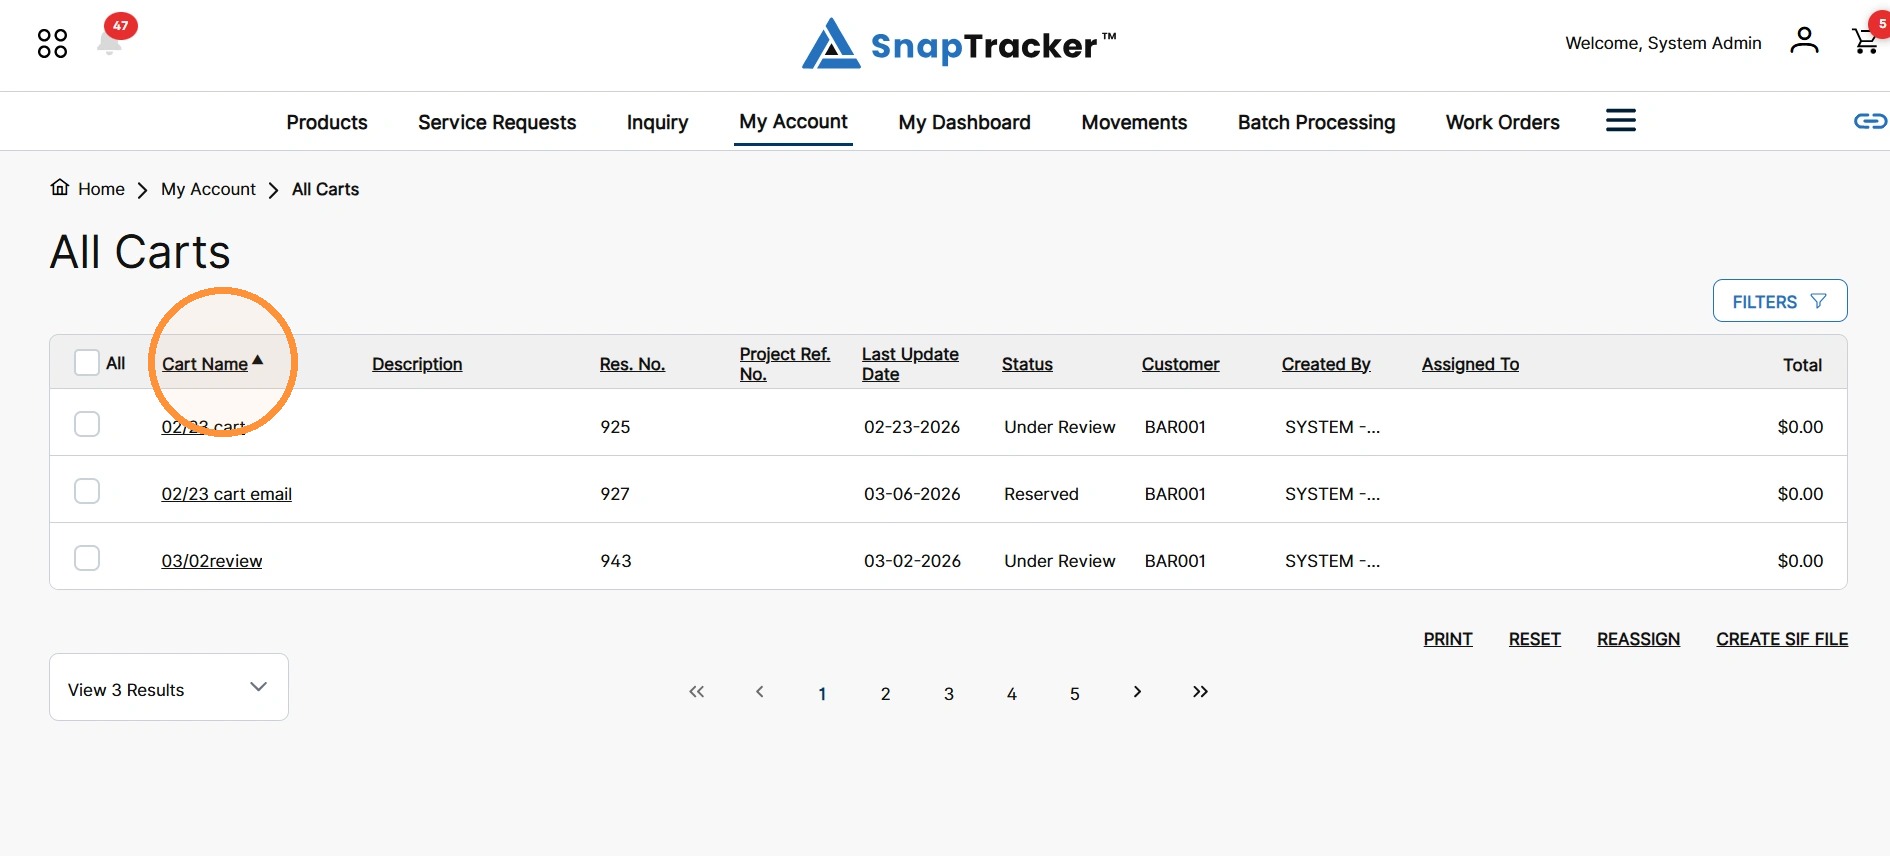
3. To change the sort order of the results, click any hyperlinked column header to sort the results by that column by ascending or descending order.
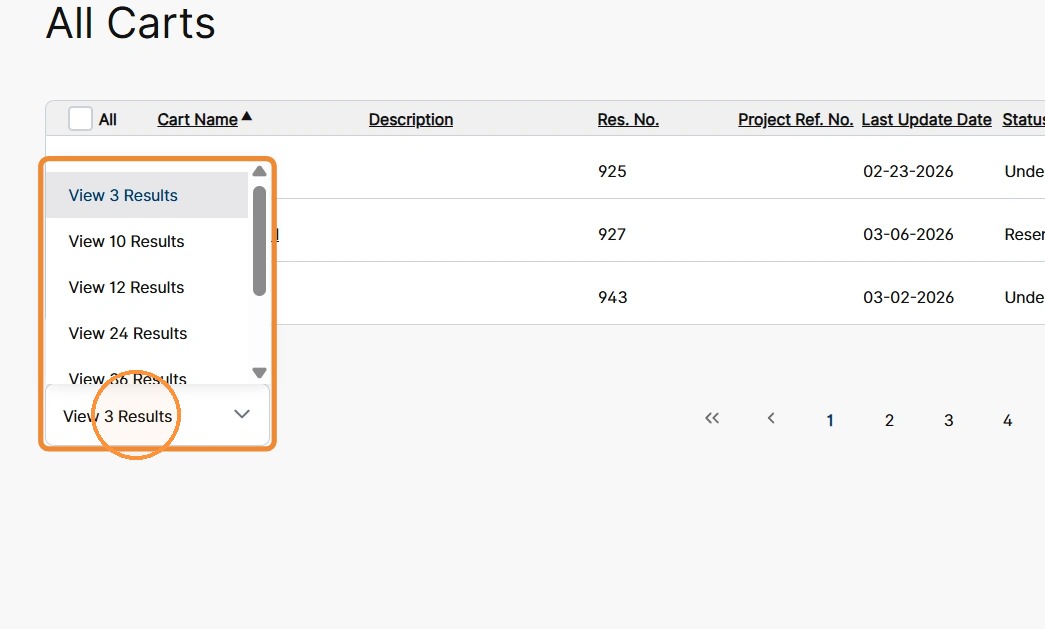
4. To change the number of results that display, click the View Results dropdown and select the number of results to display.
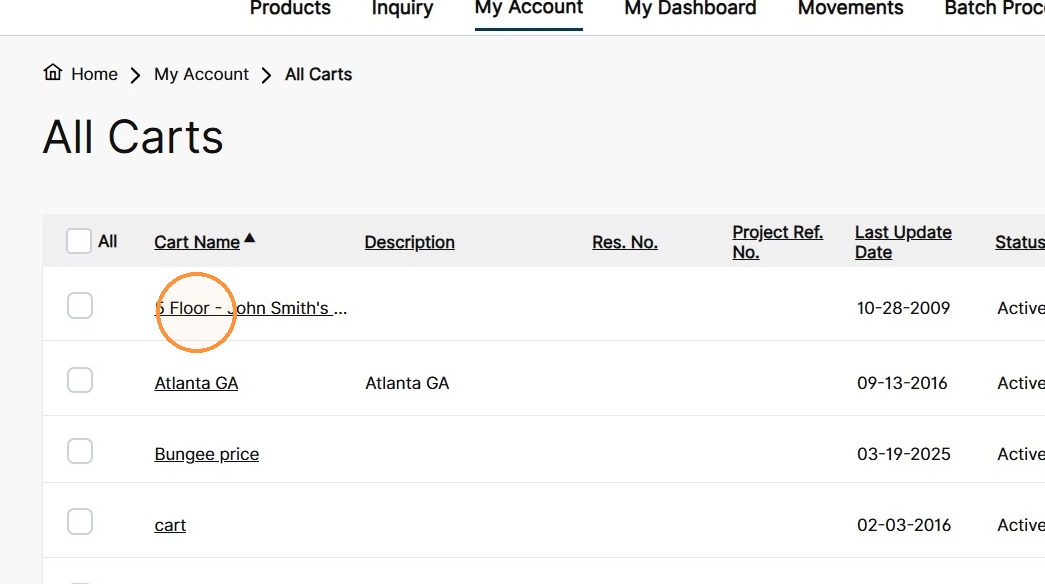
5. To view the full details for an individual cart, click the hyperlinked Cart Name.
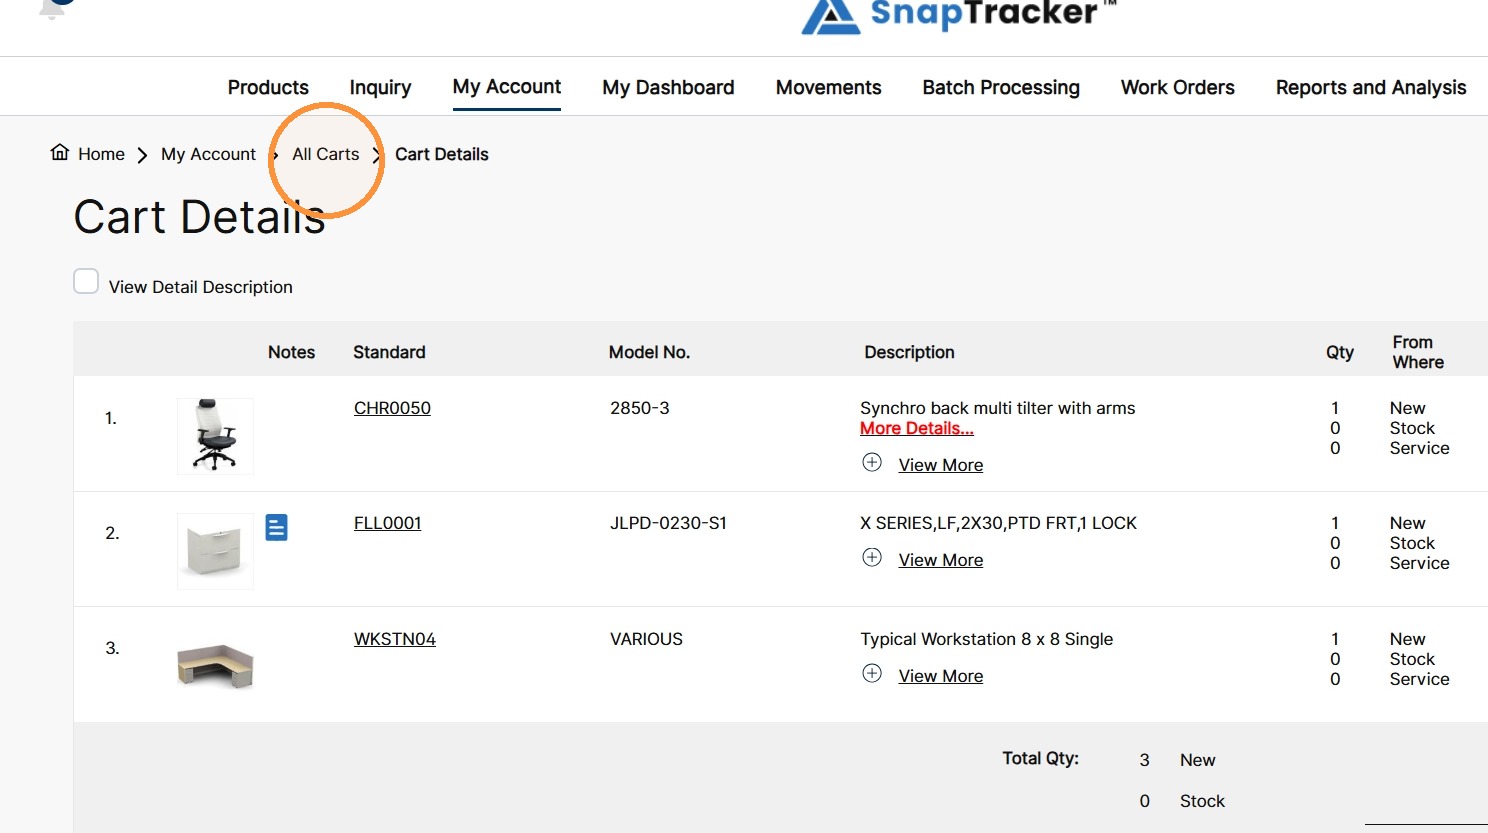
The Cart screen displays.
6. To go back to the All Carts screen, click All Carts in the breadcrumb trail.
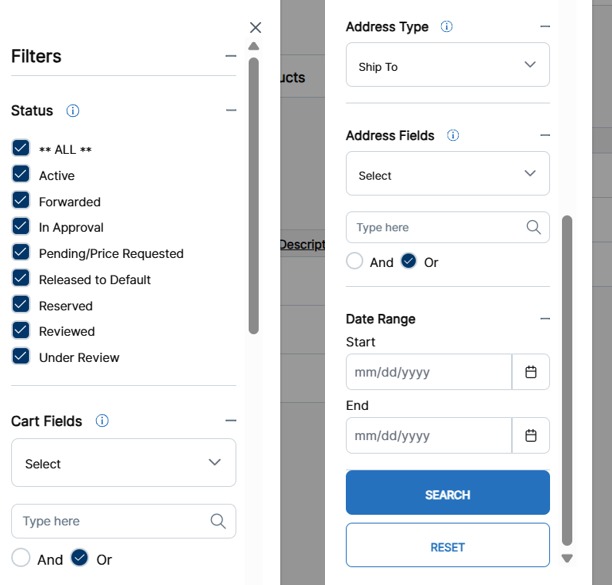
7. To view additional filters, click the Filters button.
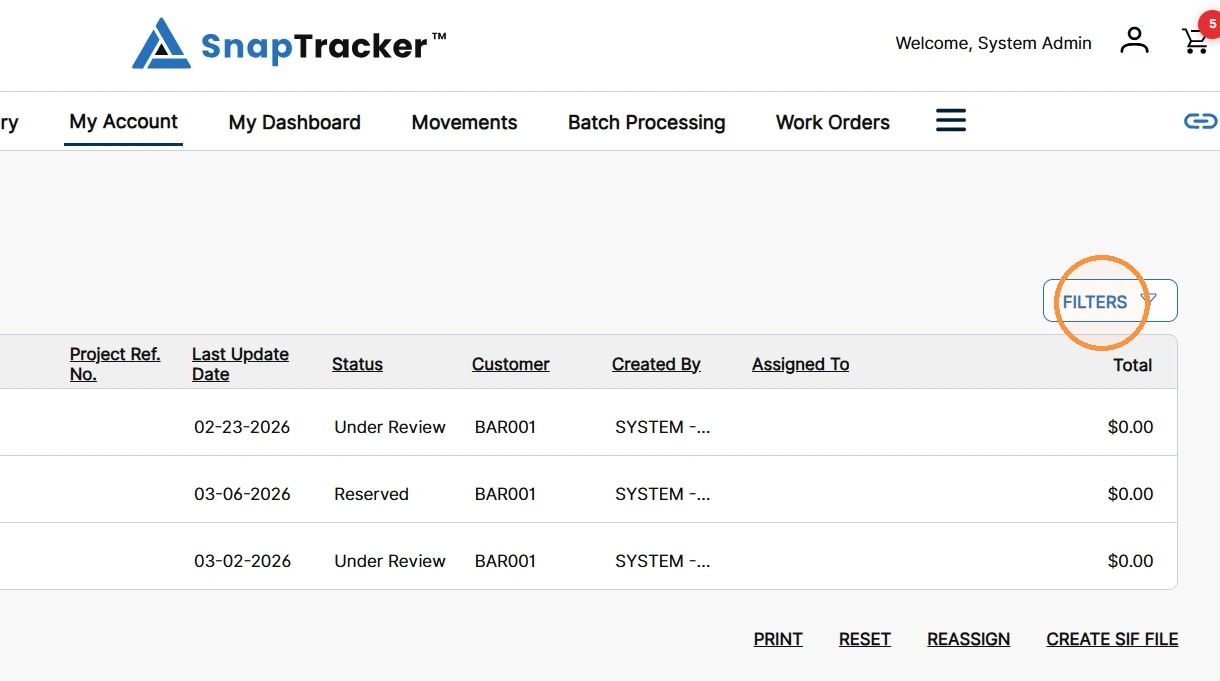
One filter or a combination of filters can be applied to refine your results.
- Status – Select the cart statuses to filter by.
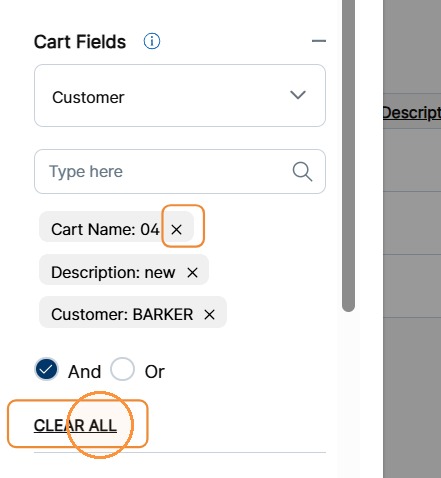
- Cart Fields – Select a search field from the drop-down and type your keyword. Multiple keywords can be used.
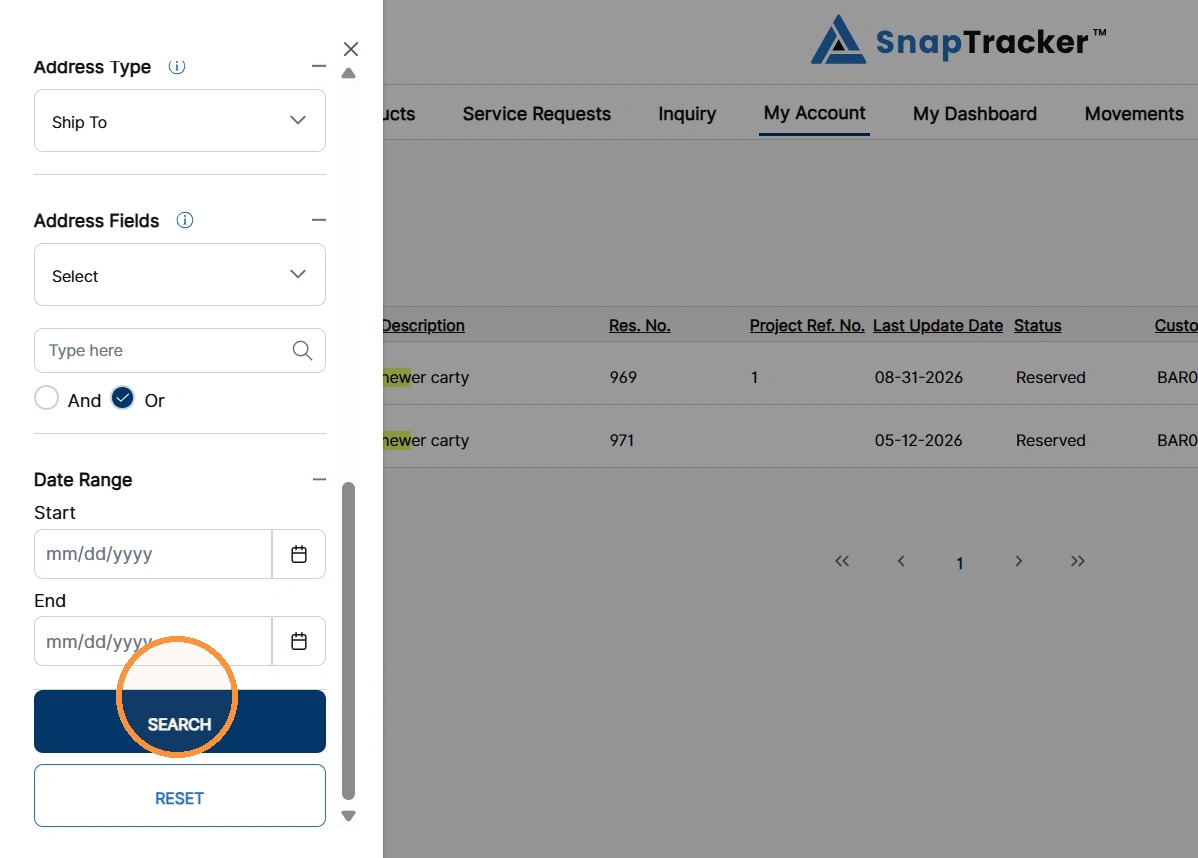
- Address Type and Address Fields are related. First select the address type (e.g. Sold To or Ship To) to filter your search.
- Address Fields – Once the Address Type is selected, select a search field from the drop-down and type your keyword. Multiple keywords can be used.
- Date Range – Select a date range to filter results by Last Update Date.
Note: The image below is split in 2 in order to show all options.
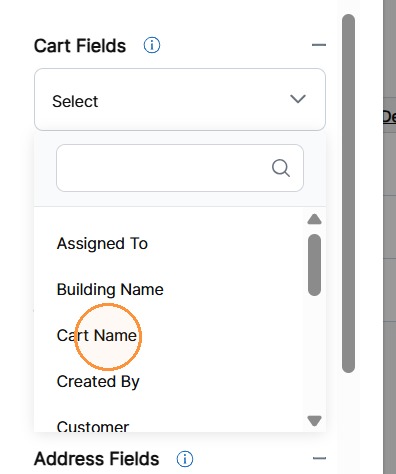
8. To add a search term in the Cart Fields or Address Fields section, select an option from the dropdown.
9. Enter your desired search term(s) and press the Enter key to add the search option to the list.
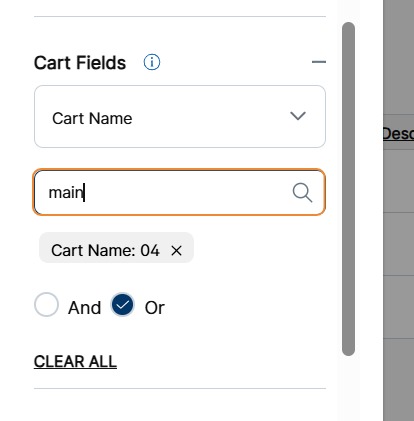
Note: You may add multiple search terms, across various field options.
Select whether you want to search for results with ALL your search terms (And option), or at least ONE of your search terms (OR option).
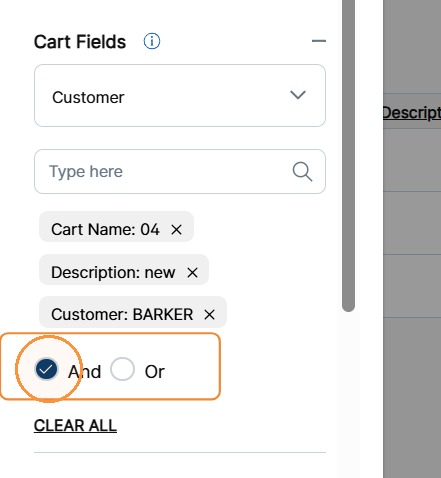
To clear a search term, click the ‘X’ beside each added filter option.
To clear all search terms, click CLEAR ALL.
10. Make your selections using the corresponding sections. Click Search.
The filtered results display.
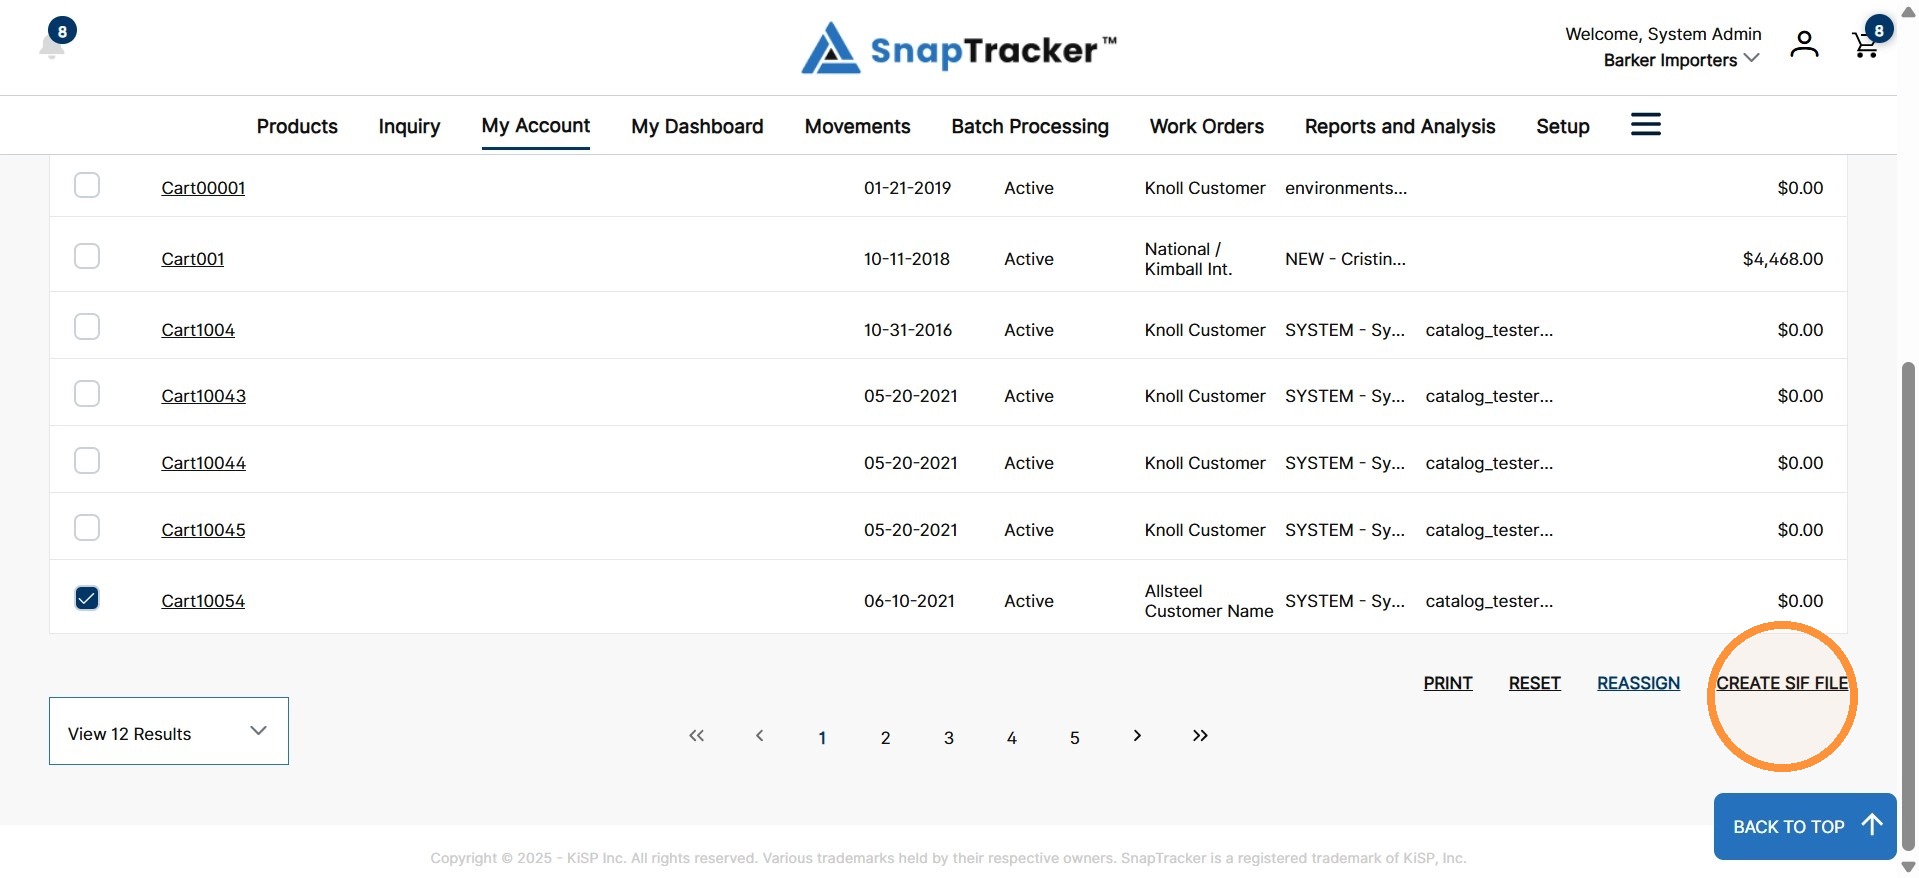
Below the results, observe the following actions:
- Print – Print the selected cart(s) summary.
- Reset – Resets the screen back to the default.
- Reassign – Reassign cart(s) to another user, if your user settings have this permission assigned.
- Create SIF File – Create a SIF file for one selected cart, if your user settings have this permission assigned and the cart is for New product. Note: A SIF file cannot be created for Stock product.
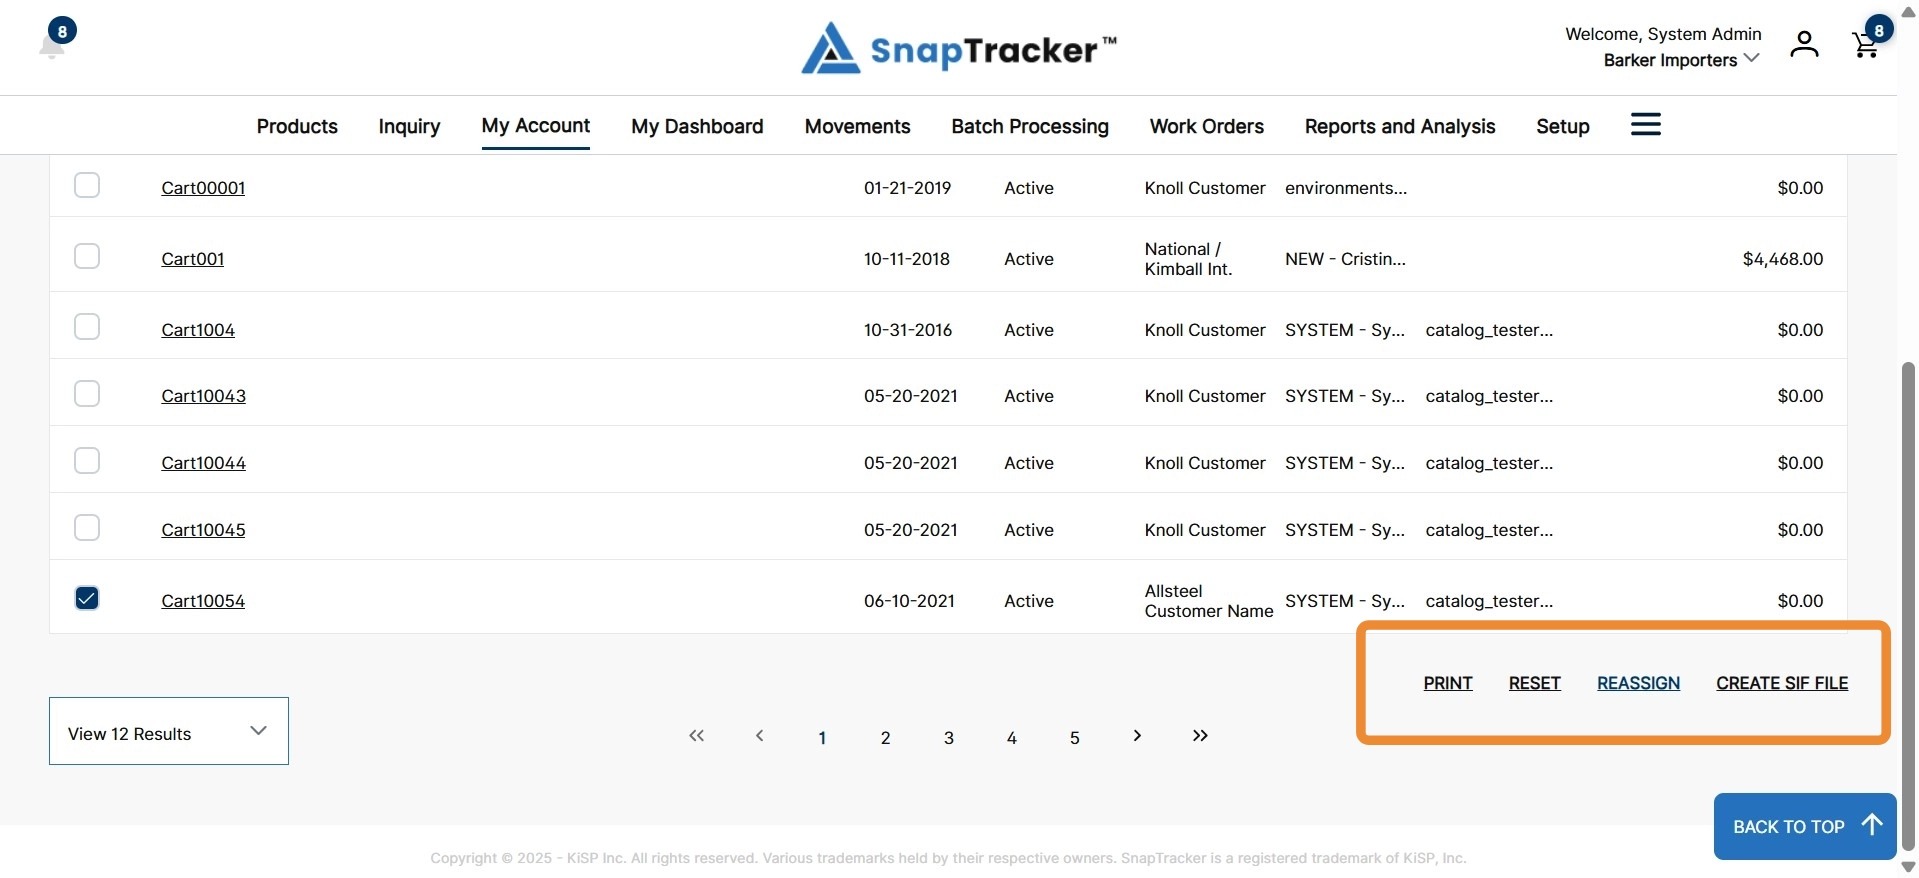
11. Select the checkbox beside the appropriate cart(s) and click the desired action.
For more information on viewing the cart details, see “How to View My Cart Details“.